Installation Instructions Directives de montage Instrucciones de instalación
PD1975(Page1) 2/04 PRINTED IN U.S.A.
Wiring Device-Kellems
Hubbell Incorporated (Delaware)
185 Plains Road
Milford, CT 06460-8897
(203)882-4800
English Français Español
CAUTION: RISK OF ELECTRIC SHOCK. Disconnect
power before installing. For installation by a qualified
electricianin accordance withnational and localelectrical codes.
WARNING: UNIT MUST BE PROPERLY GROUNDED TO
OPERATE CORRECTLY.
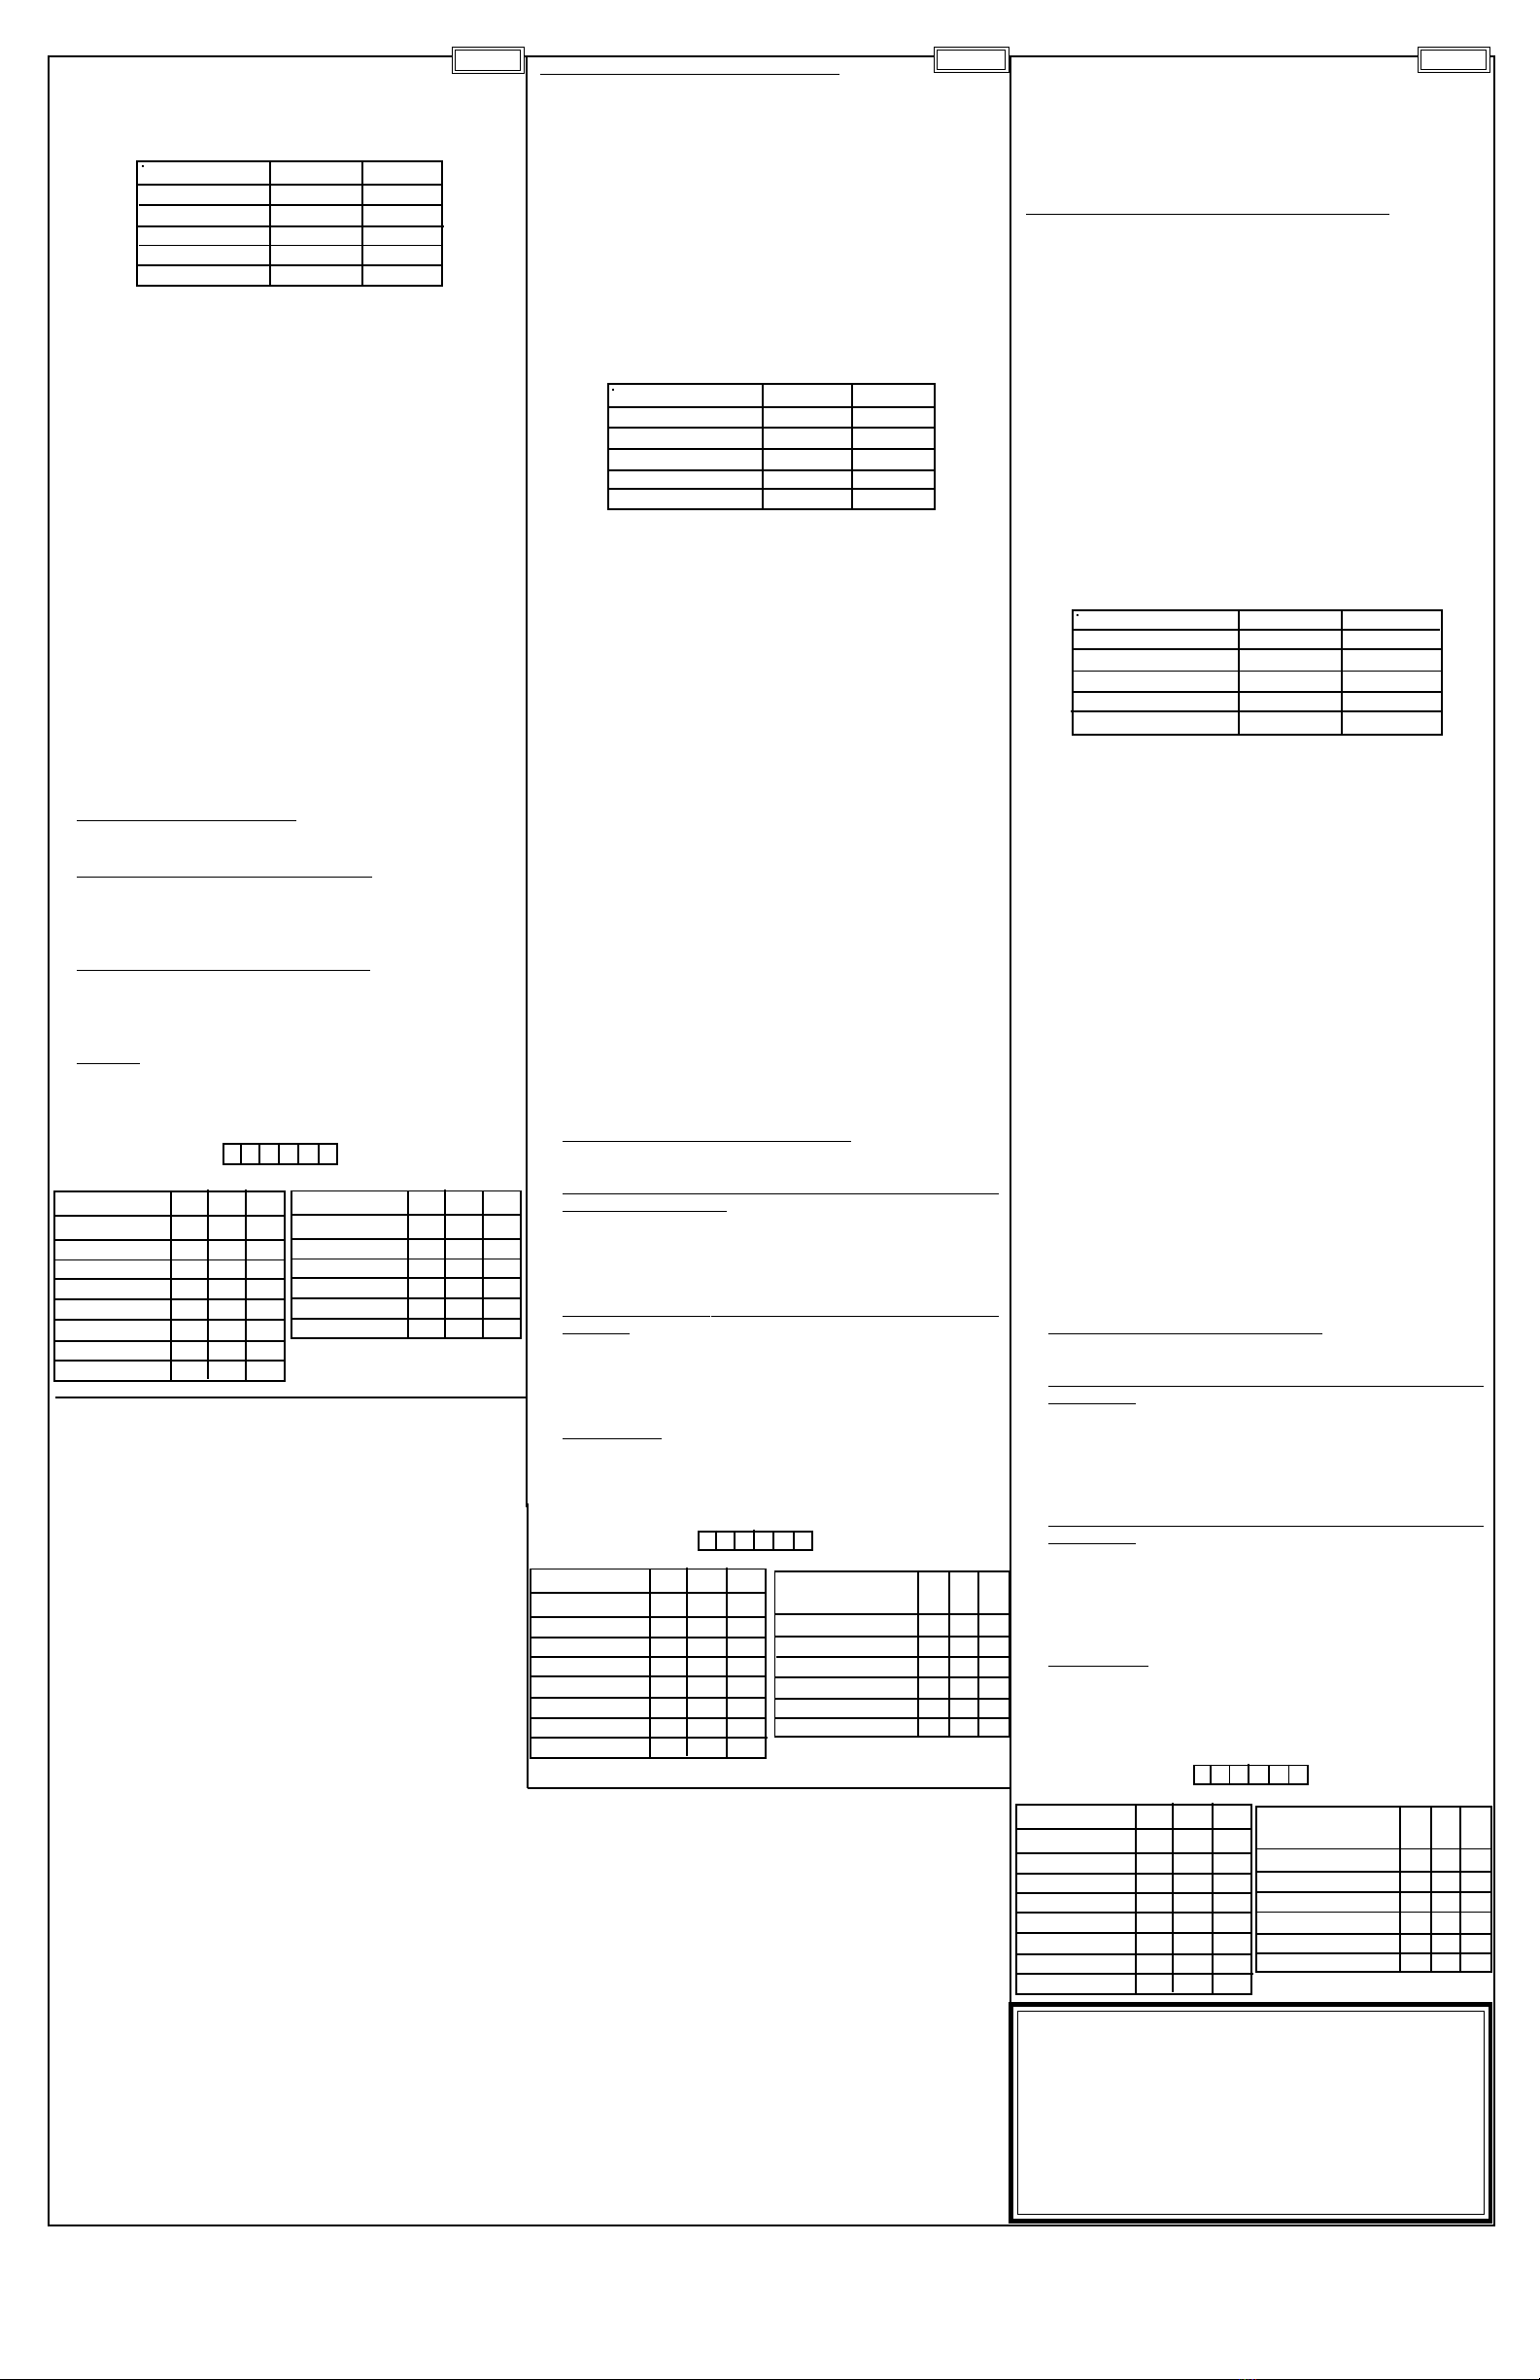
1. Connectwires as shownin wiring diagrambelow.
2. Capunused ground wire.
3. Mountthetimerinsideelectricalboxusing2mountingscrewsprovided.
4. Installenclosedcover plate.
5. Turn power onat the electricalpanel.
6. Allow 25 second warm-up time after unit is powered up.
• LCD message “OFF” will be displayed as a default and load
will be switched OFF.
Operation
1. To turn load ON, depress START/STOPbutton momentarily.
• TheLCD will displaythecount-down time intervalselectedat
the dip-switches. Time interval will start counting down.
• Inadditiontonumerical read-out LCD displays 10bars at start
of time on period. As interval counts down, one bar at a time
turns off in 10% decrements.
Note: Intervalsup to 60 minutesinclusivewillbe displayed in
thefollowing format. 59:50
Abbreviated Operating Instructions (Cut along dotted lines)
The start/stop push button is located on the face of the unit
1. To turn on load, push the button momentarily. The LCD will
displaythepresetinterval and begin counting down. Intervals
up to 1 hour will display minutes and seconds. Intervals over
1 hour will display hours and minutes.
2. To resetup to itsoriginal presetinterval while the load is on
hold the button in for 1 or 2 seconds.
3. If the scroll feature is enabled, other than the preset interval
canbe temporarily set. Holdthe button infor over 3seconds
andtimerbeginstoscrollupin10minuteincrements. Release
thebutton at the desired setting.
4. To turn load off at any time, push the button momentarily.
Where 2 left digits represent minutes and 2 right digits
representseconds. Colonwillnotbeflashing. Intervalslonger
than 1 hr will be displayed in the following format:
11:59
where2 left digits representhoursand 2 right digitsrepresent
minutes. Colon will be flashing, indicating seconds counting
down. Ifcount-downtime is longer than1 hour, the format will
automatically change from (HH:MM) to (MM:SS) as soon as
remaining time is less than 1 hour. (59:59).
2. To turn offloadduringthecount-down,depresstheSTART/STOP
button momentarily. The load will be switched to OFF and
message“OFF” will bedisplayed.
3. To reset the timer to its initial start value, any time during count-
down, depress the START/STOP button for 2 seconds and
releasewhen the originalintervalis displayed.
4. To Scroll to another interval,press andholddownSTART/STOP
button for more than 3 seconds. If the scroll feature is enabled
by dip switch, the display will scroll through intervals starting at
10:00minutesand finishing at 12:00 hours. Thescrollingisdone
inascendingorderin10minuteincrements. Releasethe START/
STOP button to start selected count-down time. Scrolling is
continuousas long as the start/stopbutton is depressed. When
scrolled to the maximum time, the time will restart from 10:00
minutesaslong as the START/STOPbuttonremainsdepressed.
5. Percenttimeremaining bar graph willbedisplayed each time the
intervalis started. All 10barswill be ONat start indicating 100%
timeremaining. As the interval iscounting down, the barswillbe
turnedOFFonebarata time (10%) starting at the right sideof the
LCDdisplay. At theend of count-downtime,all bars willbeOFF.
6. To change dip switch configuration:
a. Turn POWER OFF AT THE MAIN CIRCUIT BREAKER.
b. Remove wall cover plate and pull out the unit from the wall
box. Dip switches should now be accessible.
c. Set the desired Dip Switch configuration.
d. Reinstallthe unit andwall cover plate.
e. Turn POWER ON AT MAIN CIRCUIT BREAKER.
Troubleshooting
1. To testunit, set dipswitch tominimal time outinterval (5 minutes).
2. Unit does not function:
a. Check GROUND wire, make sure it is attached properly and
makesure the boxhas good ground.
b. Check all other wiring to make sure connection is secure.
c. Checkifpoweristurnedbackonatthemaincircuitbreakerpanel.
d. If unit still does not function, consult factor.
3. Load will not turn off automatically. Check if load goes ON/OFF
when pressing start/stop button. If not, check red wire for good
connection. If load does go ON/OFF, consult factory.
Operating and Installation Instructions
Description and Functional Summary
Solidstateintervaltimerdesignedtocontrollightingandmotor loads.
Momentarilypressingthe start/stop button located onthefrontof the
unit will turn the load ON and start the count-down time (set by the
userutilizing the Dip Switches) atthe end ofwhich the loadwill turn
OFF. If there is a need to turn the load OFF before the countdown
time has expired, press the start/stop button momentarily. The unit
canbeprogrammedviaDipSwitchsettingstoflickerthe load (lights),
and/or beep as a warning indicating that the load is about to turn
OFF. A scroll option can be set to temporarily change the preset
count-downtime by pressing andholdingdown the start/stop button
for more than 3 seconds.
ATTENTION - RISQUE DE CHOC ÉLECTRIQUE.
Débrancherle circuit avantde procéder aumontage. Doit
être installé par un électricien qualifié conformément aux codes de
l’électriciténationaux et locaux.
AVERTISSEMENT - L’appareil doit être convenablement mis à la
terrepour en assurerle bon fonctionnement.
1. Connecterlesfils selon le schémadecâblage ci-dessous.
2. Mettre un raccord sur le fil de MALT non utilisé.
3. Fixer la minuterie à l’intérieur de la boîte électrique à l’aide des 2
visde montage fournies.
4. Installerle couvercle inclus.
5. Mettresous tension àpartir du panneau électrique.
6. Après la mise sous tension du dispositif, allouer 25 secondes de
réchauffement.
• Par défaut, l’écran à cristaux liquides indiquera «OFF» et la
charge sera mise HORS TENSION.
Fonctionnement
1. Pour mettre la charge sous tension, enfoncermomentanément
le bouton START/STOP.
• L’écranà cristaux liquides indiquera latemporisationchoisie à
l’aidedes commutateurs DIP.Le compte àrebours débutera.
• Enplusdes données numériques, l’écran à cristaux liquides fait
apparaître 10 barres au début de compte à rebours. Au fur et à
mesureque le comptediminue,lesbarress’éteignent une àune
pardécréments de 10 %.
Remarque – Lesintervalles jusqu’à 60 minutesinclusivement
s’afficheront comme suit :59:50
Sommairedumoded’emploi(Couper lelong dupointillé)
Le bouton-poussoir start/stop se trouve sur la face du dispositif.
1. Pourmettrelachargesous tension,enfoncermomentanémentle
bouton.L’écranàcristauxliquidesafficheral’intervallepréétabliet
débuteraalorsle compte à rebours.Lesintervallesjusqu’à une
heures’afficherontenminuteseten secondes.Lesintervalles de
plusd’une heure s’afficherontenheuresetenminutes.
2. Pourremettreàzérol’intervallepréétabli(soitàlavaleuroriginale)
pendant que la charge est sous tension, maintenirlebouton
enfoncé1ou 2 secondes.
3. Si la fonction défilement est activée, il est possible de régler
temporairement d’autres intervalles en plus de l’intervalle
préétabli. Maintenir enfoncé le bouton pendant plus de 3
secondespour que laminuteriesemetteà défiler enincréments
de10 minutes. Relâcher le boutonune fois lavaleur atteinte.
4. Pour mettre la charge hors tension à quelque moment,
enfoncermomentanémentle bouton.
Quandles 2 chiffresdegaucheindiquentlesminutes et ceux de
droite les secondes. Les deux points ne clignoteront pas. Les
intervallespluslongsque 1 heure seront affichéscommesuit:
11:59
oùles 2chiffresde gaucheindiquentlesheures etceuxdedroite
lesminutes.Lesdeuxpointsclignoteront,indiquant lessecondes
quis’écoulent.Sil’intervalleestpluslongque1heure,leformat
passealorsautomatiquementde(HH:MM)à (MM:SS) dès que
letempsrestant est inférieure à1heure (59:59).
2. Pourmettre la chargehors tension pendantle compte àrebours,
enfoncermomentanémentleboutonSTART/STOP.Lacharge sera
mise HORS TENSION et le message «OFF» s’affichera.
3. Pourremettrela minuterie àsavaleur de départ initialeà quelque
momentpendantlecompte à rebours, enfoncer le boutonSTART/
STOPpendant 2 secondeset relâcher lorsquela valeur originale
s’affiche.
4. Pourfaire défilerjusqu’àunautre intervalle,enfonceretmaintenirle
boutonSTART/STOPpendantplusde3secondes.Silafonctionde
défilementestactivéeàpartirdecommutateursDIP,l’écrandéfileles
intervalles débutant par 10:00 minutes et se terminant par 12:00
heures.Ledéfilement s’effectueen ordre ascendant en incréments
de 10 minutes. Relâcher le bouton START/STOP pour lancer le
compteàrebourssélectionné.Ledéfilements’arrêtedèsqu’onrelâche
leboutonstart/stop.Lorsqueledéfilementatteintl’intervallemaximal,
l’intervallereprend à partirde10:00minutesaussi longtemps quele
boutonSTART/STOPestmaintenu enfoncé.
5. La barre graphique du temps exprimé en pour cent s’affichera
chaquefoisquedébutelecompte à rebours. Au début, les 10bars
s’allumeront indiquant qu’il reste 100 % à l’intervalle. Au fur et à
mesurequele temps s’écoule, les barres s’éteignent uneàune(10
%)àcommenceràladroite de l’écran à cristaux liquides. à la fin du
compteàrebours,toutes les barres seront éteintes.
6. Pour modifier la configuration des commutateur DIP :
a. Couper l’ALIMENTATION ÉLECTRIQUE À PARTIR DU
DISJONCTEUR PRINCIPAL.
b. Enleverla plaque murale etretirer le dispositifde la boîte.Les
commutateursDIP sont maintenantaccessibles.
c. Établir la configurationdésiréeàl’aide des commutateurs DIP.
d. Remonterle dispositif etla plaque murale.
e. Rétablir l’ALIMENTATION À PARTIR DU DISJONCTEUR
PRINCIPAL.
Dépannage
1. Pourvérifierledispositif,réglerlescommutateursDIPpourobtenir
l’intervalleminimum (5 minutes).
2. Le dispositif ne fonctionne pas :
a. Vérifier le fil de MALT, s’assurer qu’il est fixé correctement et
que la MALT de la boîte est effectivement mise à la terre.
b. S’assurerque les autres connexionssont adéquates.
c. S’assurer que le courant a été rétabli au niveau du panneau
électriqueprincipal.
d. Si le dispositif ne fonctionne toujours pas, consulter l’usine.
3. Lachargenes’arrêtepasautomatiquement.Vérifierquelacharge
estbienmiseen circuit (ON) et hors circuit(OFF) lorsqu’onappuie
sur le bouton START/STOP. Si ce n’est pas le cas, s’assurer que
lefil rouge estbien connecté. Si lacharge est bienmiseen circuit
(ON) et hors circuit (OFF), consulter l’usine.
¡CUIDADO! - RIESGO DE CHOQUE ELÉCTRICO.
Desconectarlacorriente antes de la instalación.Para ser
instaladoporun electricista calificado, deacuerdo conloscódigos
eléctricosnacionalesylocales.
¡ADVERTENCIA!:EldispositivoDEBEestarpuestoatierraparafuncionar.
1. Conectarloscablescomosemuestra en el diagrama de cableado
acontinuación.
2. Aplicarunconectorderoscaenelextremodelcabledetierranoutilizado.
3. Fijarel temporizador dentro dela caja eléctricacon los 2tornillos
defijación provistos.
4. Instalarla placa de tapaadjunta.
5. Activarla energía en eltablero eléctrico.
6. Dejarpasar25 segundos paracalentamientodespuésde energizar
eldispositivo.
• Aparecerá “OFF” (apagado) como mensaje por defecto en la
pantalla de cristal líquido y la carga quedaráAPAGADA.
Operación
1. Parece ENCENDER (“ON”), oprimirmomentáneamente elbotón
de ARRANQUE/CIERRE.
• Enlapantalladecristallíquidoapareceráelintervalodetiempo
en cuenta regresiva seleccionado en los conmutadores DIP.
Enel intervalo detiempocomenzará la cuentaregresiva.
• Además de la lectura numérica, en la pantalla de cristal líquido
aparecen10barrasalinicio delperíodo. Amedidaquelacuenta
desciende,desapareceunabarraalavez,enreduccionesde10%.
Nota: Los intervalos de hasta 60 minutos inclusive se
presentaránen el siguienteformato.
59:50
Instrucciones de funcionamiento abreviadas
(Cortar por la línea de puntos)
Elbotón pulsador dearranque/cierre está situado enel frente del
dispositivo.
1. Para activar la carga, oprimirmomentáneamenteel botón. En
la pantalla de cristal líquido aparecerá el intervalo prefijado y
seiniciará la cuentaregresiva. Los intervalos de hasta1 hora
se mostrarán en minutos y segundos. Los intervalos de más
de 1 hora se mostrarán en horas y minutos.
2. Para restablecer el intervalo original prefijado mientras la
carga está activada hayque mantener oprimidoel botón por
1 ó 2 segundos.
3. Si se aplica el elemento de despliegue, puede fijarse
temporariamenteotro intervalo distinto delprefijado. Hay que
mantener oprimido el botón por más de 3 segundos y el
temporizador comienza a desplegarse en incrementos de 10
minutos. Soltar el botón en el reglaje que se desee.
4. Parapasarencualquiermomentoadescargar,hayque oprimir
momentáneamenteelbotón.
Cuando los 2 dígitos a la izquierda representan los minutos y
los 2 dígitos a la derecha representan los segundos, los dos
puntos no parpadearán. Los intervalos de más de 1 hora se
presentaránen el formatosiguiente:
11:59
dondelos2dígitosdelaizquierdarepresentanlashorasylos2
dígitosdeladerecha representan los minutos. Los dos puntos
parpadearán, indicando los segundos de la cuenta regresiva.
Siel tiempo encuentaregresivaesde más de1hora,elformato
cambiaráautomáticamentede(HH:MM)a (MM:SS) tan pronto
comoeltiempo restante sea de menosde 1hora(59:59).
2. Paraapagarla carga durante la cuentaregresiva,hayqueoprimir
momentáneamenteel botón de ARRANQUE/CIERRE. La carga
sedesactivará y apareceráelmensaje “OFF” (apagado).
3. Paravolvera regulareltemporizadorensuvalorinicial dearranque,
encualquier momento durante lacuentaregresiva,oprimaelbotón
de ARRANQUE/CIERRE por 2 segundos y suéltelo cuando
aparezcaelintervalo original.
4. Para desplazarlo aotro intervalo,oprimay mantenga oprimido el
botón de ARRANQUE/CIERRE por más de 3 segundos. Si el
conmutador DIP admite el elemento de despliegue, la lectura en
la pantalla se desplegará en intervalos que empiezan en 10:00
minutos y terminan en 12:00 horas. El despliegue se hace en
ordenascendente,enincrementos de 10 minutos. Hay quesoltar
el botón de ARRANQUE/CIERRE para que comience el tiempo
en cuenta regresiva seleccionado. El despliegue es continuo
mientrassemantieneoprimidoelbotóndeARRANQUE/CIERRE.
Cuandoel tiemposehadesplegado hastallegaralmáximo, volverá
a comenzar a partir de 10:00 minutos, mientras se mantenga
oprimido el botón de ARRANQUE/CIERRE.
5. Elgráficodebarrasdel porcentaje de tiempo restante semostrará
cada vez que se inicia el intervalo. Las 10 barras estarán
ENCENDIDASalprincipio, indicando un 100% de tiempo restante.
A medida que desciende la cuenta del intervalo, las barras SE
APAGARÁN, de a unaporvez(10%) comenzando por la derecha
de la pantalla de cristal líquido. Al final del tiempo en cuenta
regresiva, todas las barras estaránAPAGADAS.
6. Paracambiar la configuracióndel conmutador DIP:
a. CORTAR LAENERGÍAEN ELDISYUNTOR PRINCIPALDEL
CIRCUITO.
b. Retirarlaplacadetapamuralysacareldispositivofueradelacaja
mural. LosconmutadoresDIPdeberíanquedaraccesiblesahora.
c. RegularlaconfiguracióndelosconmutadoresDIPquesedesee.
d. Reinstalarel dispositivo yla placa detapa mural.
e. RESTABLECER LA ENERGÍA EN EL DISYUNTOR
PRINCIPAL DEL CIRCUITO.
Solución de problemas
1. Para probar el dispositivo, fijar el conmutador DIP en el intervalo
mínimode tiempo muerto(5 minutos).
2. Eldispositivo no funciona:
a. Verificar el cable de TIERRA, asegurarse de que está
correctamente conectado y asegurarse de que la caja tiene
buenaconexión a tierra.
b. Verificar todos los demás cables para asegurarse de que la
conexiónes sólida.
DIGITAL COUNTDOWN TIMER
Catalog Number DT1277W MINUTERIE NUMÉRIQUE AVEC
COMPTE À REBOURS
Nocat. DT1277W
TEMPORIZADOR DIGITAL CON
CUENTA REGRESIVA
Núm. cat. DT1277W
BLACK
GREEN
GREEN/YELLOW
RED NEUTRAL
HOT
120V GROUND
277V GROUND
LOAD
NOIR
VERT
VERT/JAUNE
ROUGE NEUTRE
PHASE
120 V MALT
277 V MALT
CHARGE
NEGRO
VERDE
VERDE/AMARILLO
ROJO NEUTRO
VIVO
V~120 TIERRA
V~277 TIERRA
CARGA