manuals.online logo
Brands
  1. Home
  2. •
  3. Brands
  4. •
  5. HULALA HOME
  6. •
  7. Indoor Furnishing
  8. •
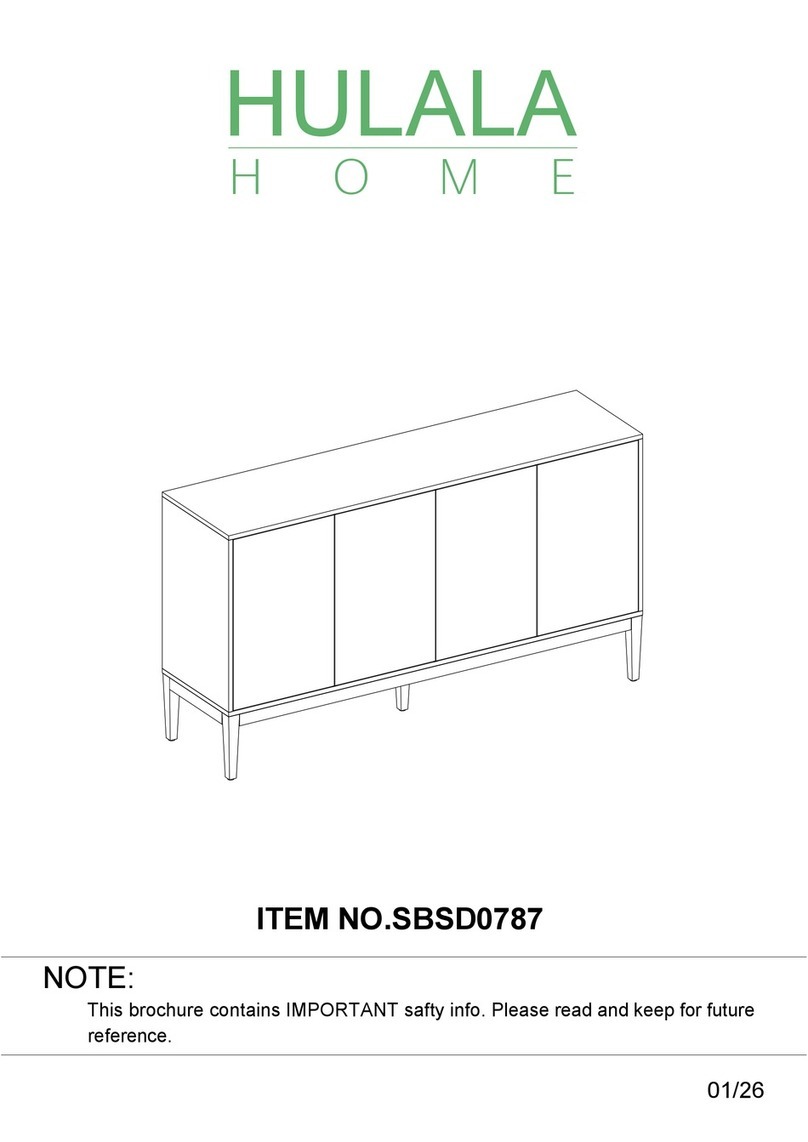
  9. HULALA HOME NSBSD0549 User manual

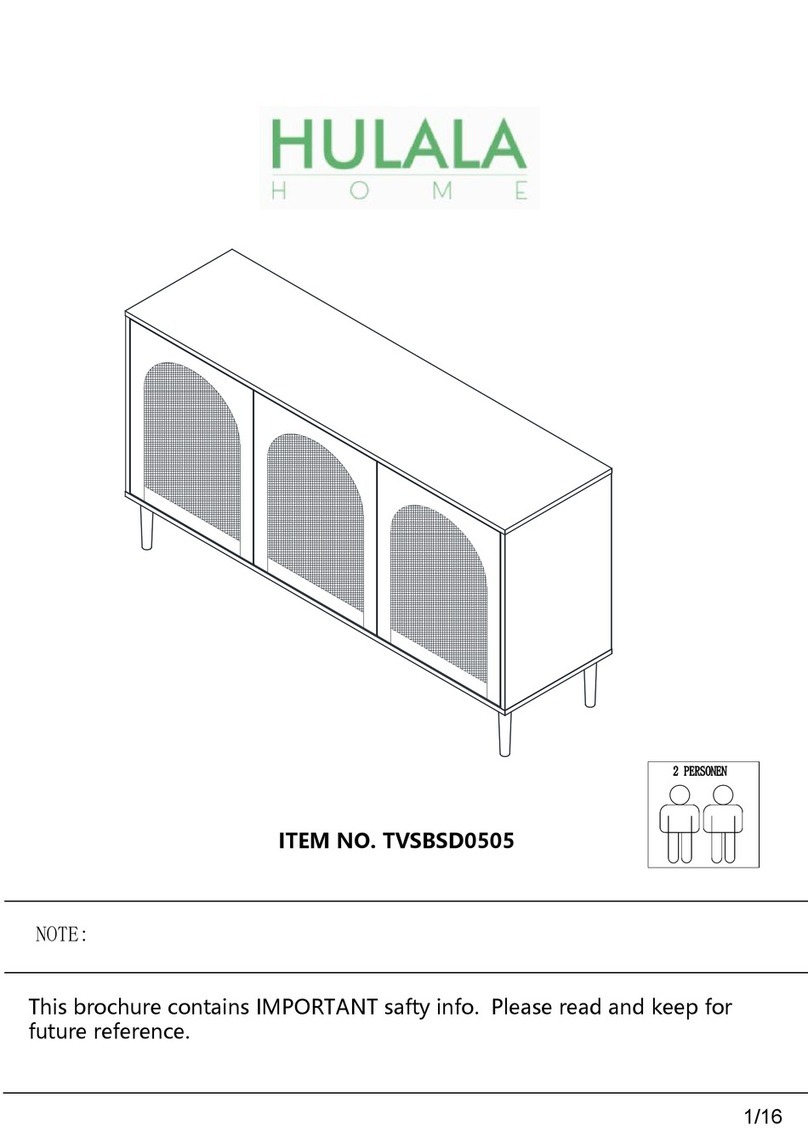
HULALA HOME NSBSD0549 User manual

NOTE:
This brochure contains IMPORTANT safty info. Please read and keep for
future reference.
1/16
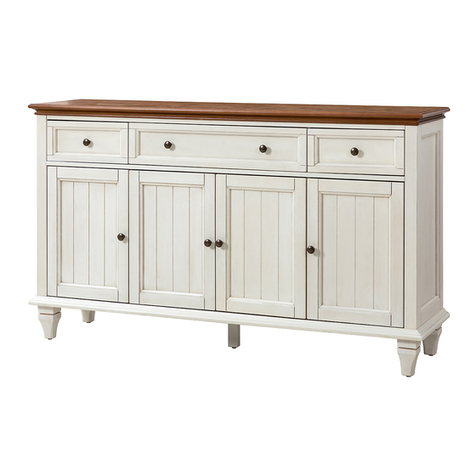
ITEM NO. NSBSD0549
MAINTAINANCE
AND WARNING
Keep furniture away from heat.
Do not clean furniture with harsh cleansers
or polish. Do not use detergents, Solvents,
abrasives, spray packs or leather cleaner. Use
non-color mild soap with warm water clean
spills(Mix 1:10 soap to water)
Do not place furniture under direct sunlight,
material will possibly fade over time.
Do not use on site dry Cleaning machine.
Children should not climb or jump on the
furniture.
Do not write on furniture without a padded
barrier to protect the surface.
Not for commercial use, For residential use
only.
Weight Limitation
80LBS
16
OVERVIEW
3 16
PARTS
LIST
4/16
HARDWARE
LIST
Be sure to check all packing material carefully for
small parts, which may have come loose inside the
carton during shipment.
16
SPARE
R
30
30
45
45
6 16
1
2
R
Connect the part 7,8 with part 9.
Align the hole in part 7 and 8 to the hole in part 9 as the picture
show. screw in the screw L and tighten by screwdriver R.
Connecting the part 10 to the finished part in step 1.
Align the groove in part 7,8 and 9. insert and slide down to the end. Be sure part 10
go into the groove of part 9!
7 16
3
R
30
Preparing the part 6
1)Align the hole in part 6 as the picture show, screw in the cam bolt A and tighten
by screwdriver R.
2) Align the hole in part 6 to the hole in part F, screw in the screw G with part I and
tighten by screwdriver R.
8 16
4
x2
R
Connecting part 6 to the finished part in step 2.
1) Align the hole in part 7 and 8, insert the cam bolt A into the hole in part 7 and 8
as the picture show.then
2) Put the nut B into the hole from side, then tighten the nut by screwdriver R.
3) Last, peel the part J and cover the nut B for good looking.
9 16
ASSEMBLY
INSTRUCTIONS
5
6
R
R
Preparing the part 1 and part 3, 4.
1) Align the hole in part 1 , insert the part D(wooden dowel) into the hole by hand;
2) Align the hole in part 1, 3 and 4, screw in the cam
bolt A into the hole and tighten by screwdriver R.
Assemble the part 1,3,4, and 13
1) Align the hole in part 13 to the cam
bolt A in part 3 and 4, insert the cam
bolt A , then put the NUT B into the hole
as the picture show, screw and tighten
the nut by screwdriver R. then.
2) Align the hole in part 3 and 4 to the
part A and D in the part 1, insert the
part A and D into the hole in part 3,4,
put nut B into the hole and tighten by
screwdriver R.
3) Use part J to cover the nut B for good looking.
16
10
7
8
Connect the part 5 to the finished part in step 6.
1) Align the groove in part 1, 3,4, insert and slide the part 5 into the
groove as the picture show.
2) Align the hole in part 3 and 4, insert the part D into the hole by hand.
Connect part 2 to the finished part in step 7.
1) Align the hole in the part 2, insert the part D in part 3,4
into part 2 , then.
2) Screw in the screw C and tighten by ALLENKEY K.
16
9
10
11
Q
5
5
Connect the part 11 and part 12
Align the hole in part 11 to the hole in part 12, screw in the screw Q and tighten
by Allenkey K. Don't fully tighten the screw Q!
Assemble the legs to the cabinet.
1) Align the hole in part 2 to the hole in part 11 and 12, screw in the screw P , then,
2) Fully tighten screw P in sequence by Allenkey K after all 5 screw P in the position.
3) Fully tighten the screw Q in sequence by Allenkey K.
45
12 16
44
4 4
5
11
R
Assemble part H to finished part in step 10.
1) Turn the cabinet upwards as the picture show;
2) Put the part H in the pisition as the picture show, then screw in the screw E
and fully tighten by screwdriver R.
13 16
12
E
Assemble drawer to the cabinet
1) Find the moving part in male metal slider in drawer sides(pre-assmbled ), be sure
the moving part is in the back of metal slider as the picture show;
2) Find the moving part in female metal slider in the cabinet side(pre-assembled), be
sure the moving part is in the front of metal slider as the picture show.
3) Align the male metal slider to the moving part in female metal slider, then push
forward while two male sliders are in the moving part in female at the same time.
4) You can adjust the drawer to fit the cabinet once you need to do this. just loose the
screw E , you can move the male metal slider to the position you expect, then fully
tighten screw by screwdriver R.
14 16
13
Use the adjustable nail to keep the cabinet level in case the cabinet is wabbling.
Now your cabinet is ready to use. R
Assemble part M
Align the hole in part M to the part 1 as the picture show, screw in the screw E
and tighten by screwdriver R.
15/16
14
Install the anti-collapse device.
1. Mark the position on the wall, this should be same as the position of M
where are on the back of panel 1; Drilled and insert the expandable screw
O by hammer;
2.Assemble the part M on the wall. Align the hole in the part M to the
expandable screw L,Screw in screw L and tighten with screwdriver R.
3.let the plastic belt N go through the both M and pull to tighten.
L
O
O
L
O
4*35mm
x4
O
x2x2L x4 NM
M
MM
M
N
N
N
R
NOT PROVIDED
Are you having
with assembly? Missing
send email with your order
For return, Please check the return policy
the retailer or MarketPlace you bought
Appreciated your purchasing from us.
Pop up your life by our furniture
16/16
We strive to offer high-quality products, and we also try our
best to satisfy each and every customer that orders from us
with product or service as needed. We provide 30 days
warranty starting from the time you receive the item. Each
customer must provide a record of their order such as the
order number, or item receipt for any items that are out of
the warranty period you may also still receive replacement
parts by purchasing them with our company if they are
available.

Other HULALA HOME Indoor Furnishing manuals

HULALA HOME HRCHD0241 User manual

HULALA HOME

HULALA HOME HRCHD0241 User manual

HULALA HOME TVHM0779 User manual

HULALA HOME

HULALA HOME TVHM0779 User manual

HULALA HOME CHAF0418 User manual

HULALA HOME

HULALA HOME CHAF0418 User manual

HULALA HOME CTBSD0368 User manual

HULALA HOME

HULALA HOME CTBSD0368 User manual

HULALA HOME Z2BSXJ0125 User manual

HULALA HOME

HULALA HOME Z2BSXJ0125 User manual

HULALA HOME KPJY0537 User manual

HULALA HOME

HULALA HOME KPJY0537 User manual

HULALA HOME CHM0402 User manual

HULALA HOME

HULALA HOME CHM0402 User manual

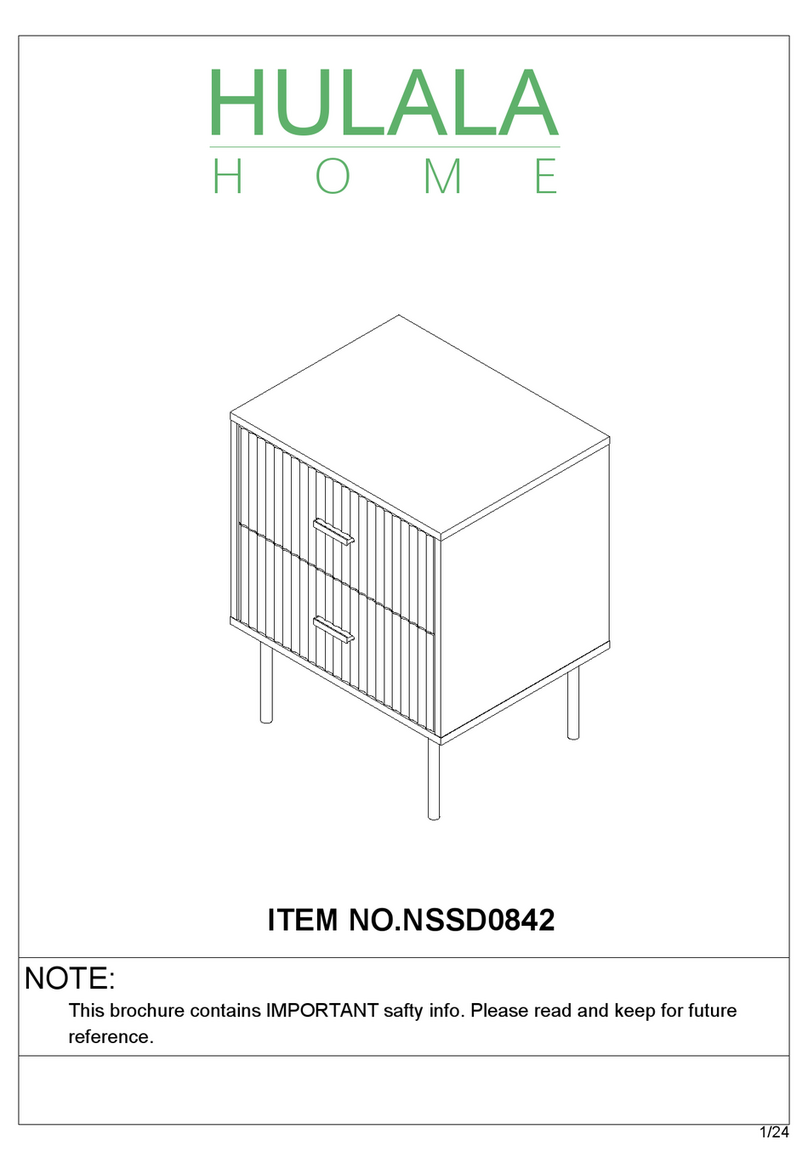
HULALA HOME NSSD0842 User manual

HULALA HOME

HULALA HOME NSSD0842 User manual

HULALA HOME TVSBSD0454 User manual

HULALA HOME

HULALA HOME TVSBSD0454 User manual

HULALA HOME CHM0510 User manual

HULALA HOME

HULALA HOME CHM0510 User manual

HULALA HOME HRCXA0265 User manual

HULALA HOME

HULALA HOME HRCXA0265 User manual

HULALA HOME SCBSD0809 User manual

HULALA HOME

HULALA HOME SCBSD0809 User manual

HULALA HOME SBPZ0887 User manual

HULALA HOME

HULALA HOME SBPZ0887 User manual

HULALA HOME TVSBSD0589 User manual

HULALA HOME

HULALA HOME TVSBSD0589 User manual

HULALA HOME CHYB0364 User manual

HULALA HOME

HULALA HOME CHYB0364 User manual

HULALA HOME SFDC0025 User manual

HULALA HOME

HULALA HOME SFDC0025 User manual

HULALA HOME TVYJ0746 User manual

HULALA HOME

HULALA HOME TVYJ0746 User manual

HULALA HOME SCBSD0810 User manual

HULALA HOME

HULALA HOME SCBSD0810 User manual

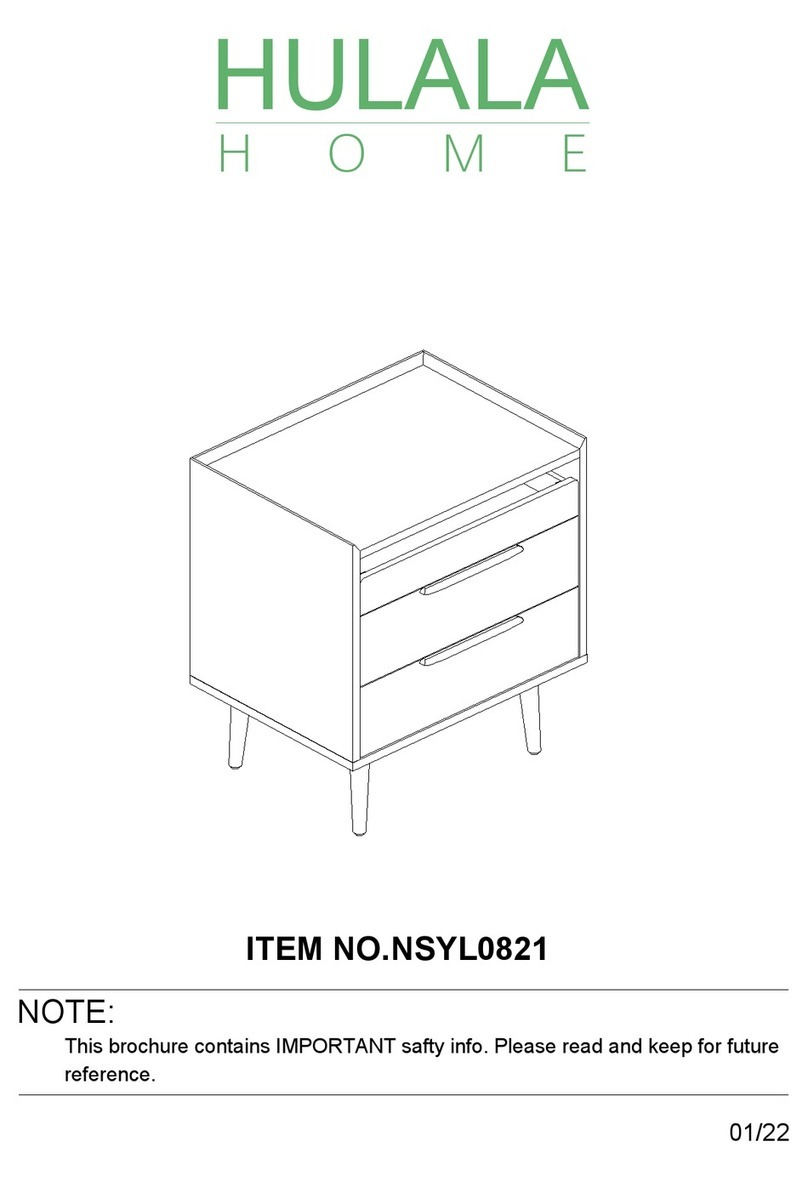
HULALA HOME NSYL0821 User manual

HULALA HOME

HULALA HOME NSYL0821 User manual
HULALA HOME SFYB0365 User manual

HULALA HOME

HULALA HOME SFYB0365 User manual

HULALA HOME SBHM0682 User manual

HULALA HOME

HULALA HOME SBHM0682 User manual

HULALA HOME TVSD0826 User manual

HULALA HOME

HULALA HOME TVSD0826 User manual

HULALA HOME DCHJ0492 User manual

HULALA HOME

HULALA HOME DCHJ0492 User manual

HULALA HOME OFM0163 User manual

HULALA HOME

HULALA HOME OFM0163 User manual

Popular Indoor Furnishing manuals by other brands

Crosley Biltmore Outdoor Wicker Arm Chair CO7116-WB Assembly instructions

Crosley

Crosley Biltmore Outdoor Wicker Arm Chair CO7116-WB Assembly instructions

FJK home products XL2013A-RCK-ST user guide

FJK home products

FJK home products XL2013A-RCK-ST user guide

Donco kids 760 Assembly instructions

Donco kids

Donco kids 760 Assembly instructions

Monarch Specialties I 2232K Assembly instructions

Monarch Specialties

Monarch Specialties I 2232K Assembly instructions

Trasman 4030 FLEX Assembly manual

Trasman

Trasman 4030 FLEX Assembly manual

tikamoon Klaten CON0065 Assembly, Use, Maintenance Manual

tikamoon

tikamoon Klaten CON0065 Assembly, Use, Maintenance Manual

Coaster 222882 Assembly instructions

Coaster

Coaster 222882 Assembly instructions

CasaOne DAX4007CS Assembly instructions

CasaOne

CasaOne DAX4007CS Assembly instructions

SACAGAWEA DESIGNS VK-2112 Setup instructions

SACAGAWEA DESIGNS

SACAGAWEA DESIGNS VK-2112 Setup instructions

Uplift Desk UPL940 Assembly and use manual

Uplift Desk

Uplift Desk UPL940 Assembly and use manual

Furniture of America Spring Creek CMBK602FOAK Assembly instructions

Furniture of America

Furniture of America Spring Creek CMBK602FOAK Assembly instructions

Furniture of America CM-BN6352 Assembly instructions

Furniture of America

Furniture of America CM-BN6352 Assembly instructions

URBAN OUTFITTERS Benji 84902360 Assembly instructions

URBAN OUTFITTERS

URBAN OUTFITTERS Benji 84902360 Assembly instructions

Hanover 6938-1BLK Series manual

Hanover

Hanover 6938-1BLK Series manual

Northern Nest user manual

Northern

Northern Nest user manual

sweeek. NEPAL INEPVINYL manual

sweeek.

sweeek. NEPAL INEPVINYL manual

Walker Edison CHL26 Assembly instructions

Walker Edison

Walker Edison CHL26 Assembly instructions

Costway HW65577 user manual

Costway

Costway HW65577 user manual

manuals.online logo
manuals.online logoBrands
  • About & Mission
  • Contact us
  • Privacy Policy
  • Terms and Conditions

Copyright 2025 Manuals.Online. All Rights Reserved.