manuals.online logo
Brands
  1. Home
  2. •
  3. Brands
  4. •
  5. HULALA HOME
  6. •
  7. Indoor Furnishing
  8. •
  9. HULALA HOME SBBSD0552 User manual

HULALA HOME SBBSD0552 User manual

NOTE:
This brochure contains IMPORTANT safty info. Please read and keep for
future reference.
1/16
ITEM NO. SBBSD0552
MAINTAINANCE
AND WARNING
Keep furniture away from heat.
Do not clean furniture with harsh cleansers
or polish. Do not use detergents, Solvents,
abrasives, spray packs or leather cleaner. Use
non-color mild soap with warm water clean
spills(Mix 1:10 soap to water)
Do not place furniture under direct sunlight,
material will possibly fade over time.
Do not use on site dry Cleaning machine.
Children should not climb or jump on the
furniture.
Do not write on furniture without a padded
barrier to protect the surface.
Not for commercial use, For residential use
only.
Weight Limitation
70LBS
16
OVERVIEW
163
3
1
9
9
10
5
6
4
2
13
13
14
11
11
12
PARTS
LIST
4/16
HARDWARE
LIST
Be sure to check all packing material carefully for
small parts, which may have come loose inside the
carton during shipment.
16
SPARE
H
x12
Ax4
Dx8 x2
G
4*35mm
15mm
J
I x4
C x16
O
x18
M6*50mm
Px8
Ex8 x58
M6*35mm
x1
M6*45mm
M4
B
x2
8
*30mm
x8 F
Qx3
R
x2
x4
3.5*14mm
M7*50mm
x4 N
x8 MLK
3.5*14mm
x5 x1 x1
M6*45mm
M6*50mm
L
M7*50mm
x1 x1
4*35mm
Q
E Px1A
M6*35mm
C
x3 x3
S
M4*30mm
x1
S
M4*30mm
UT
6 16
ASSEMBLY
INSTRUCTIONS
x8x8
M6*35mm
D
8*30mm
A
15mm
x8J B
x8
A*8
B*8
1
13
6
J*8
4
5
B*8
U
U
Preparing the part 1
1) Aling the hole in the part 1, insert the part D
into the hole by hand;
2) Aling the pre-drilled hole in part 1, screw in
the cam bolt A and tighten by screwdriver U.
Connnect the part 3,4,5,6 to the part 1.
1) Align the hole in part 3 to the wooden
dowel D and cam bolt A, then
2) Insert the wooden dowel D and cam bolt A
into the hole in part 3 at the same time, then.
3)Put the nut B into the hole in part 3 as the
picture show, tighten the nut B by screwdriver U.
4) Use the part J to conver nut B for good looking.
5) Repeat the same way to finish the part 4,5,6 to
connect part 1.
16
7
3
x8
D
K
M7*50mm
M4
x8
x1 C
1
9
4
10
9
2
4
8*30mm
D
NSTALL PART 9 AND 10
1) Align the groove in part 1,3,5, insert part 9
into the groove and slide down to the end. be sure
part 9 into the groove in part1.
2) Repeat the same way to finishing install part 10 in
different location as the picture show.
3) Align the hole in part 3,4,5,6, insert the part D into the hole
in sequence by hand.
Connect the part 2
1) Align the hole in part 2 to the part D in
the part 3,4,5,6, insert part D into the
hole at the same time,
2) Align the hole in part 2 to the hole in part 3,4,5,6,
screw in the screw C and fully tighten by allenkey K.
16
K
M4
x1
x8
Q
KP
M4
x1
M6*45mm
x2
M6*50mm
13
13
13
13
Connect the part 13 and part 14
Align the hole in part 13 to the hole in part 14, screw in the screw Q and
tighten by Allenkey K.
Don't fully tighten the screw Q!
Q
K
8
Assemble the legs to the cabinet.
1) Align the hole in part 2 to the hole in part 13 and 14,
screw in the screw P , then,
2) Fully tighten screw P in sequence by Allenkey K after all 8
screw P in the position.
3) Fully tighten the screw Q in sequence by Allenkey K.
QK
9 16
x18x18
E
3.5*14mm
H
H*18
E*18
U
Assemble part H to the finished part in step 6
1) Turn the cabinet upwards as the picture show;
2) Put the part H in the pisition as the picture show, then screw in the screw E
and fully tighten by screwdriver R.
16
8
I*12
I
Install part I
1) Align the pre-drilled hole in part 3,4,5,6, insert the part I into the hole
( you have 3 options according to your expectation of height), but you
must be sure they are in the same level both left and right after you finished)
2) Seperately put the part 7 and 8 on the part I.
11 16
9
10
x2
G
x4
3.5*14mm
E
E*4
x1
S
M4*30mm
R
S
x1
R
E*4
R
S
x4
F
x8
3.5*14mm
E
x2
S
M4*30mm
x2
R
x2
T
R
S
E*4
G
TT
T
x1
T
U
E
S
E
U
S
Install the part F and R.
1) Align the hole in part F to the pre-drilled hole in part 11, screw in the screw E and
fully tighten by screwdriver U.
2) Align the hole in part R to the hole in the part 11, screw in the screw S with part T
and fully tighten by screwdriver U
3)Repeat the same way to finish in part 12.
Install the part G and R
1) Align the hole in part G to the pre-drilled hole in part 11, screw in the screw E and
fully tighten by screwdriver U.
2) Align the hole in part R to the hole in the part 11, , screw in the screw S with part T
and fully tighten by screwdriver U
Install doors
1) Align the hole in part F to the hole in part 3,4, screw in the screw E and tighten by
screwdriver U.
2)You can adjust the door while move the hinges to fit the cabinet as the picture show.
12 16
11
11
12
3
4
U
13 16
12
x2
U
Install middle door
1) Align the hole in part G to the hole in part 3,4, screw in the screw E and tighten
by screwdriver U.
2) You can adjust the door while move the hinges to fit the cabinet as the picture show.
11
14 16
13
Use the adjustable nail to keep the cabinet level in case the cabinet is wabbling.
Now your cabinet is ready to use.
x4M Ex2
3.5*14mm
U
Install part M
1) Align the hole in part M to the part 1, screw in the screw E and fully tighten by
scewdriver U.
2) Use the adjust nail to keep the cabinet level in case wabbling.
15/16
14
Install the anti-collapse device.
1. Mark the position on the wall, this should be same as the position of M
where are on the back of panel 1; Drilled and insert the expandable screw
O by hammer;
2.Assemble the part M on the wall. Align the hole in the part M to the
expandable screw O, Screw in screw L and tighten with screwdriver U.
3.let the plastic belt N go through the both M and pull to tighten.
L
O
O
L
O
4*35mm
x4
O
x2x2L x4 NM
M
MM
M
N
N
N
U
NOT PROVIDED
Are you having
with assembly? Missing
send email with your order
For return, Please check the return policy
the retailer or MarketPlace you bought
Appreciated your purchasing from us.
Pop up your life by our furniture
16/16
We strive to offer high-quality products, and we also try our
best to satisfy each and every customer that orders from us
with product or service as needed. We provide 30 days
warranty starting from the time you receive the item. Each
customer must provide a record of their order such as the
order number, or item receipt for any items that are out of
the warranty period you may also still receive replacement
parts by purchasing them with our company if they are
available.

Other HULALA HOME Indoor Furnishing manuals

HULALA HOME RCXA0464 User manual

HULALA HOME

HULALA HOME RCXA0464 User manual

HULALA HOME SCLS0844 User manual

HULALA HOME

HULALA HOME SCLS0844 User manual

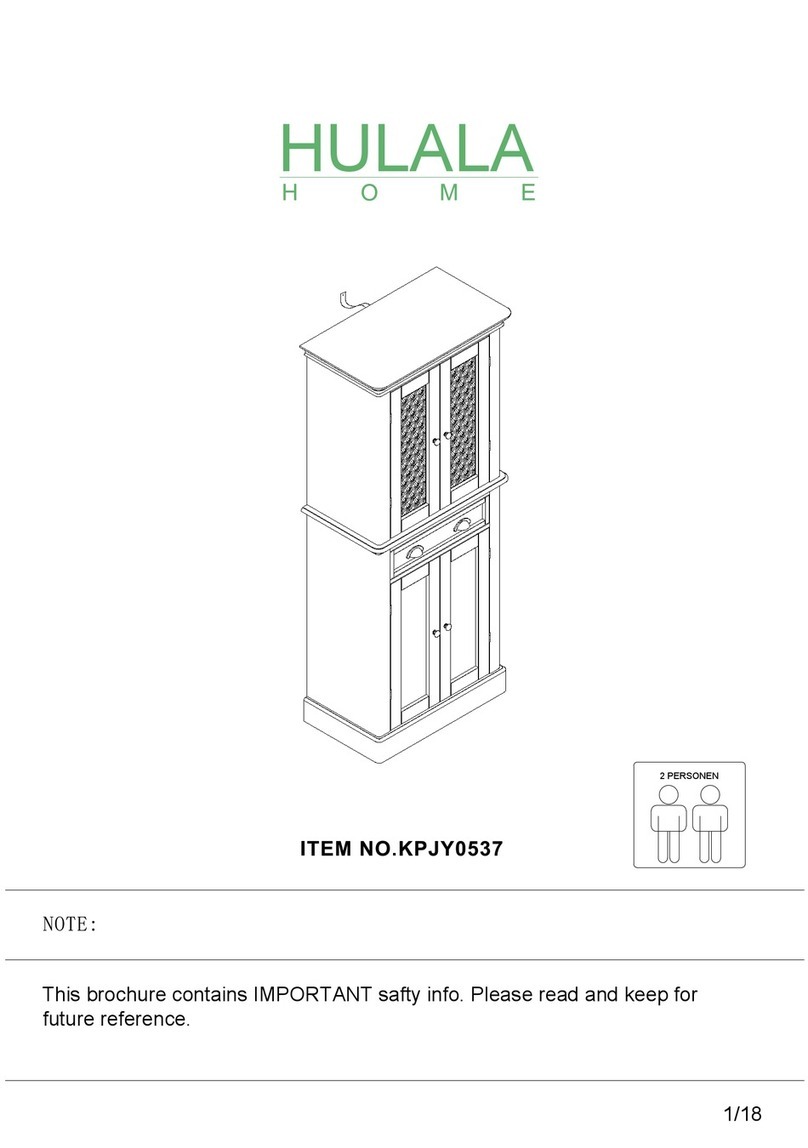
HULALA HOME SBPZ0887 User manual

HULALA HOME

HULALA HOME SBPZ0887 User manual

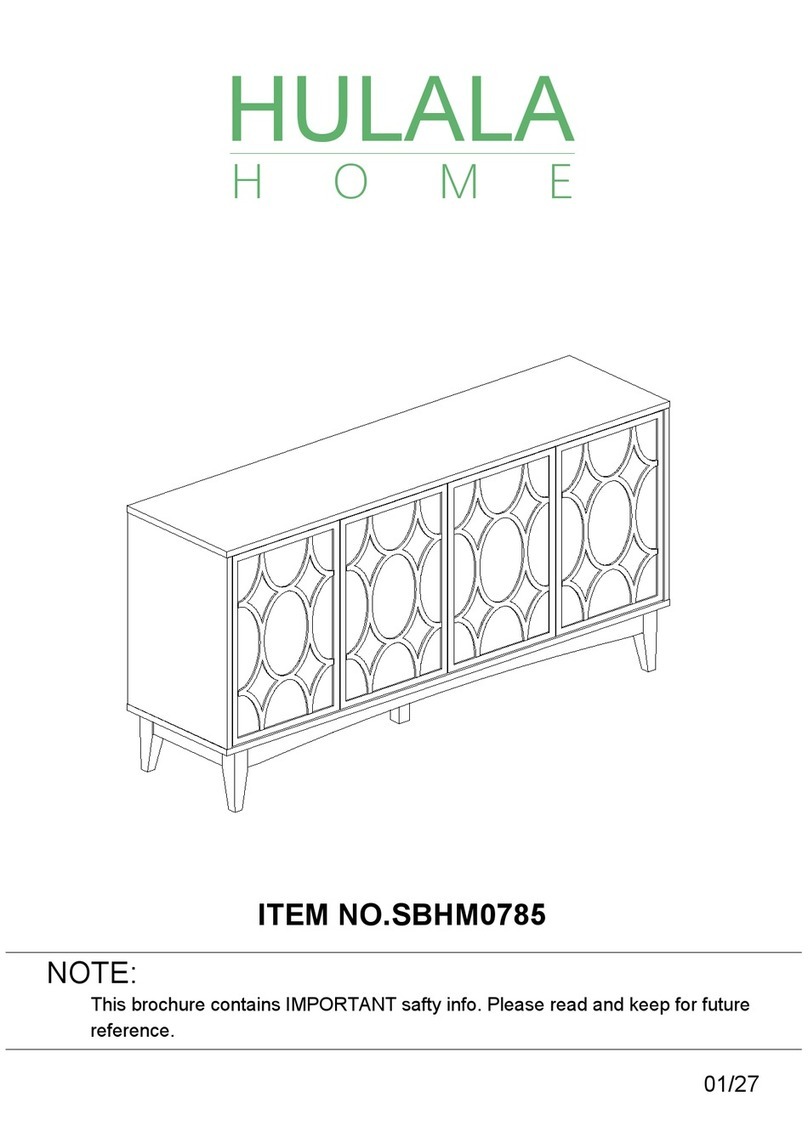
HULALA HOME SBHM0785 User manual

HULALA HOME

HULALA HOME SBHM0785 User manual

HULALA HOME HSCLS0408 User manual

HULALA HOME

HULALA HOME HSCLS0408 User manual

HULALA HOME CHM0425 User manual

HULALA HOME

HULALA HOME CHM0425 User manual

HULALA HOME TVSBSD0454 User manual

HULALA HOME

HULALA HOME TVSBSD0454 User manual

HULALA HOME SCSD0734 User manual

HULALA HOME

HULALA HOME SCSD0734 User manual

HULALA HOME CHHQ0414 User manual

HULALA HOME

HULALA HOME CHHQ0414 User manual

HULALA HOME DKHN0066-1 User manual

HULALA HOME

HULALA HOME DKHN0066-1 User manual

HULALA HOME CHYB0364 User manual

HULALA HOME

HULALA HOME CHYB0364 User manual

HULALA HOME KCBSD0504 User manual

HULALA HOME

HULALA HOME KCBSD0504 User manual

HULALA HOME SCBSD0533 User manual

HULALA HOME

HULALA HOME SCBSD0533 User manual

HULALA HOME TVSBSD0505 User manual

HULALA HOME

HULALA HOME TVSBSD0505 User manual

HULALA HOME SBHM0691 User manual

HULALA HOME

HULALA HOME SBHM0691 User manual

HULALA HOME CHM0402 User manual

HULALA HOME

HULALA HOME CHM0402 User manual

HULALA HOME TVSLS0462 User manual

HULALA HOME

HULALA HOME TVSLS0462 User manual

HULALA HOME SBHM0682 User manual

HULALA HOME

HULALA HOME SBHM0682 User manual
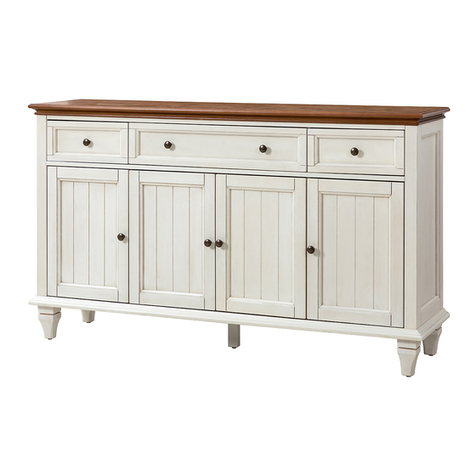
HULALA HOME NSBSD0549 User manual

HULALA HOME

HULALA HOME NSBSD0549 User manual

HULALA HOME RCWS0201 User manual

HULALA HOME

HULALA HOME RCWS0201 User manual

HULALA HOME NSSD0842 User manual

HULALA HOME

HULALA HOME NSSD0842 User manual

HULALA HOME CHYJH0216 User manual

HULALA HOME

HULALA HOME CHYJH0216 User manual

HULALA HOME NSYL0857 User manual

HULALA HOME

HULALA HOME NSYL0857 User manual

HULALA HOME NSSD0729 User manual

HULALA HOME

HULALA HOME NSSD0729 User manual

Popular Indoor Furnishing manuals by other brands

U-Line H-1128 Assembly

U-Line

U-Line H-1128 Assembly

Monarch Specialties I 7955P Assembly instructions

Monarch Specialties

Monarch Specialties I 7955P Assembly instructions

Furniture of America YNJ-1458C6 Assembly instructions

Furniture of America

Furniture of America YNJ-1458C6 Assembly instructions

Furniture of America CM3615SC-2PK-KD Assembly instructions

Furniture of America

Furniture of America CM3615SC-2PK-KD Assembly instructions

TYPE A 068-0143-0 Assembly instructions

TYPE A

TYPE A 068-0143-0 Assembly instructions

HEKMAN PRODUCTS 28550 Assembly instruction

HEKMAN PRODUCTS

HEKMAN PRODUCTS 28550 Assembly instruction

Living & Co INDIANA DINING TABLE instruction manual

Living & Co

Living & Co INDIANA DINING TABLE instruction manual

Canadel QUI2SACZ075 Assembly instructions

Canadel

Canadel QUI2SACZ075 Assembly instructions

on stage WS7500 Assembly instructions

on stage

on stage WS7500 Assembly instructions

Lifetime RETRO PATIO 60193 Assembly instructions

Lifetime

Lifetime RETRO PATIO 60193 Assembly instructions

Dorel Asia DA6275R-P Instruction booklet

Dorel Asia

Dorel Asia DA6275R-P Instruction booklet

Amart Furniture CHRYSTELLE QUEEN 59030 Assembly instruction

Amart Furniture

Amart Furniture CHRYSTELLE QUEEN 59030 Assembly instruction

DURAVIT LM 7856 Mounting instructions

DURAVIT

DURAVIT LM 7856 Mounting instructions

Safavieh Furniture AMH4036A quick start guide

Safavieh Furniture

Safavieh Furniture AMH4036A quick start guide

convenience concepts SOHO 131559 Assembly instructions

convenience concepts

convenience concepts SOHO 131559 Assembly instructions

Summit Z Beam Shelving Assembly instructions

Summit

Summit Z Beam Shelving Assembly instructions

Triarch 75362-10 Assembly instructions

Triarch

Triarch 75362-10 Assembly instructions

Forte FRTB01 Assembling Instruction

Forte

Forte FRTB01 Assembling Instruction

manuals.online logo
manuals.online logoBrands
  • About & Mission
  • Contact us
  • Privacy Policy
  • Terms and Conditions

Copyright 2025 Manuals.Online. All Rights Reserved.