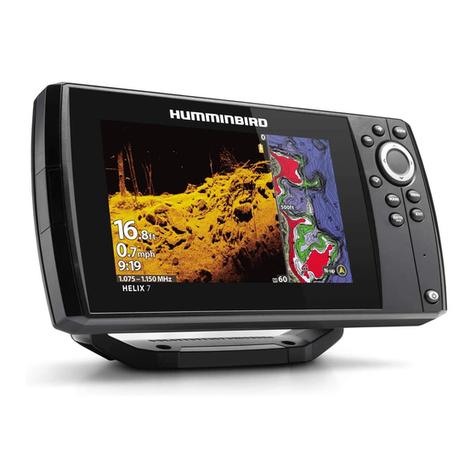
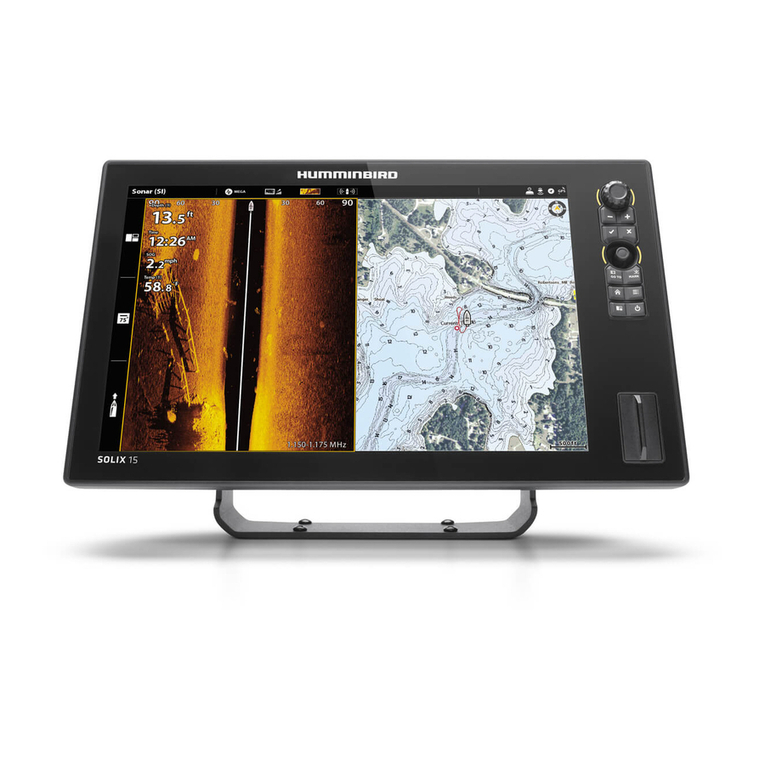
Humminbird CoastMaster APEX Series User manual

1
Humminbird® CoastMaster® chart cards are compatible with HELIX
®
G3/G3N and G4/G4N control heads with chartplotting capabilities and
all APEX™ and SOLIX
®
control heads. To review the latest compatibility
information and to download a detailed CoastMaster Chart Card user
guide, visit our Web site at humminbird.johnsonoutdoors.com.
This quick start guide and the CoastMaster user guide contain
instructions that apply to your Humminbird control head(s) as follows:
•APEX Series
•SOLIX Series
•HELIX Series
H CM C C
Your control head is compatible with either an SD card or a microSD
card. It is important to note the following guidelines:
WARNING! Do NOT delete or change the contents of your chart card.
Changing the card will permanently damage it.
• Confirm the chart card is locked (see the illustrations below).
•Do not force the card into the slot. The card should click easily into place.
• Do not leave the card slot cover open. Close the slot cover to prevent
water damage to the unit.
switch in
locked
position
SD SD
microSD
card
adapter
microSD
card
®
532709-4EN_A

2
P O
1. Press the POWER key.
2. Choose your startup mode. If you are on the water with GPS
reception, select Normal mode. If you are off the water without GPS
reception, select Simulator mode.
C C S V
It is important to install the latest software update to enable the
Humminbird CoastMaster chart card on your control head.
CoastMaster requires the following software versions:
APEX/SOLIX: 3.920 and later
HELIX: 2.380 and later
To download the latest software, go to our Web site at humminbird.
johnsonoutdoors.com and slick Support > Software updates. For
complete details about the software update process, see your control
head manual.
U B (HELIX O)
CoastMaster requires the following basemap versions to operate on
HELIX control heads:
HELIX 7 and 8: 2.010 (released 07/2020) and later
All other compatible HELIX models: 1.031 (released 07/2020) and later
To download the latest software, go to our Web site at humminbird.
johnsonoutdoors.com and slick Support > Software updates. For
complete details about the software update process, see your control
head manual.
O C V
APEX/SOLIX:
1. Press the HOME key.
2. Select Chart View from the Favorites bar.
HELIX:
1. Press the VIEW key until Chart View is displayed on-screen.
OR
Press and hold the VIEW key to open the Views X-Press Menu. Select
Chart > Chart View.

3
(/) ()
U S B (APEX/SOLIX O)
The status bar is located at the top of the screen. It changes to match
the on-screen view. You can tap the icons in the status bar to open and
close a menu or make a selection.
Tap to open the
X-Press Menu
chart
orientation
chart
preset
depth color
palette
S C P
Use Chart Presets to quickly alternate between settings. You can use the
default Fishing or Navigation settings provided, or you can create a
custom User preset with your preferences. The Fishing and Navigation
presets are also fully customizable. You can restore each preset back to
its default settings at any time.
APEX/SOLIX: Chart X-Press Menu > Chart Options > Chart Preset
HELIX: Main Menu >HB Chart tab >Chart Preset
APEX/SOLIX HELIX

4
S D H
Highlight deep and shallow waters in Chart View and Chart Combo Views
using the following CoastMaster features. Highlight colors are customizable.
• Depth Highlights allow you to select up to four depth ranges to be
highlighted on the chart.
•Shallow Water Highlight
identifies shallow waters when the depth is
equal to or less than the level you set.
APEX/SOLIX: Chart X-Press Menu > Chart Options > Depth Highlights
HELIX: Main Menu >HB Chart tab > Depth Highlights
() ()
S S D L
Use the Safe Depth feature to set the minimum depth level for your
vessel and to turn on highlights for hazards shallower than that level.
APEX/SOLIX: Home > Settings > Chart > Safe Depth
HELIX: Main Menu > HB Chart tab > Safe Depth
S/H S S
Spot Soundings are depth measurements shown on the chart.
APEX/SOLIX: Chart X-Press Menu > Chart Options > Chart Objects >
Navigation > Spot Soundings
HELIX: Main Menu > HB Chart tab > Chart Objects > Spot Soundings

5
APEX/SOLIX
contour
lines
shallow
water
highlight
chart object
(landmark)
depth label
(depth of
contour)
depth
palette
colors
spot
sounding
label
drying
areas
chart object
(wreck)
depth
highlight 1
HELIX
depth
palette
colors
land
depth
highlight 1
shallow
water
highlight
contour
lines
labels
(sand)
drying
areas
chart info
(fish haven)

6
M A C
APEX/SOLIX HELIX
Move the Joystick.
Press any arrow on the
4-Way Cursor Control key.
S M C
Zoom in (+) and Zoom out (-) to see more of the chart
display (contour lines, depth colors, etc.).
V M I
Move the cursor to an icon (buoy, marker, etc.), contour line, or
position on the chart, and press the CHECK/INFO key. If you
have an APEX or SOLIX control head, press the CHECK/INFO key
a second time or select Map Info from the Info Menu.
S Y M (APEX/SOLIX O)
Search the area for ports, services, tide stations, current stations, and
other points of interest. You can also search for the nearest waypoints,
routes, and tracks.
1. From the Chart X-Press Menu, select Info.
2. Select Find Nearest.
3. Select an item from the displayed list.
D H C L
Hide Contour Lines to see more details on the chart.
APEX/SOLIX: Chart X-Press Menu > Chart Options > Depth/Contours
HELIX: Main Menu > HB Chart tab > Depth/Contours
C C O
Select your display preference: North-Up, Head-Up, Course-Up, etc.
APEX/SOLIX: Chart X-Press Menu > Chart Options > General > Orientation
HELIX: Main Menu > Chart tab > Chart Orientation

7
CM P: C L
If you have a CoastMaster Premium chart card, you can display layers that
show aerial imagery, bottom hardness or shaded relief in Chart View and
Chart Combo Views. The transparency of these layers is customizeable.
• Aerial Imagery can be applied to land only or to both land and water.
• Bottom Hardness highlights the composition of the seabed, with light
colors indicating a harder bottom (rock, coral, etc.) and dark colors
indicating a softer bottom (silt, mud, etc.)..
• Shaded Relief uses shadows to show features of the seafloor.
APEX/SOLIX: Chart X-Press Menu > Chart Options > Layers
HELIX: Main Menu >HB Chart tab > Layers
( )
coral/rock
hard bottom
soft bottom
mud/muck
silt
clay
sand/shells

8
C C S
Customize the contour sources displayed on the chart with Fishing and
Nautical Bathymetry. If you have a CoastMaster Premium chart card, you
can also display Auxiliary Bathymetry (available in select regions only).
APEX/SOLIX: Chart X-Press Menu > Chart Options > Depths/Contours >
Depth/Contour Source
HELIX: Main Menu >HB Chart tab > Depth/Contours > Depth/Contour
Source
( )

9
The map is not displayed in Chart View.
1. Confirm GPS reception.
2. Confirm the control head software is up to date.
3. Confirm compatibility on our Web site at
humminbird.johnsonoutdoors.com.
How can I view maps on my control head when I am not on the water?
1. Power on the control head. Select Start Simulation (APEX/SOLIX) or
Simulator (HELIX). Open a chart view and move the cursor to your
desired position on the chart.
APEX/SOLIX: Chart X-Press Menu > Set Simulation Position
HELIX: Main Menu > Chart Menu Tab > Set Simulation Position
Can I view the Humminbird CoastMaster chart card on my computer?
No, the Humminbird CoastMaster chart card is not compatible with your
computer. It is only compatible with your Humminbird control head.
Installing the Humminbird CoastMaster chart card in a computer could
corrupt the map files.
The map displays, but seems to redraw slowly as you move across the
water.
1. Press the ZOOM (-) key to zoom out of the Chart View.
2. Confirm the control head software is up to date.
For additional questions, see the FAQ page at humminbird.
johnsonoutdoors.com or contact Humminbird Technical Support
through our Help Center at https://humminbird-help.johnsonoutdoors.
com/hc/en-us.

10
warranty
Product Warranty & Return Policy
Johnson Outdoors warrants this product against defects in material and
workmanship for 1 year from the date of purchase. Defects in materials or
workmanship that occur within 1 year of purchase, substantiated by a sales
receipt, will either be repaired or replaced without charge at Johnson Outdoors’
discretion. THIS REPAIR OR REPLACEMENT IS THE EXCLUSIVE REMEDY
AVAILABLE FOR ANY DEFECT CONCERNING THE PRODUCT OR FOR ANY LOSS OR
DAMAGE RESULTING FROM ANY OTHER CAUSE WHATSOEVER. JOHNSON
OUTDOORS WILL NOT UNDER ANY CIRCUMSTANCES BE LIABLE TO ANYONE FOR
ANY SPECIAL, CONSEQUENTIAL, INCIDENTAL OR OTHER INDIRECT DAMAGES OF
ANY KIND.
This warranty does not apply when: 1. the product has been altered, adjusted or
handled in a manner other than in accordance with the instructions furnished
with this product: 2. any defect, problem, loss or damage has resulted from any
misuse, negligence or carelessness.
Return of Defective Product
Do not return this product to any retailer. You must return this product directly
to Johnson Outdoors. Returned products must have a Return Authorization
(RA) number clearly displayed on the outside of the shipping package. Contact
Humminbird Technical Support through our Help Center at https://humminbird-
help.johnsonoutdoors.com/hc/en-us within 1 year of purchase to obtain the
RA. When you return the product, include a valid sales receipt, product UPC, a
return address and phone or email contact information. The RA is valid for 30
days from date issued. Product should be returned to: Humminbird Service
Department, 678 Humminbird Lane, Eufaula, AL 36027 USA
Johnson Outdoors reserves the right to examine the product when we receive
it to determine if the defect or malfunction is due to a defect in materials or
workmanship. Johnson Outdoors will duplicate the original data on all repaired
or replaced products. Products that are defective due to any other cause will
not be repaired or replaced. Damaged products, not covered by or that are out
of warranty may be eligible for repair for a service fee, contact Johnson
Outdoors for more information. WARNING: Never format a CoastMaster SD
card. Formatting the card will permanently erase the map data. Never use a
Humminbird SD card to store or transfer data as this may damage the card.

11
WARNING! The electronic chart in your Humminbird unit is an aid to
navigation designed to facilitate the use of authorized government
charts, not to replace them. Only official government charts and
notices to mariners contain all of the current information needed for
the safety of navigation, and the captain is responsible for their
prudent use.
WARNING! Do NOT save data files (waypoints, routes, tracks, groups,
recordings, etc.) to your chart card. Saving data to your chart card will
permanently damage it. You can save navigation data to the control
head and export it to a blank card. Download the CoastMaster Chart
Cards User Guide from our Web site at humminbird.johnsonoutdoors.
com for more details.
WARNING! Do NOT delete or change the contents of your chart card.
Changing the card will permanently damage it.
NOTE:
To purchase accessories for your control head, visit our Web site at
humminbird.johnsonoutdoors.com or contact Humminbird Technical
Support through our Help Center at https://humminbird-help.
johnsonoutdoors.com/hc/en-us.
APEX™, CoastMaster®, HELIX®, Humminbird®, and SOLIX® are trademarked by or
registered trademarks of Johnson Outdoors Marine Electronics, Inc.
Adobe, Acrobat, Adobe PDF, and Reader are either registered trademarks or trademarks
of Adobe Systems Incorporated in the United States and/or other countries.
microSD is a trademark or registered trademark of SD-3C, LLC in the United States, other
countries or both.
© 2023 Johnson Outdoors Marine Electronics, Inc. All rights reserved.

12

13

14
Social Media Resources:
Facebook.com/HumminbirdElectronics
Twitter.com (@humminbirdfish)
Instagram.com/humminbirdfishing
YouTube.com/humminbirdtv
Contact Humminbird Technical Support through our Help Center at
https://humminbird-help.johnsonoutdoors.com/hc/en-us or by writing
to the address below:
Humminbird Service Department
678 Humminbird Lane
Eufaula AL 36027 USA
This manual suits for next models
2
Table of contents
Other Humminbird Control Unit manuals
Popular Control Unit manuals by other brands

Krom Schroder
Krom Schroder JSAV 50 operating instructions

red lion
red lion Graphite GMUIN4 installation guide

Smart-Bus
Smart-Bus SB-DN-D0403 instruction manual

Spraying Systems
Spraying Systems TeeJet Technologies AEROS 9040 User Settings Manual

System air
System air TControl POD glass 3s white Operation manual

Alfalaval
Alfalaval SB instruction manual