English – 5
FUEL HANDLING
General
Fuel
Gasoline
• Use good quality unleaded gasoline.
• The lowest recommended octane grade is 87
((RON+MON)/2).If you run the engine on a lower octane
grade than 87 so-called knocking can occur.This gives
rise to a high engine temperature and increased bearing
load, which can result in serious engine damage.
• When working at continuous high revs a higher octane
rating is recommended.
Environment fuel
The use of environmentl fuel (alkylate fuel), or environment
fuel for four-stroke engines blended with two-stroke oil as set
out below is recommended.
Ethanol blended fuel, E10 may be used (max 10% ethanol
blend).Using ethanol blends higher than E10 will create lean
running condition which can cause engine damage.
Two-stroke oil
•For best results and performance use HUSQVARNA two-
stroke engine oil, which is specially formulated for our air-
cooled two stroke-engines.
• Never use two-stroke oil intended for water-cooled
engines, sometimes referred to as outboard oil (rated
TCW).
• Never use oil intended for four-stroke engines.
Mixing
• Always mix the gasoline and oil in a clean container
intended for fuel.
• Always start by filling half the amount of the gasoline to be
used.Then add the entire amount of oil. Mix (shake) the
fuel mixture.Add the remaining amount of gasoline.
• Mix (shake) the fuel mixture thoroughly before filling the
machine’s fuel tank.
• Do not mix more than one month’s supply of fuel at a time.
Mixing ratio
•1:50 (2%) with HUSQVARNA two-stroke oil or equivalent.
• 1:33(3%) with oils classJASOFB or ISO EGB formulated
for air-cooled, two-stroke engines.
Fueling
Never start the machine:
• If you have spilled fuel or chain oil on the machine.Wipe
off the spillage and allow remaining fuel to evaporate.
• If you have spilled fuel on yourself or your clothes, change
your clothes.Wash any part of your body that has come in
contact with fuel. Use soap and water.
• If the machine is leaking fuel. Check regularly for leaks
from the fuel cap and fuel lines.
Transport and storage
•Store and transport the machine and fuel so that there is
no risk of any leakage or fumes coming into contact with
sparks or naked flames, for example, from electrical
machinery, electric motors, electrical relays/switches or
boilers.
• When storing and transporting fuel always use approved
containers intended for this purpose.
Long-term storage
• When storing the machine for long periods the fuel tank
must be emptied.Contact your local gas station to find out
where to dispose of excess fuel.
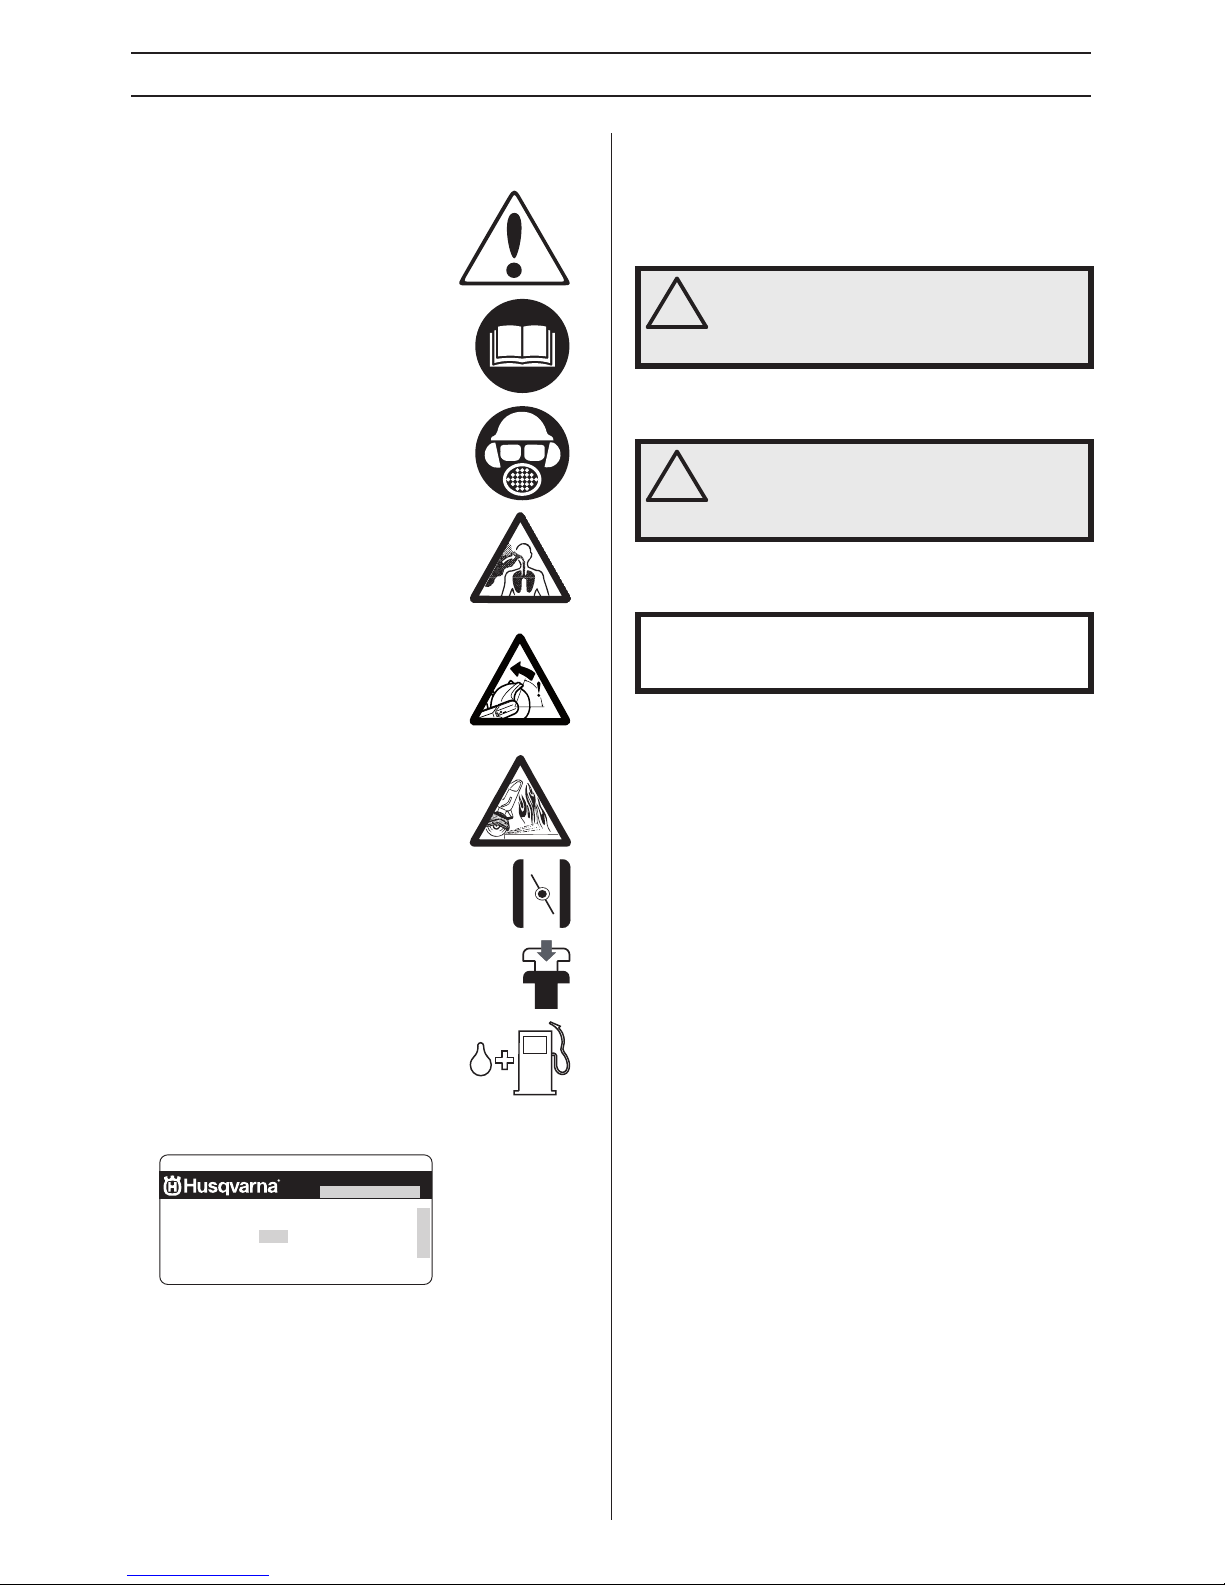
!
WARNING! Running an engine in a confined
or badly ventilated area can result in death
due to asphyxiation or carbon monoxide
poisoning. Use fans to ensure proper air
circulation when working in trenches or
ditches deeper than one meter (3 foot).
Fuel and fuel fumes are highly inflammable
and can cause serious injury when inhaled
or allowed to come in contact with the skin.
For this reason observe caution when
handling fuel and make sure there is
adequate ventilation.
The exhaust fumes from the engine are hot
and may contain sparks which can start a
fire. Never start the machine indoors or near
combustible material!
Do not smoke and do not place any hot
objects in the vicinity of fuel.
NOTICE! The machine is equipped with a two-stroke
engine and must always been run using a mixture of
gasoline and two-stroke engine oil. It is important to
accurately measure the amount of oil to be mixed to ensure
that the correct mixture is obtained.When mixing small
amounts of fuel, even small inaccuracies can drastically
affect the ratio of the mixture.
Gasoline, litre Two-stroke oil, litre
2% (1:50) 3% (1:33)
50,10 0,15
10 0,43/0,20 0,6/0,30
15 0,6/0,30 0,45
20 0,40 0,60
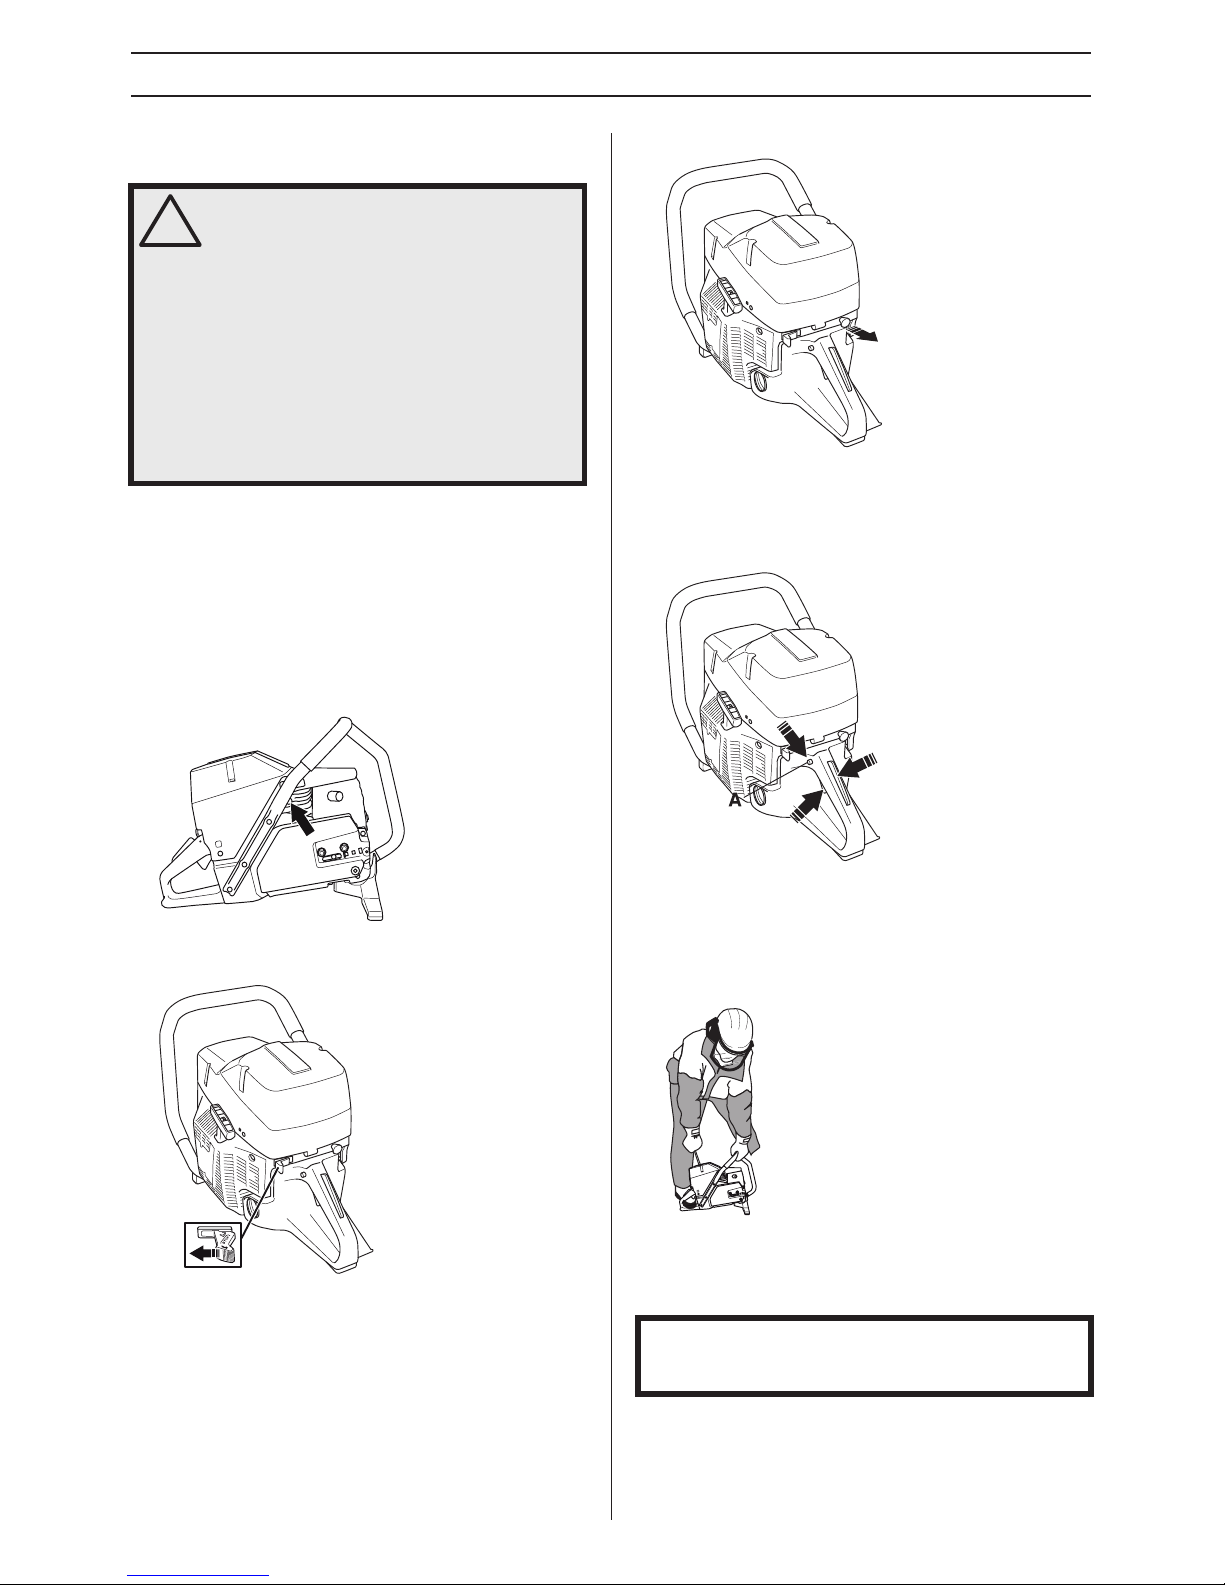
!
WARNING! Always stop the engine and let it
cool for a few minutes before refuelling.The
engine should be switched off, and the stop
switch in STOP position.
When refuelling, open the fuel cap slowly so
that any excess pressure is released gently.
Clean the area around the fuel cap.
Tighten the fuel cap carefully after refuelling.
Negligence may lead to the start of a fire.
Move the machine at least 10 ft (3 m) from the
refuelling point before starting it.