manuals.online logo
Brands
  1. Home
  2. •
  3. Brands
  4. •
  5. Hyco
  6. •
  7. Water Heater
  8. •
  9. Hyco HF05VC User manual

Hyco HF05VC User manual

5.OPERATION
Switch on power to the unit and select the desired temperature setting1.The
indicator is lit when the element is on.
1 Operating the unit at a lower temperature can reduce scaling,save energy and reduce the risk of scalding
6.TECHNICAL SPECIFICATIONS
7.GUARANTEEAND SERVICE POLICY
This product is guaranteed against faulty materials and manufacture for a period of
one year from the date of purchase.Hyco will in its sole discretion replace,repair
or refund any faulty unit.Incorrect installation and consequences of limescale
deposits are excluded.Consequential costs such as labour charges or damage to
surroundings are expressly excluded.
Hyco Manufacturing Ltd
California Drive
Whitwood
Castleford
WestYorkshire
WF10 5QH
Tel:01977 517555 Fax:01977 517666
Web:www.hyco.co.uk
E-mail:sales@hyco.co.uk
3
OFF
Frost protection.Element will switch on when water
temperature falls below 7°C
Heats water to approx 25°C
Economy position.Heats water to approx 55°C
Max temperature approx 80°C
MODEL HF05VC
SUPPLY 230V ~ 50Hz
POWER 2kW
CAPACITY 5L
IP RATING IP24
OVER-TEMPERATURE DEVICE Auto reset
Handyflow
UndersinkVented
Water Heater
Model HF05VC
Instruction Manual
Version 2.0 November 2009
HYCO HANDYFLOWVENTEDWATER HEATER
MODEL HF05VC
1.INTRODUCTION
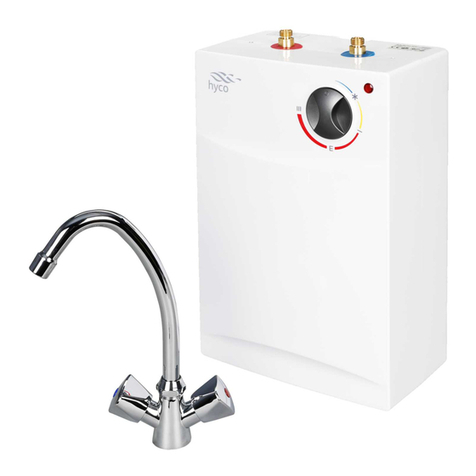
Thank you for purchasing the Hyco Handyflow undersink vented water heater.
The unit comes pre-wired and with optional vented mixer tap and flexible hoses.
The unit also features an auto-reset thermal cut-out eliminating the need to
change thermal fuses,making it particularly useful if the unit is likely to be drained
frequently.Please read and understand these instructions before commencing
installation,and leave them with the user when installation is complete.
CAUTION
THE HANDYFLOW MUST BE INSTALLEDAND MAINTAINED
BYA COMPETENT PERSON INACCORDANCEWITH
CURRENT ELECTRICALAND PLUMBING REGULATIONS.
IT IS ESSENTIALTHAT ONLY OPEN OUTLET FITTINGSARE
USEDWITHTHE HANDYFLOW SOTHE UNIT IS NOT
PRESSURISED.
ALWAYS FITTHE HEATERTHE CORRECTWAY UP.
(PIPES SHOULD BEATTHETOP)
USE LOWESTACCEPTABLETEMPERATURE SETTINGTO SAVE
ENERGY AND REDUCE LIMESCALE
DO NOT CONNECTTO POWER UNLESS UNIT IS FULL OF
WATER – OPEN HOT OUTLETANDALLOWWATERTO FLOW
FREELYTO CLEARAIRLOCKS
DO NOT SWITCH POWER ON IFWATER OR PIPES COULD
BE FROZEN
2.INSTALLATION (WALL MOUNTING)
The Handyflow is normally fitted immediately below the outlet to be supplied,but
it can be mounted above or to the side of the outlet provided it is vertical with
the pipe outlets at the top.The unit can either be placed directly on the floor or
fixed to a wall using the fixings provided.
ENSURETHE MOUNTING SURFACE IS STRONG ENOUGHTO
SUPPORTTHE HANDYFLOW INCLUDINGTHEWEIGHT OF
THEWATER.
1 2
3.PLUMBING CONNECTIONS
The hot and cold fittings are at the top of the unit.These connections are colour
coded (blue = cold,red = hot).They are
NOT
NOT interchangeable.
All fittings are provided so connection can be made via 15mm compression
fittings.
Please follow manufacturers instructions provided with the vented tap.
The diagrams below show typical installation with the HycoVented mixer tap
HFTAPQ
4.ELECTRICAL INSTALLATION
The Electrical Installation must be carried out by a qualified electrician in
accordance with the current edition of the I.E.E.Wiring Regulations.
Only connect the heater to a single phase supply with a mains voltage as specified
on the rating plate.
Electrical connection must be made to the fixed wiring of the property by means
of a 13A fused spur.The installation must be fitted with an isolating switch,with a
break contact distance of at least 3mm.
This appliance must be earthed.
The unit is supplied pre-wired.If the cable needs replacing,it must be replaced
with a correctly rated cable and any work should be carried out by a competent
person.
DUETOTHEAUTO-RESET FUNCTION OFTHETHERMAL
CUT-OUT,THISAPPLIANCE MUST NOT BE USED IN
CONJUNCTIONWITHATIMER.
The unit is fitted with an auto-reset thermal cut-out which will operate for
safety reasons in the event of the unit over heating.To reset the thermal
cut-out switch off the power to the unit and allow it to cool down.Ensure
the unit is full,and then switch the unit back on.The thermal cut-out
should reset itself.
Tighten all connections
to prevent from leaking.

Other Hyco Water Heater manuals

Hyco ULTRAWASH 3.0kW Guide

Hyco

Hyco ULTRAWASH 3.0kW Guide

Hyco HF05LM Specification sheet

Hyco

Hyco HF05LM Specification sheet

Hyco Ara IN30T Specification sheet

Hyco

Hyco Ara IN30T Specification sheet

Hyco SF05K Specification sheet

Hyco

Hyco SF05K Specification sheet

Hyco Microboil Smart MS3W Specification sheet

Hyco

Hyco Microboil Smart MS3W Specification sheet

Hyco Handyflow HF05LQ User manual

Hyco

Hyco Handyflow HF05LQ User manual

Hyco HF05LQ User manual

Hyco

Hyco HF05LQ User manual

Hyco Handyflow HF05L User manual

Hyco

Hyco Handyflow HF05L User manual

Hyco Rho IN44 Specification sheet

Hyco

Hyco Rho IN44 Specification sheet

Hyco powerflow series Specification sheet

Hyco

Hyco powerflow series Specification sheet

Hyco Aquila Specification sheet

Hyco

Hyco Aquila Specification sheet

Hyco Speedflow SF10SS Specification sheet

Hyco

Hyco Speedflow SF10SS Specification sheet

Hyco SF05K User manual

Hyco

Hyco SF05K User manual

Hyco Rho User manual

Hyco

Hyco Rho User manual

Hyco SF05K Specification sheet

Hyco

Hyco SF05K Specification sheet

Hyco IN95 User manual

Hyco

Hyco IN95 User manual

Hyco IN88 User manual

Hyco

Hyco IN88 User manual

Hyco Speedflow SF10L User manual

Hyco

Hyco Speedflow SF10L User manual
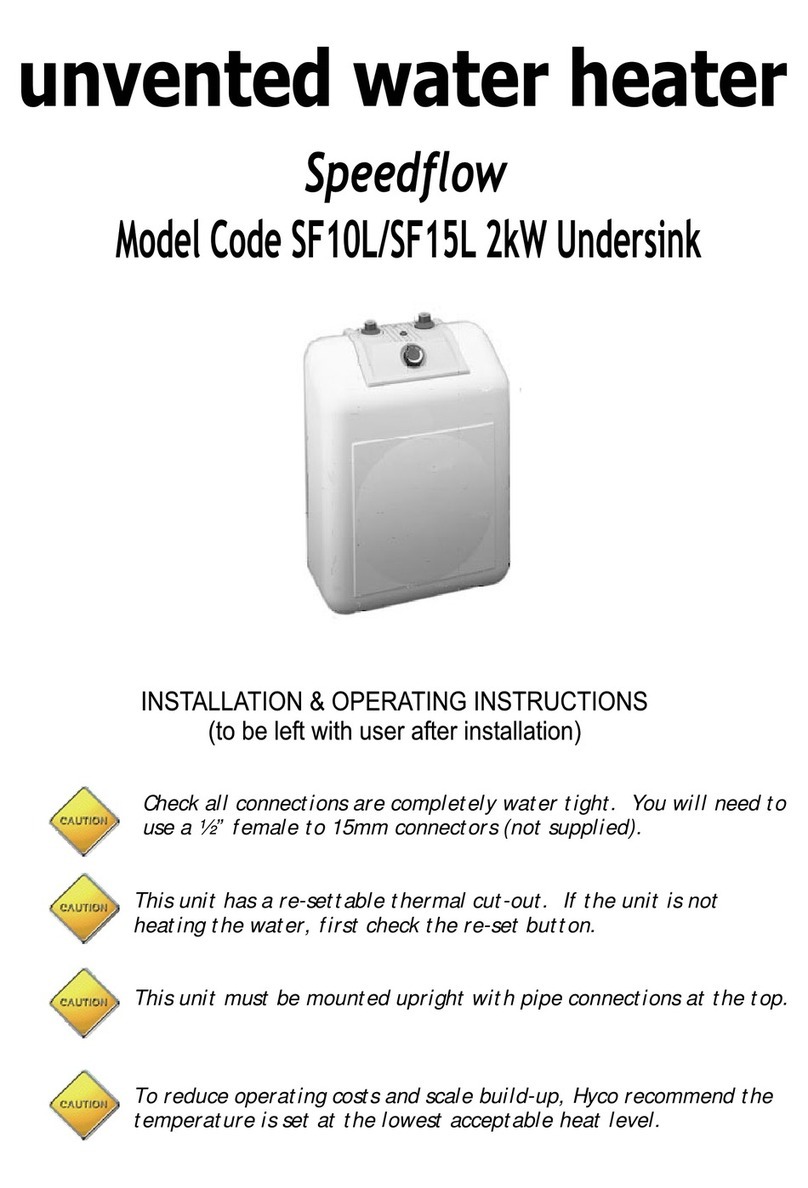
Hyco Ara IN30 Specification sheet

Hyco

Hyco Ara IN30 Specification sheet

Hyco SpeedFlow sf10l Manual

Hyco

Hyco SpeedFlow sf10l Manual

Hyco Speedflow SF15SS User manual

Hyco

Hyco Speedflow SF15SS User manual

Hyco powerflow series User manual

Hyco

Hyco powerflow series User manual

Hyco SF10K User manual

Hyco

Hyco SF10K User manual

Hyco Aquila IN96T Specification sheet

Hyco

Hyco Aquila IN96T Specification sheet
Popular Water Heater manuals by other brands

ETERNITY 16 installation guide

ETERNITY

ETERNITY 16 installation guide

Panasonic WH-TD20E3E5 installation manual

Panasonic

Panasonic WH-TD20E3E5 installation manual

GE PG38T09AXK Energy guide

GE

GE PG38T09AXK Energy guide

Sunerg Solar Energy Calor Top 300D Installation & owner's manual

Sunerg Solar Energy

Sunerg Solar Energy Calor Top 300D Installation & owner's manual

Gleamous DSK-45EP instruction manual

Gleamous

Gleamous DSK-45EP instruction manual

Heatrae Sadia MegaLife HE Series installation manual

Heatrae Sadia

Heatrae Sadia MegaLife HE Series installation manual

Bulldog Security 40861-EU/UK instructions

Bulldog Security

Bulldog Security 40861-EU/UK instructions

CataO CTRS-50 REV SLIM instruction manual

CataO

CataO CTRS-50 REV SLIM instruction manual

Riello START AQUA 24 BI installer and user manual

Riello

Riello START AQUA 24 BI installer and user manual

Sharp WH-237DP Service manual

Sharp

Sharp WH-237DP Service manual

GE GG40T06TVG Energy guide

GE

GE GG40T06TVG Energy guide

Heatrae Sadia Megalife CLV190 installation manual

Heatrae Sadia

Heatrae Sadia Megalife CLV190 installation manual

Toyotomi Oil Miser OM-148 (Type D) Operation and maintenance instructions

Toyotomi

Toyotomi Oil Miser OM-148 (Type D) Operation and maintenance instructions

Raypak B0520 Installation and operating instructions

Raypak

Raypak B0520 Installation and operating instructions

Bradford White RG250H6N-475 manual

Bradford White

Bradford White RG250H6N-475 manual

Noritz GQ-C3257WZ-FF US owner's guide

Noritz

Noritz GQ-C3257WZ-FF US owner's guide

Kospel OSV Series manual

Kospel

Kospel OSV Series manual

Bradford White UCG100H399 Service manual

Bradford White

Bradford White UCG100H399 Service manual

manuals.online logo
manuals.online logoBrands
  • About & Mission
  • Contact us
  • Privacy Policy
  • Terms and Conditions

Copyright 2025 Manuals.Online. All Rights Reserved.