Hytera TF-612 User manual

Preface
Welcometothe worldofHyteraand thank you forpurchasing thisproduct.Thismanualincludesadescription of
the functionsand step-by-step proceduresforuse.Toavoidpersonalinjuryorpropertyloss caused byincorrect
operation, pleasecarefullyread the SafetyInformation Booklet beforeuseand visit www.hyterapush2talk.com for
more information.
Thismanualisapplicable to the following product:
TF-612 PortableRadio

CopyrightInformation
Hyteraisthe trademarkorregistered trademarkofHyteraCommunicationsCorporation Limited (the Company)
in the People'sRepublic ofChina (PRC)and/orothercountriesorareas. The Companyretainsthe ownership ofits
trademarksand productnames.All othertrademarksand/orproductnamesthatmaybe used inthismanualare
propertiesoftheir respective owners.
The productdescribed inthismanualmayinclude the Company'scomputerprogramsstored inmemoryorother
media. Lawsin PRCand/orothercountriesorareasprotectthe exclusiverightsoftheCompanywithrespecttoits
computerprograms.The purchaseofthisproductshall notbe deemed togrant,eitherdirectlyorbyimplication,
anyrightstothe purchaserregarding the Company'scomputerprograms.The Company'scomputerprogramsmay
notbe copied,modified, distributed, decompiled, orreverse-engineered inanymannerwithoutthe priorwritten
consentofthe Company.
Disclaimer
The Companyendeavors toachievethe accuracyand completeness ofthismanual,butno warrantyofaccuracyor
reliabilityisgiven. All the specificationsanddesignsaresubjecttochangewithoutnotice due tocontinuous
technologicaldevelopment.Nopart ofthismanualmaybe copied, modified, translated, ordistributed inany
mannerwithoutthe priorwritten consentofthe Company.
We do notguarantee,foranyparticularpurpose, the accuracy,validity,timeliness,legitimacyorcompleteness of
the third-partyproductsand contentsinvolved in thismanual.
Ifyou haveanysuggestionsorwouldlike toreceivemoreinformation, pleasevisit ourwebsiteat:
http://www.hytera.com.
FCC Statement
Thisequipmenthasbeen tested and found tocomplywiththe limitsforaClass Bdigitaldevice, pursuanttopart
15 ofFCC Rules.Theselimitsaredesigned toprovide reasonableprotection againstharmfulinterference ina
residentialinstallation. Thisequipmentgeneratesandcanradiateradiofrequencyenergy.Ifnotinstalled and used
inaccordance withthe instructions,it maycauseharmfulinterference toradiocommunications.However,thereis
no guarantee thatinterference will notoccurinaparticularinstallation. Verification ofharmfulinterference by
thisequipmenttoradioortelevision reception can be determined byturning it offand then on. The useris
encouraged to tryto correctthe interference byone ormore ofthe following measures:
lReorientor relocate thereceiving antenna. Increasetheseparationbetweentheequipmentandreceiver.
lConnect theequipmentintoanoutlet onadifferentcircuit tothat ofthereceiver'soutlet.
lConsult thedealer or anexperiencedradio/TVtechnicianfor help.

Operation issubjectto the following two conditions:
lThisdevice maynotcauseharmfulinterference.
lThisdevice mustacceptanyinterference received,includinginterference that maycauseundesiredoperation.
Note:Changesormodificationstothisunit notexpresslyapproved bythe partyresponsibleforcompliance could
void the user'sauthorityto operate the equipment.
Compliance withRFExposureStandards
Hytera'sradio complieswiththe following RFenergyexposure standardsand guidelines:
lUnitedStatesFederal CommunicationsCommission,CodeofFederal Regulations;47 CFR 1.1307,1.1310 and
2.1093
lAmericanNational StandardsInstitute (ANSI) /InstituteofElectrical andElectronic Engineers(IEEE) C95.1:2005;
CanadaRSS102 Issue5March2015
lInstitute ofElectrical andElectronic Engineers(IEEE) C95.1:2005Edition
RFExposureComplianceandControlGuidelines and
Operating Instructions
To controlyourexposure andensurecompliance withthe occupational/controlled environmentalexposure limits,
alwaysadhere to the following procedures.
Guidelines:
lDonotremovetheRFExposureLabel fromthedevice.
lUser awarenessinstructionsshouldaccompanydevice whentransferredtoother users.
lDonotusethisdevice iftheoperational requirementsdescribedhereinarenotmet.
Operating Instructions:
lTransmit nomorethantherateddutyfactor of50%ofthetime. Totransmit (talk), pushthe Push-To-Talk(PTT)
key. Toreceivecalls, releasethe PTT key. Transmitting50%ofthetime, or less, isimportantbecausetheradio
generatesmeasurable RFenergyonlywhentransmitting (intermsofmeasuring for standardscompliance).
lKeeptheradiounit at least2.5cmawayfromtheface. Keeping theradioat theproper distance isimportantasRF
exposuredecreaseswithdistance fromtheantenna. Theantennashouldbekeptawayfromtheface andeyes.
lWhenwornonthebody,alwaysplace theradioinaHytera-approvedholder,holster, case,or bodyharnessor byuse
of thecorrect clipfor thisproduct.Useof non-approvedaccessoriesmayresult inexposurelevelswhichexceedthe
FCC'soccupational/controlledenvironmental RFexposurelimits.

lUseofnon-approvedantennas, batteries, andaccessoriescausestheradiotoexceedtheFCCRFexposure
guidelines.
lContact your local dealer for theoptional accessoriesoftheproduct.
ICStatement
The device hasbeen tested and complieswithSARlimits,users canobtainCanadian information on RFexposure
and compliance.
Aprèsexamen dece matérielaux conformitéaux limitesDASet/ou auxlimitesd’intensitéde champRF,les
utilisateurs peuventsurl’exposition aux radiofréquencesetlaconformitéand compliance d’acquérir les
informationscorrespondantes
Thisdevice complieswithIndustryCanada license-exemptRSS standard(s).Operation issubjecttothe following
two conditions:
lThisdevice maynotcauseharmfulinterference.
lThisdevice mustacceptanyinterference received, includinginterference that maycauseundesiredoperation.
Leprésentappareil estconformeaux CNR d'IndustrieCanada applicablesaux appareilsradioexemptsde licence.
L'exploitation estautoriséeaux deuxconditionssuivantes:(1)l'appareil ne doit pasproduirede brouillage, et(2)
l'utilisateurde l'appareil doitacceptertoutbrouillageradioélectriquesubi,mêmesilebrouillageestsusceptible
d'en compromettre le fonctionnement

Contents
1. Packing List...........................................................................................................................................1
2. ProductControls..................................................................................................................................2
3. BeforeUse.............................................................................................................................................3
3.1Inserting Batteries.............................................................................................................................3
3.2Charging the Ni-MHBattery..............................................................................................................3
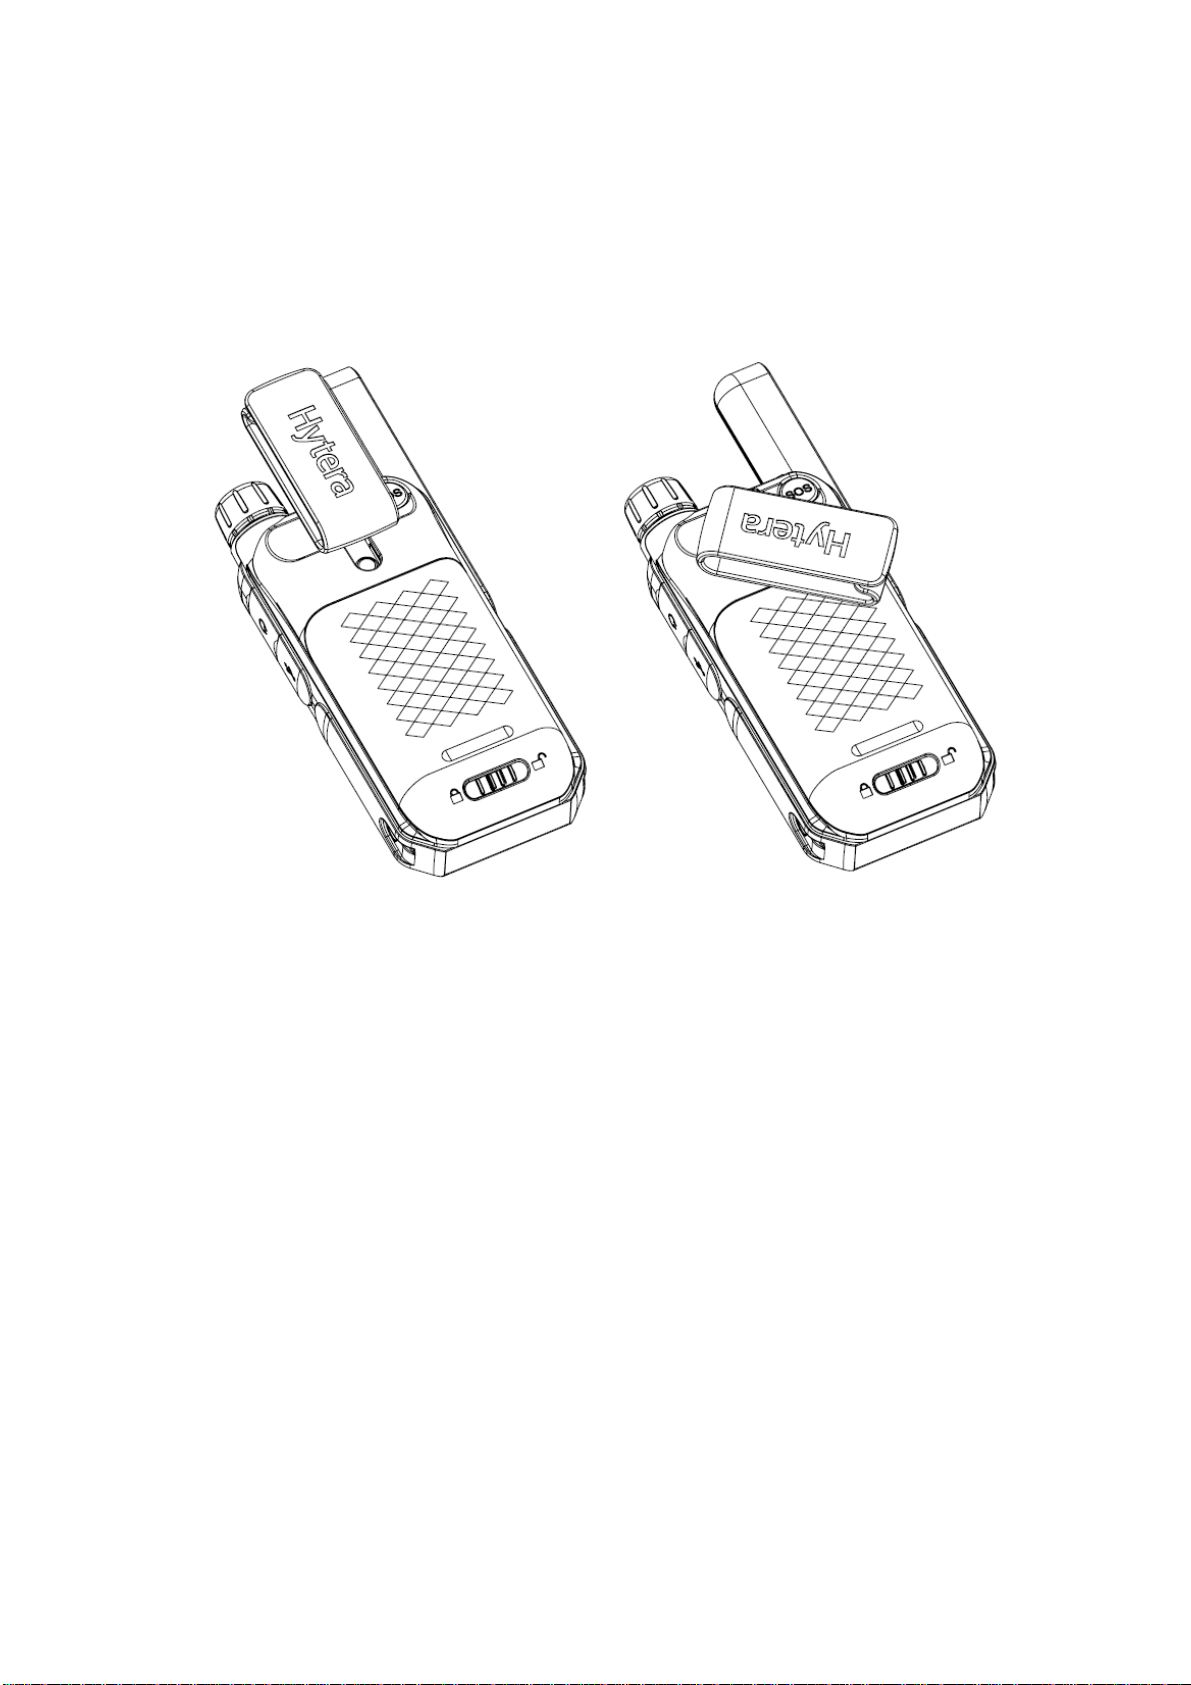
3.3Attaching the BeltClip......................................................................................................................4
4. BasicOperations..................................................................................................................................5
4.1Turning the RadioOn/Off..................................................................................................................5
4.2Adjusting the Volume........................................................................................................................5
4.3Selecting aChannel..........................................................................................................................5
4.4Selecting aCTCSS/CDCSSCode...................................................................................................5
5. LCDIcons..............................................................................................................................................6
6. Call Services.........................................................................................................................................7
6.1Initiating aCall..................................................................................................................................7
6.2ReceivingaCall................................................................................................................................7
7. SupplementaryFeatures......................................................................................................................8
7.1Keypad Lock.....................................................................................................................................8
7.2Scan..................................................................................................................................................8
7.3Monitor..............................................................................................................................................8
7.4Call Tone...........................................................................................................................................8
7.5TalkEndTone...................................................................................................................................9
7.6Voice Operated Transmit (VOX).......................................................................................................9
7.7Silent Mode.......................................................................................................................................9
7.8VibraMode......................................................................................................................................10
7.9Keypad Tone...................................................................................................................................10
7.10 RoomMonitor...............................................................................................................................10
7.11 SleepLevel...................................................................................................................................11
7.12 Stopwatchand Timer....................................................................................................................11
7.13 Weather Mode (TF-612 only)........................................................................................................12
7.14 BatterySave.................................................................................................................................13
7.15 Low BatteryAlert...........................................................................................................................13
7.16 Time-out Timer (TOT)...................................................................................................................13
7.17 AutoSquelch.................................................................................................................................13
7.18 LEDFlashlight...............................................................................................................................13
8. Troubleshooting.................................................................................................................................14
9. OptionalAccessories.........................................................................................................................16
Channelsand Frequencies....................................................................................................................17
Channelsand Frequencies....................................................................................... 误!未定义书签。


1
1. Packing List
Please unpackcarefullyand check if all itemslisted belowarereceived. Ifanyitemismissing ordamaged, please
contactyourlocaldealer.
Item Quantity(PCS) Item Quantity(PCS)
Radio 2 Charger 1
Battery 2 PowerAdapter 1
Belt Clip 2 Documentation Kit 1
Lanyard 2 / /

2
2. Product Controls
TF-612

3
3. BeforeUse
3.1Inserting Batteries
You can usethe Ni-MHbatteryprovided byusorthree AAalkaline batteriesprepared byyourself.
To insert batteries, do asfollows:
1. Slide the batterylatch to the unlock position and then remove the batterycover.
2. Insert the Ni-MHbatteryorthree AAalkalinebatteriesfollowing the polarityindicated inthebattery
compartmentand the instruction on the batteries.
3. Putthe batterycoverinto space and then slide the batterylatch to the lock position.
3.2Charging theNi-MHBattery
ØUse the specified poweradapterto charge the battery.
ØRead the Safety Information Booklet beforecharging.
Beforeinitialuse, fullycharge the batterytoensureoptimumperformance. You can charge theradiowithbattery
attached orcharge the batteryalone.

4
3.3Attaching theBeltClip
To attach the belt clip, do asfollows:
1. Align the railson the belt clip with the groove on the battery.
2. Press thebelt clip downwardsinto place.

5
4. BasicOperations
4.1Turning theRadio On/Off
To turn the radio on oroff, rotate the On-Off knob clockwise orcounter-clockwise until you heara click.
4.2Adjusting theVolume
Toincreaseordecreasethevolume, rotatethe VolumeControl knob clockwiseorcounter-clockwiseafter
turning on the radio.
4.3Selecting aChannel
To communicate with otherusers through theseradios, you needto selectthe same channelasothers.
To selecta channel,do asfollows:
1. Press the Menu key.
The channelnumberflashes.
2. Press the Up keyor Down keyto selecta channel.
3. Press the PTT keyto confirmyourselection.
4.4Selecting aCTCSS/CDCSS Code
The ContinuousTone Coded SquelchSystem(CTCSS)orContinuousDigitalControlled SquelchSystem
(CDCSS)code allowsyou topreventunwantedcallsonthe samechannel.IfaCTCSS/CDCSScodeissetona
channel, you receive callsfromradioswithmatching CTCSS/CDCSS code only.
To seta CTCSS/CDCSS code foryourselected channel,do asfollows:
1. Press the Menu keyfortwo consecutive times.
The code numberflashes.
2. Press the Up keyor Down keyto selecta code.
Code 0 meansno CTCSS/CDCSS code isselected. To communicate with radioswhich do not
have CTCSS/CDCSS code, selectcode 0.
3. Press the PTT keyto confirmyourselection.

6
5. LCD Icons
Icon Description Icon Description
Battery RoomMonitor
Radio Mode BatterySave
SilentMode Talk End Tone
Keypad Tone Call Tone
Keypad Lock Transmit
Scan Receive
VOX Vibra Mode
High Power LowPower
WeatherMode WeatherAlert
ChannelNumber CTCSS/CDCDSCode

7
6. Call Services
6.1Initiating aCall
You can initiate callsto otherradioson the same channeland CTCSS/CDCSS code asyours.
To initiate a call, do asfollows:
1. Selecta channeland a CTCSS/CDCSS code.
2. Hold the radio vertically2.5 to 5 cmfromyourmouth.
3. Press and hold the PTT key, and then speak into the microphone.
When transmitting, the radio displays .
4. When you finishyourtalking, release the PTT key.
6.2Receiving aCall
When receiving acall,you can listen tothe callwithoutanyoperation. If you need tospeak, wait until the person
who isspeaking releasehis/her PTT key, and then pressand hold your PTT keyto speak into the microphone.

8
7. SupplementaryFeatures
7.1Keypad Lock
The Keypad Lock featureallowsyou tolock the keypad toavoidaccidentaloperationswhen the radioisnotin
use. In the keypad lock mode, you can initiate callsand turn the radio on oroff.
Tolock orunlock the keypad, press and holdthe Keypad Lock keyuntil appears ordisappears on the
screen.
7.2Scan
The Scan featureallowsyoutofind someone inyourteamwho hasaccidentallychanged the channel,and can
quicklyfind unused channelsforyourown use.
Toturnonthisfeature, pressthe Scan key.The radiodisplays and beginstoscanchannels.When detecting
activitieson achannel,theradiostayson the channeltoreceivesignals.Twosecondsafterthe signaldisappears,
the radio continuesto scan channels.
To turn off thisfeature, press the Scan keyagain.
7.3Monitor
The Monitorfeature allowsthe radio to receive weak signalson the currentchannel.
Toturnon thisfeature, press and holdthe Monitor key.The radiodisplays andbeginstomonitorthe
channeland receive signals.
To turn off thisfeature, release the Monitor key.
7.4Call Tone
The Call Tone feature allowsyou to transmita tone to notifyothers thatyou wantto talk.
To transmit a call tone, do asfollows:
1. Selecta call tone.
a. press the Menu keyforthree consecutive timesuntilthe radio displays :
b. Press the Up or Down keytoselecta call tone.

9
Setting the call tone to OFF turnsoffthe Call Tone feature.
c. Press the PTT keyto confirmyourselection.
2. Press the Call Tone keyto transmit the call tone.
7.5TalkEnd Tone
The Talk EndTone featureallowsyou tosend atone whenyou releasethe PTT key.Thistone notifiesothers that
you have finished yourtalk.
To turn on oroff the feature,do asfollows:
1. Press the Menu keyforfiveconsecutive timesuntil the radio displays :
2. Press the Up or Down keytoselect ON or OFF.
3. Press the PTT keyto confirmyourselection.
7.6Voice Operated Transmit(VOX)
The VOXfeatureallowsthe radiototransmit voice automaticallywithorwithoutan earpiecewhen thevoice
volume reachesthe presetlevel.
To turn on oroff thisfeature,do asfollows:
1. Press the Menu keyforfourconsecutive timesuntil the radio displays :
2. Press the Up or Down keytoselect L1,L2,or L3 to turnon the feature, orselect OFF to turn off the feature.
L1, L2, and L3 mean differentsensitivitylevels, asshown below:
lL1:lowsensitivityapplicable to noisyenvironments
lL2:mediumsensitivityapplicable to common environments
lL3:high sensitivityapplicable to quietenvironments
3. Press the PTT keyto confirmyourselection.
Ashort delayoccurs fromthe timeyou start talking till the time the radio starts transmitting.
7.7SilentMode
The SilentMode featureallowsyou toavoiddisturbance ofreceived callsbymuting the speakerofthe radio.In

10
thismode, the backlightofthe radioisturned on and on thescreenflasheswhenthe radioreceivescalls.
When the call disappears, the backlightbecomesoff and the icon still flashesindicating missed calls.
To turn on oroff thisfeature,do asfollows:
1. Press the Menu keyforsix consecutive times. until the radio displays :
2. Press the Up or Down keytoselect ON or OFF.
3. Press the PTT keyto confirmyourselection.
7.8Vibra Mode
Thisfunction isinavibration mode.When the machine isinastateofvibration,itmeans thatyou
receiveacall.Thismode appliestoanoisyenvironment. When you receiveacall,vibrateonceevery
30s.
To turn on oroff thisfeature,do asfollows:
4. Press the Menu keyforseven consecutive times. until the radio displays :
5. Press the Up or Down keytoselect ON or OFF.
6. Press the PTT keyto confirmyourselection.
7.9Keypad Tone
The Keypad Tone feature allowsyou to hearthe keytone when you press a key.
To turn on oroff the feature,do asfollows:
1. Press the Menu keyforeightconsecutive times. untilthe radio displays :
2. Press the Up or Down keytoselect ON or OFF.
3. Press the PTT keyto confirmyourselection.
7.10RoomMonitor
The RoomMonitorfeatureallowsthe radiototransmitvoice automaticallywhen thevoice volumereachesthe
presetlevel. When you are out,you can use thisfeature to monitoryourroom.
In the roommonitormode, the radio cannotreceive signals.

11
To turn on oroff thisfeature,do asfollows:
1. Press the Menu keyfornine consecutive timesuntil the radio displays :
2. Press the Up or Down keytoselect L1,L2,or L3 to turnon the feature, orselect OFF to turn off the feature.
L1, L2, and L3 mean differentsensitivitylevels, asshown below:
lL1:lowsensitivityapplicable to noisyenvironments
lL2:mediumsensitivityapplicable to common environments
lL3:high sensitivityapplicable to quietenvironments
3. Press the PTT keyto confirmyourselection.
7.11Sleep Level
The Sleep Levelfeatureallowsthe radiotoenterthe sleep mode forthe selected duration if no call isreceived or
no keyispressed atthe specified interval.Itsavesthe batterypower.
To turn on oroff thisfeature,do asfollows:
1. Press the Menu keyforten consecutive timesuntil the radio displays :
2. Press the Up or Down keytoselect L1,L2,or L3 to turnon the feature, orselect OFF to turn off the feature.
L1, L2,and L3 mean thatthe radioisinsleep mode forone second, twoseconds,and threeseconds,
respectively.
3. Press the PTT keyto confirmyourselection.
In the sleep mode, the radio doesnotreceive orsendanysignal.Therefore, when you mustrespond to
emergencies, do notenable the Sleep Levelfeature.
7.12Stopwatch and Timer
The Stopwatch feature allowsthe radio to countupwardsfromzero formeasuring elapsed time. The Timerfeature
allowsthe radio to countsdown fromthe 59 minutesand 59 seconds.
To use thestopwatch orthe timer, do asfollows:
1. Press the Menu keyforeleven consecutive timesuntil the radio displays :
2. To turn on the Stopwatchfeature orthe Timerfeature, do the following:
lForthe Stopwatch feature, press the Up key.

12
lForthe Timerfeature, press the Down key.
The stopwatch orthe timerbeginsto count.
3. To pause the stopwatch orthe timer, press the Call Tone key.
4. Optional: To resume the stopwatch ortimer, press the Call Tone keyagain.
5. To resetthe stopwatch orthetimer, press the Scan/Monitor key.
6. To turn off the feature, press the PTT keyorthe Menu key.
7.13Weather Mode(TF-612 only)
The WeatherMode feature allowsyou to listen to weatherreports and setthe radio toalert you to extreme weather
broadcasted bythe United StatesNationalOceanicand Atmospheric Administration (NOAA)WeatherRadio.
In the weathermode, the radio cannotreceive orsend calls. Itisrecommended notto enterthe weather
mode when you mustrespond to emergencies.
7.13.1Entering/Exitingthe WeatherMode
To enterthe weathermode, press the Weather Mode key. The radio displays .
To exit the weathermode, press the Weather Mode keyagain.
7.13.2Selectinga WeatherChannel
To selecta weatherchannel, do asfollows:
1. In the weathermode, press the Menu key.
The currentweatherchannelflashes.
2. Press the Up or Down keytoselecta weatherchannelwith good reception in yourarea.
3. Press the PTT keyto confirmyourselection.
7.13.3Turning the WeatherAlertOn/Off
With the WeatherAlert feature on, when receiving NOAAWeatherRadio emergencymessages, the radio ringsan
alert tone and changesto the selected weatherchannelto informyou ofweatheralert information.

13
To turn the WeatherAlert feature on oroff,do asfollows:
1. In the weathermode, press the Menu keytwice.
The radiodisplays and the currentsetting flashes.
2. Press the Up or Down keytoselect ON or OFF.
3. Press the PTT keyto confirmyourselection.
7.14BatterySave
The BatterySavefeatureallowsthe radiotogetmaximumoperationallifeon asinglebatterycharge. When the
radio doesnotdetectanyactivityoroperation forthree seconds, it enters the batterysavemode.
7.15LowBatteryAlert
When the radioislowon power, flasheson the screen and an alert tone ringswhenyou press the PTT key,
indicating thatthe radioenters the lowbatteryalertmode. Inthismode, you arenotallowed tosend acall tone or
initiate a call.
To exit thismode, charge orreplace the battery.
7.16Time-outTimer (TOT)
The purposeofTOTistopreventanyuserfromoccupying achannelformorethan 60seconds. After60 seconds,
the radio stopstransmitting and keepsbeeping. To stop beeping, release the PTT key.
7.17Auto Squelch
The AutoSquelchfeatureallowsthe radiotoimprovevoice clarityduring the call byautomaticallyremoving
background noise.
7.18LEDFlashlight
Pressthe flashlightbuttontoturnandkeep thelighton.TheLEDflashlighthasapoweroutagefunctionwhere
the lightisturned on automaticallywhen poweriscut.When theflashlightisturned on, press theflashlightbutton
to turn it off.

14
8. Troubleshooting
Phenomena Analysis Solution
The radiocannotbe
turned on.
The batterymaybe installed
improperly. Remove and reattach the battery.
The batterypowermayrun out. Recharge orreplacethe battery.
The batterymaysufferfrompoor
contactcausedbydirtied or
damaged batterycontacts.
Clean the batterycontactsorreplace the battery.
During receiving, the
voice isweak,
discontinuousor
totallyinactive.
The batteryvoltage maybe low. Recharge orreplacethe battery.
The volume levelmaybe low. Increase the volume.
The speakermaybe blocked. Clean the surface ofthe speaker.
Youcannot
communicatewith
othermembers.
The channelorCTCSS/CDCSS
code maybe inconsistentwiththat
ofothermembers.
SetyourchannelandCTCSS/CDCSScodetothe
same asthose ofothermembers.
You maybe too farawayfrom
othermembers. Move towardsothermembers.
You hearunknown
voicesornoise.
You maybe interrupted byradios
using the samechanneland/or
CTCSS/CDCSS code.
Change the channeland/orthe CTCSS/CDCSS
code.
The radiomaybe setwithno
CTCSS/CDCSS code.
SetaCTCSS/CDCSS codeforall radiosinyour
teamto avoid interference.
Youareunableto
hearanyone because
oftoo much noise and
hiss.
You maybe too farawayfrom
othermembers. Move towardsothermembers.
You maylocateinan unfavorable
position. Forexample,your
communication maybe blocked by
high buildingsorfrustrated inthe
Movetoan open and flatarea, restart the radio, and
tryitagain.
Table of contents
Other Hytera Portable Radio manuals

Hytera
Hytera BP51X User manual

Hytera
Hytera PD41X User manual

Hytera
Hytera BD50X User manual

Hytera
Hytera PD792IS User manual

Hytera
Hytera PD60Xi Um User manual

Hytera
Hytera PD68XIUHF User manual

Hytera
Hytera PD70X Series User manual

Hytera
Hytera F-412 User manual

Hytera
Hytera TF-512 User manual

Hytera
Hytera HP70X User manual

Hytera
Hytera PD-355 User manual

Hytera
Hytera HP70X User manual

Hytera
Hytera PD982 User manual

Hytera
Hytera HM78XVHF User manual

Hytera
Hytera HP31X User manual

Hytera
Hytera HP68X User manual

Hytera
Hytera PD505 User manual

Hytera
Hytera PD40X User manual

Hytera
Hytera PD362 User manual

Hytera
Hytera PD68 Series User manual