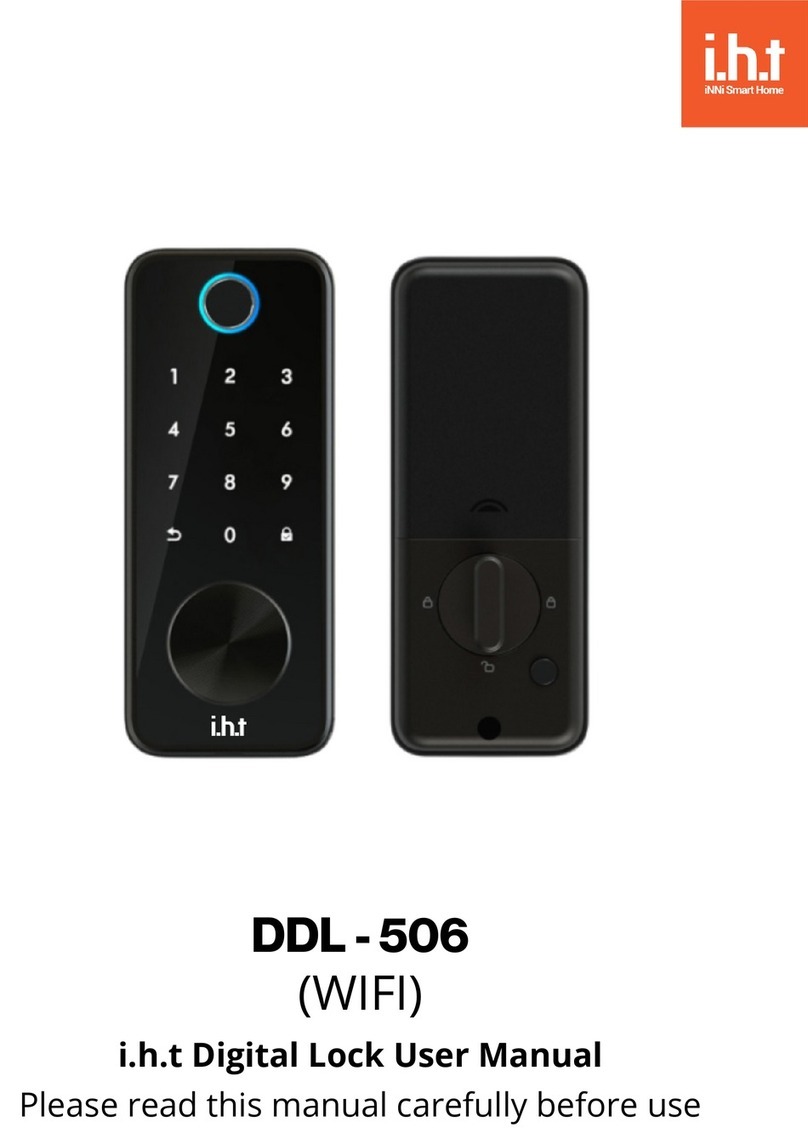
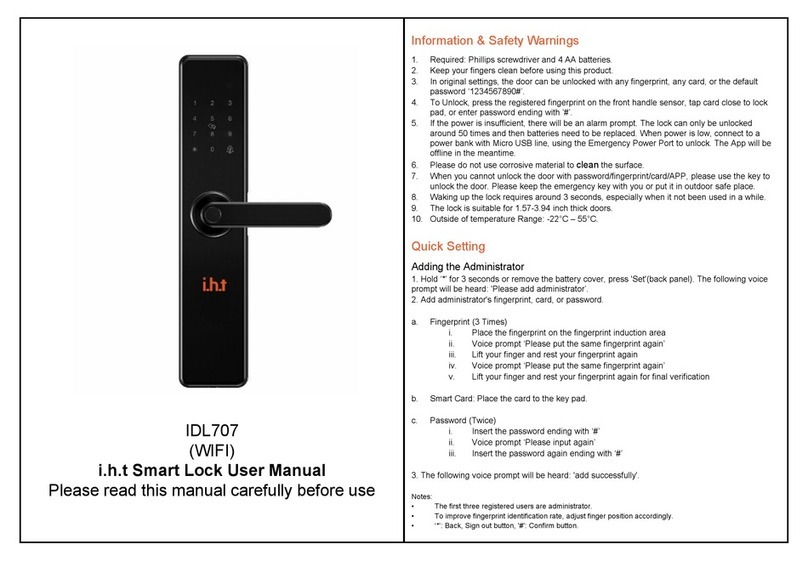
I.H.T DDL - 909 User manual

DDL - 909
(WIFI/Zigbee)
i.h.t Facial Recognition Digital Lock User Manual
Please read this manual carefully before use

The lock uses "Rechargeable Lithium Battery"
There will be a low power alarm when voltage level is below 7V, please recharge in time.
When the lock runs out of battery power, it can be charged by connecting a power bank
with a micro USB wire though the emergency power port. (Please note the APP network
function will not work in this situation)
Please don't use any corrodent material to clean lock surface.
Please use mechanical key to unlock when the fingerprint, password and APP access
function is denying access. Make sure your keys are kept outdoor in a safe place.
Facial Algorithm
The user access capacity is 100, the administrator capacity is 10.
2.8 inch HD monitor
Automatically lock and unlock feature.
Touch activation + Human sensor activation
Support Facial, Fingerprint, Key Card, IHT app remote access
Near-infrared live detection, rejects photo access
Name
DDL-909 Facial recognition digital lock
Facial Algorithm
Patent EasonV3.0 B algorithm
LCD Monitor
2.8 inch
Identify Time
< 0.5S
Unlock Features
Facial Recognition, Fingerprint, Password, Key and APP
System Capacity
100 User, 5 Admin
Supply Voltage
8.4V
Low Voltage Alarm
<7V
Standby Current
<60uA
Information & Safety Warnings
Features

If your still having trouble in any part of the process please feel free to contact us:
Phone: 1300 987 632 Email: [email protected] www.innihome.com.au
Facial Registration
For registering facial recognition, go to new user page and press
2 for 'enrol on face'. follow the lock prompt to successfully
register your face.
Fingerprint registration
While in the 'register key' menu, place the finger you wish to
access your door with on the fingerprint scanner and follow the
lock prompts to successfully register fingerprint.
Key Card Registration
While in the 'register key' menu, tap your access card in front of
the key pad to register your key card to the system, and keep
following the lock prompts to successfully register fingerprint.
Pin Registration
While in the 'registration key' menu, enter your desired access
code follow by the # key and follow the prompt guide to
successfully register.
In lock's initial state, any fingerprint, password or card can unlock, you can also process factory
reset to restore device to its initial state.
To enter the setting menu, tap on the keyboard to activate the keypad and directly press
" + "; which directs you to the setting menu.
1. Press 1 to register new user, and you will be directed to choose between 'register key' or 'enrol
on face' (NOTE: First one is 00 administrator, if you need to register more admin, you must
enter them continuously from the first time, and enter all the management at once, otherwise
you would have to reset to factory default to register more admin)
2. Tap 1 to 'register key' and you will hear the lock prompt "please enter the key" (directly start
registering the needed fingerprints, passwords, and key cards for accessing the lock)
3. (NOTE: "User 00" is the administrator, and the lock can register a maximum of 10 admins.
Users 01-99 are ordinary users)
Initial Set-up Guide
Add Administrator (10 users available for administrator)
Registration Guide
Enter Lock Settings
To add user, on the system setting page press 1 to select 'New User' and then press 1 again to
select 'register key', and just follow the registration guide above to successfully add new users
into the lock records.
Add User

Performing a factory reset on the system will delete all records, operate with caution.
To factory reset locate the initialization button located at the back-bottom part of the lock where
you can find a small hole in between " " and " ", use anything thin enough to poke through
the hole to press and hold down for a total of 3 seconds and confirm with admin access to restore
the device to its factory initial state.
If your still having trouble in any part of the process please feel free to contact us:
Phone: 1300 987 632 Email: [email protected] www.innihome.com.au
Delete User
If you need to delete any user, on the system setting display press 2 to enter the 'Delete User'
menu, enter the user number to finish the process, you will hear the voice prompt "operation
successful" when delete is successful.
Factory Reset
Press 4 to enter the installation setting
Press 1 to be directed to the page for choosing to either '1. open door left or 2. right'
Press 4 to enter installation setting
Press 3 to be directed to the page for enable or disable automatic anti-locking system.
1 . Reversing setting ( left or right opening door direction adjustment)
3. Automatic lockout setting
Installation setup

If your still having trouble in any part of the process please feel free to contact us:
Phone: 1300 987 632 Email: [email protected] www.innihome.com.au
a. precise positioning - automatic locking after closing the door in place.
b. long press " " for 1 second, activate door locking operation.
a. press on the " " button to activate indoor locking.
a. press on the " " button to activate indoor unlock.
a. Facial Recognition Unlock: While the lock is in standby mode, after human sensor activation or
touch activation, user needs to stand between 30-80cm away from the lock, the users face can
be recognised after 1 second of aligning the users face to the door lock.
b. Card Unlock: Use any pre-registered access cards, and place it to the scanning area to unlock.
c. Fingerprint Unlock: Place pre-registered fingerprint on the fingerprint scanner to unlock.
d. Pin Unlock: Touch activate the lock to display the number pad, enter pre-registered pin number
to unlock.
Instruction for Use
Unlocking 0utside the door
Locking outside the door
Unlock Inside the door
Locking Inside the door
30-80 CM
FACIAL RECOGNITION GUIDE
After activating the screen, keep your distance from
the lock approx. 30-80cm apart. face the screen
and a green scanner frame will pop-up. If
verification successful the lock will prompt to come
in, if unsuccessful the lock will prompt unsuccessful
and try again.

1. Alarm: check warnings
2. Records: check records
3. Remote unlock: long press ‘ ’ on lock pad. Click
confirm on door lock icon to open remotely.
4. Dynamic password: Click phone screen to get 5
minute password. Enter the code followed by " " to
unlock.
5. Temporary Pin: click on the 'Temporary Pin' button
and ‘Add’ to set temporary password.
1. On the iht APP, press ‘Add Device’ on home page or ‘+’
at the top right corner.
2. Choose category ‘Security’. Find ‘Door Lock’ and
select.
3. A page will open and select the Wi-Fi. Then enter the
password to the Wi-Fi.
4. On the smart lock pin pad, press '1+#'
5. The lock will prompt 'verify admin', and enter the
admin access key.
6. Wait till the smart lock is displayed on the app and
select to start pairing to the smart lock.
7. The App will now begin automatically pairing to your
lock. This process takes approximately 2 minutes.
8. Once paired, press 'Done' when finished to return to
the home page.
APP Instruction
1. Search ‘iNNi Home’ on Google Play / App Store, or scan
the QR code below and download APP.
2. Once downloaded, open the APP, register and
login with mobile phone.
APP Download/Register/Login
Adding Device
APP Functions

If your still having trouble in any part of the process please feel free to contact us:
Phone: 1300 987 632 Email: [email protected] www.innihome.com.au
Other Function
On the setting page you will be able to access multiple setting functions, if you would like to
change the language of the system press 3 for system settings, and press 4 to enter the
language setting, you can choose between either '1. Chinese or 2. English'.
Language
Volume Adjustment
If you would like to change the volume of your smart lock's door on the system setting page,
press 2 for volume adjustment and select between '1. Increase Volume or 2. Decrease Volume'
Time Setting
If you would like to adjust and change the time on your smart lock, from the system setting page,
press 1 for 'Time Settings', and you will hear the voice prompt of "please enter 2-digit year, 2-digit
month, and 2-digit day", after selecting the date, you will be prompt "Please enter 2 hours and 2
minutes", finish adjusting the time and you have successfully change the time on your lock.
Verification Mode
You can choose to have your smart lock verify twice before opening, to do so, on the system
setting page press 3 to select verification mode, and you can either choose between '1. singe
verification unlock or 2. double verification unlock'.
Record Query
If you would like to enquire information about the access record, then on the system setting page
press 5 to see the most recent record query, and you can press 4 or 6 to select between pages.

If your still having trouble in any part of the process please feel free to contact us:
Phone: 1300 987 632 Email: [email protected] www.innihome.com.au
FAQ
1.
Battery
The fully automatic face module battery power
supply should be powered by a 8.4V lithium
battery
2.
Emergency
Charging
For emergency charging, you must use a
minimum of 5V 2.1A potable power supply.
3.
Locking
In the locks system setting, you can either
choose for automatic locking or manual
locking
4.
Unlocked Alarm
If smart lock did not lock properly after 15
seconds, the lock will sound an alarm for 15
seconds. while the alarm is going off, pressing
any key will disable the alarm. please close
your door and let it automatically lock, if not
you will have to manually lock the door when
closing
5.
Facial
registration
time
facial registration may process a long period
till completion, reason is due to the fact that
with our high accuracy recognition algorithm
needs to scan a detailed record of your face so
that it can accurately determine the personel.
Warranty & Service
DDL-909 provides a 1 Year warranty
feel free to contact us through phone number or email (information below) with any enquiries.
Table of contents
Other I.H.T Lock manuals
