REV. 06/17/2019 I NSTTE-DVR-MM 3
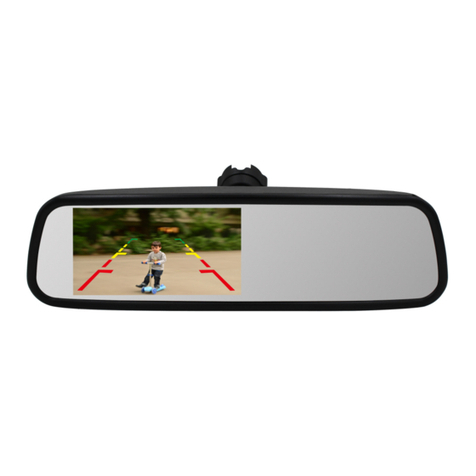
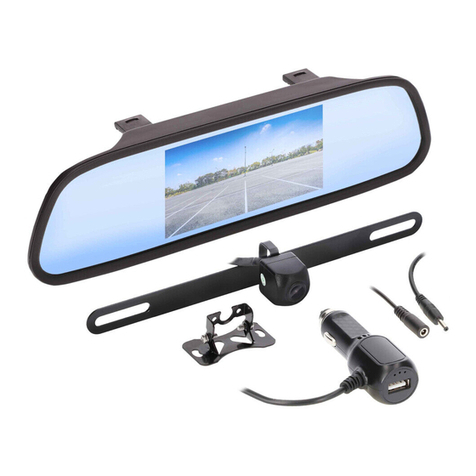
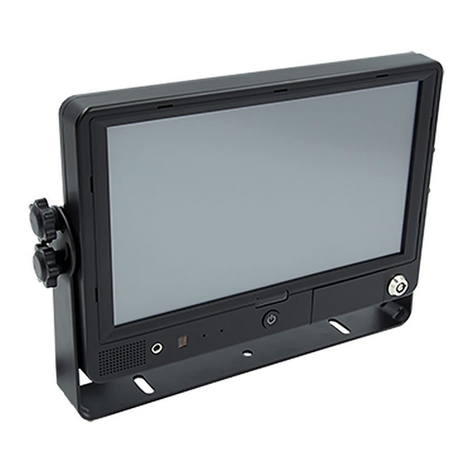
MIRROR/MONITOR OPERATION
Reverse is triggered via the Green wire in the harness
The monitor will automatically switch to the real-time back up image. After reverse is
disengaged, the visual will switch back to the previous display.
Auto Brightness Monitor
The monitor brightness will be adjusted according to the ambient light changes inside of the
vehicle. In bright light conditions, the screen brightness will be higher. In dark conditions, the
screen brightness will be lower.
NOTE: Window tint may affect the auto brightness sensor of the monitor.
Button Operation
Short press: Turns recording On/Off
Long press: Turns the mirror/monitor On/Off
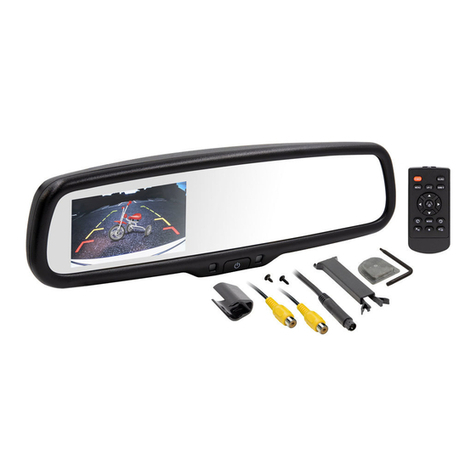
Remote Control Operation
Power button: Turns mirror/monitor On/Off
Menu Button: when recording, turns recording On/Off
How to set time
•Must stop recording by hitting the MENU button on remote.
•Press the MODE button on the remote twice to enter the second setup menu.
•Press > button on the remote to enter the setup selection
•Press the MENU button on the remote to enter the Date Setup.
•Continue to set the date using >/< buttons for Date Selection.
•Press the MENU button to go to the Time Selection.
•Continue to set the time using >/< buttons for Time Selection.
•Press the MODE button on the remote to exit the Menu.
To switch sources
•Must not be recording, stop recording by hitting the MENU button on the remote.
•Press VIDEO SELECT button. This will switch between Video/Photo/Playback.
Parking Monitor Notes
The Mirror/monitor has the option to keep recording when the ignition is off and the vehicle is parked.
When the vehicle battery is lower than 11.4V, the DVR will stop recording.
There is an option for Motion Detection to save micro SD card memory.
NOTE : When Motion Detection is on, DVR is not continual. This option should be shut off during normal use.
Screen Saver
If the screen saver is activated, the screen with shut off automatically but the DVR will still be recording.
Short Cuts
DVR Settings
If options want to be changed while the DVR is recording and the visual is on the screen.
On the remote:
Press > for audio record On/Off
Press MODE to lock or unlock the video for saving
Photo Settings
On the remote:
Press < to Zoom out
Press > to Zoom in

