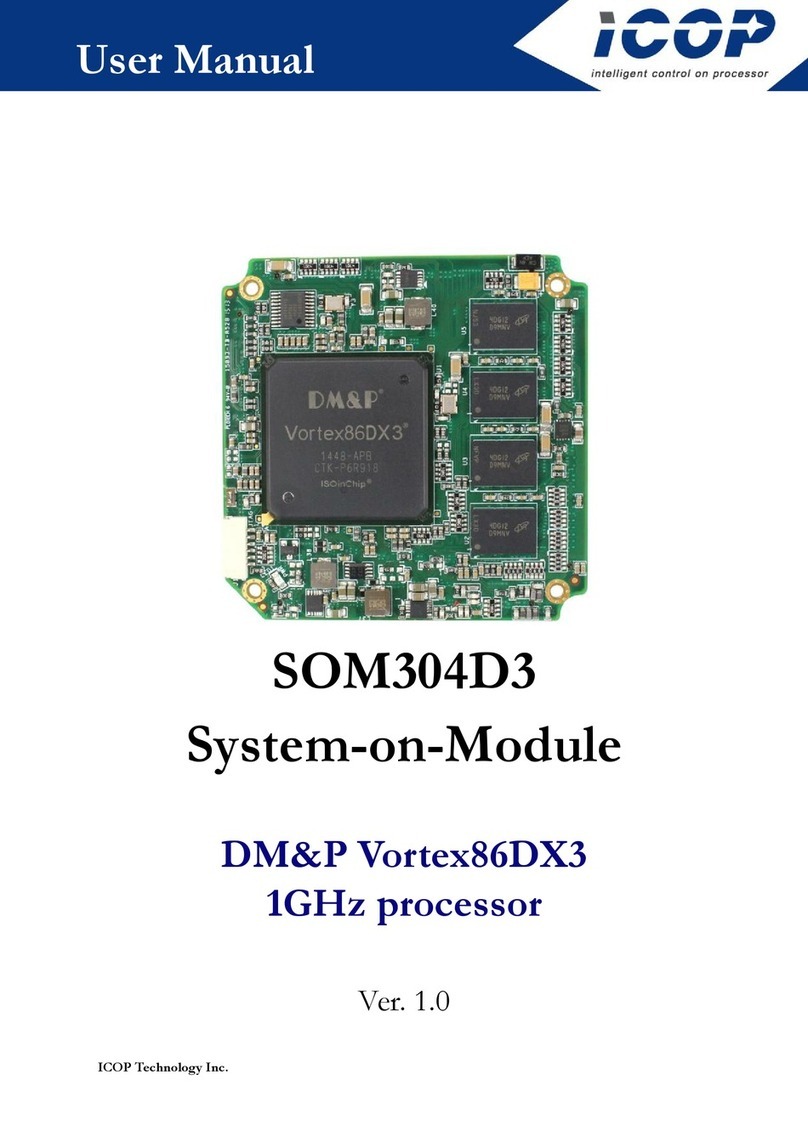
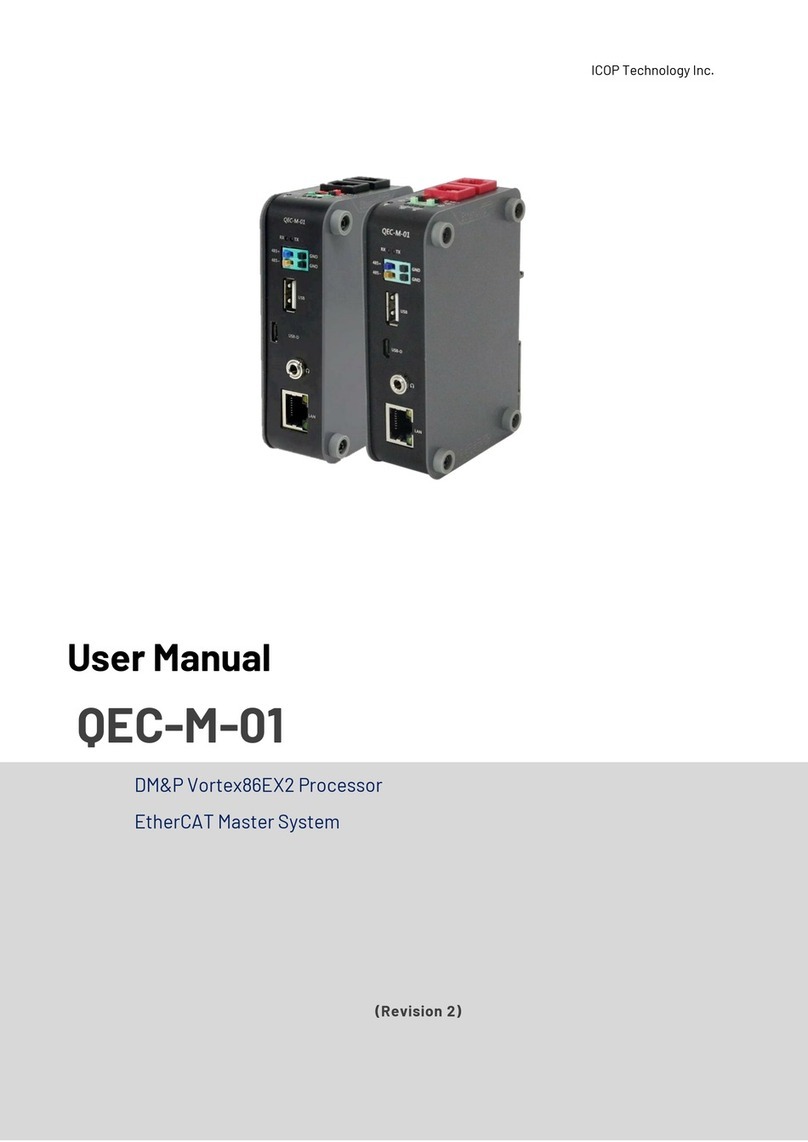
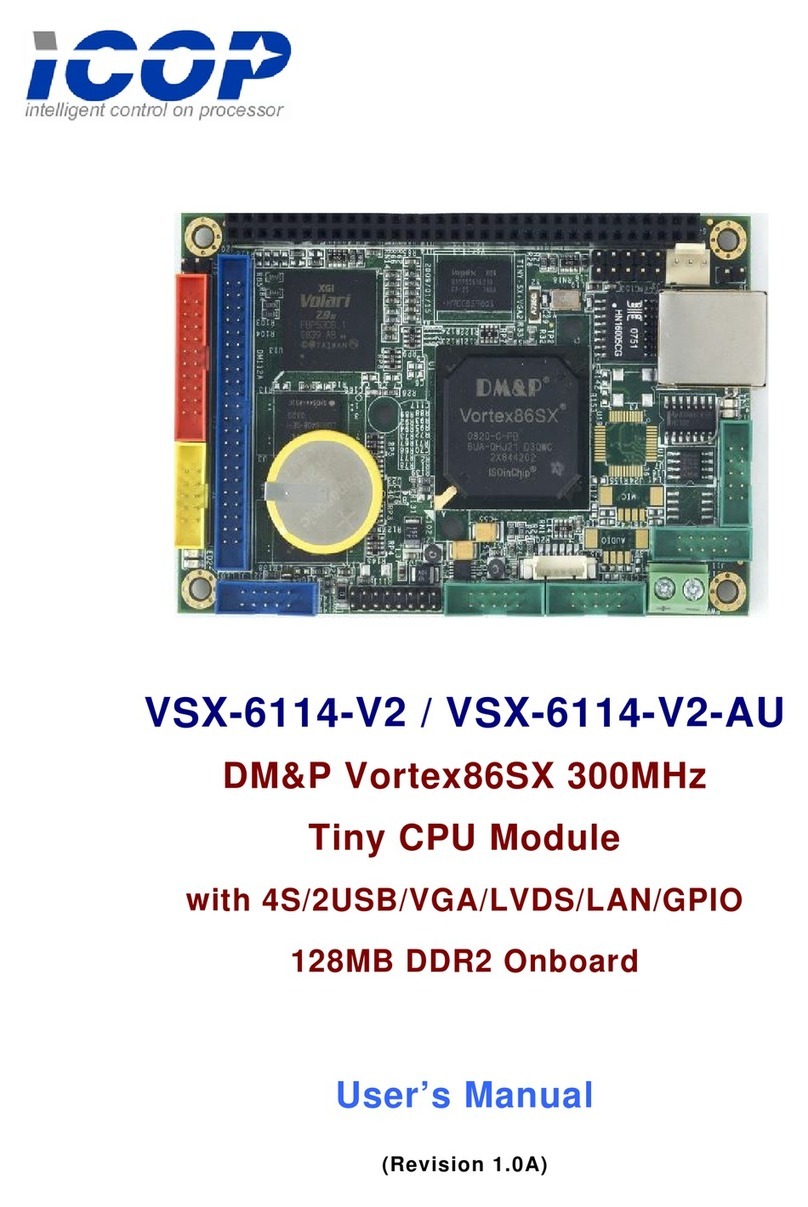
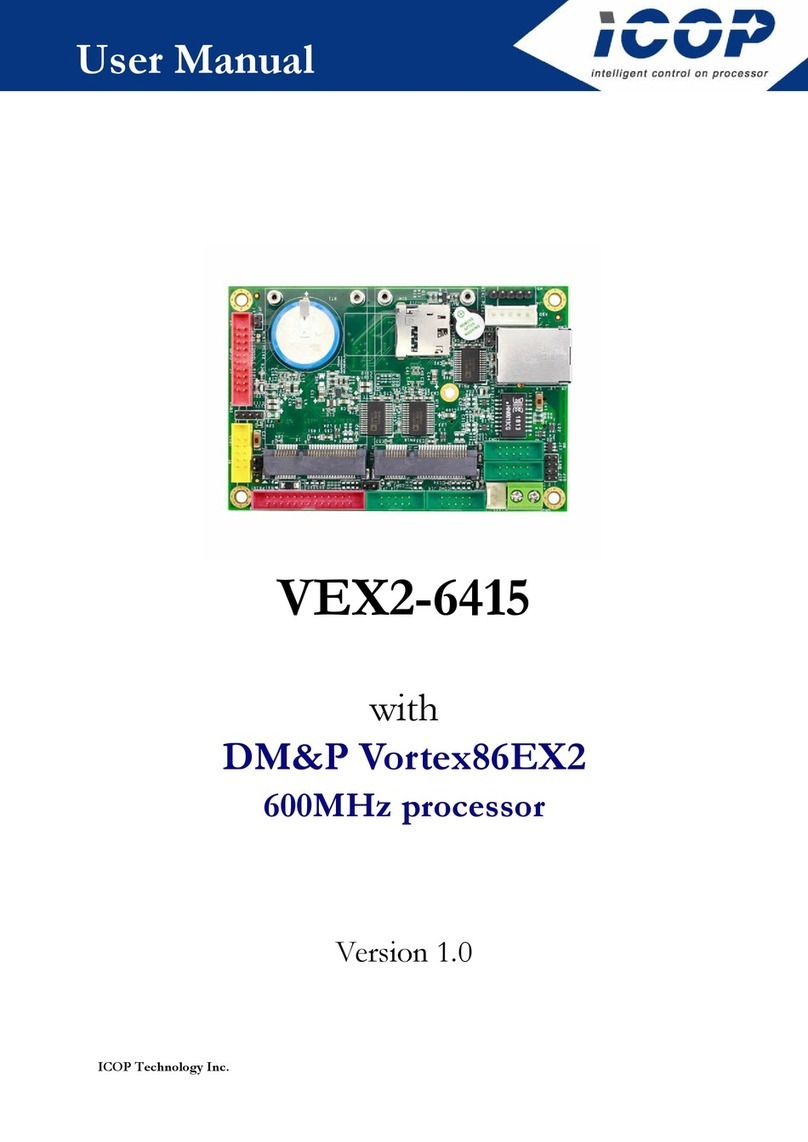
Icop QEC-M-090T User manual

ICOP Technology Inc.
QEC-M-090T User Manual Ver.1.1 October, 2023 i
User Manual
QEC-M-090T
DM&P Vortex86EX2 Processor
EtherCAT Master System
9” Open Frame Panel PC with 4-wire Resistive Touch Screen
(Revision 1.1)

ICOP Technology Inc.
QEC-M-090T User Manual Ver.1.1 October, 2023 i
REVISION
DATE
VERSION
DESCRIPTION
2023/10/26
Version1.0
New Release.
2023/10/31
Version1.1
Updated Arduino Pins and LCD Specifications.

ICOP Technology Inc.
QEC-M-090T User Manual Ver.1.1 October, 2023 ii
COPYRIGHT
The information in this manual is subject to change without notice for continuous
improvement in the product. All rights are reserved. The manufacturer assumes no
responsibility for any inaccuracies that may be contained in this document and makes
no commitment to update or to keep current the information contained in this manual.
No part of this manual may be reproduced, copied, translated or transmitted, in whole
or in part, in any form or by any means without the prior written permission of the ICOP
Technology Inc.
©Copyright 2023 ICOP Technology Inc.
Ver.1.1 October 2023
TRADEMARKS ACKNOWLEDGMENT
ICOP® is the registered trademark of ICOP Corporation. Other brand names or product
names appearing in this document are the properties and registered trademarks of
their respective owners. All names mentioned herewith are served for identification
purpose only.
For more detailed information or if you are interested in other ICOP products, please
visit our official websites at:
⚫Global: www.icop.com.tw
⚫USA: www.icoptech.com
⚫Japan: www.icop.co.jp
⚫Europe: www.icoptech.eu
⚫China: www.icop.com.cn
For technical support or drivers download, please visit our websites at:
⚫https://www.icop.com.tw/resource_entrance
For EtherCAT solution service, support or tutorials, 86Duino Coding IDE 500+
introduction, functions, languages, libraries, etc. Please visit the QEC website:
⚫QEC: https://www.qec.tw/
This Manual is for the QEC series.

ICOP Technology Inc.
QEC-M-090T User Manual Ver.1.1 October, 2023 iii
SAFETY INFORMATION
⚫Read these safety instructions carefully.
⚫Please carry the unit with both hands and handle it with caution.
⚫Power Input voltage +19 to +50VDC Power Input (Typ. +24VDC)
⚫Make sure the voltage of the power source is appropriate before connecting the
equipment to the power outlet.
⚫To prevent the QEC device from shock or fire hazards, please keep it dry and away
from water and humidity.
⚫Operating temperature between -20 to +70°C/-40 to +85°C (Option).
⚫When using external storage as the main operating system storage, ensure the
device's power is off before connecting and removing it.
⚫Never touch un-insulated terminals or wire unless your power adaptor is
disconnected.
⚫Locate your QEC device as close as possible to the socket outline for easy access
and avoid force caused by the entangling of your arms with surrounding cables
from the QEC device.
⚫If your QEC device will not be used for a period of time, make sure it is
disconnected from the power source to avoid transient overvoltage damage.
WARNING!
DO NOT ATTEMPT TO OPEN OR TO DISASSEMBLE THE CHASSIS (ENCASING)
OF THIS PRODUCT. PLEASE CONTACT YOUR DEALER FOR SERVICING FROM
QUALIFIED TECHNICIAN.

ICOP Technology Inc.
QEC-M-090T User Manual Ver.1.1 October, 2023 iv
Content
Content ............................................................................................................................... iv
Ch. 1 General Information ................................................................................................... 1
1.1 Introduction ...........................................................................................................2
1.1.1 QEC-M Systems Diagram ...................................................................................................3
1.1.2 Software Support .............................................................................................................3
1.2 Specifications .......................................................................................................4
1.3 Dimension .............................................................................................................6
1.4 Inspection standard for TFT-LCD Panel.................................................................. 7
1.5 Ordering Information............................................................................................ 10
1.5.1 Ordering Part Number:.................................................................................................... 10
Ch. 2 Hardware Installation ............................................................................................... 11
2.1 CPU Board Outline................................................................................................ 12
2.2 Connector Summary ............................................................................................13
2.3 I/O Connectors.................................................................................................... 14
J2/J3/J4: USB 2.0 Host............................................................................................................ 14
J5: Micro USB Type-B ............................................................................................................... 14
J6: R6040-LAN1 (Secondary EtherCAT)..................................................................................... 14
J7: R6040-LAN2 (Primary EtherCAT)......................................................................................... 14
J8: Giga LAN ............................................................................................................................. 14
J9: Power Input Connector ....................................................................................................... 14
J10: I2C0, MCM, GPIO................................................................................................................. 15
J11: MCM, GPIO, COM1 (TTL) ....................................................................................................... 15
J12: GPIO, VCC, GND.................................................................................................................. 15
J13: Power source, RESET-....................................................................................................... 15
J14: ADC/GPIO .......................................................................................................................... 15
J15: CAN0 and CAN1 bus............................................................................................................ 15
J16: SPI, RESET- ....................................................................................................................... 16
J17: SPI, RESET-, RS485 ........................................................................................................... 16
J18: Line-out............................................................................................................................. 16
J19: VGA.................................................................................................................................... 16
J24: MINI PCIe........................................................................................................................... 17
J25: SIM Card Holder................................................................................................................. 17
J29A: eMMC Module .................................................................................................................. 17
J29B: eMMC Module .................................................................................................................. 17
2.4 External I/O Overview...........................................................................................18
2.4.1 USB................................................................................................................................ 19
2.4.2 Micro USB...................................................................................................................... 19
2.4.3 LAN1/LAN2/Giga LAN ................................................................................................... 20
ICOP Technology Inc.
QEC-M-090T User Manual Ver.1.1 October, 2023 v
2.4.4 Arduino pin Assignment ............................................................................................... 20
2.4.5 10-pin VGA Connector....................................................................................................24
2.4.6 eMMC Module.................................................................................................................24
2.5 Watchdog Timer..................................................................................................24
Ch. 3 Quick Start guide .....................................................................................................25
3.1 Package Contents................................................................................................26
3.2 Hardware Configuration ......................................................................................26
3.3 Software Driver Installation .................................................................................26
3.4 Set up the QEC-M-090T with 86Duino .................................................................. 27
Plugin the power supply ............................................................................................................27
Connect the USB cable with PC.................................................................................................27
Make sure your device is detected ............................................................................................28
Write your first sketch ..............................................................................................................28
Upload your first sketch! ...........................................................................................................30
3.5 Building an HMI on the QEC-M-090T with 86Duino .................................................31
Instruction ................................................................................................................................ 31
Uploading the LVGL Example .................................................................................................... 31
Using the Graphical HMI editor: 86HMI.......................................................................................34
Ch. 4 Software Function...................................................................................................36
4.1 Software Description........................................................................................... 37
4.2 EtherCAT Function List....................................................................................... 37
EthercatMaster Class Functions ...............................................................................................37
EthercatDevice Class General Functions...................................................................................38
EthercatDevice_Generic Class Functions ................................................................................ 40
4.3 Additional Resources ..........................................................................................40
Warranty ............................................................................................................................ 41

ICOP Technology Inc.
QEC-M-090T User Manual Ver.1.1 October, 2023 2
1.1 Introduction
QEC-M-090T is an EtherCAT master with a real-time, reliable, and synchronous control
equipped with a 9-inch TFT LCD. The industrial Arduino makes it an easy-to-develop, stable,
and economical automation system, allowing users to develop EtherCAT with UI quickly.
The QEC master is highly compatible with third-party EtherCAT devices for communication,
such as servo, I/O, etc. For taking full advance of EtherCAT, It supports PDO, CoE, FoE, DC,
and EtherCAT cable redundancy to use other EtherCAT slaves flexibly. The QEC master has
precise synchronization (min.125μs), and its 86Duino IDE provides less than 1us jitter time in
the minimum cycle time; it could apply to highly synchronized and precision automatic
applications, like motion control and I/O control. (Read More: EtherCAT Master’s Benchmark –
QEC)
QEC-M-090T has a built-in high endurance 2GB SLC eMMC, designed to provide a stable and
reliable operating system. Users can upload the developed executable files and required
images or data, such as HMI images, to the QEC-M-090’s SLC via the 86Duino IDE without
affecting the performance of the master system. Besides, 86Duino IDE also integrates with
the LVGL library to provide an advanced and intuitive approach to user interface design on
QEC-M-090T.
QEC-M-090T can also monitor hardware information on temperature, voltage, and current.
These features allow users to track the system’s carbon footprint and estimate its lifespan.
QEC-M-090T’s dimension is 245 x 152.2 x 32.55 mm, with its open frame design for easy
integration and customization. Operating temperature is from -20°C to +70°C, and with an
extended option of -40 to +85°C, this EtherCAT Master remains steadfast even in the most
challenging conditions. QEC-M-090T has two networks for EtherCAT Cable redundancy and
one Giga LAN for external network connection. It also offers unrivaled connectivity, featuring
3 USB ports, a MicroUSB port (debug/upload only), VGA output, MiniPCIe slot, and full Arduino
function Pins (GPIO, PWM, SPI, I2C, CAN, etc.); All provide an off-the-shelf API to use.
These interfaces open up a world of possibilities for integrating various devices and
peripherals into your automation network, providing flexibility and adaptability for your
unique requirements.

ICOP Technology Inc.
QEC-M-090T User Manual Ver.1.1 October, 2023 3
1.1.1 QEC-M Systems Diagram
1.1.2 Software Support
The 86Duino integrated development environment (IDE) software makes it easy to write code
and upload it to QEC-M. It runs on Windows, Mac OS X, and Linux. The environment is written
in Java and based on Arduino IDE, Processing, DJGPP, and other open-source software.

ICOP Technology Inc.
QEC-M-090T User Manual Ver.1.1 October, 2023 4
1.2 Specifications
CPU BOARD SPECIFICATIONS
CPU
DM&P Vortex86EX2 Processor, Master 533MHz/Slave 400MHz
Memory
512MB/1GB DDRIII Onboard
Storage
32MB SPI Flash /2GB SLC eMMC
LAN
1Gbps Ethernet RJ45 x1
10/100Mbps Ethernet RJ45 x2 for EtherCAT
Expansion
Mini PCIe x 1 with Micro SIM Card Holder
I/O Connector
2.54mm 2-pin header for Power Connector
1.25mm 4-pin header for EXT I2C TFT Driver
1.25mm 4-pin wafer for Line-Out
Power DC Input/Output Connector x1
Micro USB (Type-B) x1 (Upload/Debug only)
VGA Connector (10-pin) x1
Micro SIM Card Holder x1
MiniPCIe slot x1
USB 2.0 Host x3
RJ45 x3
Arduino
Compatible
Connector
2.54mm 10-pin female header for I2C0, MCM, GPIO
2.54mm 8-pin female header for MCM, GPIO, COM1 (TTL)
2.54mm 8-pin female header for Power source
2.54mm 6-pin female header for ADC/GPIO
2.54mm 6-pin female header for GPIO, VCC and GND
2.54mm 6-pin female header for CAN0 and CAN1 bus
2.54mm 10-pin header for SPI, RESET-
2.54mm 10-pin header for SPI, RESET-, RS485
Protocol
EtherCAT (EtherCAT Master Functions: PDO, CoE, DC, Cable-redundancy, etc.)
Ethernet Standard
IEEE 802.3
Control Cycle Time
125 µs (min.)
Software Support
86Duino Coding IDE 500+
(The environment is written in Java and based on Arduino IDE, Processing,
DJGPP, and other open-source software)
*MCM signal is equivalent to Arduino's PWM signal.

ICOP Technology Inc.
QEC-M-090T User Manual Ver.1.1 October, 2023 5
MECHANICAL & ENVIRONMENT
Power Connector
6-pin Power Input /Output
Power Requirement
+19 to +50VDC Power Input (Typ. +24VDC)
Power Consumption
8 Watt
Operating Temp.
-20 to +70°C/-40 to +85°C (Option)
Storage Temp.
-30 ~ +85°C
Operating Humidity
0% ~ 90% Relative Humidity, Non-Condensing
Dimension
245 x 152.2 x 32.55mm
Weight
1.07Kg
Internal Monitoring
Temperature, Voltage, Current
LCD SPECIFICATIONS
Display Type
9” WVGA TFT LCD
Backlight Unit
LED
Display Resolution
800(W) x 480(H)
Contrast Ratio
500: 1
Display Color
16.7M
Active Area
198 (W) x 111.696 (H) mm
Viewing Angle
Vertical 120o, Horizontal 140o
Brightness (cd/m2)
300 nits
Backlight Lifetime
20,000 hrs
TOUCHSCREEN
Type
Analog Resistive
Resolution
Continuous
Transmittance
80%
Controller
PS/2 interface
Durability
1 million

ICOP Technology Inc.
QEC-M-090T User Manual Ver.1.1 October, 2023 6
1.3 Dimension
(Unit: mm)

ICOP Technology Inc.
QEC-M-090T User Manual Ver.1.1 October, 2023 7
1.4 Inspection standard for TFT-LCD Panel
DEFECT TYPE
LIMIT
Note
VISUAL
DEFECT
INTERNAL
SPOT
φ<0.15mm
Ignore
Note1
0.15mm≦φ≦0.5mm
N≦4
0.5mm<φ
N=0
FIBER
0.03mm<W≦0.1mm, L≦5mm
N≦3
Note1
1.0mm<W, 1.5mm<L
N=0
POLARIZER
BUBBLE
φ<0.15mm
Ignore
Note1
0.15mm≦φ≦0.5mm
N≦2
0.5mm<φ
N=0
Mura
It’ OK if mura is slight visible through 6%ND filter
ELECTRICAL
DEFECT
BRIGHT DOT
A Grade
B Grade
C Area
O Area
Total
C Area
O Area
Total
Note3
N≦0
N≦2
N≦2
N≦2
N≦3
N≦5
Note2
DARK DOT
N≦2
N≦3
N≦3
N≦3
N≦5
N≦8
TOTAL DOT
N≦4
N≦5
N≦6
N≦8
Note2
TWO ADJACENT DOT
N≦0
N≦1 pair
N≦1 pair
N≦1 pair
N≦1 pair
N≦1 pair
Note4
THREE OR MORE
ADJACENT DOT
NOT ALLOWED
LINE DEFECT
NOT ALLOWED
(1) One pixel consists of 3 sub-pixels, including R, G, and B dot. (Sub-pixel = Dot)
(2) Little bright Dot acceptable under 6% ND-Filter.
(3) If require G0 grand (Total dot N≦0), please contact region sales.

ICOP Technology Inc.
QEC-M-090T User Manual Ver.1.1 October, 2023 8
[ Note 1 ] W: Width[mm]; L: Length[mm]; N: Number; φ: Average Diameter.
(a) White / Black Spot (b) Polarizer Bubble
[ Note 2 ] Bright dot is defined through 6% transmission ND Filter as following.
[ Note 3 ] Display area
C Area: Center of display area O Area: Outer of display area

ICOP Technology Inc.
QEC-M-090T User Manual Ver.1.1 October, 2023 9
[ Note 4 ] Judge the defect dot and the adjacent dot as following. Allow below (as A, B, C and D
status) adjacent defect dots, including bright and dark adjacent dot. And they will be counted 2
defect dots in total quantity.
R
R
G
G
R G
R
R
G
G
R G
R
R
G
G
R G
R
R
G
G
R G
R
R
G
G
R G
R
R
G
G
R G
R
RDefect Dot
Adjacent Dot
A
B
C
D
The defects that are not defined above and considered to be problem shall be reviewed and
discussed by both parties.
Defects on the Black Matrix, out of Display area, are not considered as a defect or counted.

ICOP Technology Inc.
QEC-M-090T User Manual Ver.1.1 October, 2023 10
1.5 Ordering Information
Type
LCD size
(Below is the customization function, the unfilled fields do not need to be filled in; if the customer
does not require, it will be directly shipped standard material number, such as QEC-M-090T)
PoE
-
Feature
-
Wide
Temp.
-
Coating
Memory
Storage
QEC-M
090T
X
X
X
X
X
1. Type: Code 1~4
M: EtherCAT Master
2. LCD size: Code 5~8
090T: 9-inch TFT LCD with Restive touchscreen
3. PoE: Code 9
P: RJ45 PoE Device, Red Plastic Housing
None or E: RJ45 w/o power, Black Plastic Housing
(Standard: None)
4. Feature: Code 10~11
X (Memory): G: 1G DDRIII / M: 512M DDRIII (Standard: 512MB)
X (Storage): 1, 2, 4: eMMC size (Standard: 2G)
5. Wide Temp.: Code 12
X: -40 to +85°C / R: -20 to +70°C (Standard : -20 to +70°C)
6. Coating: Code 13
C: Yes / N: Normal
1.5.1 Ordering Part Number:
⚫QEC-M-090T: Vortex86EX2 Processor 533MHz-based EtherCAT Master System with 9-inch LCD
⚫QEC-M-090TP: Vortex86EX2 Processor 533MHz-based EtherCAT Master System with 9-inch
LCD/PoE
⚫QEC-M-090TP-G2-X-C: Vortex86EX2 Processor 533MHz-based EtherCAT Master System with 9-inch
LCD/PoE/1G DDRIII Memory/2G eMMC Storage/Wide Temp./Coating
QEC-M-090T X –XX –X - X

ICOP Technology Inc.
QEC-M-090T User Manual Ver.1.1 October, 2023 12
2.1 CPU Board Outline

ICOP Technology Inc.
QEC-M-090T User Manual Ver.1.1 October, 2023 13
2.2 Connector Summary
No.
Description
Type of Connections
Pin #
J2/J3/J4
USB 2.0 Host
1.25mm 5-pin wafer
6-pin
J5
Micro USB
Micro USB Type-B
11-pin
J6
R6040-LAN1
1.25mm 8-pin wafer
8-pin
J7
R6040-LAN2
1.25mm 8-pin wafer
8-pin
J8
Giga LAN
1.25mm 8-pin wafer
8-pin
J9
Power Input Connector
2.00mm 6-pin wafer
6-pin
J10
I2C0, MCM, GPIO
2.54mm female header
10-pin
J11
MCM, GPIO, COM1(TTL)
2.54mm female header
8-pin
J12
GPIO, VCC, GND
2.54mm female header
6-pin
J13
Power source, RESET-
2.54mm female header
8-pin
J14
ADC/GPIO
2.54mm female header
6-pin
J15
CAN0 and CAN1 bus
2.54mm female header
6-pin
J16
SPI, RESET-
2.54mm header
10-pin
J17
SPI, RESET-, RS485
2.54mm header
10-pin
J18
Line-out
1.25mm 4-pin wafer
4-pin
J19
VGA (Reserved and debug used)
1.25mm 10-pin VGA
10-pin
J24
MINI PCIe
Mini PCIe Slot
52-pin
J25
SIM Card Holder
Micro SIM Socket
10-pin
J29A
eMMC TINY MODULE
1.27mm 6-pin header
6-pin
J29B
eMMC TINY MODULE
1.27mm 4-pin header
4-pin

ICOP Technology Inc.
QEC-M-090T User Manual Ver.1.1 October, 2023 14
2.3 I/O Connectors
For the external I/O details, visit Ch2.4.
J2/J3/J4: USB 2.0 Host
Pin#
Signal Name
1
VCC
2
MUSBD-
3
MUSBD+
4
GND
5
FGND1
J5: Micro USB Type-B
Pin#
Signal Name
1
USBDET
2
USBDEV2-
3
USBDEV2+
4
-
5
GND
J6: R6040-LAN1 (Secondary EtherCAT)
Pin#
Signal Name
L1
TD+
L2
TD-
L3
RO+
L4
OUT_Us
L5
OUT_Up
L6
RO-
L7
VsGND
L8
VpGND
* L4, L5, L7, L8 pins are option, for RJ45 Power IN/OUT.
J7: R6040-LAN2 (Primary EtherCAT)
Pin#
Signal Name
L1
TD+
L2
TD-
L3
RO+
L4
IN_Us
L5
IN_Up
L6
RO-
L7
VsGND
L8
VpGND
* L4, L5, L7, L8 pins are option, for RJ45 Power IN/OUT.
J8: Giga LAN
Pin#
Signal Name
L1
GTX+
L2
GTX-
L3
GRX+
L4
GTXC+
L5
GTXC-
L6
GRX-
L7
GRXD+
L8
GRXD-
J9: Power Input Connector
Pin#
Signal Name
1
FGND
2
FGND
3
VpGND
4
VsGND
5
Vp
6
Vs
Table of contents
Other Icop Computer Hardware manuals

Icop
Icop VDX2-6526 User manual

Icop
Icop SOM304D3 User manual

Icop
Icop VEX2-6454 User manual

Icop
Icop VDX-6326RD-NF User manual

Icop
Icop VDX3-6726-V2 User manual

Icop
Icop VEX2-6415 User manual

Icop
Icop IBW-6954 User manual

Icop
Icop VSX-6124 User manual

Icop
Icop VSX-6114-V2 User manual

Icop
Icop QEC-M-01 User manual
Popular Computer Hardware manuals by other brands

Texas Instruments
Texas Instruments LDC3114-Q1 manual

MikroTik
MikroTik RouterBOARD 500 Series Quick setup guide and warranty information

BYKSKI
BYKSKI N-GV4080EOC-X manual

Hifonics
Hifonics BXiPRO1.0 operating instructions

ZEBSBOARDS
ZEBSBOARDS EZInstall Kit V2 installation guide

ASROCK Rack
ASROCK Rack EPC621D8A Quick installation guide