IMMI IHC User manual

IHC
Installation
What is the IHC and how does it work?
IHC stands for Inflatable Head Curtain. In the event of a side roll, the IHC
is deployed by the master roll sensor, at which time a gas generator inflates
the curtain airbag.
The IHC is designed to work in conjunction with a 3-point seat belt.
ALWAYS WEAR YOUR SEAT BELT.
Important Facts
PLEASE READ THIS ENTIRE GUIDE BEFORE INSTALLING
THE IHC.
1. The IHC is to be used in a specific seating position. Check the part
number on the back of module to ensure correct application.
2. Always follow the vehicle manufacturer’s installation guide. Use
this guide in addition to the vehicle manufacturer’s guide.
3. Make sure the battery disconnect switch is in the OFF position and
battery leads are disconnected from battery.
4. DO NOT PUNCTURE, DRILL OR APPLY HEAT TO IHC.
5. DO NOT MOUNT ANYTHING NEAR THE IHC that could interfere
with the travel path of the device.
6. The IHC is only designed to activate once. If the IHC is activated or
damaged, unit must be replaced by authorized personnel.
WARNING
DO NOT APPLY HEAT
Temperatures over 150° C (257° F)
could cause the unit to deploy. The
deploying IHC could cause injury.
WARNING
HAZARDOUS OPERATION
Applying power prematurely could deploy occupant
protective devices, causing serious injury to installer.
Disconnect and tag out power. Always make
connections to Roll Sensor last. Keep clear of
protective devices when first applying power.
IHC DeployedIHC Stowed
1
18881 IMMI Way
Westfield, IN 46074-3001
317-896-9531
imminet.com
Orig. 01/06 rev01 12/17
2
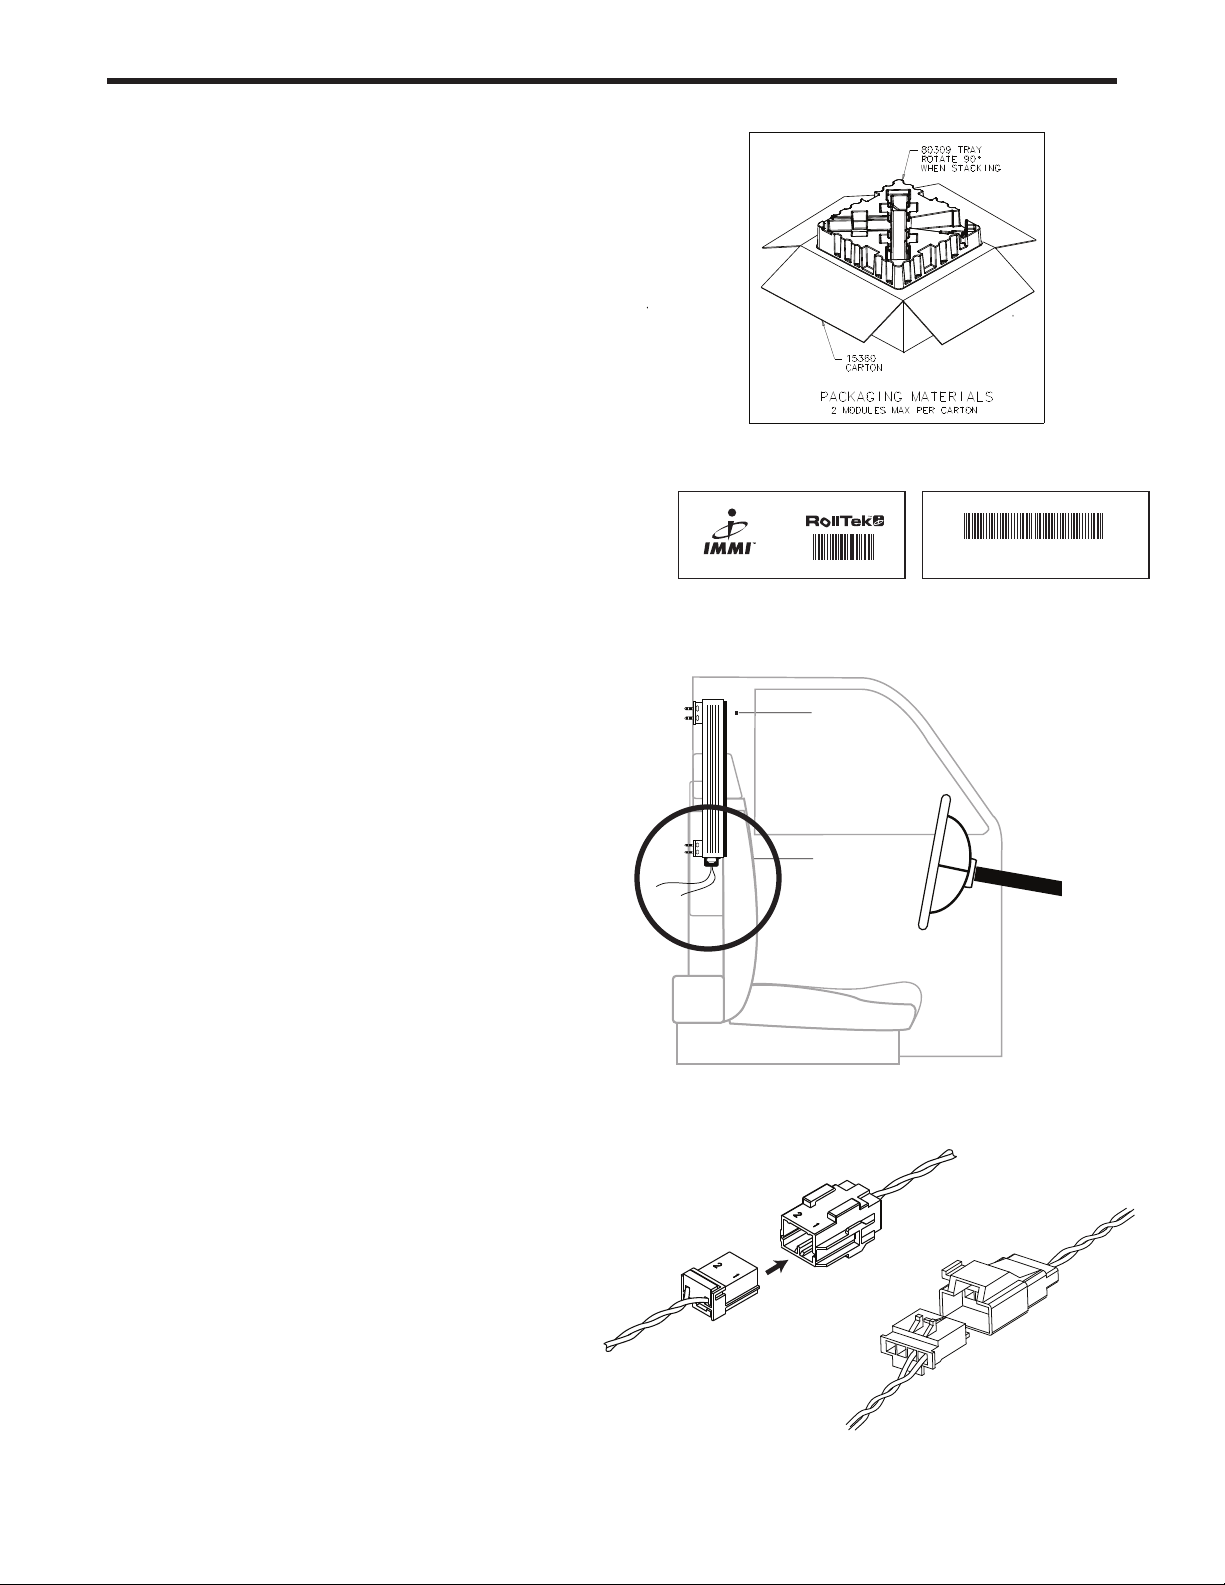
Unpacking the IHC
1. Remove unit from main carton. There can be up to 2 units of same
part number. See FIGURE 1
2. If parts need to be returned, they must be returned in the original
packaging, assuring conformance to all applicable regulations for
transportation of Class 9 Dangerous Goods.
Product Identification
1. Locate the product identification labels, located on the back
side of the unit. See FIGURE 2.
2. Verify your unit is the proper system for your configuration.
3. Scan or manually record unit S/N. Retain this record for 20 years.
Mounting IHC to Vehicle Wall
1. The module is fastened to a structural member of the vehicle or to a
seat-mounted bracket via four (4) #10 - 32 captive studs. See
FIGURE 3. If studs are not supplied with module, installer must use
equivalent Grade 8 fasteners.
2. Metal to metal contact is preferred on all mounting points.
Mounting over trim panels is not recommended.
3. Position unit in place and route harness. Make sure wiring harness
is free and not pinched under unit. See FIGURE 3.
4. DO NOT MAKE WIRING HARNESS CONNECTION TO UNIT AT
THIS TIME.
5. If mounting studs are provided, use Grade 2 locknuts (or
equivalent.) Hand start nuts onto studs.
6. Torque nuts on the studs to 5.7 - 6.2 N-m.
Electrical Connection and Test
1. Ensure battery switch is OFF.
2. Make connection between cab wiring harness and IHC.
See FIGURE 4.
3. Verify that both plugs and connectors are latched together.
IHC
Figure 2
Figure 3
Figure 1
Top
Bottom
or
Figure 4
PN80275 Rev 01 12/17 2376P
©2017 IMMI All rights reserved.
Table of contents
Other IMMI Automobile Accessories manuals


