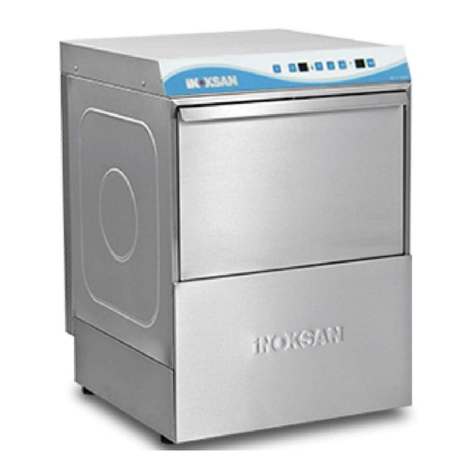
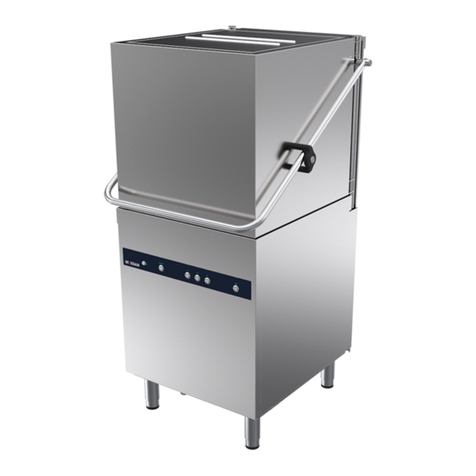
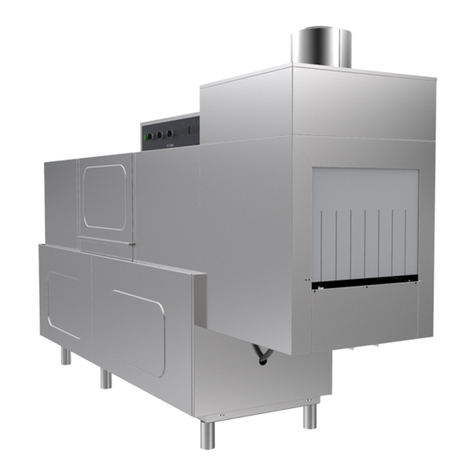
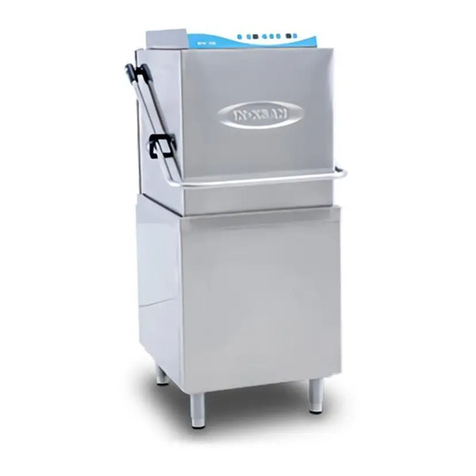
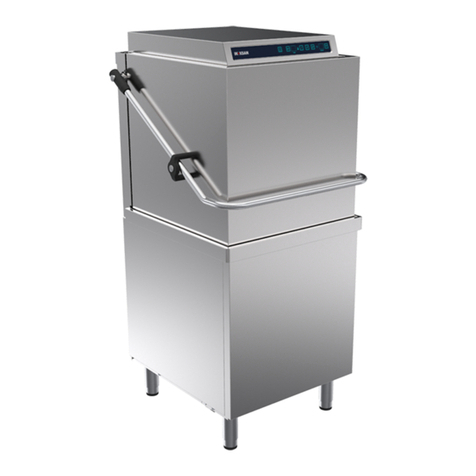
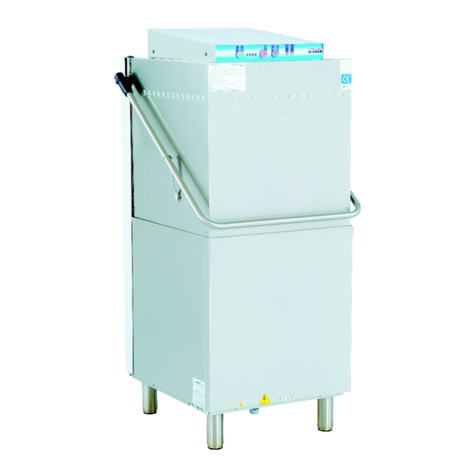
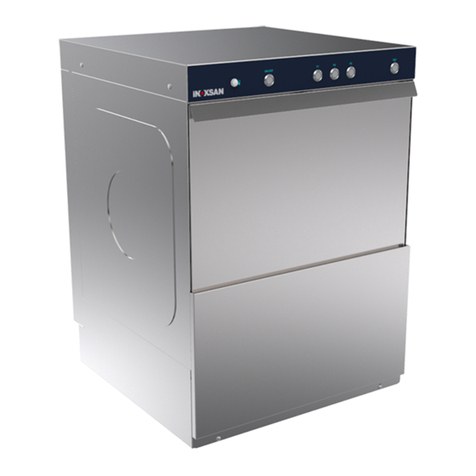
• This appliance is designed only for the function
for which it is specifically conceived: to wash
plates, glasses, cups and similar objects as well as
the basket that carries them.
• The appliance must only be used by persons that
are properly trained to use it.
• Has three separate washing cycles :
1 - Short washing cycle (62 sec.) : For slightly soiled
dishes.
2 - Medium washing cycle (98 sec.) : For normally
soiled dishes.
3 - Long washing cycle (123 sec.) : For slightly
greasy dishes.
• The dishes should be prewashed before the
operation. The quality of final wash results will
be greatly improved by first removing food
remnants, lemon peels, could partially clog the
electric pump filter and impair washing effciency.
• An integrated dishwashing system can be formed
by mounting the modular units like scrapping
unit, garbage, sink unit and outlet table.
• Use a liquid and non foam making detergent for
washing operation. The amount to be used should
be indicated by detergent manufacturer. In
addition, the amount of rinse aid should be also
indicated by manufacturer. Detergent and rinse
aid containers are also produced by relevant
manufacturers.
• Select the most appropriate programme on the
control board depending on the kind and/ or
dirtiness of the dishes to be washed.
• 1 plate rack, 1 cutlery rack, 1 glass rack of the
500x500x100mm size are included as standard
accessories.
• Choose the relevant rack based on the dishes to be
washed and load in accordance with capacities
indicated in chart. To save on detergent and
electricity only wash when the baskets are full.
• The appliance must never be removed from its
original installation site.
• Make sure the water supply gate valve is open
before starting the appliance.
• Never put your bare hands into the wash
solution, if needed use protective gloves. In
case of contact with eye, wash with fresh water
and call a doctor informing him about the
detergent used; usually based on Sodium
Hydroxide (Caustic Soda)
6. OPERATING
• Turn on the water inlet valve.
• Turn the switch on the panel to position “I”.
• Lift up the hood and place the rack full of dishes,
close the hood.
• Make sure the rotary wash arms are free to
rotate.
The boiler temperature, set by a fixed thermostat,
is about 85
0
C(183
0
F).
• Press the On-Off button for "On" position.
• Select the desired washing cycle by using
"Program selection button". The lamp indicator
lights up based on the selected position.
• Press the Start-Stop button for "Start" position. In
this case the "Water heating signal lamp" will
light up. When the heating cycle is terminated the
thermostat signal lamp lights up.
• The appliance starts to operate according to the
selected washing cycle. After the washing process
has been completed the appliance moves to stop
(waiting) position. When waiting period finishes,
the appliance moves to rinse position and the
rinse indicator lamp lights up. When rinse period
finishes, the lamp goes out.
• After the rinse process has been completed the
appliance stops automatically.
• Lift up the hood, remove the rack with the clean
dishes and close the hood.
7. TURNING OFF
• Press the "Start-Stop button for "Stop" position.
• Press the On-Off button for "Off" position.
• Switch off the main switch which is connected on
the appliance.
• Turn off the water inlet valve.
8. SECURITY PRECAUTIONS
• If the hood is opened during operation or not
closed completely when the operation starts, the
appliance stops.. The appliance goes on operation
when the hood is closed.
WARNING : 1 -If any damage of the appliance is
visible like on the power supply cord or if there is
any leakage with outflowing water the appliance
must be switched off from the power supply and
the authorized service has to be informed.
2 - The appliance is not to clean with a jet stream.
9. ROUTINE MAINTENANCE
• Wash water MUST BE renewed at least twice a
day or whenever wash water becomes dull or
thickens because of an excessive concentration of
suspended dirt particles. Washing with dirty wash
water will increasingly waste detergent, rinse
agent and electricity and give poor wash results.
• Press the line swich to cut off the power supply to
the appliance.
• Remove the filtters in the tank (3) and clean them.
• Pull out the overflow (4) from the drain
hole.When the tank is completely empty remove
the pump filter (5) and clean it.
• Carefully clean the bottom of the tank, removing
any food remnants and solid particles. Do this
