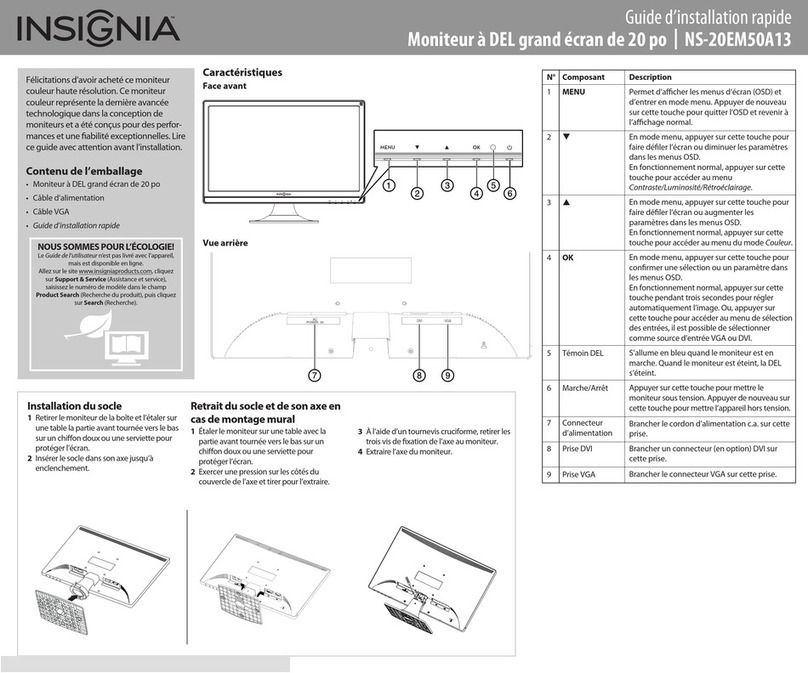
PACKAGE CONTENTS
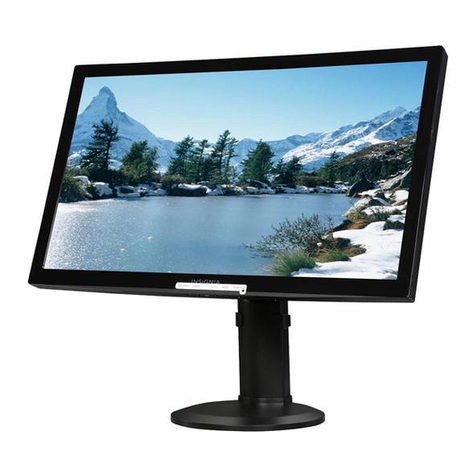
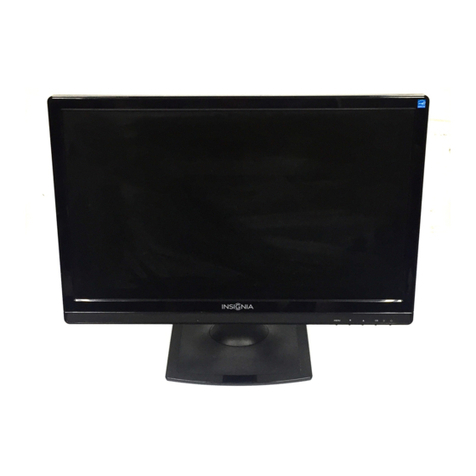
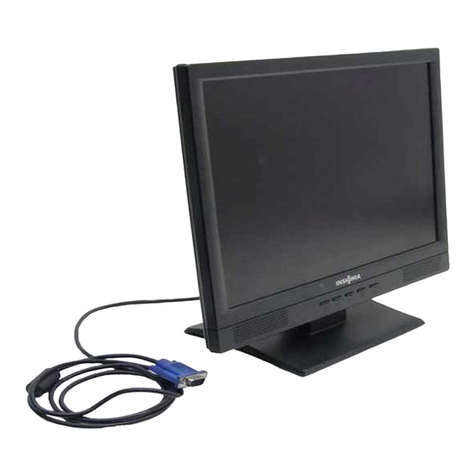
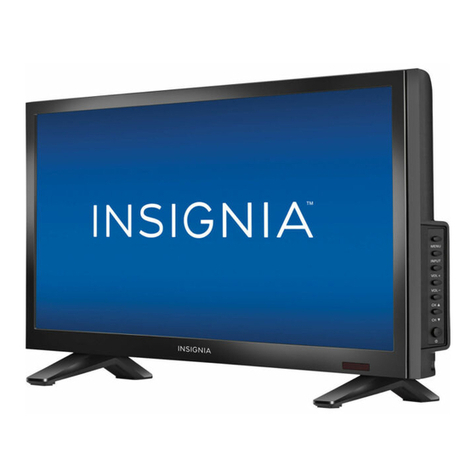
• 24" FHD LED Backlit Gaming Monitor
• Stand base
• Screw M6 10
• Quick Setup Guide
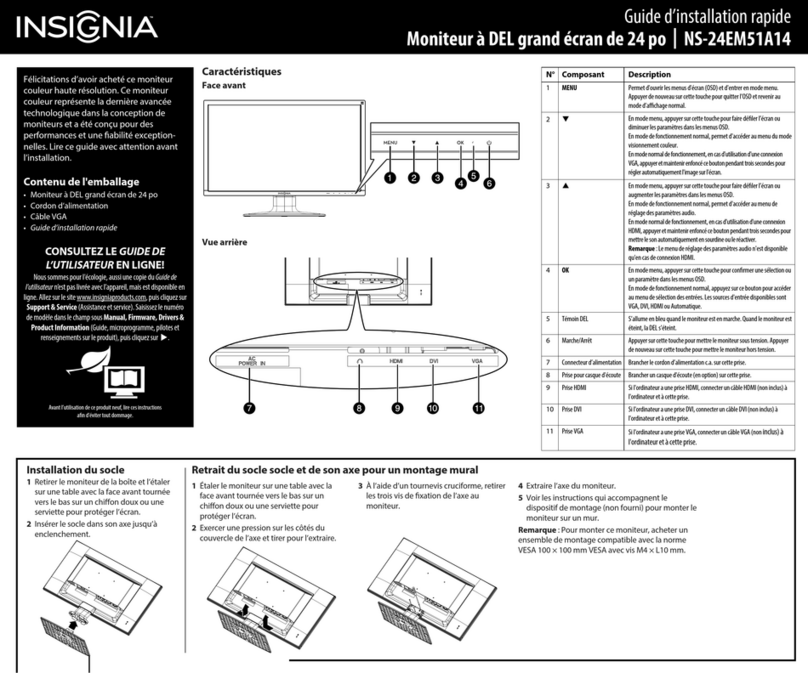
FEATURES
Front Back
QUICK SETUP GUIDE
24" FHD LED Backlit
Gaming Monitor
NSPMG248
Before using your new product, please read these instructions to prevent any damage.
USING THE STAND
You’ll need: Soft surface and Phillips screwdriver
DESCRIPTION
AUTO button
Adjustment buttons
MENU button
Power button
Cable lock slot
Power cord connector
HDMI jacks
DisplayPort
USB downstream ports
USB upstream port
Headphone jack
FUNCTION
Selects the video input source or closes the menu when it is open.
Navigate up or down in the menu or increase or decrease a setting.
Opens the menu and conrms selections.
Turns your monitor on or o.
Slide a lock cable through this slot to secure your monitor to another object.
Plug the AC power cord into this connector.
Connect a computer with an HDMI jack to one of these ports.
Connect a computer with a DisplayPort to this port.
Connect USB device such as mouse or keyboard on these two downstream
ports.
Connect one end of the USB upstream cable to the USB upstream port on the
monitor, and then connect the other end to a USB port on your computer.
Connect a headset to this jack.
1Place the monitor screen face down on a cushioned, clean surface
with the bottom edge hanging over the edge of the surface.
2Rotate the monitor stand down.
3Push the stand base onto the stand.
4Tighten the screw to secure your monitor to the base.
OR
1
1Place the monitor screen face down on a
cushioned, clean surface.
2Remove the four screws that secure the stand to the back of your monitor.
USING A WALL MOUNT
How do I prepare my monitor for wall mounting? (not for use with a monitor stand)
You’ll need: Soft surface and Phillips screwdriver
3Your monitor has four VESA
mounting holes on the back. If you
attach a wall-mount bracket to the
back of your monitor, make sure that
you attach it to all four holes. If you
do not use all four mounting holes,
your monitor may fall and cause
property damage or personal injury.
Power cord
connector
HDMI jacks Headphone
jack
USB
upstream
port
USB
downstream
ports
DisplayPort
Cable
lock slot
AUTO button Adjustment buttons MENU
button
Power
button
3Attach the wall-mount bracket to your monitor. See the
instructions that came with your wall mount for more
information about how to correctly mount your monitor.
Your monitor takes type M6 wall-mount screws.
FIND YOUR USER GUIDE ONLINE!
1Go to www.insigniaproducts.com.
2Use the search bar to nd NS-PMG248.
3Select Support & Downloads.
4Next to User Guide, select the language you want.
2
TURNING ON MY MONITOR
Press the power button on the front of your monitor.
Power button
