Inspired Energy PH1000A User manual
PH1000A/E/U Desktop Smart
Charger/Calibrator
Instructions
908022 PH1000 Instructions 18-03-23 90802222
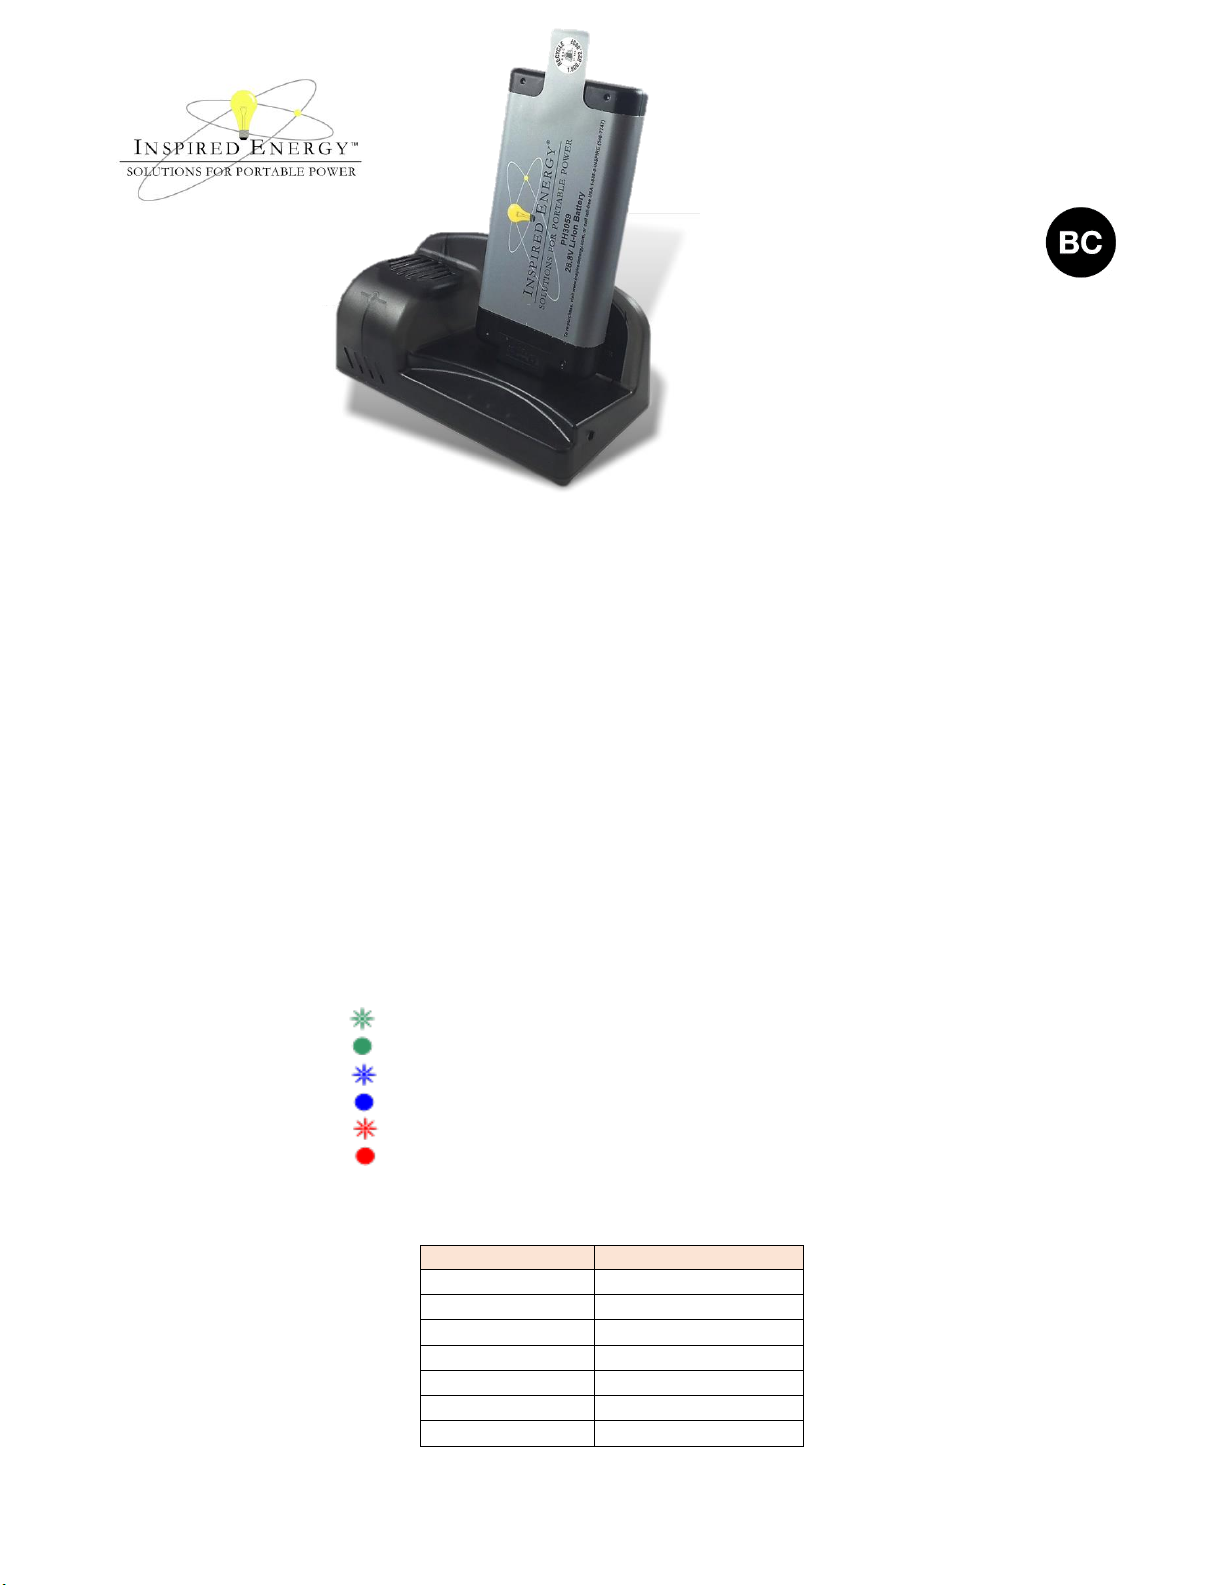
The PH1000 is a standalone desktop
smart battery charger with the
ability to recalibrate the fuel gauge
on all Inspired Energy® “P”-series
high-power, smart battery packs.
What’s in the box?
1. One PH1000 desktop charger/calibrator unit
2. One 36-38VDC power supply unit.
3. One US mains cable (PH1000A). European Chargers (PH1000E) ship with a European 2-pin mains cord,
UK Chargers (PH1000U) are packed with a UK 3-pin mains cord. PH1000X ships without an AC cord.
Safety
1. Do not expose the charger or power supply to water or conductive liquids.
2. Do not open the charger or power supply case. There are no user serviceable parts inside.
3. Do not cover the charger case, as this could cause overheating.
4. Place the charger in a cool spot, away from external heat sources.
4. Caution - during recalibration the battery connector and the charger will become warm.
Setting up your Charger
Place the charger unit on a flat, level surface away from sources of heat and moisture. Plug the power supply
into the charger unit and into the AC supply using the cable supplied.
Charging
Connect the high power battery connector to the charger connector. The connector is fully seated when the
charger and battery cases touch. The LEDs in the charger status window will provide status information as
detailed below, and the charger will automatically begin to charge the battery. The LCD fuel gauge on the
battery will flash to indicate charging is in process.
LED Indication:
The status of the battery is indicated by the LEDs visible in the status window:
Green flashing: Battery charging
Green solid: Battery fully charged
Blue flashing: Battery in calibration mode
Blue solid: Battery fuel gauge calibrated
Red flashing: Battery fuel gauge in need of recalibration
Red solid: Error
Recharge Time:
Different battery packs will require differing recharge times. The times given below are for a full charge from
0% to 100% state of charge.
Battery Model
Full Recharge Time
PB3037HD30
2½ hrs
PD3074HD30
2½ hrs
PD3077HD30
2½ hrs
PH2059HD34
4 hrs
PH3059HD25
1½ hrs
PH2054HD34
3 hrs
PH3054HD25
2½ hrs

PH1000A/E/U Desktop Smart
Charger/Calibrator
Instructions
908022 PH1000 Instructions 18-03-23 90802222
Recalibration
If the battery is in need of fuel gauge recalibration, the red LED will flash upon insertion of the battery.
This indicator provides feedback to the user on the accuracy of the fuel gauge and avoids unnecessary
battery calibration cycles.
The user has the option to calibrate the fuel gauge and charge the battery, or to only charge the battery.
This option is given because a recalibration cycle is longer than a charge cycle.
To recalibrate the battery, press the calibrate button on the side of the PH1000.
No action is required if only a recharge is required, as the charger will automatically begin to charge
the battery.
The blue calibration LED will flash to indicate that the battery is undergoing the recalibration cycle.
There may be a short delay before the calibration begins. During calibration the discharge resistors
will heat up. A thermistor is used to maintain charger temperature within acceptable limits.
At the end of this procedure the blue LED will stay constant indicating a fully charged, fully calibrated battery.
The most common cause of calibration failure is overheating of the pack during discharge. Please keep
the charger away from direct sunlight or heat sources during calibration.
Recalibration Time
The recalibration cycle begins by charging the battery. This is followed by a special calibration discharge.
Finally the battery is given a regular charge. Once the calibration button is pressed, the recalibration cycle is
started and this switch is then inactive until the calibration cycle is completed. Removing the battery or
powering down the charger will abort the calibration cycle & it will need to be started again from scratch.
Battery Model
Recalibration Time
PB3037HD30
23 –30 hrs
PD3074HD30
21 –29 hrs
PD3077HD30
26 –34 hrs
PH2059HD34
32 - 36 hrs
PH3059HD25
25 - 27 hrs
PH2054HD34
32 - 36 hrs
PH3054HD25
28 - 31 hrs
What is recalibration & why is it needed?
The fuel gauge in the battery uses a highly accurate voltmeter, ammeter and time clock to measure actual
charge in & out of the battery pack. In addition there are algorithms to compensate for the effects of discharge
rate, discharge temperature, self-discharge and charging efficiency etc.
All this combines to provide a highly accurate fuel gauging system. What is also required is the means to
ensure the continued reliability of this system throughout the life of the battery pack.
Even with all this technology, the only time at which the battery is absolutely certain of its real capacity is
when it is either completely full or completely empty. Anywhere in between is a calculated estimate - albeit a
highly accurately calculated one.
Also, as the battery ages, the amount of available capacity shrinks - so each cycle the "full" point gets a little
bit lower. Imagine if the fuel tank in your car got smaller as your car got older –you’d need to occasionally
recalibrate your car’s fuel gauge too.
What's more, if the battery only sees partial charges and
discharges during its application, then it may not get the
benefit of a "full" or "empty" reference point for some time
and must rely more and more on its calculated figure. So
the fuel gauging system may be subject to drift during use.
This is analogous to navigating by dead reckoning - you take
compass readings & set off on your heading to your waypoint
& then change course etc. After a few changes in course,
the minor errors in your execution of the course can become
amplified and your true position can drift from your

PH1000A/E/U Desktop Smart
Charger/Calibrator
Instructions
908022 PH1000 Instructions 18-03-23 90802222
calculated position.
In use, as the fuel gauge mathematically works out the battery's remaining capacity. It will also work out an
estimated accuracy figure known as the "Max Error". This keeps track of the overall accuracy of the system. In
this way the battery can tell the device not only how much capacity is remaining, but also how accurate this
estimate is. When an Inspired Energy battery achieves a max error of 10% the recalibration bit is set.
Some devices use this recalibration bit to trigger a note on the device screen to tell the user to recalibrate
the battery. Other systems simply put a note in their instruction manual to recalibrate the battery every so
often. The PH1000 uses the recalibration bit to tell the user if recalibration is necessary during charging and
flashes the red LED on the charger to let the user know that the battery fuel gauge is becoming inaccurate.
Recalibration is used to re-set the fuel gauge algorithms, re-establish the full and empty points, and re-
calculate the actual capacity in the battery. In this way, even as the battery ages and things change, the
accuracy and reliability of the fuel gauge can be retained throughout the life of the battery.
A desktop device like the PH1000, which automatically takes the batteries through this process, ensures
accuracy and reliability of the fuel gauge throughout the life of the battery. As the process of recalibration
includes the charging process it is most convenient to build in this functionality into a charger and give the user
the option of a regular charge or a recalibration with a charge.
What are the SMBus and the SBS?
The Smart Battery System (SBS) defines the parameters that are stored by the battery. This includes battery
status and fuel gauging data. The System Management Bus (SMB) is the language by which these parameters are
communicated between the battery, the charger and the host device. For details of the SBS data available
from your battery please refer to the battery specification sheet available at www.inspired-energy.com
How does the charger know what charge to deliver?
The PH1000 charger is capable of sensing and delivering an appropriate charge to all Inspired Energy high
power battery packs. Upon inserting the battery into the charger, the battery communicates to the charger
over the SMBus telling the charger what type of cell chemistry it is and what type of charge regime it needs.
The PH1000 then configures its output to provide the charge regime requested by the battery.
Compatibility
The PH1000 is fully compatible with all Inspired Energy® brand high power “P”-Series battery packs. For
optimum results we recommend using only Inspired Energy® brand smart batteries. For a full list of all
compatible Inspired Energy batteries, please visit:
http://www.inspired-energy.com
PH1000 Specification Summary
Weight:
308g / 11oz
H x L x W
88 x 180 x 92mm / 3.5 x 7 x 3.6”
Energy
Compliance
Compliant to California Energy Commission (CEC) Standard: DoE CFR, Title 10,
Chapter II, Subchapter D, Part 430
Communications
Compliances.
System Management Bus Rev 1.0, Smart Battery Data Specification rev 1.0 and
Smart Battery Charger specification Rev 1.0 compliant
Power Supply
100-240VAC, 36-38V, 2.78A DC, 150x35x70mm, 600g /21oz
UL listed, CE Compliant
Mains Power (AC)
Cord
PH1000A
PH1000E
PH1000U
PH1000X
110V N. American 3-pin connector
220V European 2-pin connector with ground recess
240V UK 3-pin connector
No AC cable supplied
This manual suits for next models
2
Table of contents
Other Inspired Energy Batteries Charger manuals


