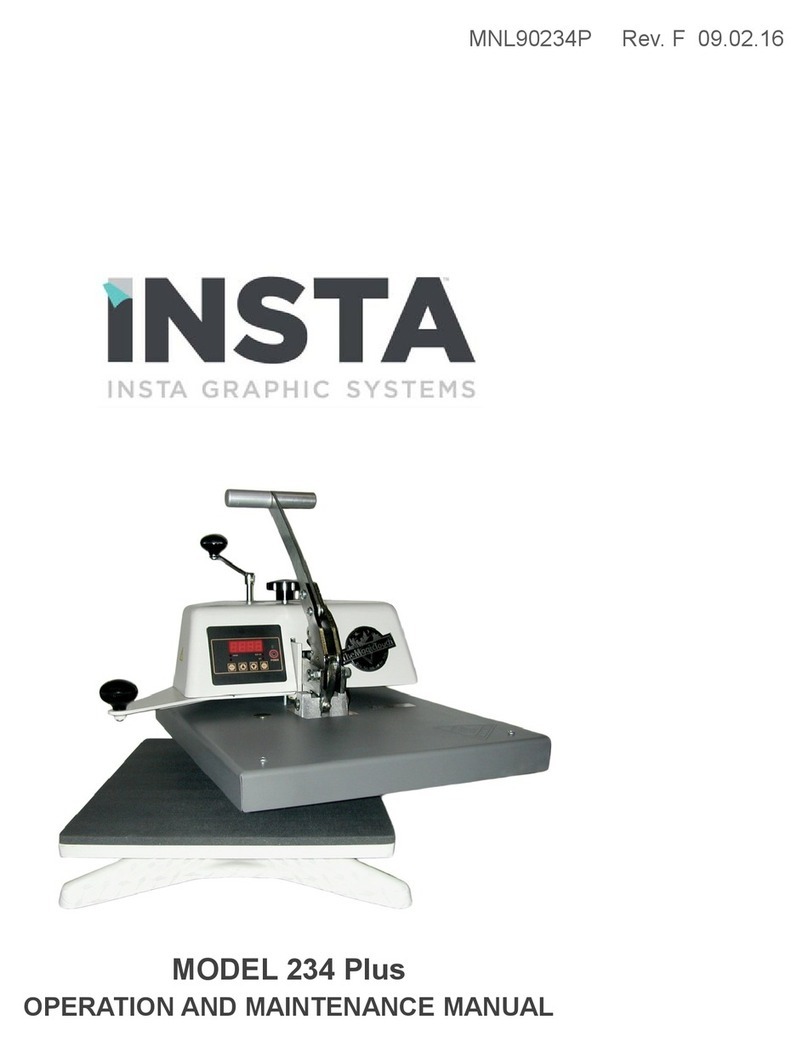
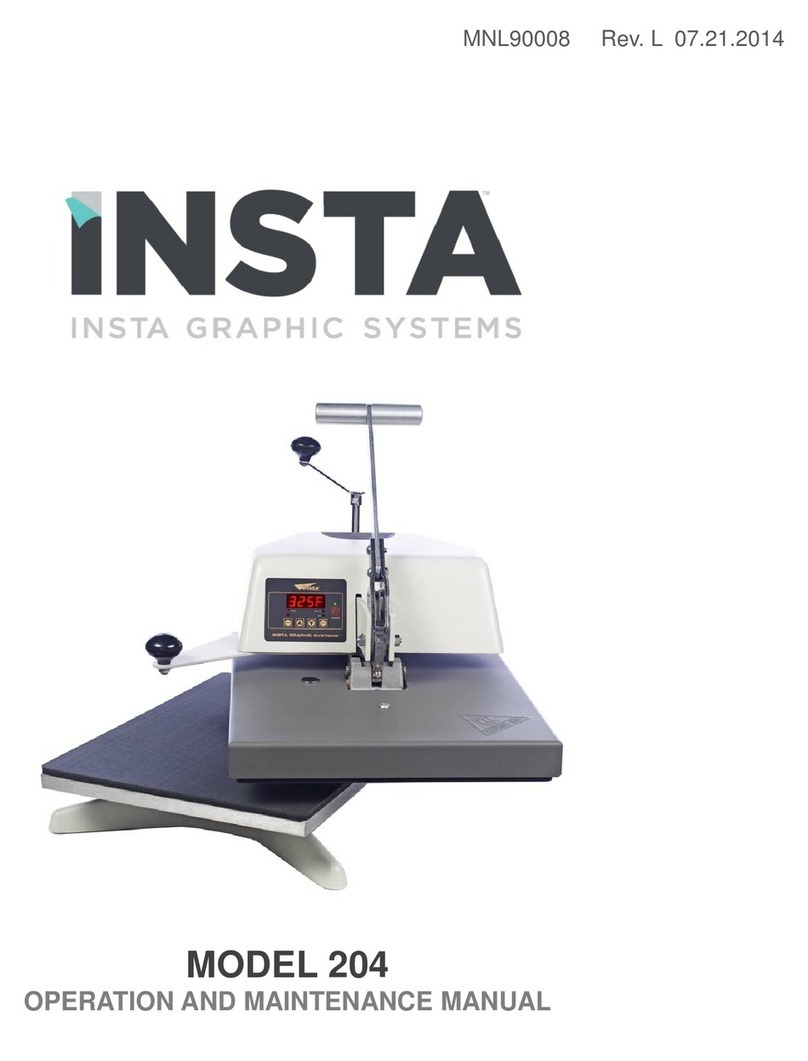
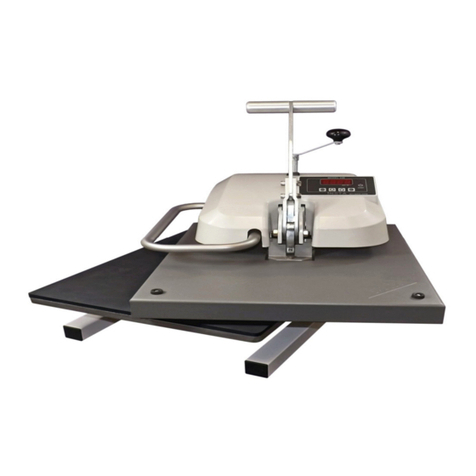
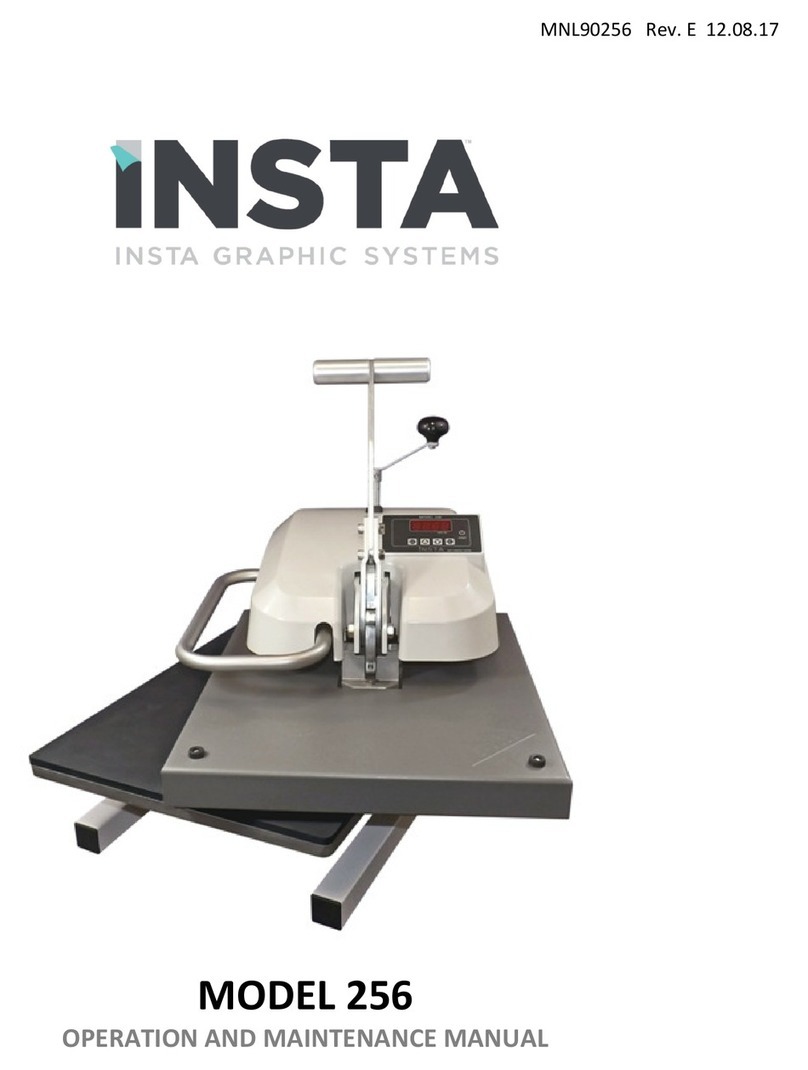
Insta 780 User manual

MODEL
78
0
OPERATION AND MAINTENANCE MANUAL
MNL90
78
0
Rev.
-
02.11.2020

Safety Summary
WARNING
In case of power cord damage, do not attempt to repair or rep ace the power cord.
Contact the manufacturer or the oca distributor.
WARNING
Hot surface. Avoid contact.
CAUTION
The machine is to be operated by one person on y.
CAUTION
To reduce the risk of e ectric shock and injury to persons, turn the machine off and
disconnect the machine from the power supp y before servicing and/or c eaning.
CAUTION
During norma operation, the base of the machine must be insta ed or p aced above
the wa socket on a eve , stab e surface.
NOTE
This machine uses a fuse to protect against fire and e ectric shock. For continued
protection against fire or e ectric shock, rep ace
CAUTION
Do not ean on the machine when the ower p aten is removed. Care must be taken to
prevent machine from tipping over. Keep upper p aten c ose to the center position.
NOTE
This machine is for commercia use on y.
CAUTION
To provide continued protection against risk of e ectric shock, connect to proper y
grounded out ets on y.
WARNING
For continued protection against fire or e ectric shock, rep ace on y with Type T and 2
Ampere fuse.

Internationa Symbo s
Power Off
Power On
Hot Surface
Risk of E ectrica Shock
Protective Earth Termina
Ground
Wet Conditions
Start Action
Caution – Warning

Congratu ations!
Your se ection of the Insta Graphic Systems heat sea machine is a sound business decision. Insta equipment is
the resu t of the highest qua ity engineering and time-tested design. Your new machine, combined with Insta’s
reputation for innovation in the heat-sea ing fie d, ensures that you wi be ab e to de iver the best-decorated
substrates possib e for years to come.
This manua provides the insta ation, operation, and maintenance procedures for your 780 series machine, as
we as easy to fo ow instructions for on-the-spot maintenance.
Your mode 780 machine wi have a ong, troub e-free ife. Read this manua . Keep it with your machine; it’s
your key to proper operation and asting service.
Genera Description
The 780 is an automatic dua p aten shutt e machine capab e of generating tremendous pressure that is even y
distributed across the area of the 16’’ x 20’’ p aten. The 780 machine a so features a quick-change mechanism in
the ower p aten a owing the ower p aten to be switched or rotated in a matter of seconds. The heating p aten
features a heating e ement that is dense y coi ed to de iver rapid heating and constant, ong- asting and uniform
temperatures.
P ease fi out the fo owing for future use:
MODEL NO:
SERIAL NO:
MANUFACTURE DATE:
PURCHASE DATE:
PURCHASE VENDOR:

Limited Machine Warranty
Insta Graphic Systems warrants this heat sea machine, when operated under norma conditions, to be free from
manufacturing defects in materia and workmanship for a period of one (1) year on parts and 90 days on abor
from the invoice date.
This warranty wi be effective on y when Insta authorizes the origina purchaser to return the product to the
factory in Cerritos, Ca ifornia, freight prepaid, and on y when the product upon examination has proven to be
defective.
This warranty does not app y to any machine that has been subjected to misuse, neg igence, or has been
damaged accidenta y or intentiona y.
Insta sha not be iab e for the injury, oss, or damage, direct y or indirect y, arising from the use or the inabi ity
to use the product.
No c aim of any kind sha be greater in amount than the sa e price of the product or part to which c aim is made.

Specifications
Machine Weight (Dry)
425 bs
Shipping Weight (Dry)
450
bs
Height
30 inches
Depth
40 inches
Width
42 inches
Dimensions of the p ate
400 x 500 mm
Power supp y
220/240 V Sing e phase + Ground 50/60 Hz
Power
3
3
00 W
Amperage
1
5
A
E ectronic temperature contro er
Accurate to
+/
-
1% of max temperature.
Adjustab e from
32 to 428 °F
(
0 to 220 °C
)
E ectronic
timer
Accurate to
+/
-
1%
Adjustab e from
0s to 59min 59sec
Air
Pressure
Pressure maxi.
116 psi (8 bar)
Pressure mini
58 psi (4 bar)
Pressure mini. for e ectronic pressure va ve
14.5 psi (1 bar)
Terms of use
Noise
Less than 70 dB (A)
Ambient
temperature of use
From
50°F to 95°F or
10°C to 35°C
Hygrometry
Less than 90%
Max pressing force
2080 bf
Non-contractua document: according to technica progress, we reserve the right to modify the characteristics of our products.

Features
This heat-press machine has been designed for intensive production by an operator working in front of the
machine.
Heating p ate
Emergency stop
Si icone foam
Removab e ower
p ates
Touchscreen
Hood + Re ay
+ Fuses
Power supp y
Pneumatic supp y
connection
Automatic
rotation cy inder
Foot Peda

1. SECURITY
It is recommended to read the "instructions for use" carefu y before starting any pressing operation.
The press must be used by an authorized person who has been informed of the risks that may be caused by
misuse of the equipment.
The adjustments (pneumatic, e ectrica and mechanica ) made by our technicians in the workshop as we as the
safety devices insta ed on the machine must not be modified under any circumstances. Otherwise, the company
INSTA graphics systems wi re ease a responsibi ities on possib e prob ems re ated to the said machine.
THIS DEVICE IS DESIGNED TO BE USED BY ONE USER
USE BY QUALIFIED PERSONNEL
Important points
Obtain persona protective equipment P.P.E. (g oves and g asses for examp e)
Do not touch the hot parts of the device during use.
Do not put hands between the trays once the device is turned on.
When hand ing, ensure that the operator does not risk anything in terms of burns, e ectrocution or other.
Perform a dai y inspection of the machine before starting production.
In the area around the machine, make sure there is no one before starting.
If the machine does not work proper y, switch off the power supp y immediate y and ook for the cause (see
chapter "Maintenance" in the manua ).
Safety features on the machine
Protections and safety devices must not be modified.
They must be reassemb ed in case of possib e remova for maintenance.
They must be kept in p ace and in good condition during norma operation.
The INSTA MS780 is equipped with safety systems that protect the operator from pinching.

The main security features are:
Emergency stop
Located on the front of the machine: if the operator activates it, it turns off the machine.
Security guard
Above the upper heating p ate are two tab switches.
This system prevents the risk of pinching and crushing the operator.
If the system detects an obstac e, the heating p ate rises, the rotation is deactivated immediate y and the press
goes into safety mode.
You must press the red zone on the "A arm" page, position the stem above one of the ower p ates and press the peda so
that the machine is functiona again.
Verification of the operation of the safety device
Try the emergency stop and the safety cover dai y.
After an emergency stop
In order to restart the nomina operation, check if there are any other prob ems on the machine.
Un ock the emergency stop by turning the red part: the machine wi reset automatica y.
Manual
It is provided during the de ivery of the machine, technica documentation on the components used. P ease read
it before hand ing the INSTA machine.

2. INSTALLATION OF THE MACHINE
USE BY QUALIFIED PERSONNEL
780 MODEL, 230 VOLT
Use a designated 16 Amp AC circuit.
On y industria extension cords with
proper wire size (2.5 mm
2
) sha be
used.
Do not handle the machine by the trays!
IMPORTANT
The app iance must be p ugged into a
proper receptac e of the proper size
and rating. Equa y important, the ine
vo tage must be ab e to accommodate
this app iance as we as other
appliances operating on this circuit.
a. Cut the straps from the crate and unscrew the screws ho ding the cover and the be . Remove the id and
the be from the box.
b. Remove the p astic bag protecting the machine.
c. Remove the ag screws that secure the machine to its pa et.
d. After removing the packaging, remove the security screw using the A en key 4 provided.

e. Center the machine between the two p ates.
f. Position the transport bars and hand e the machine on y by them.
Warning! Do not ift the machine by the trays.
g. Ho d the machine on a stab e and eve tab e by manipu ating it with the transport bars.
Position and secure the bottom p ates if it is not done. Remove and store the transport bars with the
machine box in case of future transport of the machine.

3. START-UP
Supp y compressed air to the machine. The compressor must provide at east 58 psi - 4 bars.
Power the machine with the supp ied power cord.
Position the button on the back of the stem to "1" and check that the emergency stop button on the
front of the stem is un ocked. C ipper the cab e as described be ow:
P ace the power cab e facing the
notch
Push the cab e unti you hear a
"c ic
k
"
Your cab e is now fixed

Power cord is equipped with a ocking system to avoid disconnecting it during operation.
Turn on the machine by f ipping the main switch on the back of the machine.
The touch screen wi disp ay the fo owing start page:
Pneumatic network
connection
E ectrica connection
230VAC
-
20A
Fi ter
Main Power Switch

4. CONTROL PANEL
1) Measured temperature and temperature setting
(0 to 220 ° C): The numbers are
a. Red when the temperature is above the set va ue
b. B ue when the temperature is be ow the set va ue
c. White when the temperature is at the set va ue
2) Time
3) Name of active recipe
4) Status bar (Heat – Cyc e – ECO mode – Warning)
5) Dai y counter / Working mode
6) Active timer
7) Next timers (4 possib e timers)
8) Recipe button
9) Settings button
10) Exchange p ate button – STOP during cyc e
11) Left pressure (Measure & setting)
12) Right pressure (Measure & setting)
1)
2)
3)
4)
5)
7)
6)
10)
9)
8)
11)
12)

The green start buttons and foot peda a ow the start of the pressing cyc e. This action is on y possib e on this
screen.
For shutdown, there are two modes:
1) STOP button : The heating p ate goes up and the press stops moving.
2) Press the Foot Peda or green button: the p ate goes up, moves to the opposite position and stops.
5. SETTINGS
a) Temperature
Touch the area of the screen where the temperature is indicated.
Press the temperature setting.
A numeric keypad appears to enter the new va ue.
After entering the required temperature va ue press the arrow at
the bottom eft of the screen to return to the previous screen.
b) Automatic pressure
Touch the area of the screen where the pressure is indicated ( eft
& right).
Press the pressure setting.
A numeric keypad appears to enter the new va ue.
This va ue is immediate y entered in the current recipe.
Press the arrow at the bottom right to return to the work screen.
c) Timers
Touch the area of the screen where the timers are indicated.
Then enter using the numeric keypad each va ue of the timers.
Press the arrow at the bottom right to return to the work screen.
These va ues are immediate y entered in the current recipe.

d) Counters and Modes
Press 3 seconds on to reset the dai y counter
A tota izer is ocated be ow.
To change the operating mode press the fo owing button:
Mode sing e p ate
Mode Semi-Auto (peda )
Mode Auto
c) Rotation Speed
Contact your officia INSTA distributor to adjust this setting.
6. DESCRIPTION OF THE OPERATING CYCLE
Move the upper p aten to the opposite side of where you want to work.
Test by pressing the peda or the green push button to va idate your choice.
I. P ace the item on the ower tray.
II. Adjust the transfer sheet.
III. Press the start peda cyc e. The stem automatica y moves to the tray, the warming p ate
automatica y descends and activates the press timer.
IV. Meanwhi e, prepare the item and its transfer sheet on the second station.
V. At the end of the countdown of the timer, the heating p ate wi go up again.
VI. If the machine is not in "FULL AUTO" mode, press the peda . Otherwise the rotation wi be done
automatica y after raising and counting the "timer after pressing" (see 5.c Counters and Modes)
VII. Remove the item from the first item and prepare the next item.
VIII. Repeat the operation at the third point.
During the cyc e, pressing the peda or one of the green pushbuttons stops the cyc e and re eases the stem from
the opposite side.
During the cyc e, pressing the stop button on the screen stops the pressing cyc e.

7. PARAMETERS
a) Status bar
The status bar a ows you to know the status of the machine on any activated page.
Logo Time Active Recipe Heat status – Cyc e – Eco – Warning
Heating status: B ue f ake = Stop
Red f ame = On. B inks between the two states in regu ation.
Cyc e : Machine ready to work.
Cyc e in progress (Rotating arrow).
Eco mode: Eco mode OFF
Eco mode ON
Warnings : No warning
Warning activated
No action is possib e. It’s just for information.
Time is defined in the section page 17.
b) Digita keypad
The numeric keypad a ows you to enter va ues such as temperature or times. An a phanumeric
keyboard a ows you to enter the name you want to give to the recipe.

c) Recipes
The system is designed to receive up to 6 different recipes. Each recipe can be renamed with 16
characters. You can access the appointment page for recipes and choice of regu ation as fo ows:
The recipe store :
The name
The type of regu ation
4 different timers
2 differents pressure
1 eft
1 right
These va ues are summarized in the fo owing page:
The fo owing regu ations are avai ab e for each
type of product:
- F ex and f ock, screen-printing transfers, aser transfers, f ex in ess than 5 seconds, pressing of digita
printed texti es, sub imation texti es = TEXTILE
- Drying of pretreatment on texti es = DTG
- Sub imation of rigid materia s = RIGID
To eave the page, you must first save the recipe even if
there has been no change.
The exit button at the bottom eft of the screen, appears to
eave the page.

d) Setting menu and diagnosis
Push the button on the eft of the screen to access the settings.
C ick on the desired menu to access it.
Press the arrow on the bottom right to get out.
ECO Modes (2 pages)
Firmware
information
Protected access
Diagnosis (I/O,
warnings)
Time
Settings (Buzzer, timers,
etc.)

e) Ergonomics settings
(1) Buzzer ON/OFF = Disab es or activates the buzzer when touching the screen and at the end of the cyc e.
The buzzer remains operationa in the event of a fau t (5 rings).
(2) Buzzer « End of cyc e » ON/OFF = ring 2 seconds before the end of the cyc e.
(3) Access to the page "Rotation - temperature range"
(4) Unit change : a ows to change temperature unit (° Ce sius or ° Fahrenheit)
(5) Choice of number of timer: 3 positions sing e timer, 2 timers or 4 different timers and configurab e.
(6) Switching de ay: In auto mode, wait for rotation of the stem before the next cyc e (in seconds and tenth
of a second).
(7) Operating temperature range of the machine: a ows the start of the cyc e to be conditioned when the
temperature has not yet been reached or exceeded.
a. Minimum: from -30 to 0°C or from -86 to 0°F.
b. Maximum: from 0 to 30°C or from 0 to 86°F.
(8) Unit change : a ows to change pressure unit (bar or psi)
(9) Back to Menu
f) Energy Mode
The energy mode has two settings: a ong standby setting and a short standby setting.
The ong standby mode puts the machine into hibernation for the time defined by the two parameters. The
temperature is then turned off, it wi drop to room temperature. (No energy consumption). If the machine is in
(5)
(6)
(1)
(
9
)
(2)
(4)
(3)
(6)
(7)
(
8
)
Table of contents
Other Insta Power Tools manuals
Popular Power Tools manuals by other brands
Grizzly
Grizzly T25227 owner's manual
Palmgren
Palmgren 80110B Operating manual & parts list
Universal Tool
Universal Tool UT8892SP Series General Safety Information & Replacement Parts

Parkside
Parkside 382543 2110 operating instructions

PEUGEOT
PEUGEOT EnergyMix-18VBL using manual
Chicago Pneumatic
Chicago Pneumatic CP 1210 Safety and operating instructions
