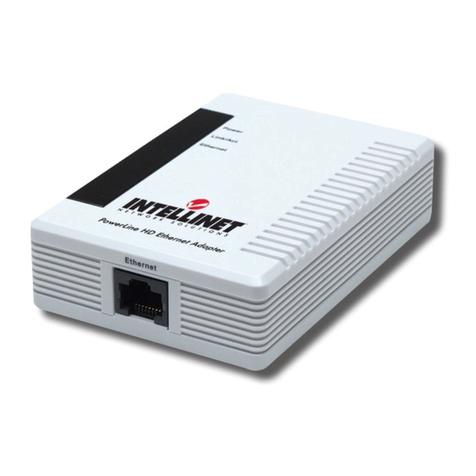
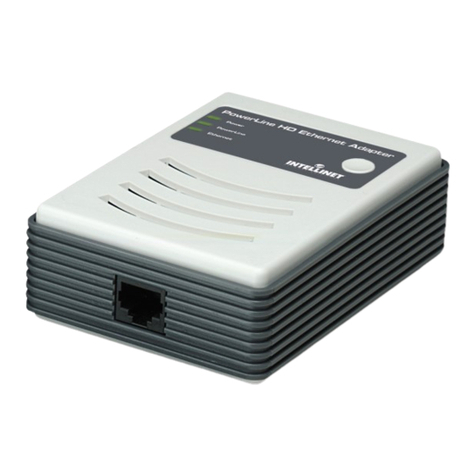
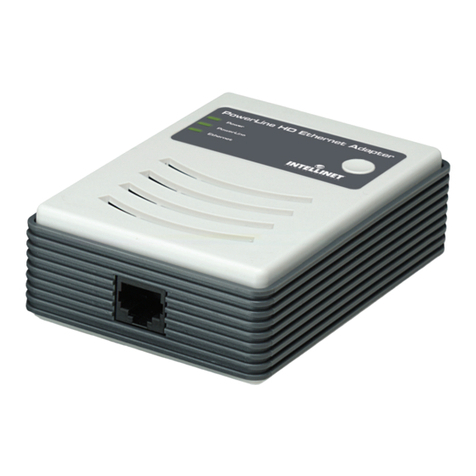
PowerLine HD Ethernet Adapter
Device Detected / Network Type / Autoscan: The number or status of these
three references is listed just above the lower-panel window: a count of all
HomePlug AV remote devices discovered to be currently on the logical
network; public or private network; and whether Autoscan is on or off.
Device Name: Devices are listed in this column by their default name (as shown)
unless re-defined by clicking “Rename” or by highlighting the name and editing
it in place. An icon is usually displayed alongside the name, with a color
distinction between HomePlug 1.0 and Turbo devices.
Password: By default, this column is blank;
however, clicking “Enter Password” with
a device selected on the Main screen
allows you to set the password, which
is required when creating a private
network. When the Set Device Password
screen displays, the name of the selected
device appears above the “Password”
text field. Enter the password, which
appears on the back panel of the
adapter, then click “OK.” NOTE: The
password is accepted regardless of the
font case entered, but do
include any dashes that
separate the four- character
alphanumeric segments. A
confirmation box appears if
the password was correctly
entered. If a device isn’t found on the network, a notification prompt will
appear, along with suggested solutions.
Quality: This indicates the quality of the transmission between two devices.
Rate: This indicates the current transmission rate of the selected device.
MAC Address: This is the device’s MAC address.
Add: Click to add a remote device to the
existing network. When the Add Device
to Network screen displays, fill in the
“Device Name” and “Password” text
fields, then click “OK.” A confirmation
box appears if the entries are correct. If
a device isn’t found on the network, a
notification prompt will appear, along
with suggested solutions.
Scan: Click to search for devices that are
connected to the network. By default,
the utility automatically scans every few
seconds and updates the Local Devices list.

