7July 6, 2010
AN1559.0
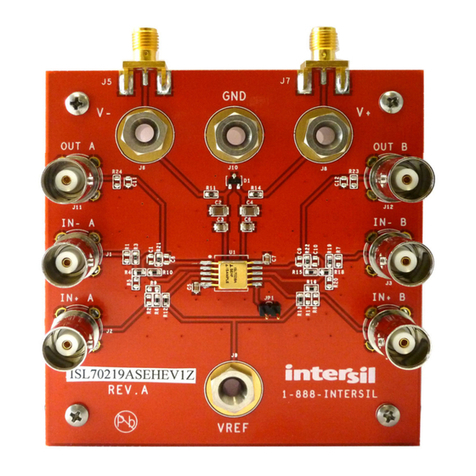
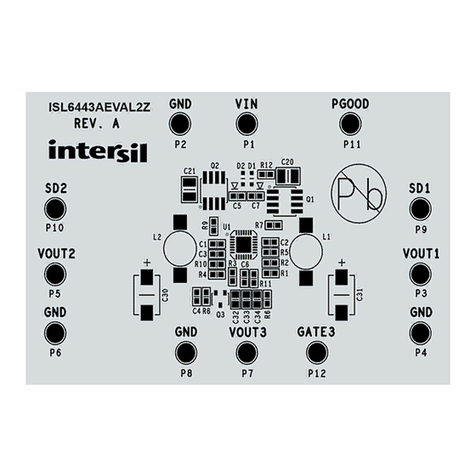
QHx220 Board Bill of Materials (for MTV)
MTV Optimization Setup (Static Coupling
Channel)
The following sections explain how to set up a static
coupling channel which is used to perform self
cancellation. The test setup in the following section is a
useful environment to become familiar with tuning the
device to the desired frequency the user would like to
cancel in the final application. It will also provide an
intuitive means of obtaining the starting I and Q values
for achieving cancellation in the MTV Application setup.
A network analyzer is used to show the frequency
response of the QHx220 while performing the
optimization to achieve cancellation. It is suggested to
perform the following setup of the network analyzer
before connecting it to the rest of the test setup.
1. Set the desired frequency bandwidth for the
application.
2. Change the output power to -45dBm. This provides
some margin for the -45dBm maximum input
requirement of the QHx220 since there is an
additional 6dB loss from the power splitter. However,
if pre-amplification is used (operating in high gain or
boost mode) then the power should be reduced an
additional 10dB to 15dB per gain stage.
3. Perform a 2-port calibration of the network analyzer.
4. Select the S21 measurement mode.
The power splitter connected to the output of the
network analyzer is used to divide the aggressor signal
into two separate paths. One path goes to the sampler
input of the QHx220 which samples the aggressor signal.
The other path is fed to what will later be used as part of
the receive path for the MTV receiver. An attenuator pad
is used in this path to set the coupling losses. This loss
represents the coupling loss between the aggressor
source and the MTV victim antenna. For the purpose of
this evaluation the attenuator should be roughly 10dB to
20dB for a typical coupling factor. Keep in mind that the
second power splitter adds an additional 6dB to the
coupling factor. Since the QHx220 has ~50dB dynamic
range, this range of attenuation should set the aggressor
power in the middle of the tuning range of the QHx220
when using the lowest gain setting of the QHx220.
Higher gain settings can be used for stronger coupling
factors or weaker noise sampling or tapping methods.
It is important to set the power level of the network
analyzer to -45dBm. This will ensure that the sampler
input maximum power level is not exceeded. The
TABLE 1. QHx220 MTV-SPECIFIC EVALUATION BOARD BILL OF MATERIALS
ITEM QTY REFERENCE PART VENDOR VENDOR PART # DISTRIBUTOR
1 3 C0, C2, C5 100pF KEMET C0402C101J3GACTU Digikey_399_1022_1_ND
2 2 C3, C4 10nF KEMET C0402C103K3RACTU Digikey_399_1278_1_ND
3 2 C1 2pF Panasonic ECJ-0EC1H020C Digikey_PCC020CQCT
4 1 C6 22pF Murata GRM0335C1E220JD01D Digikey_490-1253-1-ND
51 C7 DNP
6 1 L0 39nH Panasonic ELJ-RE39NJF2 Digikey_PCD1158CT
7 1 L1 22nH Panasonic ELJ-RE22NJF2 Digikey_PCD1155CT
8 1 L3 10nH Panasonic ELJ-RE10NJF2 Digikey_PCD1151CT
9 2 L2, L8 100nH Panasonic ELJ-RER10JF3 Digikey_PCD1201CT-ND
10 1 L4 DNP
11 2 L5, L7 (L or R) 10kΩYageo 9C04021A1001FLHF3 Digikey_311-1.00KLCT-ND
12 1 L6 (L or R) 14kΩYageo RC0402FR-0714KL Digikey_311-14KLRCT
13 1 D1 LED Lumex SML_LXT0805GW Digikey_67_1553_1_ND
14 1 JP1 HD1x4 Waldom 87758_0416 Digikey_WM18833_ND
15 1 JP2 HD1x2 Waldom 22_28_4040 Digikey_WM6404_ND
16 3 J1, J2, J3 Hirose Digikey_H9161-ND
17 1 R0 DNP
18 1 R1 10ΩYageo 9C04021A10RFLHF3 Digikey_311-10.0LCT-ND
19 1 R2 220ΩROHM RC04022FR-07220RL Digikey_311-220LRCT-ND
20 3 R3, R4, R5 14kΩROHM RC04022FR-0714KL
21 1 U1 QNX220 Intersil QNX220
Application Note 1559

