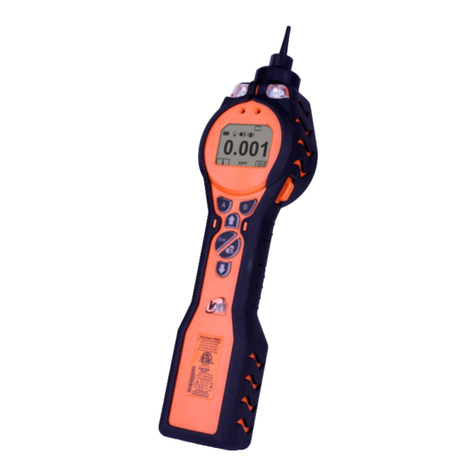
ion science TIGER LT User manual

Unrivalled Detection. www.ionscience.com
Instrument User Manual V1.4

Part number: 861265
Register your instrument online for extended warranty
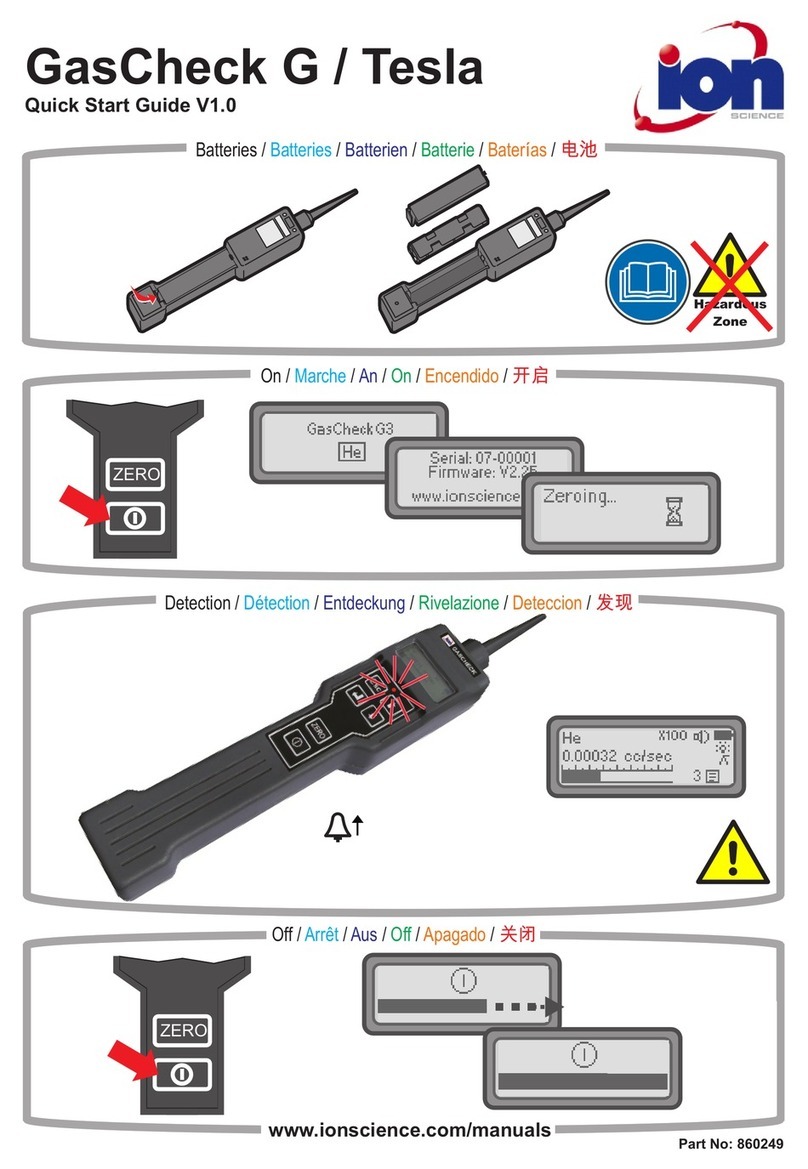
Thank you for purchasing your Ion Science product.
The standard warranty of your instrument is one year however the warranty
can be extended.
To extend the warranty to 2 years, you must register your instrument online
within one month of purchase (terms and conditions apply.)
Visit www.ionscience.com/instrument-registration

TIGERLT MANUAL Ion Science Ltd
Page 3 of 41
Warnings
USER MANUAL:
Read and understand this user manual completely before operating the
PhoCheck Tiger® instrument.
STATIC HAZARDS:
Do not use abrasive or chemical detergents to clean the PhoCheck Tiger
instrument as this may reduce the antistatic properties of the materials
used, clean it using a damp cloth only.
MATERIAL EXPOSURE
The PhoCheck Tiger must not be exposed to atmospheres known to have
an adverse effect on Thermoplastic polyolefin or Anti-static PC/ABS
SERVICING:
Do not remove the sensor cover in the hazardous area.
No part of the PhoCheck Tiger may be opened in a hazardous area
except for replacement of the battery pack. The PhoCheck Tiger must be
serviced in a Non Hazardous environment and by Ion Science authorised
service centres only.
Do not service the instrument live; Remove battery pack before servicing
Substitution of components may impair intrinsic safety.
BATTERY CHARGING:
Charge PhoCheck Tiger and its Lithium ion battery packs in a Non
Hazardous environment only.
BATTERY REPLACEMENT:
Never replace primary Alkaline battery cells while in a potentially
explosive or hazardous location. Use only Duracell Procel®l Alkaline
alkaline batteries MN1500.
BATTERY CONNECTION:
The PhoCheck Tigers lithium ion and alkaline battery packs have been
specially designed to allow connection to the PhoCheck Tiger Instrument
while in potentially hazardous atmospheres. Ensure all electrical
connections are clean and undamaged before connection:
The PhoCheck Tiger instruments ingress protection rating is reduced to
IP20 when its battery pack is removed so avoid changing batteries in
dusty or wet environments.
BATTERY USE:
Use supplied battery packs only on the PhoCheck Tiger.
Never replace primary Alkaline alkaline battery cells while in a potentially
explosive or hazardous location. Use only Duracell Procell® Alkaline
alkaline batteries MN1500.
FUNCTIONAL TEST:
The PhoCheck Tiger must be functionally checked prior to entering a
hazardous area after every occasion when a connection has been made
to the USB port. The instrument must complete its start-up routine and
display legible readings. If the LCD display fails to show an intelligible and
uncorrupted display the instrument must not enter a hazardous area.
USB CONNECTION:
The USB port can only be used in a Non Hazardous environment.
Proper Use
If the equipment is used in a manner not specified by the manufacturer,
the protection provided by the equipment may be impaired.
Type of safety protection
Intrinsically safe
USB CONNECTION
The USB port can only be used in a Non Hazardous environment.

TIGERLT MANUAL Ion Science Ltd
Page 4 of 41
Avertissement
MODE D'EMPLOI :
Veuillez lire entièrement et comprendre ce mode d'emploi avant
d'utiliser l'instrument PhoCheck Tiger.
RISQUES LIES AUX
PROPRIETES NTISTATIQUES :
N'utilisez pas de détergents abrasifs ou chimiques pour nettoyer
l'instrument PhoCheck Tiger, au risque de réduire les propriétés
antistatiques des matériaux utilisés. Employez uniquement un chiffon
humide.
EXPOSITION AUX
MATERIAUX :
N'exposez pas le PhoCheck Tiger à des atmosphères connues pour
avoir un effet indésirable sur la polyoléfine thermoplastique ou le
PC/l'ABS antistatique.
ENTRETIEN :
Ne retirez pas le couvercle du capteur dans les zones dangereuses.
N'ouvrez aucune partie du PhoCheck Tiger dans une zone dangereuse,
sauf pour le remplacement de la batterie. L'entretien du PhoCheck Tiger
doit se dérouler dans un environnement non dangereux et être confié
uniquement à des centres de service agréés Ion Science.
Ne procédez pas à l'entretien de l'instrument lorsqu'il est sous tension.
Otez la batterie avant l'entretien.
Le remplacement de composants risque de nuire à la sécurité
intrinsèque.
CHARGE DE LA BATTERIE :
Chargez le PhoCheck Tiger et sa batterie lithium-ion uniquement dans
un environnement non dangereux.
REMPLACEMENT DES PILES:
Ne remplacez jamais de piles alcalines dans un endroit dangereux ou
potentiellement explosif. N'utilisez que des piles alcalines Duracell
Procell MN1500.
CONNEXION DES PILES/DE
LA BATTERIE :
Les batteries lithium-ion et les piles alcalines du PhoCheck Tiger
ont été spécialement conçues pour permettre la connexion à
l'instrument PhoCheck Tiger dans des atmosphères potentiellement
dangereuses. Assurez-vous que les connexions électriques sont
propres et intactes avant la connexion.
L'indice de protection des instruments PhoCheck Tiger étant ramené à
IP 20 lors du retrait de la batterie, évitez de remplacer les batteries dans
des environnements poussiéreux ou humides.
UTILISATION DES PILES/DE
LA BATTERIE :
N'utilisez que les batteries fournies avec le PhoCheck Tiger.
Ne remplacez jamais des piles alcalines primaires dans un endroit
dangereux ou potentiellement explosif. N'utilisez que des piles alcalines
Duracell Procell MN1500.
ESSAI DE
FONCTIONNEMENT :
Le PhoCheck Tiger doit subir un essai de fonctionnement avant de
pénétrer dans une zone dangereuse chaque fois qu'une connexion a
été effectuée au port USB. L'instrument doit terminer sa routine de
démarrage et afficher des valeurs lisibles. Si l'écran LCD n'affiche pas
de données correctes et intelligibles, n'utilisez pas l'instrument dans une
zone dangereuse.
CONNEXION USB :
Le port USB peut uniquement être utilisé dans un environnement non
dangereux.
Utilisation appropriée
Si l’équipement est utilisé d’une manière non spécifiée par le fabricant, la
protection fournie pat l’équipement peut être altérée.
Type de protection de sûreté :
Sécurité intrinsèque
CONNEXION USB :
Le port USB peut uniquement être utilisé dans un environnement non
dangereux

TIGERLT MANUAL Ion Science Ltd
Page 5 of 41
Declaration of conformity
Manufacturer:
Ion Science Ltd, The Way, Fowlmere, Cambridge,
UK. SG8 7UJ
Product:
TIGER
Product description:
Intrinsically safe photo-ionisation gas detector for
detecting volatile organic compounds
Directive 2014/34/EU
Required Coding - II 1 G Ex ia IIC T4 Ga
Tamb. = -15ºC to +45 ºC (with Lithium ion Battery pack)
Tamb. = -15 ºC to +40 ºC (with Alkaline Battery pack)
Certificate Number-
ITS09ATEX26890X issue 2
IECEx ITS 10.0036X issue 4
Notified body:
Intertek, 0359, Chester, UK
Report number:
102394781CHE-001
Intertek
3193491 Conforms to UL Std. 913, 61010-1 &
Certified to CAN/CSA Std. C22.2 No.61010-1
Standards
BS EN 60079-0: 2012
Electrical apparatus for explosive gas atmospheres.
General requirements
BS EN 60079-11: 2012
Explosive atmospheres. Equipment protection by
intrinsic safety "i"
BS EN61326-1:2006
Electrical equipment for measurement, control and
laboratory use - EMC requirements. Group 1, Class B
equipment - (emissions section only)
BS EN61326-1:2006
Electrical equipment for measurement, control and
laboratory use - EMC requirements. Industrial location
immunity - (immunity section only)
BS EN50270:2006
Electromagnetic compatibility - Electrical apparatus
for the detection and measurement of combustible
gases, toxic gases or oxygen. Immunity Type 2 -
industrial environments.
CFR 47:2008
Class A Code of Federal Regulations: 15 Subpart B-
Radio Frequency Devices - Unintentional Radiators
Other Standards
BS EN ISO 9001: 2008
BS EN 80079-34: 2011
Quality Management System - Requirements
Application of Quality Systems for equipment
manufacture
On behalf of Ion Science Ltd, I declare that, on the date this product accompanied by this declaration is
placed on the market, the product conforms to all technical and regulatory requirements of the above listed
directives.
Name: Mark Stockdale
Position: Technical Director
Signature:
Date: 28th April 2016

TIGERLT MANUAL Ion Science Ltd
Page 6 of 41
Contents
Warnings .......................................................................................................................................................... 3!
Avertissement .................................................................................................................................................. 4!
Declaration of conformity ............................................................................................................................... 5!
Statements ....................................................................................................................................................... 7!
Responsibility for Use .................................................................................................................................... 7!
IMPORTANT .................................................................................................................................................. 7!
Quality Assurance .......................................................................................................................................... 7!
Disposal ......................................................................................................................................................... 7!
Calibration Facility ......................................................................................................................................... 7!
Legal Notice ................................................................................................................................................... 7!
Introduction to TigerLT .................................................................................................................................... 8!
Getting started ................................................................................................................................................. 9!
The Manual .................................................................................................................................................... 9!
Inlet Nozzles .................................................................................................................................................. 9!
Turn On .......................................................................................................................................................... 9!
Turn Off .......................................................................................................................................................... 9!
Batteries ......................................................................................................................................................... 9!
Response Factor ........................................................................................................................................... 9!
Set Alarm Levels ............................................................................................................................................ 9!
Understanding the keypad ........................................................................................................................... 10!
General Description ..................................................................................................................................... 10!
Keypad Function Descriptions ..................................................................................................................... 10!
Understanding the display screen ............................................................................................................... 11!
Screen Display ............................................................................................................................................. 11!
Status icon ................................................................................................................................................... 11!
Main Screen Area ........................................................................................................................................ 12!
Soft key areas .............................................................................................................................................. 13!
Using your TigerLT ......................................................................................................................................... 14!
Tiger PCLT software instillation .................................................................................................................... 17!
Connecting TIGERLT to a PC ....................................................................................................................... 17!
The Configuration Screen ............................................................................................................................ 20!
Calibration .................................................................................................................................................... 22!
The Firmware Screen .................................................................................................................................. 23!
Downloading Data Logged Readings .......................................................................................................... 25!
Software Disclaimers ................................................................................................................................... 27!
Batteries ......................................................................................................................................................... 28!
Recharging Batteries ................................................................................................................................... 28!
Replacement / Exchange of Battery Packs ................................................................................................. 29!
Replacement of Non-rechargeable Batteries in Battery Pack ..................................................................... 30!
Diagnostics .................................................................................................................................................... 31!
Maintenance ................................................................................................................................................... 32!
Calibration .................................................................................................................................................... 32!
Inlet Nozzle (Part number: 880207) from January 2016 .............................................................................. 33!
Inlet Nozzle (Part number: 861443) up to January 2016 ............................................................................. 33!
PTFE Filter Disc (861221) ........................................................................................................................... 33!
PID Sensor/Lamp Replacement and Cleaning ............................................................................................ 34!
Lamp Cleaning ............................................................................................................................................. 35!
TigerLT parts ................................................................................................................................................... 36!
Tiger main assembly .................................................................................................................................... 36!
Front end filter assembly ............................................................................................................................. 36!
Accessories ................................................................................................................................................... 37!
Instrument warranty and service ................................................................................................................. 39!
Warranty ...................................................................................................................................................... 39!
Service ......................................................................................................................................................... 39!
Contact Details: ........................................................................................................................................... 39!
Technical specification ................................................................................................................................. 40!
Manual log ...................................................................................................................................................... 41!

TIGERLT MANUAL Ion Science Ltd
Page 7 of 41
Statements
Responsibility for Use
TIGER® LT instruments detect a large range of gases which are potentially dangerous from both a poisoning
and/or an explosive perspective. TIGER LT instruments have many adjustable and selectable features
allowing the detector to be used in a variety of ways. Ion Science Ltd can accept no responsibility for the
incorrect adjustment of features that cause harm or damage to persons or property. TIGERLT can be used
as a personal safety device. It is the user’s responsibility to respond appropriately to an alarm situation.
Inadequate performance of the gas detection equipment described in this manual may not necessarily be
self-evident and consequently equipment must be regularly inspected and maintained. Ion Science Ltd
recommends that personnel responsible for equipment use a regime of regular checks prior to use to ensure
it performs within calibration limits, and that a record be maintained which logs calibration check data. The
equipment should be used in accordance with this manual, and in compliance with local safety standards.
IMPORTANT
It is essential that the TIGERLT is always used with a supplied 0.5 micron PTFE Filter Disc fitted to the front
of the instrument. Without a filter, particles of debris and dust can be drawn into the detector inhibiting the
function of the instrument. These filters are consumable and should be changed after every 100 hours of
use. The frequency of replacement should be increased for dusty or moisture laden environments. Filters
are available from your distributor or at www.ionscience.com.
Quality Assurance
TIGERLT has been manufactured in compliance with ISO9001:2008, which ensures that the equipment
supplied to our customers has been designed and assembled reproducibly, from traceable components, and
leaves Ion Science Ltd calibrated to stated standards.
Disposal
Dispose of TIGERLT, its components and any used batteries in accordance with all local and national safety
and environmental requirements. This includes the European WEEE (Waste Electrical and Electronic
Equipment) directive. Ion Science Ltd offers a take back service. Please contact us for more information.
The TIGERLT field case material is recyclable polypropylene.
Calibration Facility
Ion Science Ltd offers a calibration service including the issue of certification confirming calibration with
equipment traceable to national standards. A TIGERLT calibration kit is available from your distributor or
service centre or at www.ionscience.com. Ion Science Ltd recommends annual return of all instruments for
yearly service and calibration.
Legal Notice
Whilst every attempt is made to ensure the accuracy of the information contained in this manual, Ion Science
Ltd accepts no liability for errors or omissions, or any consequences deriving from the use of information
contained herein. It is provided "as is" and without any representation, term, condition or warranty of any
kind, either express or implied. To the extent permitted by law, Ion Science Ltd shall not be liable to any
person or entity for any loss or damage which may arise from the use of this manual. We reserve the right at
any time and without any notice to remove, amend or vary any of the content which appears herein.

TIGERLT MANUAL Ion Science Ltd
Page 8 of 41
Introduction to TigerLT
TIGERLT is a portable gas detector that uses Photo-ionization technology to detect a large range of Volatile
Organic Compounds (VOC's) which can be dangerous from both a poisoning and explosive perspective.
The TIGERLT uses a Photo-Ionization Detector (PID) to measure gas concentrations. The patented fence
electrode technology minimises the effects of moisture and contamination, avoiding the need for
compensation.
Like its predecessor, the TIGERLT also has an intuitive graphical interface allowing easy access to instrument
settings. Two soft keys A and B can be configured to suit the user’s application, so many functions can be
selected without entering the main menu structure. This improves efficiency of use, particularly with
repeatable tasks.
TIGER PCLT (PC Software) maintains the intuitive look and feel by adopting the same graphical symbols.
TIGER PC also helps manage logged data files and multiple instrument settings in a clear and concise way.
The TIGERLT uses a Lithium-ion battery pack that not only boasts an impressive running time and short
charge time, but also allows the battery pack to be replaced in potentially hazardous environments. Field
replaceable alkaline battery packs (non-rechargeable) are also available for when power to recharge is
unavailable.
The TIGERLT has true USB capability so the instrument can be connected directly to a PC via a standard
USB cable. It also offers fast data download.
A loud audio output, vibration and bright LED's indicate alarm conditions. Orange and Red LED's indicate
High and Low conditions respectively. This colour scheme is used within TIGER PCLT to offer clear
indication of alarm levels within logged data.

TIGERLT MANUAL Ion Science Ltd
Page 9 of 41
Getting started
Thank you for choosing TIGERLT from Ion Science Ltd. We hope that your TIGERLT will give you many years
of active and trouble-free service.
The Manual
Ion Science Ltd recommend that you familiarise yourself with this manual before using your TIGERLT. The
‘Statements’ and ‘Introduction to TIGERLT’ sections contain important information, which should be read
before you turn your TIGERLT on for the first time.
Inlet Nozzles
Ensure that the inlet nozzle supplied is fitted to your TIGERLT. Details on how to fit and change inlet nozzles
is detailed in the ‘Maintenance’ section. If the supplied inlet nozzle is unsuitable for your application, details
of alternative inlet nozzles can be found in the ‘Maintenance’ section as well.
Turn On
Press the Enter / On/Off key once to turn TIGERLT on.
Turn Off
Press and hold the Enter / On/Off key for 3 seconds, indicated by a 3 second countdown, to turn
TIGERLT off. (Note: If the TIGERLT fails to shut down, press the Escape (Esc) key once or twice
to return to the main screen, then press and hold the Enter / On/Off key again.)
Batteries
Check that your TIGERLT has sufficient charge for use. The battery icon (see ‘Understanding the display
screen’) should show at least two full segments.
Rechargeable Batteries
TIGERLT instruments leave the factory with the Rechargeable Battery Pack (A2) fully charged. However
prolonged periods of storage may result in the battery pack discharging. We recommend charging the
instrument for seven hours before use. See the ‘Batteries’ section of this manual pages 33 to 35.
Alkaline Batteries
An alkaline AA Battery Pack (A3) is also supplied with the TIGERLT. For more information please see the
‘Batteries’ section of this manual.
Response Factor
TIGERLT instruments leave Ion Science Ltd factory calibrated on isobutylene and with a response factor of
(1.0). The reason we calibrate the instruments with a response factor of (1.0) is because this is the response
factor of isobutylene.
Set Alarm Levels
We recommend that alarm levels are set to user specifications as soon as possible before the TIGERLT is
used for the first time. Please see the ‘Using your TIGERLT’ section of the manual for details of how to set
alarm levels.
TIGER PCLT. The full functionality of your TIGERLT can only be realised through the TIGERLT PC software.
Ion Science Ltd recommend that you load the software supplied with your instrument and set up your
TIGERLT according to the instructions in the ‘TIGER PCLT Software’ section of this manual.

TIGERLT MANUAL Ion Science Ltd
Page 10 of 41
Understanding the keypad
General Description
The keypad comprises two soft keys: A and B, Up and Down arrow keys, an Escape (Esc) key, and an
Enter / On/Off button. In general, setup and application settings are selected and adjusted via the soft keys,
options are selected by the arrow keys and confirmed by the Enter key. A single press is used as a
switching operation. A continuous press is used to adjust numbers or change gas selections by
automatically rolling.
Keypad Function Descriptions
Soft keys A and B rely on graphical prompts on the
display to indicate their functionality.
Note: Pressing both soft keys together switches the
flashlight / torch on and off.
Up and Down keys are used to adjust settings and
navigate through the menu structure.
Enter / On/Off key is used to accept adjustments and
select functions; also to turn the TIGERLT on and off.
Escape (Esc) key is used to abort an adjustment or
exit from a menu.

TIGERLT MANUAL Ion Science Ltd
Page 11 of 41
Understanding the display screen
Screen Display
The display is divided into four sections.
Fixed LCD Status icons fill the top of the screen offering instrument status at a glance. The Icons display only
when a function is selected. The main central viewing screen will display readings in large numbers only, 4
digits and decimal place will display 0.001 ppm to 5,500 ppm. Two soft key areas have been set aside as
soft key indicators. The area between the soft key indicators displays the measurement units.
Status icon
Memory Status: This icon only appears if the instrument has the data logging functionality.
Four sections within the border fill as the data log memory is filled.
Empty border = 100% memory available through to full, where all segments are present.
USB: The icon will appear when connected to a host device.
Battery Status: This icon consists of a border and four segments. The segments fill or empty
to indicate 0-25, 26-50, 51-75 and 76-100% full. When discharging, the border will flash for 1
minute before the instrument shuts down. When charging, the segments will successively fill
until 100% charge is reached.

TIGERLT MANUAL Ion Science Ltd
Page 12 of 41
Understanding the display screen
Backlight: Light beam lines appear when the backlight is on.
Sound: The main body of the icon is present at all times.
The disable lines appear if all 3 alarm sounders are disabled and the volume is at 0%.
Three sound projection lines indicate the volume level.
However there are four sound levels and the quietest level has no line.
Alarm Bell: The icon consists of 2 parts, the Bell and the sound bars. When the
instrument reaches a 'Low alarm' the Bell and one sound bar will flash; when a 'High
alarm' is reached the Bell and both sound bars flash.
Flashlight / Torch: When the flashlight / torch is illuminated the light beams appear.
Lock: The Lock icon will appear when the configuration of the TIGERLT has been locked
in TIGERLT PC. Soft keys in Button A column are enabled and Buttons in column B
disabled, see page 13.
Main Screen Area
During normal operation this area displays the readings in four large numbers, with the units of measurement
below.
During setup and adjustment, a function bar overlays the main screen.

TIGERLT MANUAL Ion Science Ltd
Page 13 of 41
Understanding display screen
Soft key areas
The following icons will appear in the soft key areas as soft key options. They are selected using the Up and
Down keys. Those labelled ‘optional’ will only appear if your TIGERLT has that functionality.
These icons can be reorganised using the TIGERLT PC software.
Button A
Button B
Information
Options
Single Data Log
Zeroing
Response Factor
Zones

TIGERLT MANUAL Ion Science Ltd
Page 14 of 41
Using your TigerLT
Instrument functionality is broken into two parts; Application and Setup. Application settings are initially
selected via the soft keys A and B. Setup functions like Backlight, Sound, Calibration and Alarm setting are
adjusted within Options. Many of the screens have a 2 second time out which returns to the main screen if
no other keys are pressed.
On
To switch the TIGERLT on press the Enter / On/Off key once. Startup screen 1 appears showing the
TIGERLT logo. Startup screen 2 contains variable text sent from the TIGER PCLT configuration screen. The
lower half of the screen contains the instrument IRN (Internal Reference Number) and firmware version. The
third screen shows TIGERLT checking that the lamp has ‘struck’. When ‘OK’ appears, the working screen will
follow. If the lamp fails to strike, turn the TIGERLT off, wait for 30 seconds and try again. If the problem
persists, change the lamp or contact Ion Science Ltd or your distributor.
Off
To switch the TIGERLT off press and hold the Enter / On/Off key. A 3 second count down takes place before
the instrument shuts down. During this count down the instrument activates the upper alarm. viz. Red LED's
flash and audible alarm sounds. This is done to alert the user to avoid accidental switch off.
Zeroing
Pressing the Zero soft key presents two zero options selected with the Up or Down keys.
The upper symbol represents an absolute zero. The lower symbol represents a relative zero which follows
the drift of the PID detector. Having made your selection, press Esc. If the relative zero has been selected
TIGERLT will zero itself before returning to the main screen.
Zones
Press the Zone soft key to display the currently selected Zone: The TIGERLT is defaulted
to 'Zone 1' Zones are set up in TIGERLT PC only and the name given to the zone(s) will appear on the
screen. Use the Up and Down keys to select alternative zones.
Single Data Log (optional)
Press the Single Data Log soft key to take a single data log reading. The single data log symbol appears
with a tick: Press Esc to return to the main screen. Press the Single Data Log soft key
again to take another reading. The fixed LCD memory icon flashes off when a single log is taken.
Options
Press the Options soft key to give access to various adjustable features, selected with
the Up and Down keys. Press Enter to confirm selection.
Backlight
Four options are presented: ‘Permanently Off’, ‘Permanently On’, ‘On in low ambient light’ and ‘Timed’ (Set
the time in TIGER PCLT). Select the preferred option with the Up and Down keys and confirm with Enter.

TIGERLT MANUAL Ion Science Ltd
Page 15 of 41
Using your TigerLT
Sound
The sound options are presented as set up in TIGER PCLT. Use the Down key to select either keypad beep,
alarm sound, crescendo or percentage volume. Press Enter to turn selection on or off. For percentage
volume, press Enter again to confirm selection. The frame will flash. Use Up and Down keys to change the
percentage volume and press Enter to confirm the chosen value. Press Esc twice to return to the main
screen.
Calibration
Only two options are presented: Factory Calibration and Custom Calibration. Select the preferred option
with the Up and Down keys and confirm with Enter. Whichever calibration standard is selected, the
TIGERLT will operate against that calibration. Readings taken against unsatisfactory calibrations may be
unreliable.
Factory Calibration Not for operator use.
Return to Ion Science Ltd or your distributor for calibration. (see the ‘Maintenance’ section of the
manual page 37)
Custom Calibration see the ’Maintenance’ section of the manual page 32.
Alarms Upper and Lower alarm settings are displayed. Select the subject alarm using the
Up and Down keys and press Enter. The arrow(s) on the chosen alarm will flash. Adjust the level using the
Up and Down keys and press Enter. Repeat, if necessary for the other alarm. Press Esc twice to return to
the main screen.
Note: The Lower alarm setting must never be greater than the Higher alarm.
Information
Pressing the Information soft key allows access to a number of other information screens. Use the Down
key to scroll through the screens. Press Esc to return to the main screen:

TIGERLT MANUAL Ion Science Ltd
Page 16 of 41
Using your TigerLT
1st Screen
Response Factor
Low alarm
High alarm
2nd screen
Date of Factory calibration
Date of Custom calibration
3rd Screen
SPAN 1
(gas concentration set in TIGER PCLT)
SPAN 2
(gas concentration set in TIGER PCLT)
PID
(PID reading)
A/D
(Digital number from PID)
4th Screen
IRN
Internal reference number
Firmware
Version
Bootloader
Version
Battery
Type and voltage
5th Screen
Data log memory available
Date / time

TIGERLT MANUAL Ion Science Ltd
Page 17 of 41
Tiger PCLT software instillation
The TigerLT PC has its own specific software package used to set up the instrument and download logged
data. The software is available to download from the ion science website. Once the software is downloaded
from the website, double click on the zip file and follow the installation procedure.
Using Tiger PCLT software
Connecting TIGERLT to a PC
1. Double click the TIGERLT icon on your desktop and open TIGERLT PC.
The Home page should appear:

TIGERLT MANUAL Ion Science Ltd
Page 18 of 41
Tiger PCLT software
The Help Screen
This screen will show you if a new version of PC software is available. You can then install the upgrade if
required.
2. Click on ‘Instrument(s)’. If your TIGERLT has previously been connected to your PC your instruments
IRN (Internal Reference Number) will appear.
Note: If, while using this software your TIGERLT should inadvertently be turned off or disconnected
from your computer, click on ‘Instrument(s) again and proceed as below:
3. Switch TIGERLT on and when fully running up connect to a USB socket on your PC using the USB
cable supplied. If the ‘Found New Hardware’ screen appears, follow the prompts to install your
instrument on your PC.
4. Click on ‘Read’. Your instrument number will appear under ‘instrument(s)’ (if it was not there already)
and the Instrument Summary page will appear.

TIGERLT MANUAL Ion Science Ltd
Page 19 of 41
Tiger PCLT software

TIGERLT MANUAL Ion Science Ltd
Page 20 of 41
Tiger PCLT software
5. This page gives the current status of your
TIGERLT. If the ‘snapshot’ screen appears
click ‘Yes’. You can delete the snapshot later if
you wish (see ’TIGER PCLT Software’).
The Configuration Screen
Use this screen to configure your TIGERLT.
TigerLT PC
Table of contents
Other ion science Security Sensor manuals

ion science
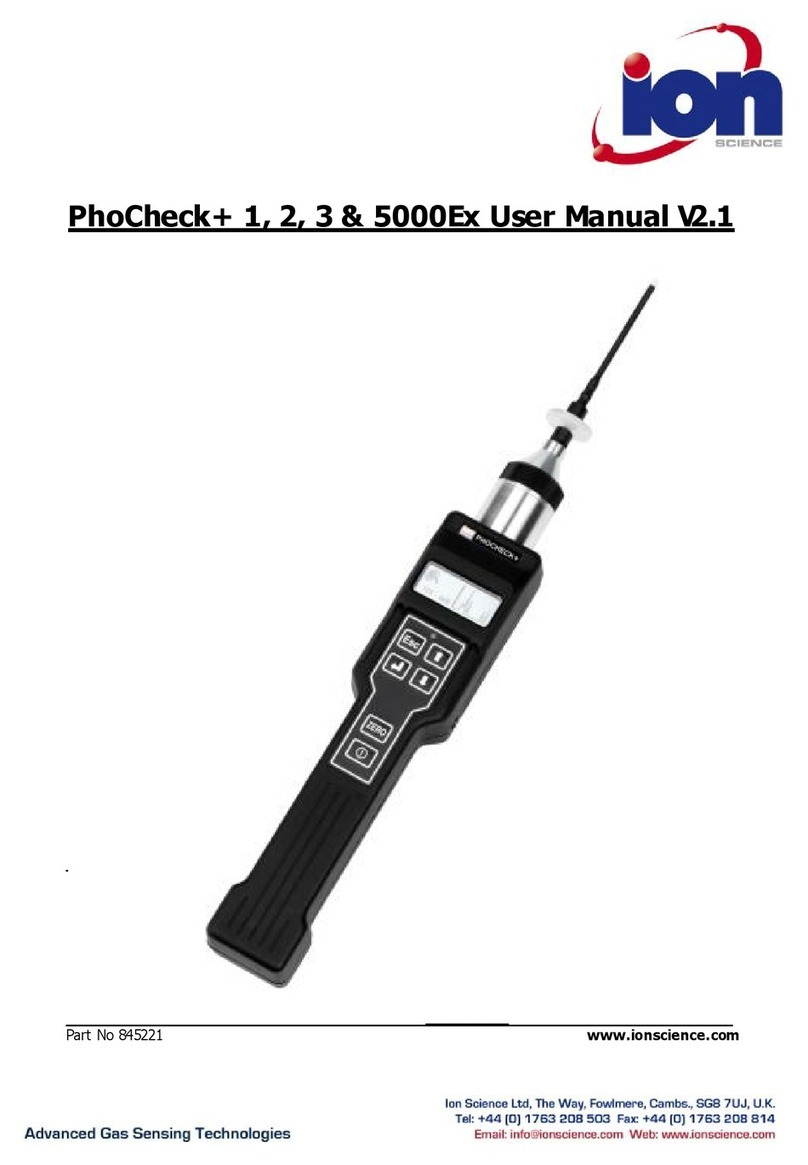
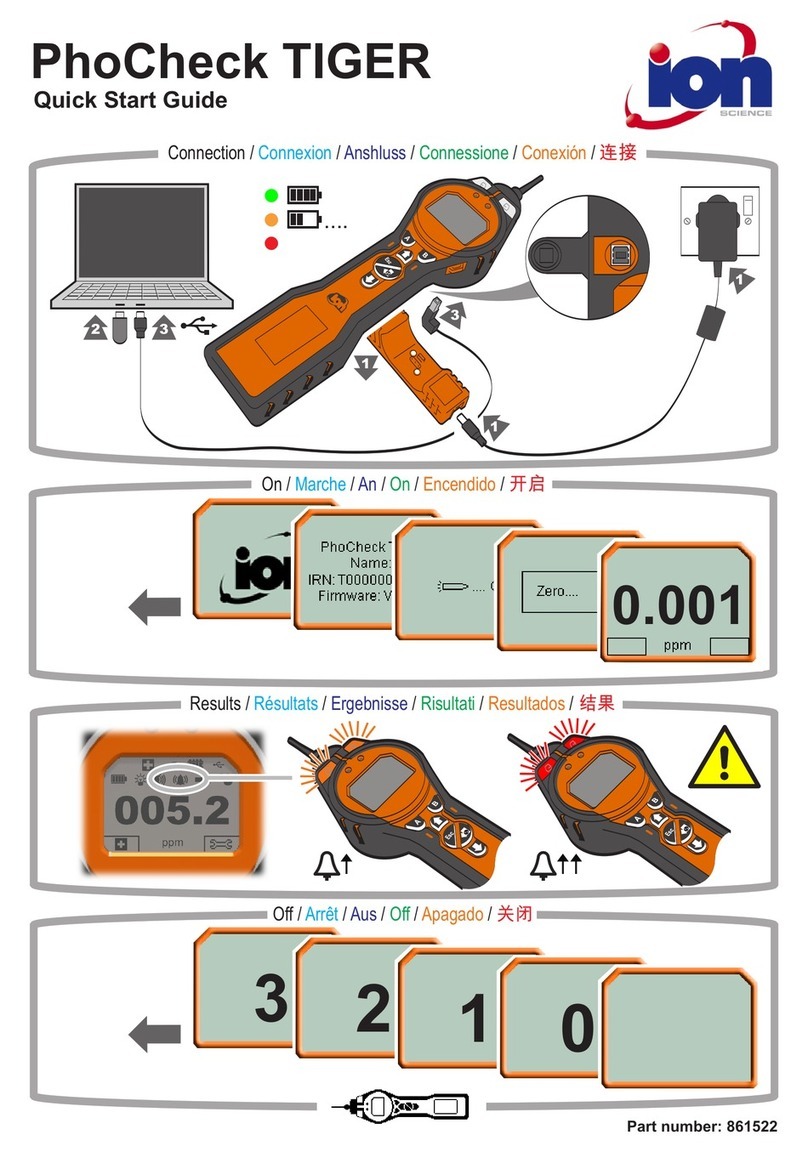
ion science PhoCheck TIGER User manual

ion science
ion science CUB User manual

ion science
ion science GasCheck Tesla User manual

ion science
ion science TIGER User manual

ion science
ion science TVOC User manual

ion science
ion science PhoCheck+ Series User manual

ion science
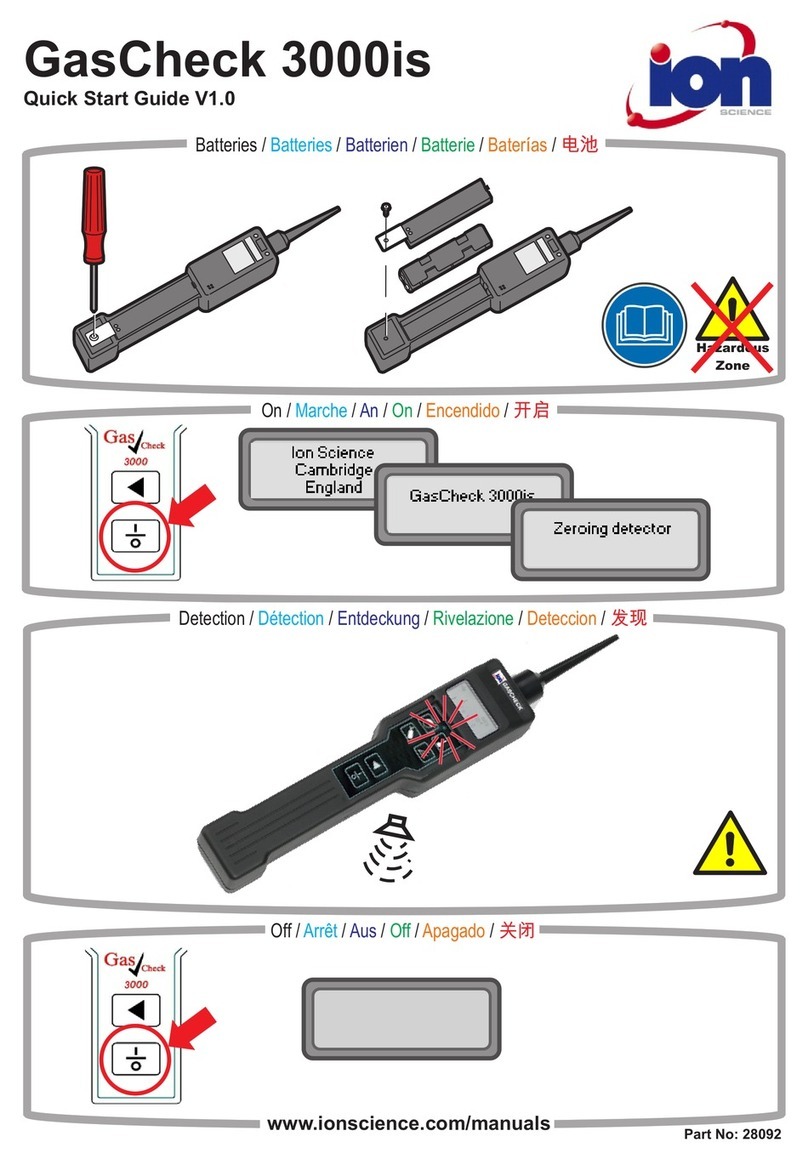
ion science GasCheck 3000IS User manual