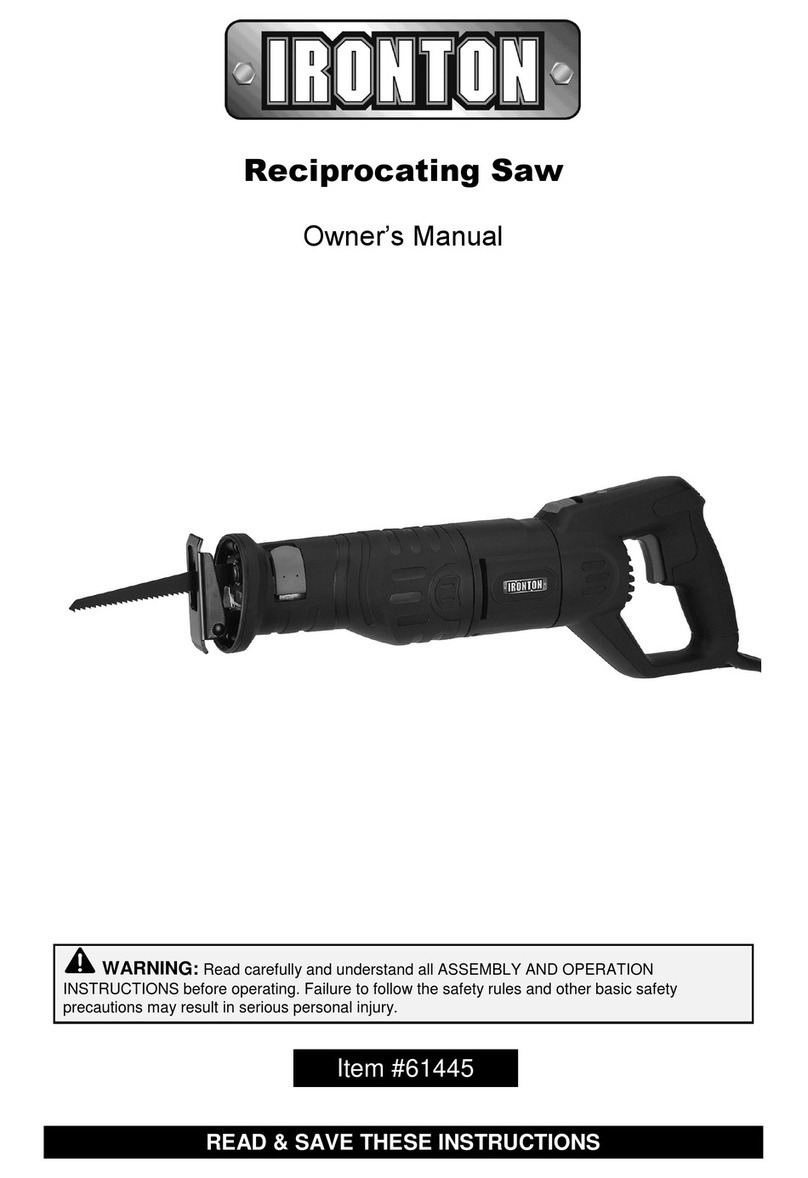
Ironton 46137 User manual

7
Rea
d
OPE
R
rules
7
1/4
W
d
carefull
R
ATION I
and othe
r
INC
H
O
W
ARNI
N
y and
NSTRUC
T
r
basic saf
e
H
D
R
WNE
R
N
G:
understan
d
T
IONS be
f
e
ty precau
t
Ite
m
1
R
Y C
U
R
’S M
A
d
all
M
f
ore oper
a
t
ions may
m
# 4
6
U
T C
H
A
NUA
L
M
ACHINE
a
ting. Fail
u
result in s
e
6
137
H
OP
L
ADJUS
T
u
re to foll
o
e
rious per
s
SA
W
T
MENT
A
o
w the s
a
s
onal injur
y
A
ND
a
fety
y
.

T
h
c
o
S
a
m
T
h
r
e
n
o
If
u
n
o
n
F
o
INT
E
This
I
non-f
e
harde
The
m
reduc
TE
C
GE
N
1) W
o
a)
K
b)
D
of fla
m
or fu
m
c)
K
caus
e
2) El
e
a)
P
not u
s
matc
h
b)
A
refrig
h
ank you v
e
o
mplete the
Model:
a
ve the rec
e
anual to be
c
h
is machin
e
e
sponsible f
o
o
t be modifi
e
you have a
n
n
til you hav
e
n
the produ
c
o
r technical
E
NDED
U
I
ronton 7 1
/
e
rrous met
a
ned materi
a
m
achine is
e blade per
f
C
HNICA
L
Voltage
Power i
Speed
(
Disc di
a
Arbor
Hearing
N
ERAL
S
o
rk area
K
eep work
a
D
o not ope
m
mable liq
m
es.
K
eep childr
e
e
you to los
e
e
ctrical s
a
P
ower tool
s
e any ada
h
ing outlets
w
A
void body
erators. Th
e
ry much f
o
owner’s re
c
________
_
e
ipt, warran
t
c
ome famili
a
e
is desig
n
o
r issues ar
e
d and/or u
s
n
y question
s
e
first conta
c
c
t.
questions
p
U
SE
/
4’’ Dry Cu
t
a
ls, includi
n
a
ls is not re
not recom
m
f
ormance.
L
SPECI
F
Item
nput
(
no load)
a
meter:
protection
S
AFETY
R
a
rea clean
a
rate powe
r
uids, gase
s
e
n and bys
e
control.
a
fety
plugs mu
s
pter plugs
w
w
ill reduce
r
contact wi
t
ere is an in
c
o
r choosing
c
ord below:
_
______
t
y and thes
e
a
r with this
p
ed for cer
t
ising from
m
s
ed for any
a
s
relative to
c
ted the dist
r
p
lease call 1
-
Chop Sa
w
n
g mild ste
e
commende
d
m
end for cu
t
F
ICATIO
N
110V
11 Am
3800
R
7 1/4 i
n
13/16
i
should be
R
ULES
a
nd well lit
.
tools in e
x
s
or dust. P
t
anders a
w
s
t match th
e
w
ith earth
e
r
isk of elect
r
t
h grounde
c
reased ris
k
2
an Ironton
Purchas
e
e
instruction
s
p
roduct bef
o
t
ain applic
a
m
odification
.
a
pplication
o
a particula
r
ributor to d
e
-800-222-5
3
w
is design
e
el, structur
a
d
, as this
m
t
ting wood
N
S
ps
R
PM
n
.
i
n.
worn whe
n
.
Cluttered
a
x
plosive at
m
ower tools
c
w
ay while o
p
e outlet. N
e
e
d (ground
e
r
ic shock.
e
d surfaces
k
of electric
s
product! F
e
Date: ___
_
s
. It is impo
r
o
re you begi
a
tions only.
.
We strong
l
o
ther than t
h
r
applicatio
n
e
termine if it
3
81.
e
d to cut v
a
a
l member
s
m
ay reduce
b
or other so
Descrip
t
n
using cut
a
nd dark ar
e
m
osphere
s
c
reate spar
k
p
erating a
p
e
ver modif
y
e
d) power t
such as pi
p
s
hock if you
r
or future r
e
_
_________
_
r
tant that yo
u
n using it.
The distri
b
l
y recomme
at for which
, DO NOT
u
can or sho
u
a
rious type
s
s
and stee
l
b
lade life a
n
f
t materials
.
t
ion
off saw.
e
as invite a
c
, such as i
k
s, which m
a
p
ower tool.
y
the plug
o
ols. Unm
o
p
es, radiat
o
r
body is gr
o
e
ference, pl
e
_
_
_
u
read the
e
b
utor cann
o
e
nd this ma
c
h
it was desi
g
u
se the ma
c
u
ld be perfo
r
s
of ferrous
l
studs. C
u
n
d perform
a
. This may
c
cidents.
n the pres
e
a
y ignite the
Distraction
s
in any wa
y
o
dified plug
s
o
rs, ranges
o
unded.
e
ase
e
ntire
o
t be
c
hine
g
ned.
c
hine
r
med
and
u
tting
a
nce.
also
e
nce
dust
s
can
y
. Do
s
and
and

3
c) Do not expose power tools to rain or wet conditions. Water entering a power tool
will increase the risk of electric shock
d) Do not abuse the cord. Never use the cord for carrying, pulling or unplugging the
power tool. Keep cord away from heat, oil, sharp edges or moving parts. Damaged or
entangled cords increase the risk of electric shock.
e) When operating a power tool outdoors, use an extension cord suitable for
outdoor use. Use of a cord suitable for outdoor use reduces the risk of electric shock.
3) Personal safety
a) Stay alert, watch what you are doing and use common sense when operating a
power tool. Do not use a power tool while you are tired or under the influence of
drugs, alcohol or medication. A moment of inattention while operating power tools may
result in serious personal injury
b) Use safety equipment. Always wear eye protection. Safety equipment such as dust
mask, non-skid safety shoes, hard hat, or hearing protection used for appropriate conditions
will reduce personal injuries. Do not wear gloves while operating this tool.
c) Avoid accidental starting. Ensure the switch is in the off position before plugging
in. Carrying power tools with your finger on the switch or plugging in power tools that have
the switch on invite accidents.
d) Remove any adjusting key or wrench before turning the power tool on.
A wrench or a key left attached to a rotating part of the power tool may result in personal
injury.
e) Do not overreach. Keep proper footing and balance at all times. This enables
better control of the power tool in unexpected situations.
f) Dress properly. Do not wear loose clothing or jewelry. Keep your hair, clothing
and gloves away from moving parts. Loose clothes, jewelry or long hair can be caught in
moving parts.
g) If devices are provided for the connection of dust extraction and collection
facilities, ensure these are connected and properly used. Use of these devices can
reduce dust related hazards.
h) Not for use by children, or while under the influence of drugs or alcohol.
4) Power tool use and care
a) Secure work. Use the integrated clamp to hold your work securely, freeing both hands
to control the tool.
b) Do not force the power tool. Use the correct power tool for your application. The
correct power tool will do the job better and safer at the rate for which it was designed.
c) Do not use the power tool If the switch does not turn It on and off. Any power tool
that cannot be controlled with the switch is dangerous and must be repaired.
d) Disconnect the plug from the power source and/or the battery pack from the
power tool before making any adjustments, changing accessories, or storing power
tools. Such preventive safety measures reduce the risk of starting the power tool
accidentally.
e) Store idle power tools out of reach of children and do not allow persons
unfa
m
tools
a
f)
M
brea
k
If da
m
poorl
y
g)
K
cuttin
g
h)
U
instr
u
Into
a
tool f
o
5) S
e
a)
H
repla
c
Circu
m
iliar with
t
a
re danger
o
M
aintain po
w
k
age of par
t
m
aged, hav
e
y
maintaine
d
K
eep cuttin
g
edges are
U
se the po
w
u
ctions an
d
a
ccount th
e
o
r operation
s
e
rvice
H
ave your
p
c
ement pa
r
WARNI
N
it Interrupt
e
t
he power
t
o
us in the h
a
w
er tools.
C
t
s and any
e
the powe
d
power tool
g tools sh
a
less likely
t
w
er tool, a
c
d
in the ma
n
e
working c
o
s
different f
r
p
ower tool
s
r
ts. This will
N
G: Recom
m
e
r.
SA
V
t
ool or the
s
a
nds of untr
a
C
heck for
m
other con
d
r tool repai
s.
a
rp and cle
a
o bind and
a
c
cessories
a
n
ner Intend
o
nditions
a
r
om those in
s
erviced b
y
ensure tha
t
m
ended for
V
E THE
S
4
s
e Instructi
o
a
ined users
.
m
isalignme
n
d
ition that
m
red before
a
n. Properl
y
a
re easier t
o
a
nd tool bi
t
ed for the
p
a
nd the wo
r
n
tended cou
l
y
a qualifie
d
t
the safety
o
use with a
r
S
E INST
R
o
ns to ope
r
.
n
t or bindi
n
m
ay affect
t
use. Many
a
y
maintaine
d
o
control.
t
s etc. In a
c
p
articular t
y
r
k to be pe
r
l
d result in
a
d
repair pe
r
o
f the powe
r
r
ated 30 m
A
R
UCTIO
N
r
ate the po
w
n
g of movi
n
he power t
o
a
ccidents a
r
d
cutting too
l
c
cordance
w
y
pe of pow
e
f
ormed. Us
a
hazardous
r
son using
o
r
tool is mai
n
A
or less Gr
o
N
S
w
er tool. P
o
n
g parts,
ools opera
t
r
e caused b
ls with shar
p
w
ith these
e
r tool, tak
i
s
e of the po
w
situation.
only identi
c
ntained.
o
und Fault
o
wer
t
ion.
y
p
i
ng
w
e
r
c
al

5
Blade Instructions
1. Do not allow the blade to twist or bind.
2. Keep hands and body away from the rotating blade. Never reach around, under or across
blade. Do not wear loose clothing when using this tool.
3. Store blades with care. Do not drop them.
4. Make sure that all blade flanges and other mounting hardware are in good condition and
are always used properly. Defective or missing parts may cause damage to the blade.
Always use mounting flanges supplied with the tool.
5. Do not use dull or damaged blades. Unsharpened or improperly set blades produce
narrow kerfs, causing excessive friction, blade binding and kickback.
6. Before starting a cut, make a trial run. The blade should rotate freely and not contact the
table.
7. Never try to remove or clamp the workpiece to the tool while the blade is rotating.
8. Before installing a blade, always inspect it for damage. Replace damaged blades
immediately.
9. Always check maximum operating speed established for blade against machine speed.
Do not exceed the maximum operating speed that is marked on the blade.
10. Do not force a blade onto the machine or alter the size of the arbor hole. Don't use a
blade that fits the arbor too loosely. If the blade doesn't fit the machine, get one that does.
11. Do not use abrasive wheels.
Machine Instructions
1. Start cutting only after the motor has reached full speed.
2. Release switch immediately if the blade stops rotating or if the motor sounds like it is
straining.
3. Keep flammable and fragile objects away from this tool. Do not allow cut-off sparks to
contact the operator's hands, face or feet.
4. Place the tool securely on a flat, level surface.
5. Always use the tool with the proper voltage specified on the tool's nameplate.
6. Never touch a short cut-off piece until it cools.
7. Never attempt to cut material larger than the rated capacity.
8. Never stand in line with the blade while cutting. Always stand to the side.
9. Check guards before each use.
10. Always keep guards in place.
11. Do not defeat guards. The tool is shipped with both the upper and lower guard installed.
The lower guard should cover the blade when the saw head is up and it should open
automatically as the saw head is lowered into the workpiece. If the lower guard appears
loose or if it does not move to cover the blade when the saw head is up, take the saw to an
authorized service center for repairs.
12. Always start the cut gently. Do not bump or bang a blade to start a cut.
13. Never make any freehand cuts. Always place the workpiece between the vise and fence
when making cuts.

RE
P
suppl
y
1. L
o
2. Pu
s
to rot
a
Note:
3. Ho
l
bolt b
y
4. Rai
ensur
Note:
Rem
o
dama
g
5. Pl
a
finger
P
LACIN
G
CAUTIO
N
y
before ins
t
o
osen and r
e
s
h in the spi
a
te the blad
e
Once lock
e
l
d the spind
l
y
turning it
c
i
se the movi
ing that it r
o
Before ins
t
o
ve nicks o
r
ge.
a
ce the upp
e
tighten.
G
BLADE
N
:. Always e
t
alling or re
m
e
move the
s
ndle lock le
v
e
until the s
p
e
d, the whe
e
l
e lock leve
r
c
ountercloc
k
ng cove
r
at
o
tates fully a
t
alling the b
l
r
burrs, whi
e
r flange, c
a
Fig.
1
Fig.
nsure that t
h
m
oving a di
s
s
crews for s
v
e
r
(fig 2) a
n
p
indle lock l
e
e
l will not ro
t
r
in place an
k
wise. Then
,
its highest
p
nd does no
t
l
ade, check
ch could c
a
a
ble clam, h
1
3
6
he saw is s
w
s
c.
hield guard
n
d at the sa
m
eve
r
engag
e
t
ate.
d use the h
e
,
remove th
e
p
osition, the
t
wobble un
d
the blade f
l
a
use uneve
exagonal b
o
Fi
g
Fig.
w
itch off an
d
(fig. 1).
m
e time use
e
s locking t
h
e
x key sup
p
e
cable cla
m
n replace th
d
ul
y
. (fig. 4)
.
l
ange to be
n cutting p
r
o
lt through
t
g
. 2
4
d
unplugge
d
the hex ke
y
h
e blade in
p
p
lied, remov
e
m
, upper fla
n
e blade, an
d
.
sure it is in
r
essure an
d
t
he threade
d
d
from the p
o
y
supplied (f
i
p
lace.
e
the Hexa
g
n
ge.
d
turn it by
h
good cond
d
result in
b
d
arbor hol
e
o
wer
i
g. 3)
g
onal
h
and,
i
tion.
b
lade
e
and

6. Pu
s
Note:
MA
C
Carr
y
Unlo
c
moto
r
Adju
s
Use t
h
adjus
t
durin
g
be in
c
1. To
hexa
g
2. To
then t
Supp
vise:
The
w
Saw.
T
(fig. 8
(1) A
q
and r
o
(2) A
m
handl
e
Whe
n
positi
o
s
h in the spi
Do not ove
C
HINE A
D
y
the cut-of
f
c
k the cut-
o
r
arm releas
e
s
t the dept
h
h
e depth ad
j
t
ment bolt p
g
cutting. C
u
c
reased.
raise the d
e
g
onal nut in
reduce the
d
ighten the
h
ort the wo
r
w
ork vise is l
The vise is
m
)
q
uick adjus
t
o
tated from
m
ovable cl
a
e
and a qui
c
n
adjusting,
t
o
ned so the
ndle lock le
v
r
-tighten th
e
D
JUST
M
f
saw: Fold
o
ff saw: T
o
e
. The mot
o
h
of cut: (fi
g
j
ustment to
revents the
u
t-off wheel
s
e
pth of cut, l
o
clockwise d
d
epth of cu
t
h
exagon bol
t
r
kpiece an
d
ocated on t
h
m
ade up of
t
fence whic
90° to 45°
a
a
mp with an
c
k lock/ rele
a
t
he clamp a
n
centerline
o
Fi
v
er while tig
e
bolt, this
m
M
ENT
down arm t
o
unlock too
o
r arm will t
h
g
.6)
change the
cut-off whe
e
s
wear dow
n
o
osen the h
e
irection.
, rotate the
t
(clockwise
)
adjust the
h
e base of t
two parts:
h can be lo
o
a
nd a fence
l
adjustable
p
a
se lever.
n
d fence sh
o
o
f the wheel
g
. 5
7
htening the
m
ay damag
e
o
base and
l and raise
h
en pivot up
w
depth of cu
t
e
l from cont
n
as they ar
e
e
xagon bolt
hexagonal
n
)
.
work
he Cut-off
o
sened
lock leve
r
.
p
ivoting
o
uld be
hub is in
Fi
g
Hexagonal
the blade,
t
push in the
arm, depre
s
w
ard. (fig. 5
t
. When adj
u
acting the s
e
used and t
(countercl
o
n
ut in count
e
g
. 6
Fig. 7
b
olt in a clo
c
t
he flanges,
arm releas
e
s
s arm slig
h
)
u
sted prope
u
rface und
e
h
e depth of
ckwise), an
d
e
rclockwise
c
kwise dire
c
and cable
c
e
to lock. (fi
g
h
tly and pul
e
rly, the dep
t
e
r the base
cut may ne
e
d
then rotat
e
direction fir
s
c
tion.
c
lam.
g
. 5).
l out
t
h
e
d to
e
the
s
t,

line
w
(fig. 7
To a
d
1. Rel
e
full tu
r
2. Lift
3. Pul
positi
o
4. Adj
5. Adj
work
p
6. Pu
s
7. Tur
OP
E
1. Do
2. Sel
3. Pla
work
p
work
p
4. Plu
click t
5. All
o
Fig.
a
w
ith or behin
d
). The work
p
d
just the w
o
ease the te
n
r
n.
the quick lo
c
ling up the
h
o
n. Releasi
n
ust the fen
c
ust the mo
v
p
iece.
s
h the quick
l
n the screw
E
RATIO
N
not plug in
t
ect a cuttin
g
ce the wor
k
p
iece facing
p
iece firmly i
g in the too
l
he safety b
o
o
w the moto
8
d
the cente
r
p
iece shoul
d
o
rk vise for
n
sion on the
s
c
k lever up
a
h
andle to di
s
n
g the hand
l
c
e to the de
s
v
able clamp
l
ock lever d
o
clamp clock
w
N
t
he tool unti
g
angle and
k
piece flat o
n
up. Turn th
e
n place.
l
, stand out
o
o
ttom. (fig.
9
r to reach f
u
r
line o
f
the
w
d
be resting
a particul
a
s
crew clam
p
nd pull back
s
engages t
h
e reengage
s
ired angle(
f
by moving
t
o
wn into rele
a
w
ise to secu
r
l you are re
a
position th
e
n
top of the
m
e
pivoting h
a
o
f the line o
f
9
)
u
ll speed. Sl
8
w
orkpiece, t
o
flush with t
h
a
r workpiec
e
p
by turning t
k
the screw c
h
e screw, th
e
s the screw
f
rom 90° to
4
t
he pivoting
a
se mechan
rely tighten
t
a
dy to work
.
e
fence and
m
achine ba
a
ndle clock
w
f
the blade
a
owly lower
t
o
ward the r
e
h
e base of t
h
e
:(fig. 8,a,
b
h
e handle c
o
lamp handl
e
e
n adjust th
e
for looseni
n
4
5°) and tig
h
handle in o
r
ism.
t
he workpiec
.
c
lamp syst
e
s
e. Position
w
ise until th
e
a
nd squeez
e
t
he wheel in
b
e
ar of the to
o
h
e cut-off m
b
,c)
o
unterclock
w
sliding the
v
e
handle to
t
n
g (counter
c
h
ten the fen
r
out as nee
d
e
in the vise
e
m as need
e
the thinnes
e
clamp ass
e
e
the trigge
r
to the work
p
c
o
l
m
achine.
w
ise for 1/2 t
o
v
ise open.
the desired
c
lockwise).
ce lock lev
e
ded to fit th
e
.
e
d.
s
t section of
embly hold
s
r
switch, sin
g
p
iece.
o
1
e
r.
e
the
s
the
g
le

NOT
E
For t
h
line
w
To m
a
6. W
h
relea
s
7. Re
s
back
t
8. If t
h
caus
e
stalls
MAI
remo
v
main
t
CL
E
1 .Ke
e
2. Re
m
3. Re
-
4. Ne
v
5. Re
m
6. Do
damp
7. Re
g
E
: Always st
h
e safest an
d
w
ith, or behi
n
a
ximize wh
e
h
en the cut i
s
s
ing the trig
g
s
tarting in
m
t
he wheel o
u
h
e blade sta
e
stalling. R
e
and remov
e
NTENA
N
WARNI
N
v
ed from t
h
t
enance pr
o
E
ANING
A
e
p the tool'
s
m
ove dust
a
-
lubricate al
l
v
er use cau
s
m
ove the m
not use cle
a
cloth is rec
o
g
ularly che
c
art the cut
g
d
most effic
i
n
d, the cent
e
e
el life, incr
e
s
complete,
g
er switch a
m
id-cut. If yo
u
t of the cut
lls, do not p
e
lease the t
r
e
the blade
f
N
CE
N
G:
A
lways
h
e power o
u
o
cedures.
A
ND INS
s
air vents u
n
a
nd dirt reg
u
l
moving pa
r
s
tic agents
t
etal that m
a
a
ning agent
o
mmended.
c
k that all th
e
g
ently; do n
o
ent cutting,
e
rline of the
e
ase force o
n
raise the w
h
nd allowing
u stop the
m
. Then rest
a
ull the trigg
e
r
igger switc
h
f
rom the cut
.
ensure th
a
u
tlet befor
e
PECTIO
N
n
clogged a
n
u
larly. Clean
i
r
ts at regul
a
t
o clean pla
s
a
y have built
s
to clean t
h
e
f
astening
s
9
o
t bang or b
u
make sure
t
workpiece,
n
handle un
h
eel compl
e
the motor t
o
m
achine in
m
a
rt the mac
h
er
switch. A
h
immediate
.
a
t the tool i
s
e
making a
n
N
n
d clean at
a
ing is best
d
a
r intervals.
s
tic parts.
t
up around
t
h
e plastic p
a
s
crews are
t
u
mp a blad
e
t
hat the cen
toward the
r
til sparks s
u
e
tely from th
e
o
stop.
m
id-cut, allo
w
h
ine.
dull wheel
o
ly if the wh
e
s
switched
n
d adjustm
e
a
ll times.
d
one with a
s
t
he guard a
n
a
rts of the g
r
t
ight. They
m
e
when start
terline of th
e
r
ear of the t
o
u
bside.
e
workpiec
e
w
the wheel
o
r excess p
r
e
el binds or
t
off and the
e
nts or
s
oft brush o
n
d spark de
f
r
inder. A mil
d
m
ay vibrate
l
t
ing the cut.
e
blade hub
o
ol (fig.7).
e
before
to stop, th
e
r
essure ma
y
t
he machin
e
e
plug is
r a rag.
flector.
d
detergent
loose over
t
is in
e
n
y
e
on a
t
ime.

DIA
G
G
RAM
A
A
ND PAR
T
T
S LIST
10

11
Part No. Description QTY Part No. Description QTY
1 Screw ST 4.2x12 4 46 Hex bolt M6x16 1
2 Rear housing 1 47 Dust-sheet 1
3 Housing 1 48 Clasp 15 1
4Brushholder 2 49Biggear 1
5 Carbon brush 2 50 Spindle deflector 6202 1
6 Brush cover 0.33 uF 2 51 Front housing 1
7 Bolt M5x25 4 52 Output spindle 1
8 Washer 5 4 53 Wonderful key 3 1
9Washer5 6 54Fastencovet 1
10 Stator 1 55 Rubber plug 2
11 Screw St 5x65 2 56 Bolt M5x16 6
12 Bearing 608 2 57 Washer 5 6
13 Rotor 1 58 Hex bolt M6x7 2
14 Screw ST 4.2x16 8 59 Wheel cover 1
15 Bearing 6001 1 60 Hex bolt M8x20 1
16 Washer 4 2 61 Small board 1
17 Screw ST 4.2x35 2 62 Wheel board 2
18 Handle cover 1 63 Wheel 1
19 Nut M5x20 2 64 Clasp 40 1
20 Cable fixer 1 65 Active wheel cover 1
21 Plug 1 66 Plastic washer 1
22 Cable guard 1 67 Retractable guard spring 1
23 Right handle 1 68 Retractable guard rod 1
24 Capacitor 0.33uF 1 69 Connecting rob bolt 1
25 Conductor 2 70 Pivot screw 1
26 Handle cover 1 71 Rocker handle 1
27 Switch 1 72 Spring pin 5x23 1
28 Rocker arm 1 73 Release lever 1
29 Self-locking spring 2 74 Rivet 1
30 Self-locking pin 1 75 Screw thread 1
31 Left handle 1 76 Washer 6 15
32 Torsion spring 1 77 Active pin 1
33 Hex nut M6x10 1 78 Split pin 2x20 1
34 Fixed bearing 1 79 Steel cover 1
35 Fixed pin 1 80 Bolt M5x35 1
36 Steel cover 1 81 Plastic knob 1
37 O circle 8x1.2 1 82 Fast fastening bolt M10x20 1
38 Fixed bracket 1 83 Scale plate 1
39 Hex screw M6 2 84 Clamping plate 1
40 Hex bolt Mx20 5 85 Steel base 1
41 Hex bolt M6x25 4 86 Rubber foot 4
42 Spring washer 6 10 87 Bolt M6x25 4
43 Hex bolt M8x40 1 88 Screw base 1
44 Screw 1 89 Washer 8
45 Rod bracket 1 90
For replacement parts and technical questions, please call 1-800-222-5381.

WA
R
One-
y
Some
contai
repro
d
• lead
• crys
t
• arse
n
Your
r
reduc
e
safet
y
particl
R
RANT
Y
y
ear limite
d
WA
dust create
d
ns chemical
s
d
uctive harm
from lead-b
a
t
alline silica
f
n
ic and chro
r
isk from the
s
e
your expo
s
y
equipment,
es.
Y
d
warranty
RNI
N
d
by power
s
s
known to t
h
. Some exa
m
a
sed paints,
f
rom bricks
a
mium from
c
s
e exposure
s
s
ure to these
such as tho
s
N
N
G
s
anding, sa
w
h
e State of
C
m
ples of the
s
a
nd cement
a
c
hemically tr
e
s
varies, de
p
chemicals:
w
s
e dust mas
k
D
N
orthern To
o
Burnsvill
e
Nor
t
M
a
12
w
ing, grindin
g
C
alifornia to
c
s
e chemical
s
a
nd other m
a
e
ated lumbe
p
ending on
h
w
ork in a we
k
s that are s
istributed b
y
o
l + Equipm
e
e
, Minnesot
a
r
thernTool.c
o
a
de in Chin
a
g
, drilling, an
d
c
ause canc
e
s
are:
a
sonry prod
u
r
.
h
ow often yo
u
ll-ventilated
a
pecially desi
y
e
nt Co., Inc.
a
55306
o
m
a
d
other cons
t
e
r, birth defe
c
u
cts, and
u
do this typ
e
a
rea, and w
o
gned to filte
r
truction acti
v
c
ts or other
e
of work. T
o
o
rk with app
r
r
out micros
c
v
ities
o
oved
c
opic
Other Ironton Saw manuals

Ironton
Ironton 46682 User manual

Ironton
Ironton 61447 User manual

Ironton
Ironton 73134 User manual

Ironton
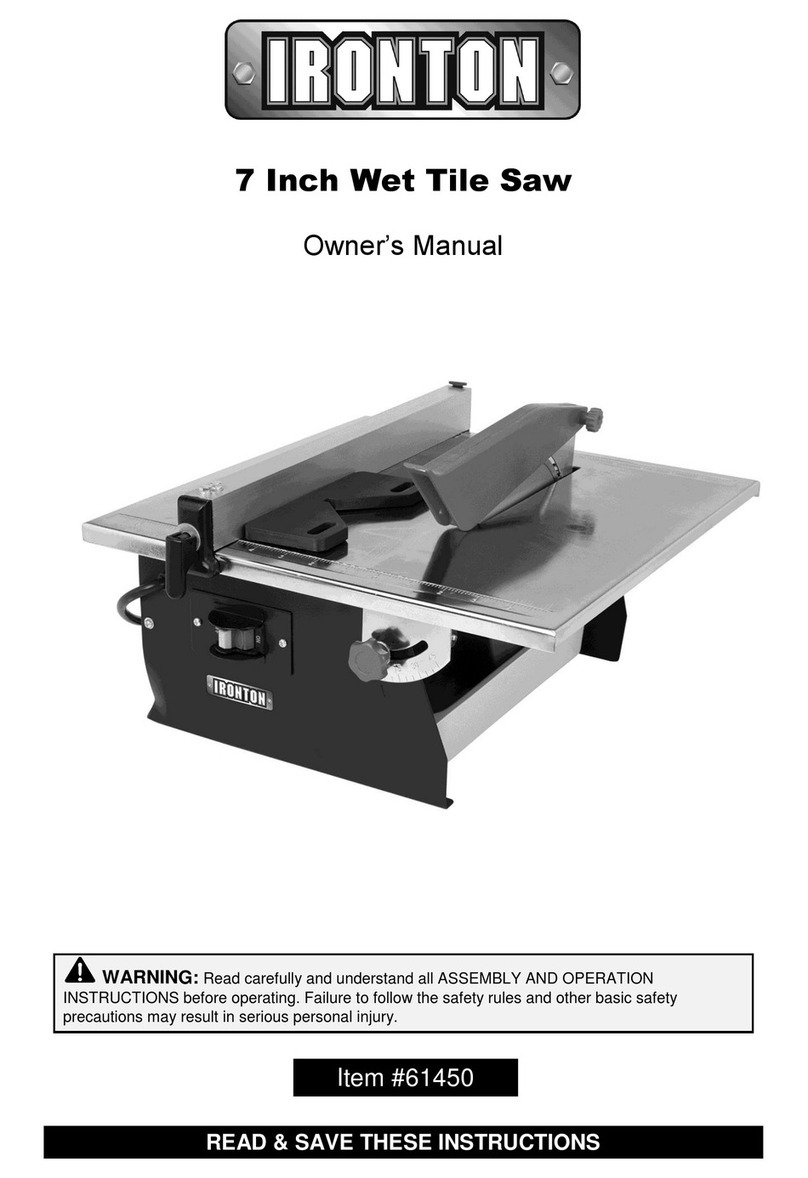
Ironton 61450 User manual

Ironton
Ironton M282790C.7 User manual

Ironton
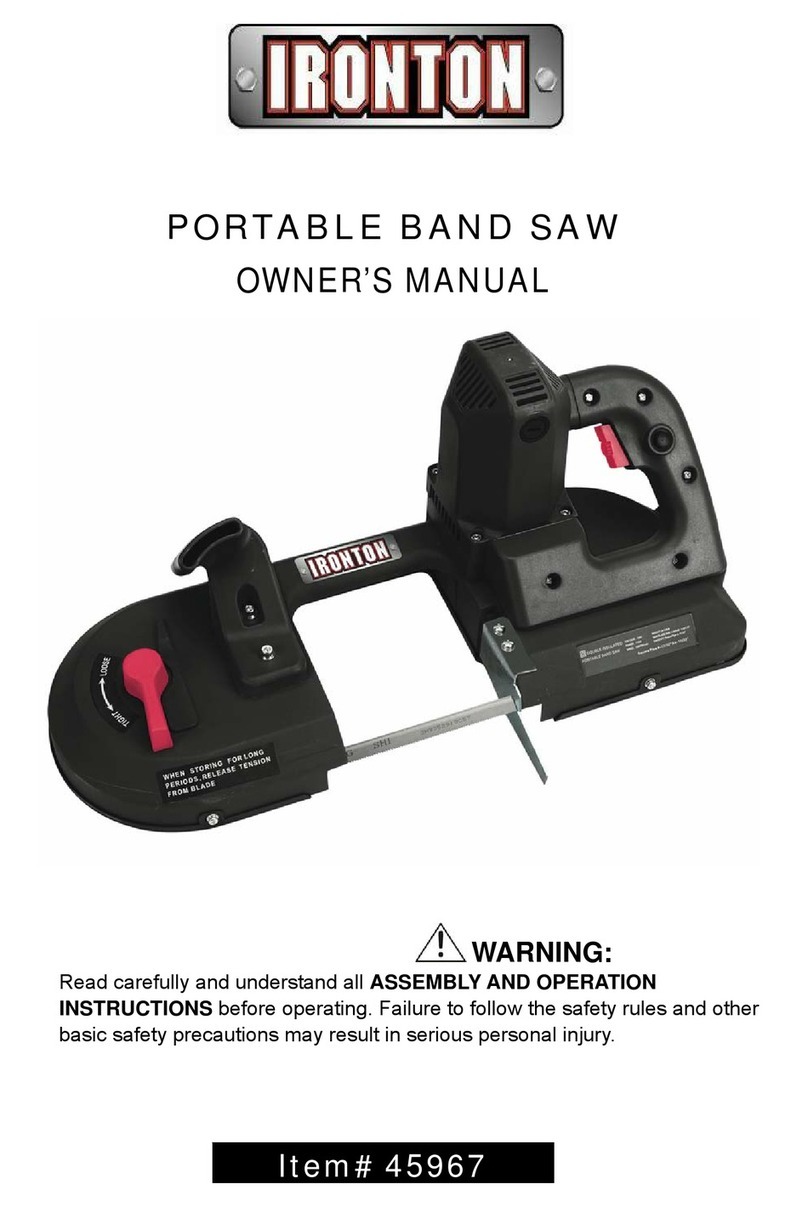
Ironton 45967 User manual

Ironton
Ironton 58123 User manual

Ironton
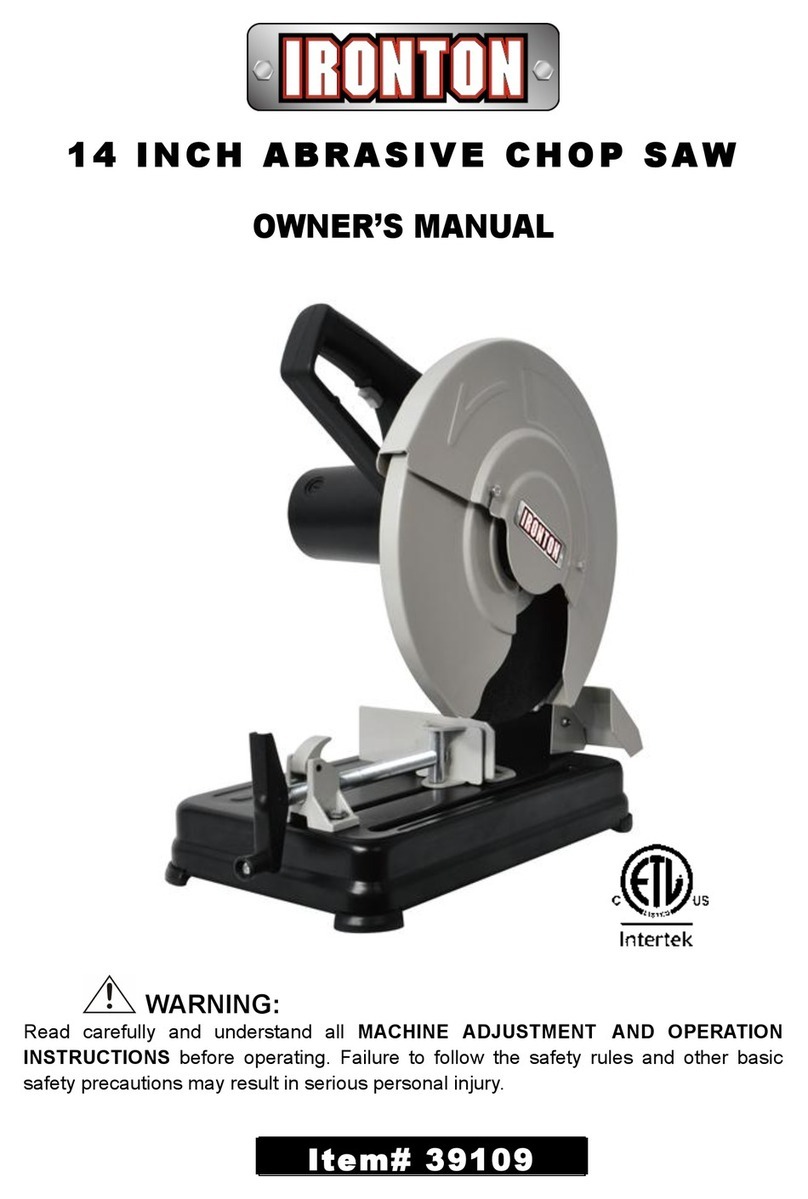
Ironton 39109 User manual

Ironton
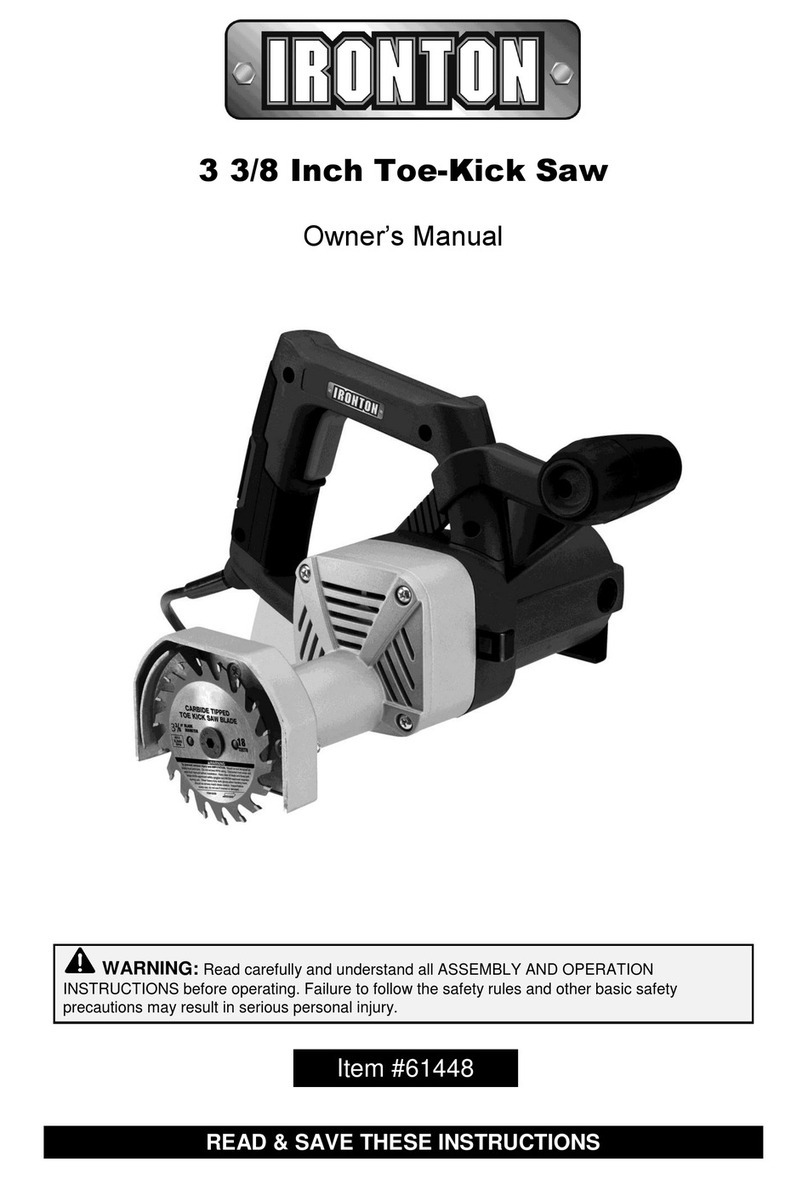
Ironton 61448 User manual

Ironton
Ironton 46181 User manual
Popular Saw manuals by other brands

EINHELL
EINHELL TKS 15/250-1 UV operating instructions

Clarke
Clarke CAT32B Operation & maintenance instructions

Bosch
Bosch GCB 18 V-LI Professional Original instructions

AEG
AEG A18SRSBL Original instructions

MK Diamond Products
MK Diamond Products MK-101 PRO24 owner's manual

Makita
Makita 5603R instruction manual