ISHIDA AC-4000 Series User manual
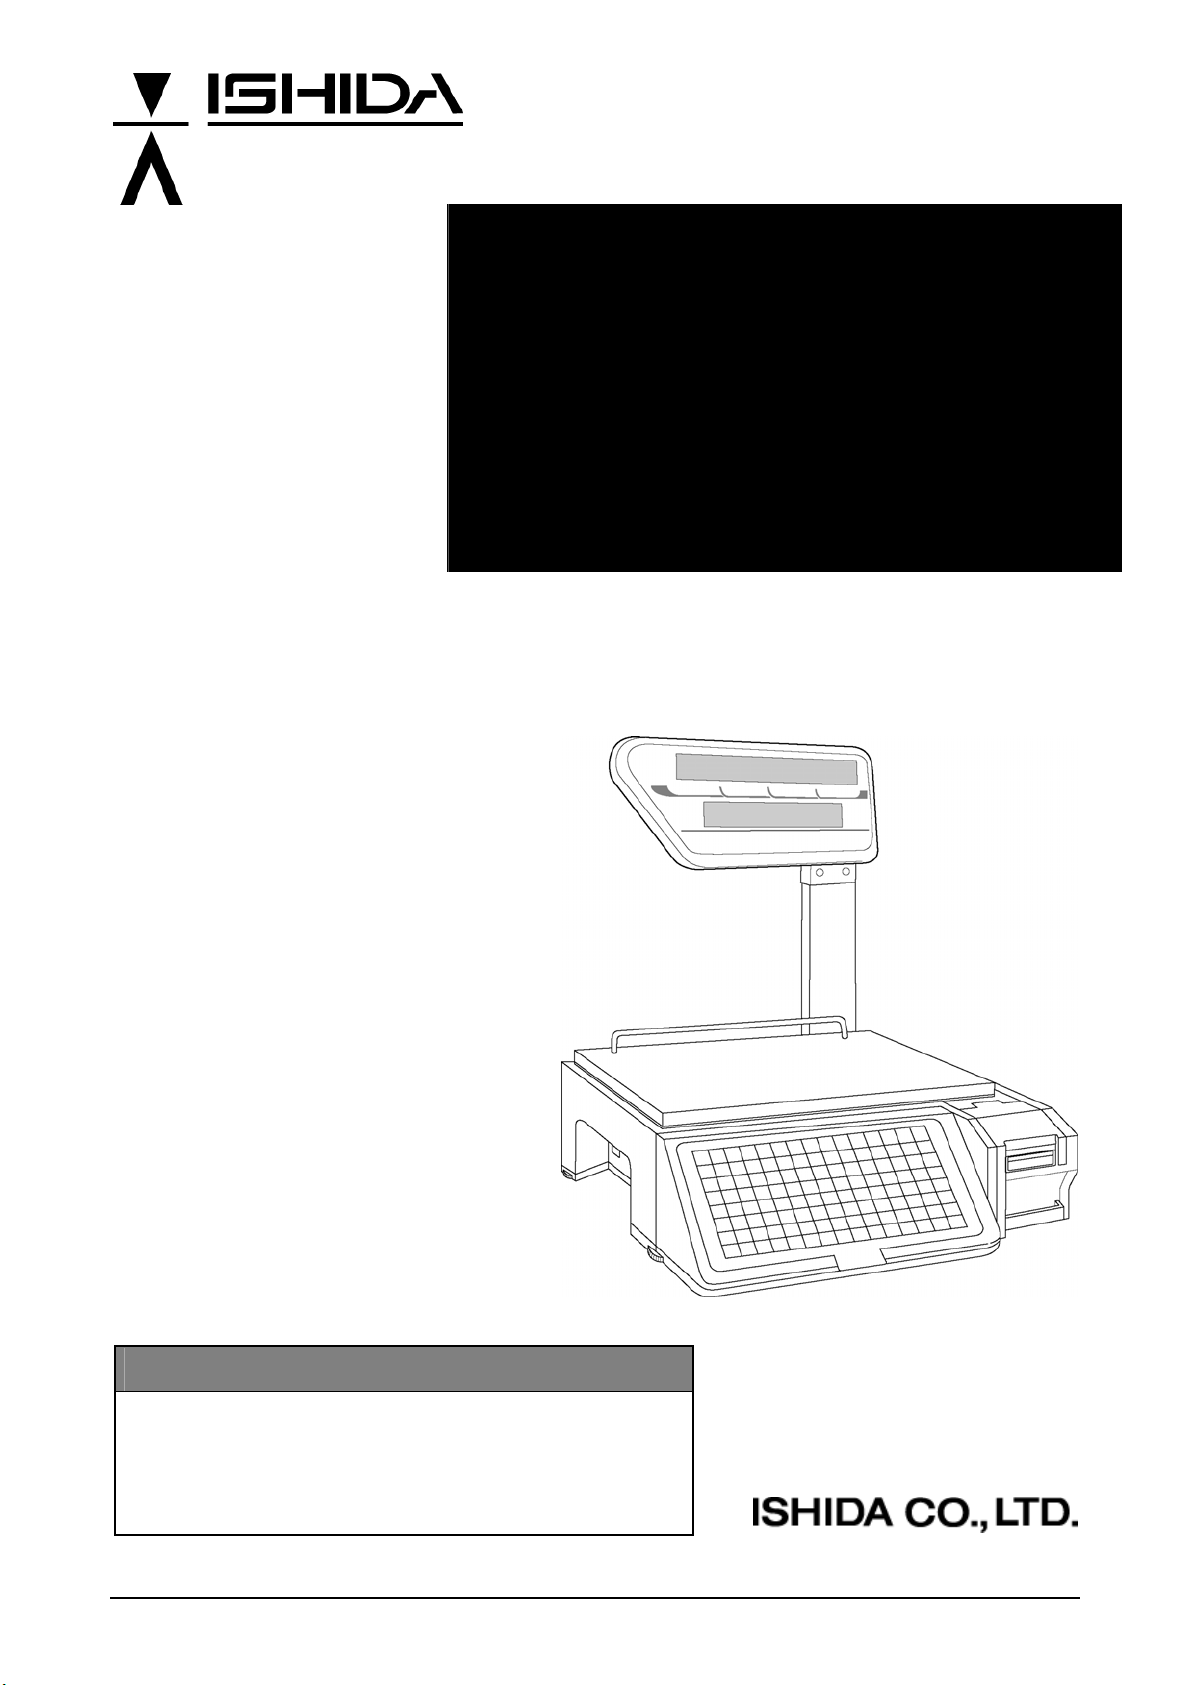
System Scale Printer
AC-4000 Series
AC-4000, AC-4000B, AC-4000E
Operator’sManual
IMPORTANT
•Do not carry out installation, operation, service, or
maintenance until thoroughly understanding the
contents of this manual.
•Keep this manual available at all times for installation,
operation, service, and maintenance.
PN 80812
AC-4000 Series Operator’s Manual No. 0199B

Copyright 2003-2004 by Ishida Co., Ltd. –All Rights Reserved.
No part of this manual may be reproduced in any form, by mimeograph or any other means, without
written permission of the publisher.
AC-4000 Series Operator’s Manual No. 0199B Page i
SAFETY CONSIDERATIONS
For safe operation, the following safety considerations must be observed.
Grounding
This machine requires protective grounding for safe operation. To avoid potential shock hazards,
a protective grounding conductor for the instrument must be securely connected to the main
grounding provision by qualified service personnel.
Do not remove covers or enclosures
To avoid personal injury and shock, do not open or remove any covers or enclosures of the
machine unless specified in the manual.
Do not perform unspecified maintenance
For your personal safety, do not perform any maintenance procedures which are not specified in
the manual.
Disconnect power supply before servicing
To ensure your personal safety, disconnect the power supply before servicing.
Page ii AC-4000 Series Operator’s Manual No. 0199B
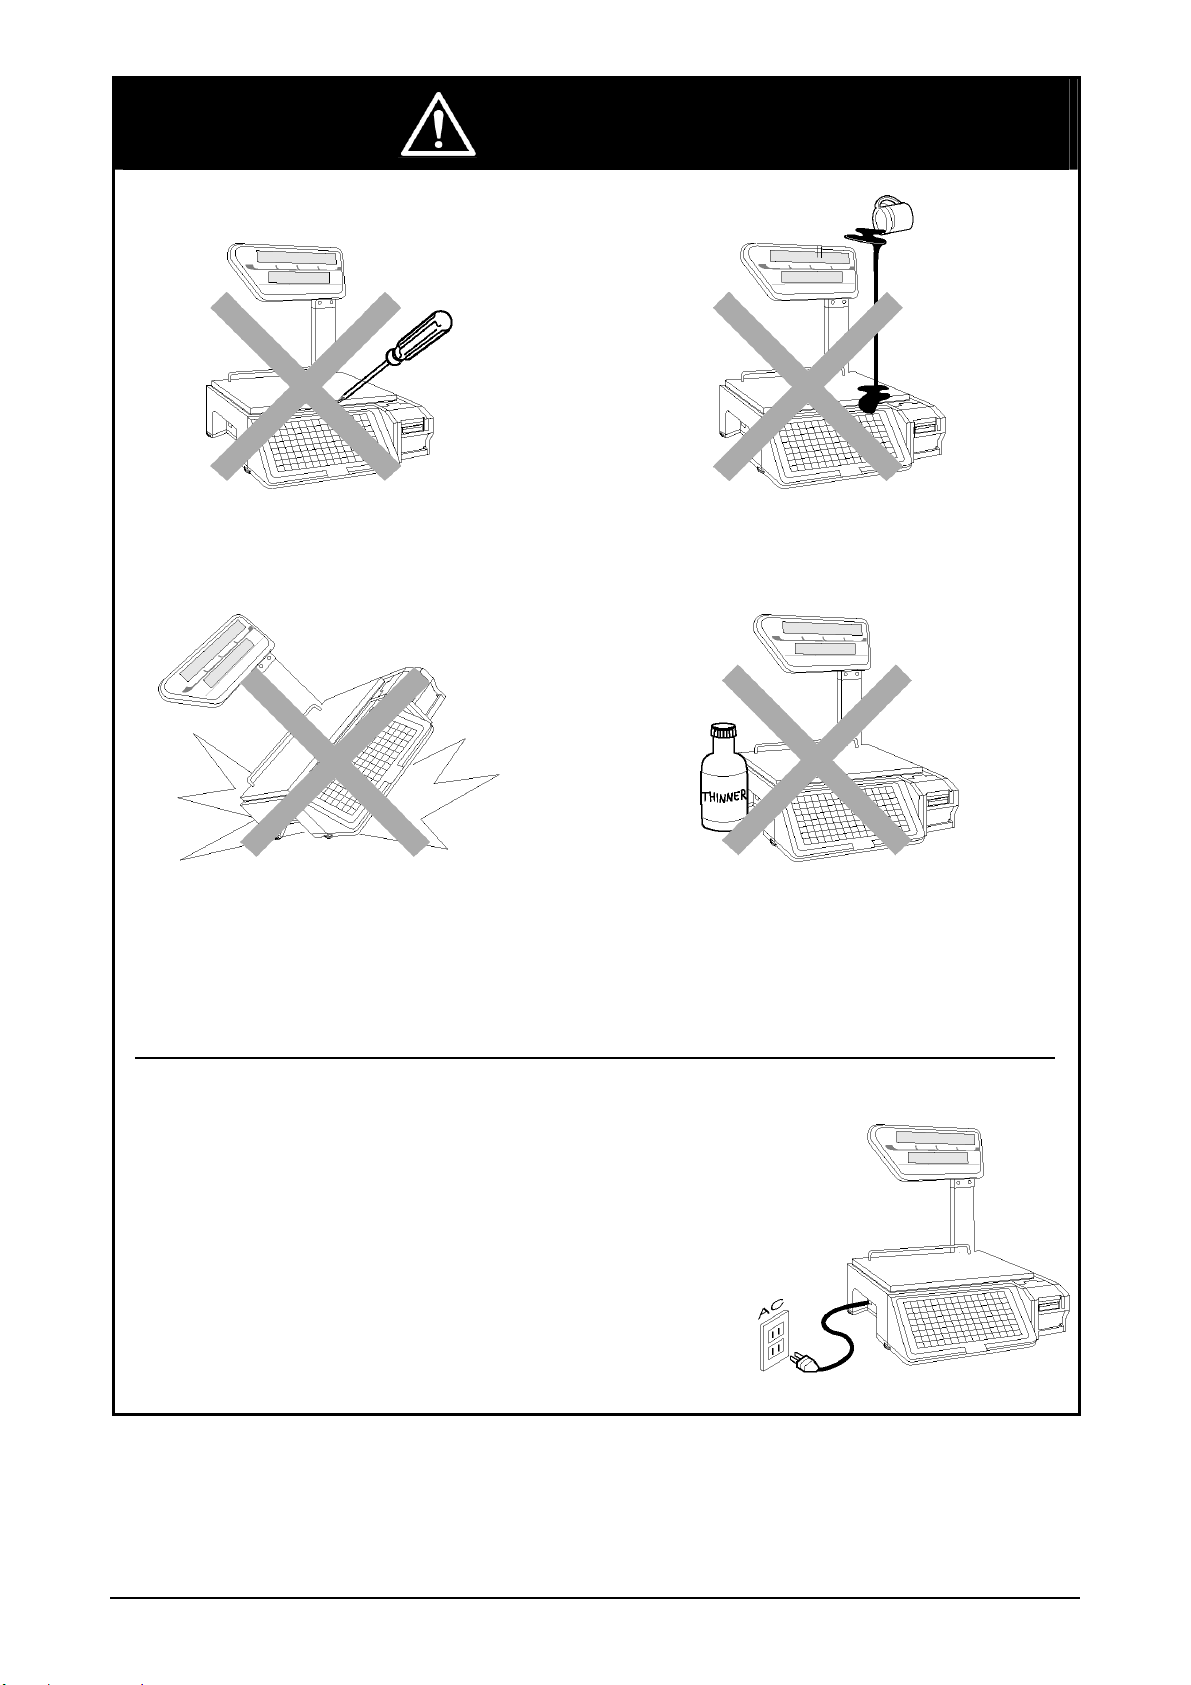
CAUTIONS FOR USE
fDo not disassemble the machine. fDo not allow any liquids to come into
contact with the machine.
fDo not drop or apply a strong shock
to the scale.
fWhen cleaning the machine, only use a soft
dry cloth or a cloth wetted with a neutral
cleanser.
Never use thinner or other volatile liquids.
Power Supply
•Use the specified voltage after referring to the specification
plate located on the machine.
•Use a dedicated power source.
(Voltage fluctuation may cause the machine to malfunction)
AC-4000 Series Operator’s Manual No. 0199B Page iii
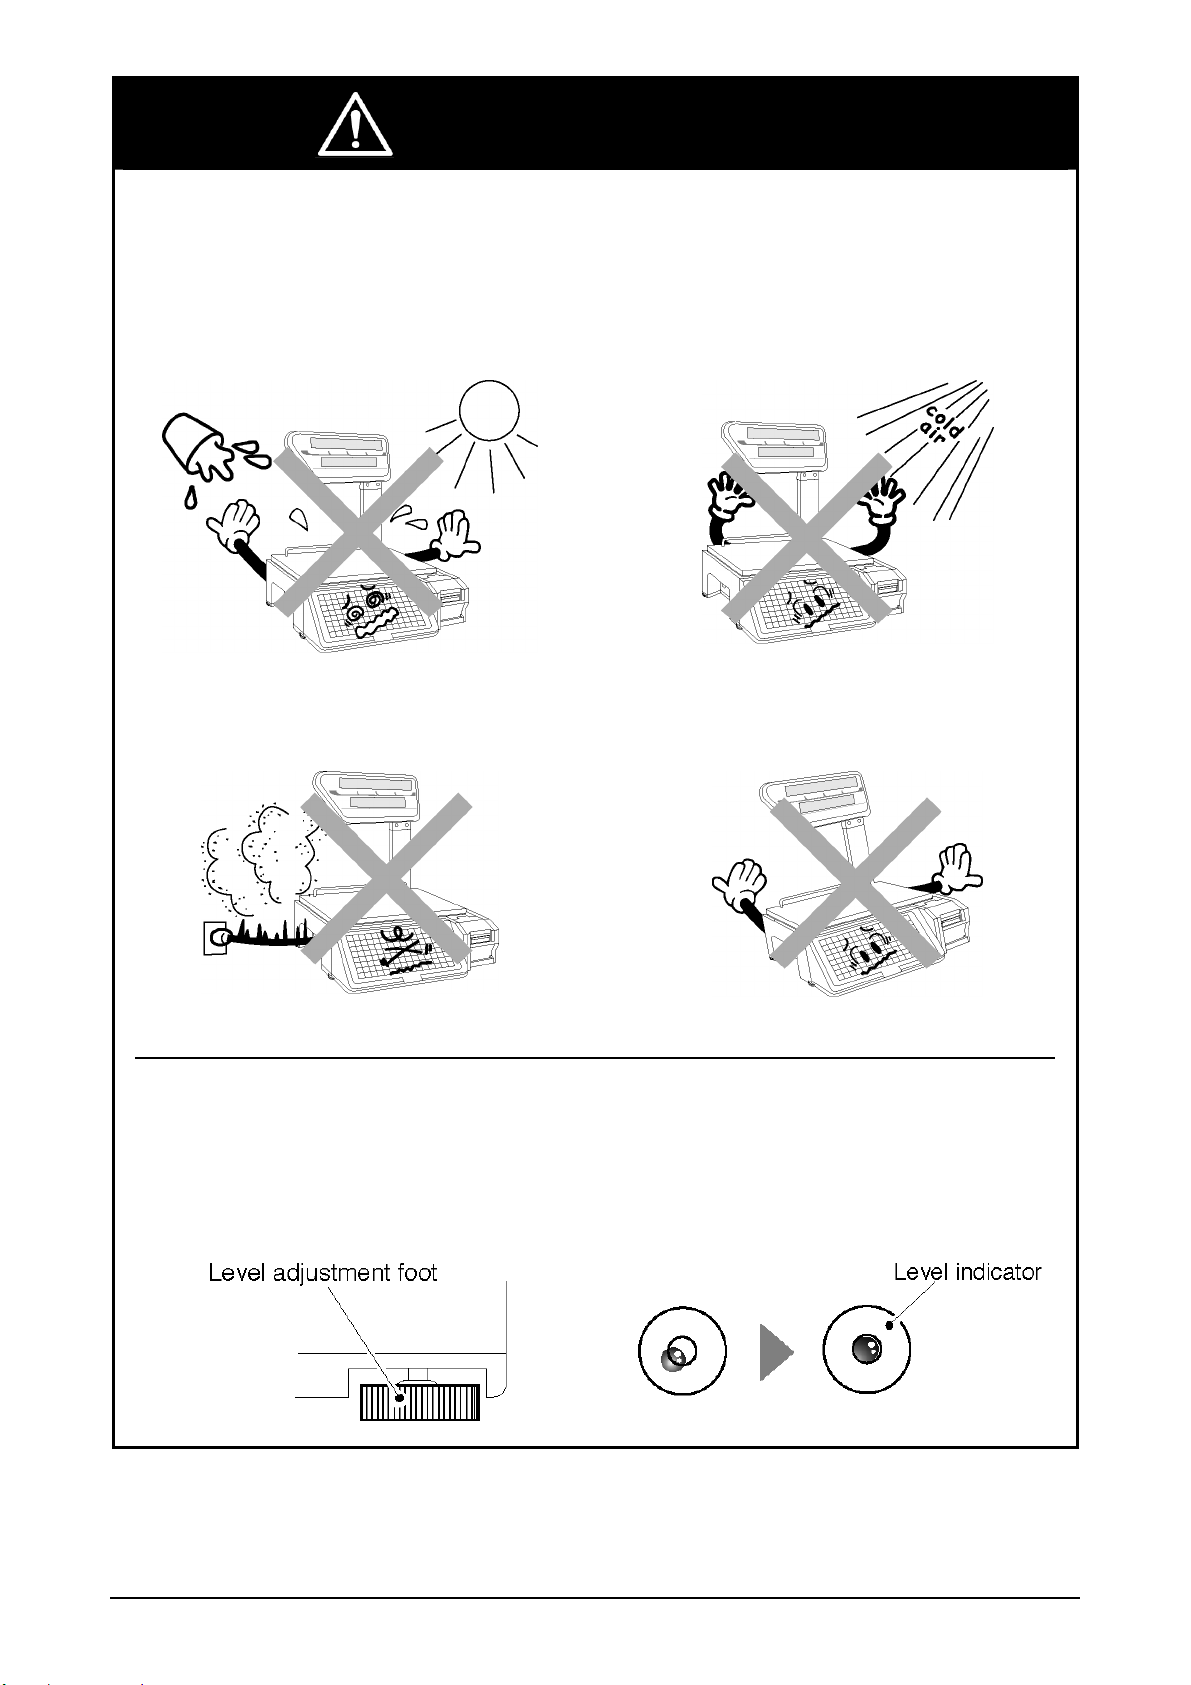
CAUTIONS FOR INSTALLATION
Avoid the following areas when installing the machine
•Areas subject to high temperatures or high
humidity
•Areas exposed to direct sunlight
•Areas where water or other liquids are easily
spilled on the machine
•Areas subject to excessive vibration or
unstable surfaces
•Areas exposed to direct cold air
•Areas subject to low temperatures
•Areas subject to a lot of dust or dirt
•Areas with large voltage fluctuations
•Areas where the scale is not level
Level Adjustment
•Always ensure that the machine is level. If the machine is not level, weighing may not be
accurate.
•Adjust the machine to a level position using the four level adjustment feet located on the
bottom of the machine, until the bubble is completely centered in the round level indicator.

Page iv AC-4000 Series Operator’s Manual No. 0199B
CONTENTS
Chapter 1 PRODUCT OVERVIEW......................................................... 1
1.1 Appearance & Display ................................................................. 2
1.2 Operation Keysheet..................................................................... 3
1.3 Basic Function Keys .................................................................... 4
1.4 Preset Function Keys .................................................................. 6
1.5 Label Loading ............................................................................ 10
Chapter 2 NORMAL MODE ................................................................. 15
2.1 Weighing Items.......................................................................... 16
2.2 Fixed Price Items....................................................................... 18
Chapter 3 DAILY MAINTENANCE ....................................................... 21
3.1 Cleaning .................................................................................... 22
3.2 Condition Check ........................................................................ 23
Chapter 4 TROUBLE SHOOTING ....................................................... 25
4.1 Error Codes & Messages .......................................................... 26
4.2 Other Error Conditions............................................................... 29
4.3 Replacing the Main Fuse........................................................... 30

AC-4000 Series Operator’s Manual No. 0199B Page 1
1.1 APPEARANCE & DISPLAY ................................. 2
1.2 OPERATION KEYSHEET .................................... 3
1.3 BASIC FUNCTION KEYS .................................... 4
1.4 PRESET FUNCTION KEYS................................. 6
1.5 LABEL LOADING............................................... 10
PRODUCT
OVERVIE
W
1

Page 2 AC-4000 Series Operator’s Manual No. 0199B
1.1 APPEARANCE & DISPLAY
APPEARANCE
(AC-4000B, AC-4000E only)
Label Cassette
(AC-4000 only)
DISPLAY
Indicators
ZERO : Lights when weight value is true zero or temporary zero.
NET : Lights when a tare is used.
SAVE : Lights when the SAVE mode is used.
AUTO : Lights when the AUTOMATIC PRINT (Prepack) mode is used.
PEEL : Lights when the peel sensor is turned on.
AC-4000 Series Operator’s Manual No. 0199B Page 3
1
PRODUCT OVERVIEW
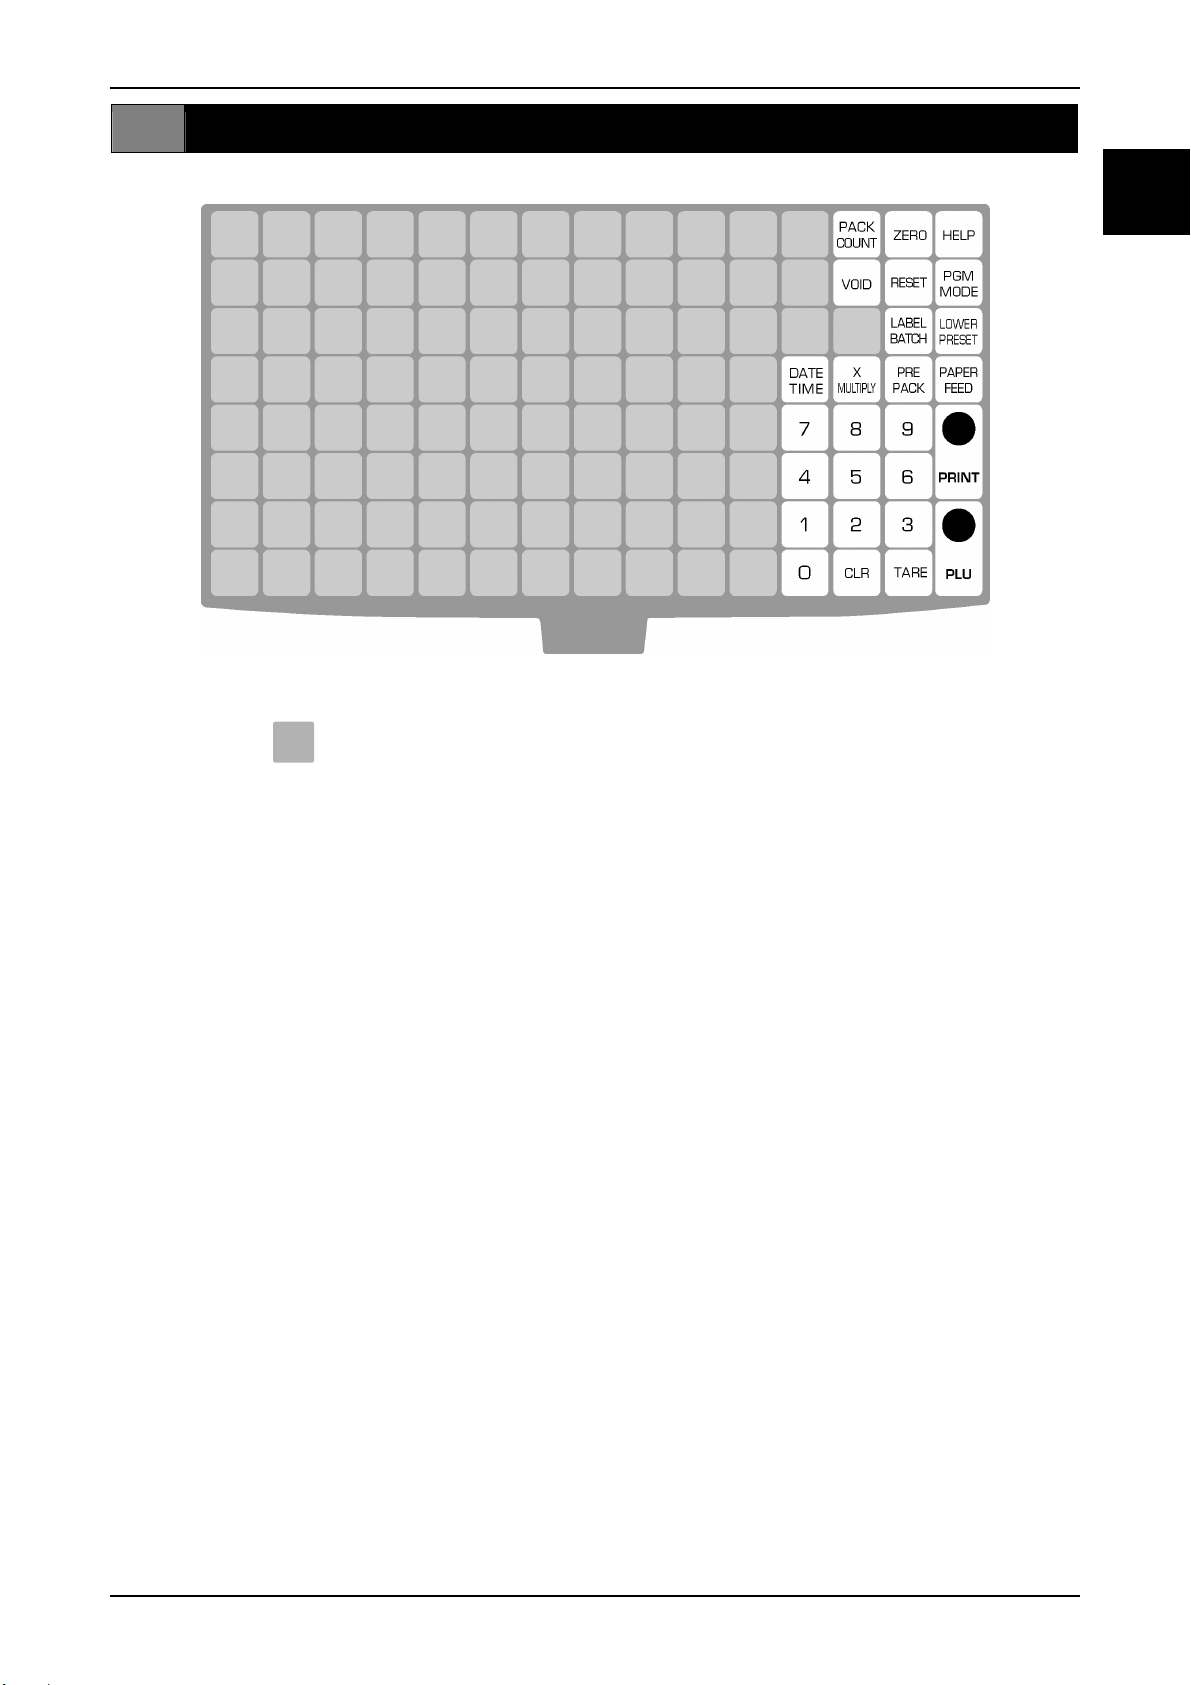
1.2 OPERATION KEYSHEET
The blank keys are assigned as preset keys or function keys.
Page 4 AC-4000 Series Operator’s Manual No. 0199B
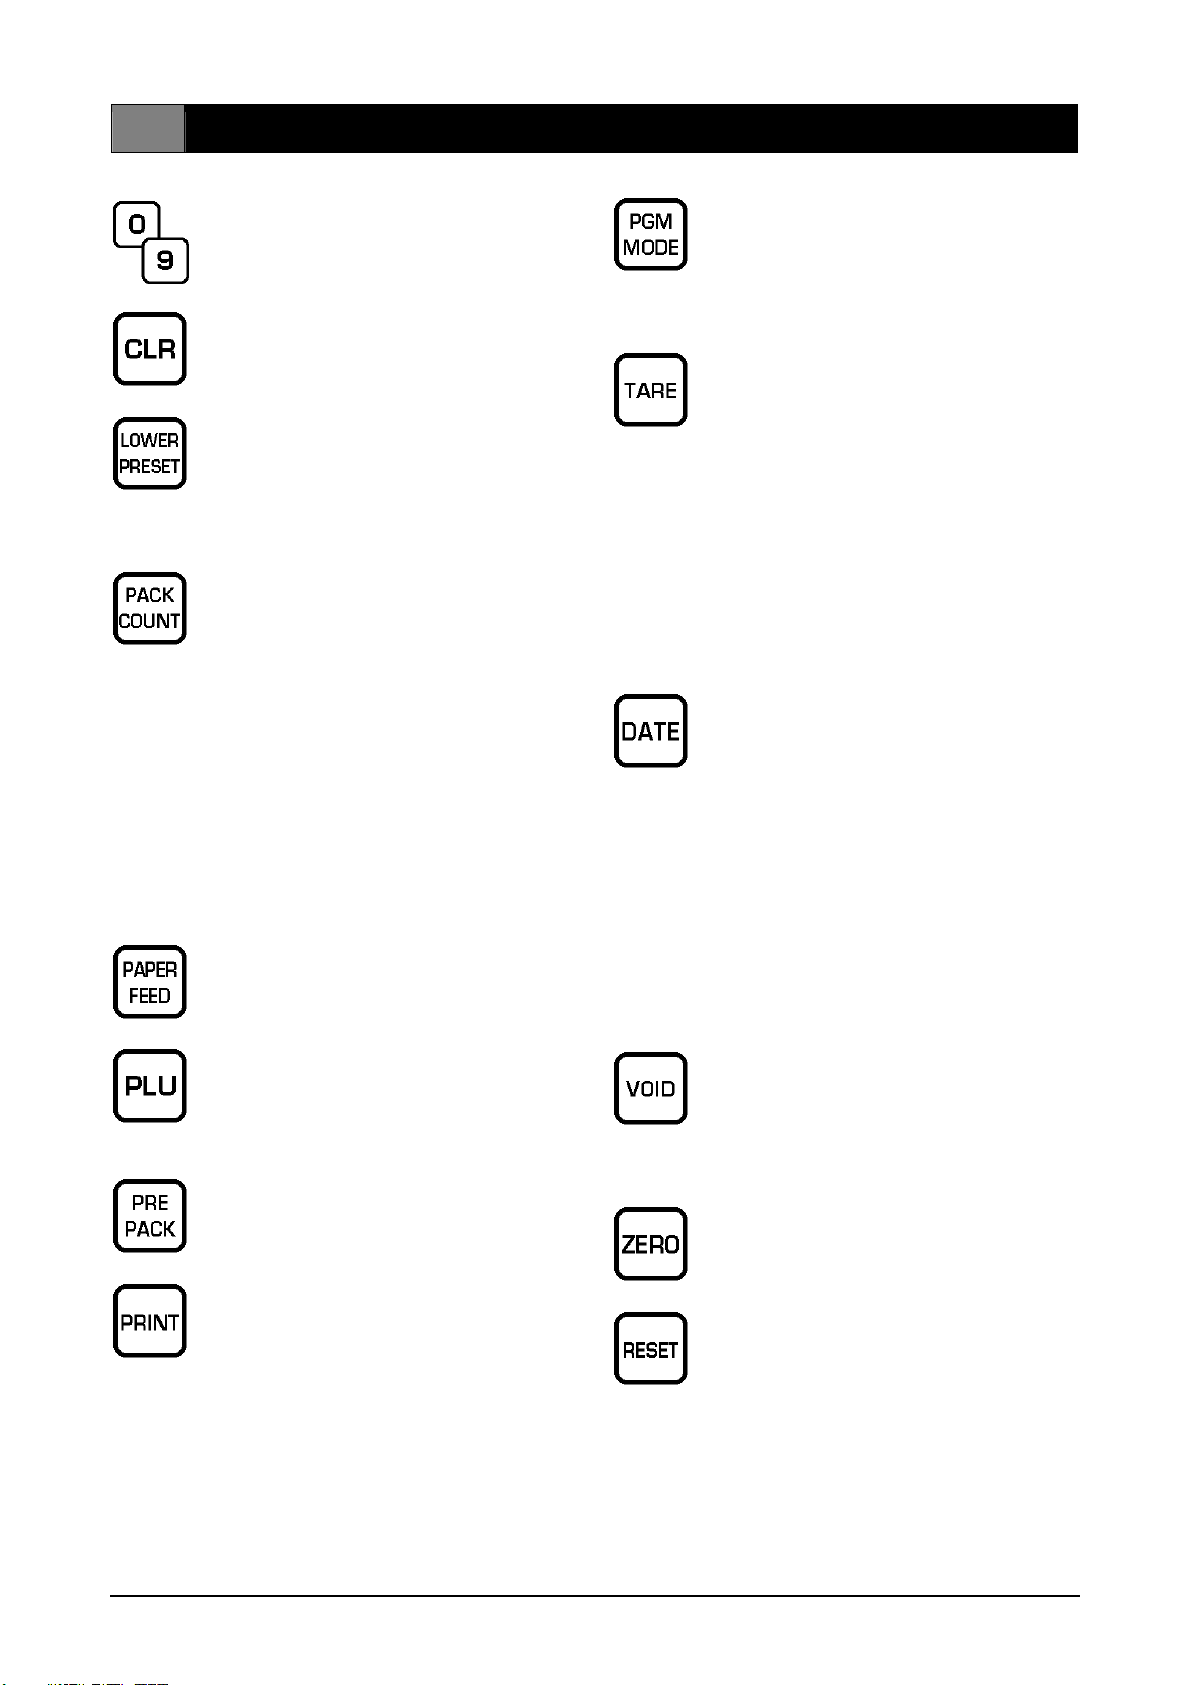
1.3 BASIC FUNCTION KEYS
NUMERIC ENTRY
Keys 0 through 9 are used to enter
numeric data.
CLEAR
Used to cancel incorrectly entered
numeric data.
LOWER PRESET *
Used to access the second level of
data programmed to a preset key.
Press the LOWER PRESET key to
switch back to the first level data.
PACK COUNT(SUBTOTAL LABEL) *
Used to issue a label that shows the
number of labels (packs), total weight,
and total price.
1. Press the SUBTOTAL key.
2. Press the PRINT key.
3. Press either the CLEAR key or the
MODE key to release.
Notes:
a. Subtotal data will be cleared by
pressing the CLEAR key.
b. The data will be saved by pressing the
MODE key to return to Normal Mode.
PAPER FEED
Used to advance labels/receipts to the
correct printing position.
PRICE LOOK UP
Used to access PLU data.
1. Key in the PLU number.
2. Press the PLU key.
PREPACK *
Used to switch between Auto Printing
mode and Manual Printing mode.
PRINT
Used to print labels.
Press the PRINT key to stop printing
of Fixed Price PLUs in Auto Print
mode.
PROGRAM MODE
Used to enter the required mode
after a 1-digit to 4-digit password has
been entered. Also used to exit the
current mode.
TARE
Used to enter a tare weight by
subtracting a container's weight.
1. Place a tare on the weigh platter.
2. Press the TARE key.
Used to enter a tare weight
manually.
1. Key in a tare weight.
2. Press the TARE key.
Note: For dual-range weighing models
(0.000 lb), tare entries must end
in either a "0" or "5".
DATE *
Used to temporarily change the
date(s) printed on the label.
Valid entries are:
1 – 996: Set number of Shelf
Life days.
9999: No date printing.
1. Key in the Date value (MMDDYY).
2. Press the DATE key.
Example: "091504" prints Sep.15.04.
Also used to display the current date
and time for a few seconds.
VOID *
Used to delete the previous
transaction from totals.
1. A label has been printed.
2. Press the VOID key to delete.
ZERO
Used to adjust the scale to zero
when nothing is on the weigh platter.
RESET *
Used to forcibly exit the current
operation and return to the initial
display.
* Key may be disabled in the scale's configuration.
Other manuals for AC-4000 Series
4
This manual suits for next models
2
Table of contents
Other ISHIDA Printer manuals

ISHIDA
ISHIDA Astra User manual

ISHIDA
ISHIDA 100-040-3749-00 Owner's manual

ISHIDA
ISHIDA Astra User manual

ISHIDA
ISHIDA BC-4000TEC User manual

ISHIDA
ISHIDA BC-3000 User manual

ISHIDA
ISHIDA AC-4000H User manual

ISHIDA
ISHIDA AC-4000 Series User manual

ISHIDA
ISHIDA AC-4000B User manual

ISHIDA
ISHIDA AC-4000H User manual

ISHIDA
ISHIDA AC-4000 Series User manual


