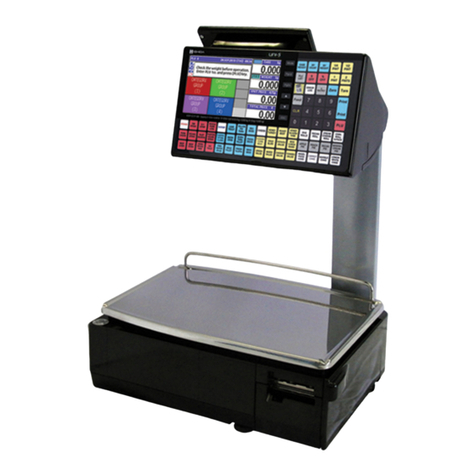
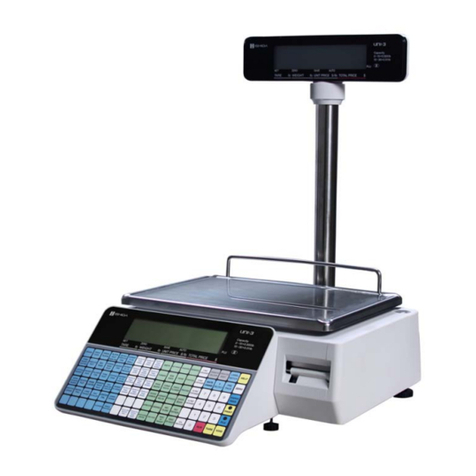
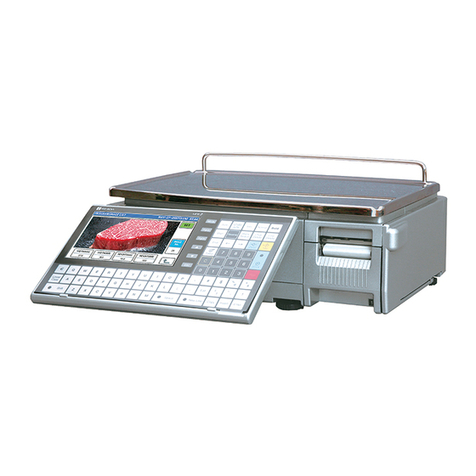
ISHIDA Uni-3 User manual

RS-61004-11 1.02
User’s Manual
Ver. 0.00
IMPORTANT
•Read this manual thoroughly, and do not perform installation,
operation, maintenance, or inspection unless you fully
understand all of the contents.
•Keep this manual in a safe place where you can refer to it
easily while installing, operating, and carrying out
maintenance or inspections.
Bench Type
Hanging Type
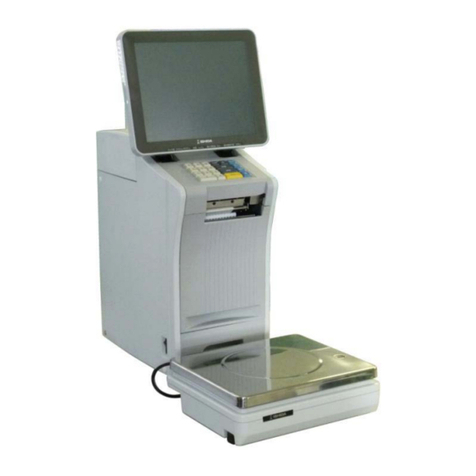
Pole Type
Elevated Type

© ISHIDA Co., Ltd. 2013 All rights are reserved.
No part of this publication may be reproduced, stored in a retrieval system, or transmitted in any form or by any means
mechanical, electronic, photocopying, recording, or otherwise without prior written permission of ISHIDA.

Chapter 1: BEFORE USE
Uni-3 User’s Manual 1-1
BEFORE USE
1.1 SPECIFICATIONS
UNIT ITEM DESCRIPTIONS
Weighing unit Weighing capacity 15 kg specification: 0 to 6 kg / 2 g, 6 to 15 kg / 5 g
30 kg specification: 0 to 30 kg / 0.010kg
Weighting accuracy 1/3000
Operation panel unit Display method L1: 23-digit 16-segment LCD
L2: 192 X 16 dot matrix / 23-digit 7-segment LCD
Customer display unit
Display method L1: 23-digit 16-segment LCD
L2: 192 X 16 dot matrix / 23-digit 7-segment LCD
Printer unit Printing method Direct thermal method
Thermal head 2 inches (448 dots) and 8 dots/mm
Printing speed 100 mm/second
Note: The printing speed may vary depending on the label
conditions.
Printing effective size 56 mm in width
Label roll size Label width: 38 to 68 mm
Label length: 30 to 175 mm
Label roll size Roll outside diameter ϕ100 mm max.
Paper core inside diameter ϕ40 mm ±1 mm
Others Power supply 100 to 240 VAC, 50/60Hz
Use conditions Temperature: -5 to 40°C
Humidity: 20 to 85%, non-condensing.
Input / Output LAN: 1 channel
USB: 1 channel
RS-232C: 1 channel
1

Chapter 1: BEFORE USE
1-2 Uni-3 User’s Manual
1.2 PART NAMES
Bench Type

Chapter 1: BEFORE USE
Uni-3 User’s Manual 1-3
1.3 OPERATION PANEL
Keys for Usual Use
Used to delete an entered
numerical value.
Used to call Menu Select display.
Used to call a registered product
data.
Used to move the cursor or turn
pages.
Used to feed labels.
Used to move the cursor or turn
pages.
Used to issue a label.
Used to move the cursor or turn
pages.
Used to enter tare weight.
Used to move the cursor or turn
pages.
Used to reset a weigh to zero.
Used to escape from the current
mode.

Chapter 1: BEFORE USE
1-4 Uni-3 User’s Manual
1.4 LEVEL ADJUSTMENT
Install the machine horizontally to use.
Be sure to turn off the power switch before placing the machine on a stable platform, and adjust the machine
inclination by turning the four level adjustment legs so that the bubble is located at the center of the level gauge.
Accurate measurements cannot be performed if it is not installed horizontally.

Chapter 1: BEFORE USE
Uni-3 User’s Manual 1-5
1.5 LABEL / RECEIPT ROLL LOADING
1.
Open the cover at the side of the main body.
Ensure that nothing is placed on
the weighing platter.
2.
Set a new roll around the roll holder and raise the roll stopper to fix the roll position.
3.
Twist the lever as shown in the figures below to unlock the thermal head.

Chapter 1: BEFORE USE
1-6 Uni-3 User’s Manual
4.
Thread the paper as shown in the figures below.
5.
For labels, fix the paper end with the backing paper stopper, and gently turn the winding bobbin
clockwise until the label becomes tight.
6.
Push the lever to lock the thermal head.
Winding bobbin

Chapter 1: BEFORE USE
Uni-3 User’s Manual 1-7
7.
Press the [FEED] key to issue a label.
At this time, confirm that the label is completely peeled off.
Confirm that the backing paper is
wound up smoothly. If the backing
paper is wound up diagonally,
check that the label is set correctly.

Chapter 1: BEFORE USE
1-8 Uni-3 User’s Manual
1.6 REMOVING & REPLACING OF WEIGHING PLATTER
1.6.1 REMOVING THE WEIGHING PLATTER
When removing the weighing platter from the main body, lift the front side to pull out the two pins from the two
rubber platter holders and remove the platter by pulling it to disengage the two hooks at the rear side of the
platter.
1.6.2 REPLACING THE WEIGHING PLATTER
When replacing the weighing platter onto the main body, engage the two hooks at the rear side of the platter
and lower the platter so that the two pins on the bottom of the platter are inserted into holes of the rubber
platter holders.

Chapter 1: BEFORE USE
1-10 Uni-3 User’s Manual
1.7.2 PRECAUTIONS WHEN USING CLEANING FLUIDS
Use a soft cloth and a neutral detergent to clean the machine.
Do not use thinner, benzene, etc. Doing so may damage the original safety functions.
For some parts, use cleaning fluid (isopropyl alcohol).
Do not use cleaning fluid near fire as the fluid is flammable.
Do not use cleaning fluid in a poorly ventilated area. Always provide adequate
ventilation when cleaning.
Take the following actions in the event of an accident:
If the fluid gets in your eye
Immediately wash your eye(s) with water for at least 15 minutes, and consult your doctor.
If you wear contact lenses, remove and wash them.
If the fluid comes into contact with your skin
Immediately rinse the area of contact with water, and then wash with soap.
If you notice any skin abnormalities at the area of contact, or if any pain persists, consult your
doctor.
If the fumes of the fluid are inhaled
Immediately move the victim to an area where fresh air is available, and have the victim lie down
and keep warm.
If breathing becomes difficult or stops, provide artificial respiration and seek medical attention
immediately.
If the fluid is swallowed
Do not try to induce vomiting.
Do not give the victim anything to drink, and do not rinse the mouth.
If vomiting occurs naturally, have the victim lean forward to reduce risk of aspiration.
Keep the victim warm and seek medical attention.

Chapter 1: BEFORE USE
Uni-3 User’s Manual 1-11
1.8 STARTING PROCEDURES
1.8.1 TURNING ON THE POWER
1. Push down the "I” side of the Power Switch to
turn on the power.
2. The “Clock Check” screen is displayed.
Check that displayed date and time agree
with the current date and time, and press the
[ENTER] button on the key pad to proceed to
the next step.
Note: Refer to the “Date/Time” menu in Adjustment
Mode when changing date or time.
3. The initial screen is displayed.
Note: The contents of the initial screen may differ
depending on the settings on your machine.
1.8.2 ZERO ADJUSTMENT
1. If the “ZERO” indicator does not appear in the
display, press the [ZERO] key.
2. The “ZERO” indicator lights up and the
weight value becomes zero.
1.8.3 GETTING BACK TO THE INITIAL SCREEN
1. To get back to the initial screen from a Menu
selection screen, press the [Mode] button” at
the key pad.
2. The initial screen is displayed.
Note: The contents of the initial screen may differ
depending on the settings on your machine.

Chapter 2: OPERATION MODE
UNI-3 User’s Manual 2-1
OPERATION MODE
2.1 OPERATION MODE ENTRY / EXIT
1.
Ensure that the initial display is appearing.
Note: The contents of the initial display may differ
depending on the settings on your machine.
2.
Enter “2000” using the numerical keypad and
press the [Mode].
The “Adjustment Mode” display appears.
Note: To exit the Adjustment Mode, just press the
[Mode] key.
2

Chapter 2: OPERATION MODE
2-2 UNI-3 User’s Manual
2.2 SCREEN EXAMPLES FOR PRODUCT CATEGORIES
Weighing Products
Weighing Fixed Price Products
Non-weighing Fixed Price Products

Chapter 2: OPERATION MODE
UNI-3 User’s Manual 2-3
2.3 SALES OPERATIONS
2.3.1 ISSUING LABELS FOR WEIGHING PRODUCTS
1.Ensure that the initial display is appearing.
Note: The contents of the initial screen may differ
depending on the settings on your machine.
2.
Enter a PLU number and press the [PLU] key
on the keypad.
Note: If “ZERO” is not indicated on the screen, press
[0] on the keypad.
EXAMPLE PLU No.1
3.
The designated weighing PLU screen is
displayed.
EXAMPLE
A product to which its unit price and tare
weight were set beforehand.
4.
Put the product on the weighing platter.
The product is weighed and its total price is
calculated.
5. Press the [PRINT] key to issue a label.
Non-traceable products Traceable products

Chapter 2: OPERATION MODE
2-4 UNI-3 User’s Manual
2.3.2 ISSUING LABELS FOR WEIGHING FIXED PRICE PRODUCTS
1.The initial screen is displayed.
Note: The contents of the initial screen may differ
depending on the settings on your machine.
2.
Enter a PLU number and press the [PLU] key
on the keypad.
Note: If “ZERO” is not indicated on the screen, press
[0] on the keypad.
EXAMPLE PLU No.1
3.
The designated weighing PLU screen is
displayed.
EXAMPLE
A product to which its tare weight and price
were set beforehand.
4. Put the product on the weighing platter.
The product is weighed, but its price stays
the same.
5.
Press the [PRINT] key to issue a label.
Non-traceable products Traceable products

Chapter 2: OPERATION MODE
UNI-3 User’s Manual 2-5
2.3.3 ISSUING LABELS FOR FIXED PRICE PRODUCTS
1.The initial screen is displayed.
Note: The contents of the initial screen may differ
depending on the settings on your machine.
2.Enter a PLU number and press the [PLU] key
on the keypad.
Note: If “ZERO” is not indicated on the screen, press
[0] on the keypad.
EXAMPLE PLU No.1
3.
The designated non-weighing PLU screen is
displayed.
4. Press the [PRINT] key to issue labels.
Non-traceable products Traceable products
Note: To stop printing, press the [PRINT] key again.

Chapter 2: OPERATION MODE
2-6 UNI-3 User’s Manual
2.3.5 ISSUING LABELS REQUIRING OPERATOR REGISTRATION
1.The initial screen is displayed.
Note: The contents of the initial screen may differ
depending on the settings on your machine.
2.Enter a PLU number and press the [PLU] key
on the keypad.
Note: If “ZERO” is not indicated on the screen, press
[0] on the keypad.
EXAMPLE PLU No.1
3.
The designated PLU screen is displayed.
EXAMPLE
A product to which its unit price and tare
weight were set beforehand.
4. Put the product on the weighing platter.
The product is weighed and its total price is
calculated.
5. Press an operator button to issue a label.
Non-traceable products Traceable products

Chapter 2: OPERATION MODE
UNI-3 User’s Manual 2-7
2.3.6 ISSUING RECEIPTS BY THE SAME OPERATOR
1. Ensure that the “Operator Selection” screen
is displayed.
Then, press an operator button for selection.
EXAMPLE Operator “BETTY”
The initial screen is displayed.
2.Enter a PLU number and press the [PLU] key
on the keypad.
Note: If “ZERO” is not indicated on the screen, press
[0] on the keypad.
EXAMPLE PLU No.1 (weighing product)
3. The designated weighing PLU screen is
displayed.
Put the product on the weighing platter.
4. Press the [RECEIPT SUB-TOTAL] key to
complete the registration.
The subtotal screen for the designated
operator appears on the screen.

Chapter 2: OPERATION MODE
2-8 UNI-3 User’s Manual
5. Press [Mode] key to return and enter the PLU
number.
EXAMPLE PLU No.201 (weighing fixed
price product)
The PLU screen is displayed.
6. Put the product on the weighing platter.
7. Press the [RECEIPT SUB-TOTAL] to
complete the registration.
The subtotal screen for the designated
operator is displayed.
8.
Press [Mode] key to return and enter the PLU
number.
EXAMPLE PLU No.101 (fixed price product)
The subtotal screen is displayed.
9. Press the [RECEIPT SUB-TOTAL] key to
confirm the sales data.
Other manuals for Uni-3
2
Table of contents
Other ISHIDA Scale manuals

ISHIDA
ISHIDA UNI-7 User manual

ISHIDA
ISHIDA IWQ Series User manual

ISHIDA
ISHIDA IGB Series User manual

ISHIDA
ISHIDA IGX Series User manual

ISHIDA
ISHIDA Uni-5 User manual

ISHIDA
ISHIDA IWB Series User manual

ISHIDA
ISHIDA AC-3000 User manual

ISHIDA
ISHIDA IPC User manual

ISHIDA
ISHIDA IP-AI User manual

ISHIDA
ISHIDA AC-2000 User manual

ISHIDA
ISHIDA AC-4000B User manual

ISHIDA
ISHIDA IP-EMZ User manual

ISHIDA
ISHIDA CWS-02 Quick guide

ISHIDA
ISHIDA BC-4000 User manual

ISHIDA
ISHIDA SR-2000a Manual

ISHIDA
ISHIDA INS-100 User manual

ISHIDA
ISHIDA BC-3000 User manual

ISHIDA
ISHIDA UNI-7 User manual

ISHIDA
ISHIDA Astra II Bench Installation manual

ISHIDA
ISHIDA NOVA-II User guide