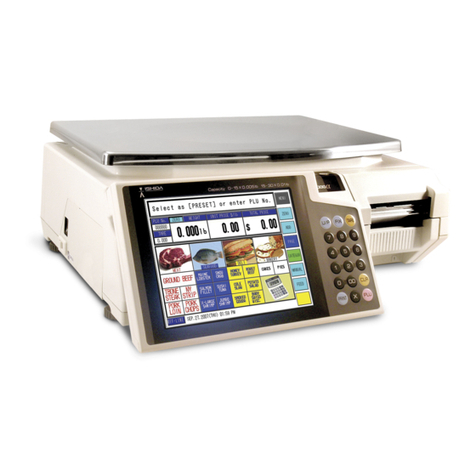
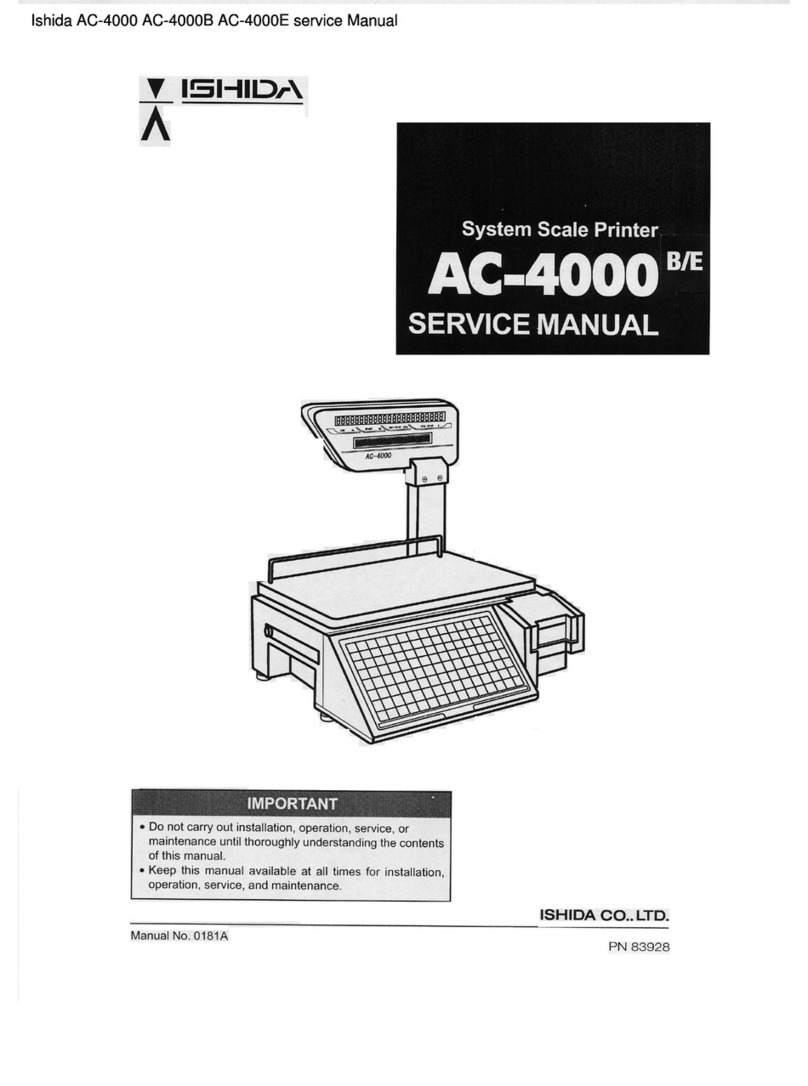
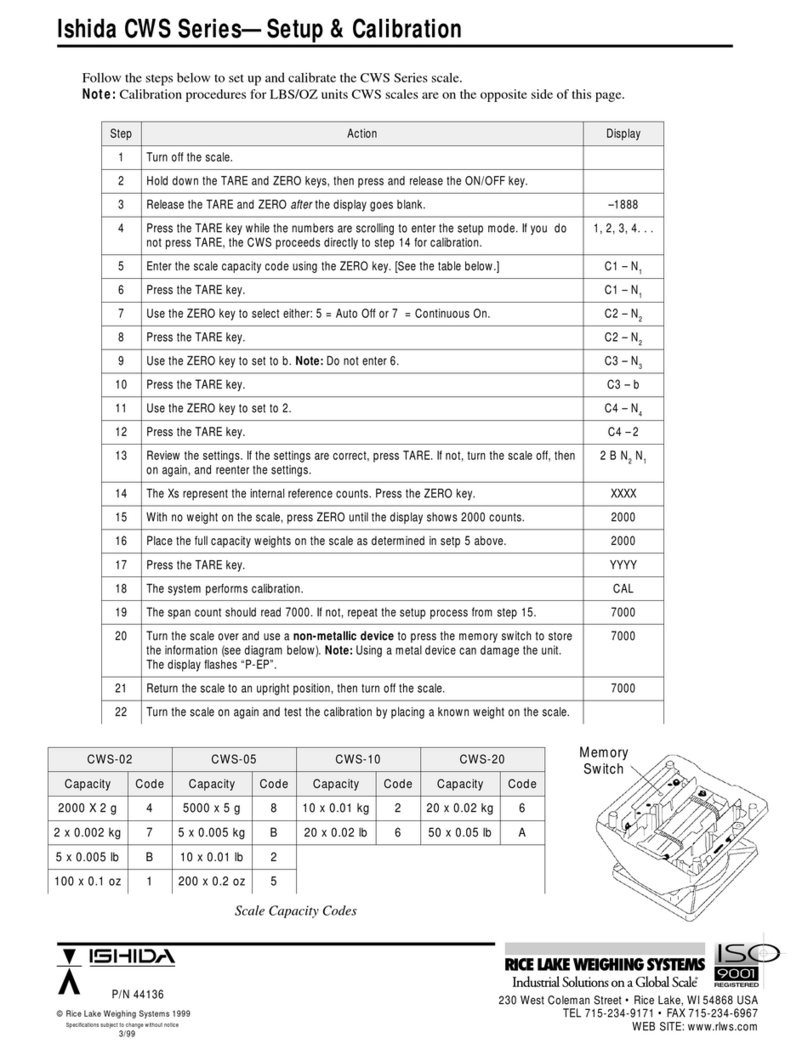
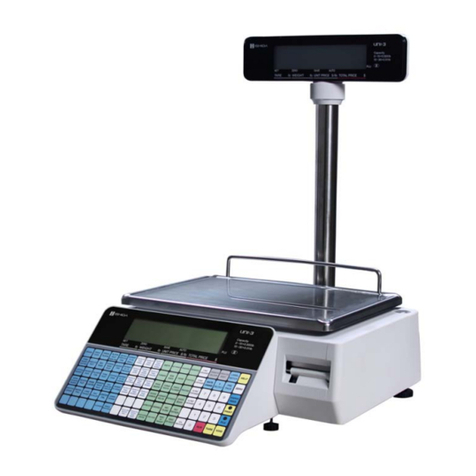
ISHIDA IP-AI User manual

IP-AI
Prepack Scale & Printer
Operation Manual
PN 177839

An ISO 9001 registered company
© Rice Lake Weighing Systems. All rights reserved.
Rice Lake Weighing Systems®is a registered trademark of
Rice Lake Weighing Systems.
All other brand or product names within this publication are trademarks or
registered trademarks of their respective companies.
All information contained within this publication is, to the best of our knowledge, complete
and accurate at the time of publication. Rice Lake Weighing Systems reserves the right to
make changes to the technology, features, specifications and design of the equipment
without notice.
The most current version of this publication, software, firmware and all other product
updates can be found on our website:
www.ricelake.com

III
IMPORTANT NOTICE
CHANGE IN SPECIFICATIONS
ERRORS AND OMISSIONS
LIMITATIONS OF LIABILITY
Thank you for purchasing the ISHIDA IP-AI.
This manual explains the procedures to install, operate, and maintain the machine.
Those who handle the machine must be aware of the hazards involved. These dangers may not be obvious, so
it is imperative to follow the instructions detailed in this manual when installing, operating, and maintaining the
machine. Therefore, we recommend that you thoroughly read and understand this manual before installing,
operating, or maintaining the machine, and keep this manual in a safe place where you can refer to it whenever
necessary.
Safety countermeasures should be carefully considered and implemented before performing any installation,
operation, or maintenance procedure not specifically described in this manual or indicated on the machine itself.
ISHIDA is not liable for any damage, loss or injury that results from incorrect operation, insufficient caution,
unauthorized modifications to the machine, or failure to follow the instructions contained in this manual.
Machine specifications and accessories may be changed at any time due to improvements or other reasons.
Consult with your ISHIDA representative at any time to confirm the actual specifications of the purchased
machine.
The information in this manual has been carefully checked and is believed to be accurate. However, please
understand that the descriptions in this manual may not agree with the actual machine due to machine
improvements. The information is subject to change without prior notice in the future. ISHIDAassumes no
responsibility for clerical, typographical or proofreading errors, or omissions.
ISHIDA assumes no responsibility for special, indirect, or consequential damages, loss of profits or commercial
loss in any way connected with the machine, whether such claim is based on contract, warranty, negligence,
or strict liability.
ISHIDA shall assume responsibility for problems with the machine or the system based on an individual
maintenance contract. However, ISHIDA shall not be responsible for secondary problems.
ISHIDA assumes no responsibility for the user's programming of this machine, or any consequence thereof.
In no event shall ISHIDA be responsible for warranty, repair, or other claims regarding the machine unless
ISHIDA’s analysis confirms that the machines were properly handled, stored, installed, and maintained and not
subject to contamination, abuse, misuse, or inappropriate modification or repair.

IV
SIGNAL WORDS (TYPES & MEANING)
The signal words shown in this manual are separated into two stages depending on the level of danger or the
seriousness of potential injury. Fully understand the meanings of the signal words shown below and follow the
directions as shown in this manual and on the stickers placed about the machine.
Signal Meaning
WARNING Indicates a potentially hazardous situation, which, if not avoided, will result in severe
injury or death.
CAUTION Indicates a potentially hazardous situation, which, if not avoided, may result in minor or
moderate injury or in property damage.
NOTE Indicates information that needs to be noted or emphasized.
INFORMATION
Indicates reference information when performing an operation.
REFERENCE
Indicates the reference page related to performance of an operation.

V
• Be sure to install the printer unit and
the weighing unit on level ground.
Install the four rubber feet of the printer unit on
the mount.
Accurate weighing cannot be made if the
weighing unit is not horizontally installed.
If the printer unit or the weighing unit falls over, it
may result in injury.
• Always use the specified voltage.
•Prepare a dedicated power source and always
use a power supply with rated voltage. Never
connect the machine power input with an AC
power supply exceeding the rated voltage.
• To avoid any potential electrical shock, ensure
that the protective ground wire is connected to
the main grounding provision.
• A power supply that generates voltage variation
may cause a malfunction, or using the machine
outside of the rated voltage may result in
machine failure or danger such as electric
shock.
• The equipment disconnect device is considered
to be: Plug, Appliance inlet.
• Replacement of fuses is limited only by service
personnel. Service personnel should refer to
service documentation for instructions for the
replacement.
• Replacement of Battery is limited only by
service personnel.
* To Service personnel:
Risk of Explosion if Battery is replaced by an
Incorrect Type. Dispose of Used Batteries
According to the Instructions.
• Ensure that the printer unit, display
unit and terminals do not come into
contact with water.
If water comes in contact with these units or
terminals, this may cause a fire.
PRECAUTIONS FOR USE
For safe operation, the following safety considerations must be observed:

VI
• If an abnormal condition such as
burning smell occurs, discontinue
use immediately and unplug the
power cable from the outlet.
Continuing to use the machine with an
abnormality could lead to fire or failure.
Discontinue use immediately and contact your
ISHIDA dealer.
• When transporting the machine, be
sure to hold the bottom of the
machine.
Failure to do so could result in malfunction.
• Be careful not to get your finger
caught.
It is dangerous to adjust the angle of the display
unit or push the label set unit into the machine
while putting your hand at the position shown in
the figure.
• Do not touch the touch panel with
sharp objects.
This may cause the touch panel screen to
become damaged and lead to abnormal function
of the touch panel.
• As this is a precision machine, do not
apply sudden shock to the machine.
Do not disassemble the machine as this may
result in a break-down.

VII
Neutral
Detergent
Thiner
Benzine
Alcohol
Sodium
Hypochlorite
• When cleaning, wipe the machine
using a cloth wrung out of water or
neutral detergents.
Do not use thinners as they may lead to failure,
malfunction or deformation.
Do not spray water or detergent solution over the
machine.
• Perform a start-up inspection
(weighing check) using a weight or
the like once a day.
For the purchase of weights, please contact your
ISHIDA dealer.
• Entrust the installation of the machine
to your ISHIDA dealer.
• Do not remove the side cover of
the printer unit.
Doing so may result in malfunction or break-
down of the machine.
• Avoid installing in the following
locations where deterioration in
performance, or shortened life may
result.
• Locations subject to low
temperature and low humidity, or
high temperature and high humidity
• Locations exposed to direct sunlight
• Locations subject to splashing
water.
• Locations in a special environment
different from usual

VIII
Table of Contents
CHAPTER 1 BEFORE USING THE MACHINE...................................................................1-1
1.1 PART NAMES AND FUNCTIONS ...........................................................................1-2
1.1.1 EXTERNALAPPEARANCES...........................................................................1-2
1.1.2 STROKE KEYS................................................................................................1-3
1.2 USABLE LABELS.....................................................................................................1-3
1.3 PREPARATION BEFORE OPERATION...................................................................1-4
1.3.1 CHECK BEFORE OPERATION.......................................................................1-4
1.3.2 MARKING A HORIZONTALADJUSTMENT.....................................................1-4
1.3.3 COMFIRMING THE WEIGHING STATE..........................................................1-5
1.3.4 PROVIDING SUFFICIENT INSTALLATION SPACE........................................1-5
1.3.5 TURNING ON THE POWER............................................................................1-6
1.3.6 TURNING OFF THE POWER..........................................................................1-7
1.4 INSTLLING A NEW LABEL ROLL ............................................................................1-8
1.5 CLEANING .............................................................................................................1-10
1.5.1 CLEANING OF THERMAL HEAD, LABEL ROLLER,
AND PEELING SENSOR...............................................................................1-10
CHAPTER 2 BASIC OPERATIONS ....................................................................................2-1
2.1 EXPLANATION OF PRODUCTION MODE SCREEN..............................................2-2
2.1.1 DISPLAY FIELDS ON THE INITIAL SCREEN.................................................2-2
2.1.2 TOUCH KEYS ON THE INITIAL SCREEN ......................................................2-3
2.2 WEIGHING AND LABEL ISSUING...........................................................................2-4
2.2.1 MANUAL LABELING........................................................................................2-4
CHAPTER 3 USEFUL FUNCTIONS....................................................................................3-1
3.1 CALL UP THE ITEM DATA FROM THE DISPLAYED LIST......................................3-2
3.1.1 SEARCH FOR THE ITEMAND CALL IT UP....................................................3-3
3.2 CALLING ITEM DATA WITH MEMO PRESET KEYS ..............................................3-4
3.2.1 REGISTERING MEMO PRESET KEYS..........................................................3-4
3.2.2 CALL UP THE ITEM BY USING THE MEMO PRESET KEY...........................3-5
3.3 CHANGE AND ADDITION OF ITEM DATA...............................................................3-6
3.3.1 CHANGE THE UNIT PRICE ............................................................................3-6
3.3.2 ENTER THE TRAY NUMBER IN THE TRAY FIELD OF THE PRICE LIST .....3-7
3.3.3 ENTER THE SELLING PRICE IN THE PRICE FIELD OF THE PRICE LIST..3-8
3.3.4 CHANGING TRAYS ON THE TRAY LIST SCREEN........................................3-9
3.3.5 PERFORMING DISCOUNT PROCESSING..................................................3-10
3.4 CHANGING THE LABEL DATEAND TIME............................................................3-11
3.5 CHECKING LABEL PRINTING CONTENTS..........................................................3-13
3.6 USEFUL FEATURES OF FUNCTION KEYS..........................................................3-14
CHAPTER 4 DATA REGISTRATION...................................................................................4-1
4.1 PROGRAM MENU....................................................................................................4-2
4.2 PLU REGISTRATION...............................................................................................4-3
4.2.1 PLU DETAIL (SALE 1) REGISTRATION..........................................................4-4
4.2.2 PLU DETAIL (MSG.) REGISTRATION.............................................................4-5
4.2.3 PLU DETAIL (IMAGE) REGISTRATION ..........................................................4-6
4.2.4 PLU DETAIL (PRINT) REGISTRATION...........................................................4-7

IX
4.2.2 PLU DETAIL (MSG.) REGISTRATION.............................................................4-7
4.2.5 PLU DETAIL (DATE) REGISTRATION.............................................................4-8
4.2.6 PLU DETAIL (CODE) REGISTRATION............................................................4-9
4.2.7 PLU DETAIL (WRAP) REGISTRATION.........................................................4-11
4.3 CAMPAIGN REGISTRATION.................................................................................4-12
4.4 TRAY REGISTRATION...........................................................................................4-14
4.5 PRESET KEY REGISTRATION..............................................................................4-16
4.5.1 SETTING PRESET GROUPSAND PAGES..................................................4-17
4.5.2 SETTING PRESET KEYS..............................................................................4-17
4.5.3
CHANGING PRESET KEY SIZES AND POSITIONS..................................................
4-
18
4.5.4 EDITING PRESET KEYS...............................................................................4-19
4.5.5 DELETING PRESET KEYS ...........................................................................4-21
4.6 SCHEDULE REGISTRATION ................................................................................4-22
4.7 STORE REGISTRATION........................................................................................4-24
4.8 DEPARTMENT REGISTRATION............................................................................4-26
4.9 COOKING INSTRUCTION REGISTRATION .........................................................4-28
4.10 NUTRITIONAL REGISTRATION............................................................................4-30
4.11 EXTRA MESSAGE REGISTRATION .....................................................................4-32
4.12 SCHEME TABLE REGISTRATION.........................................................................4-34
4.12.1 SCHEME TABLE / DETAIL (CONTROL) SCREEN REGISTRATION............4-36
4.12.2 SCHEME TABLE / DETAIL (BASIC) REGISTRATION...................................4-37
4.12.3 SCHEME TABLE / DETAIL (ATTRIB.) REGISTRATION ...............................4-38
4.13 GEN TABLE REGISTRATION................................................................................4-39
4.14 LOOKUP TABLE REGISTRATION.........................................................................4-41
4.15 MINCE TRACE REGISTRATION ...........................................................................4-44
4.16 FIXED PRICE SYMBOL REGISTRATION..............................................................4-45
4.17 LABEL DATA CHECK .............................................................................................4-47
4.18 NUTRITION TEXT REGISTRATION ......................................................................4-48
4.19 CHARACTER ENTRY METHOD............................................................................4-50
4.19.1
TEXT EDITING............................................................................................................
4-
52
4.19.2
FONT STYLE SELECTION .........................................................................................
4-
53
4.19.3
LINE DATA DELETION................................................................................................
4-
54
4.19.4
DATA ERASE...............................................................................................................
4-
55
4.19.5
DATA COPY.................................................................................................................
4-
56
CHAPTER 5 DATA TOTALIZATION....................................................................................5-1
5.1 CHANGE TO TOTAL MODE.....................................................................................5-2
5.2 TOTALS....................................................................................................................5-3
5.3 GRAND TOTAL.........................................................................................................5-4
5.4 TOTAL PER DEPARTMENT.....................................................................................5-5
5.5 DESIGNATED ITEM TOTAL.....................................................................................5-6
5.6 TOTAL PER TYPE....................................................................................................5-7
5.7 TOTAL PER HOUR...................................................................................................5-9
5.8 TOTAL PER WRAPPING MODE............................................................................5-10
5.9 TOTAL PER TRAY..................................................................................................5-11
5.10 TOTAL CLEAR........................................................................................................5-12
X
CHAPTER 6 TOTAL DATA CORRECTION.........................................................................6-1
6.1 SWITCHING TO SUBTRACTION MODE.................................................................6-2
6.2 SUBTRACTION BY NUMERICAL ENTRY...............................................................6-3
6.3 ADDITION BY NUMERICAL ENTRY........................................................................6-4
CHAPTER 7 SETTING MODE.............................................................................................7-1
7.1 Switching to Setting Mode................................................................................7-2
7.2 Password Settings ...........................................................................................7-3
7.3 Key Lock Settings ............................................................................................7-4
7.4 Total Addition Settings .....................................................................................7-5
7.5 Item Data Auto-update Settings .......................................................................7-6
7.6 PLU Initial Data Settings..................................................................................7-7
7.7 Item Data Batch Change Settings....................................................................7-8
CHAPTER 8 ADJUSTMENT MODE....................................................................................8-1
8.1 SWITCH TO THEADJUSTMENT MODE.................................................................8-2
8.2 DATE AND TIME ADJUSTMENT..............................................................................8-3
8.3 TOUCH SCREEN ADJUSTMENT............................................................................8-4
8.4 SCREEN BRIGHTNESS ADJUSTMENT .................................................................8-5
APPENDIX OTHERS..........................................................................................................A-1
A-1. SPECIFICATIONS................................................................................................... A-2

CHAPTER 1
BEFORE USING THE MACHINE

1-2
Basic Operations
POWER
Front view
Rear view
Power cable
Label set unit
Weighing unit
Level
Level adjustable leg
Label outlet
Stroke keys
Touch panel
Power button
Power lamp
USB port
Port for barcode
scanner
LAN port
SD card slot
1.1 PART NAMES AND FUNCTIONS
1.1.1 EXTERNAL APPEARANCES
This section provides a description of the name and function of each part of the machine.
The names and functions of each part of the machine are explained below.
In this manual, the following names for each part are used.

1-3
Basic Operations
Be sure to use specified labels adaptable to the machine.
Adaptable label condition : For full-auto (transfer labels)
/DEHOUROOGLDPHWHU ijPPRUOHVV
/DEHOKRUL]RQWDOGLPHQVLRQ WRPP
/DEHOYHUWLFDOGLPHQVLRQ WRPP
If the label paper outside a specified range is used, labels may not be
correctly printed or the paper may not be smoothly fed.
Used to change the fixed price, or change the unit
price item to the fixed price item.
Used for changes in the fixed price, or changes
from a unit price item to a fixed price item.
Used for changes in the unit price, or changes from
a fixed price item to a unit price item.
Used to call pre-registered data such as items,
POPs, and comments.
Used to delete the entered numerical data, or reset
the error.
Used to correct the zero point of the weighing unit.
Used to issue a label.
Used to change the weight of inserts in a tare.
Used to feed a label.
PRESET FEED
PRINT
TARE
ZERO
FIXED PRICE
UNIT PRICE
PRESET
FIX FIXED PRICE
FIX
PLU PLU
/
50
101
UNIT PRICE
/
50
101
FEED
0
ZERO
0
T
TARE
T
PRINT
1.2 USABLE LABELS
1.1.2 STROKE KEYS

1-4
Basic Operations
When performing
checks before
commencing the work,
be sure to turn off the
main power switch.
Turn on the power
only when checking
the operation.
Accurate weighing
cannot be made if the
weighing unit is not
horizontally installed.
This section describes the methods of confirming accessories, checking the machine before operation, and
turning the machine on.
Be sure to check the following points before operation so the machine can be constantly
kept in good condition.
Use the following procedure when making a horizontal adjustment for the machine,
Check Points
Dirt on the weighing platter,
level window, display, and
stroke keys
Dirt on the thermal head
Dirt on the label set unit
Horizontal installation of the
weighing unit
Dirt on the roller of the label
set unit
Dirt on the peeling sensor
Rattling of the machine
Label paper feeding state
Measures to be taken
Wipe off dirt with a fully wrung-out soft cloth.
Remove extraneous matters such as dust and
labels and wipe them off with the thermal head
cleaner.
For details, see “Cleaning” on Page 1-10.
Remove extraneous matters such as dust and
labels.
Adjust the weighing unit to become horizontal
by turning the lock nut of each level adjustable
leg.
Place four rubber feet on the horizontal
mounting surface.
Adjust the print position by pressing the [FEED]
key.
Confirmation of the weighing
state Confirm that weighing is performing normally.
1.
1.
Install the machine at a stable
and level location.
Adjust the weighing unit to become
horizontal by turning the lock nut of each
level adjustable leg so that an air bubble
in the level becomes centered.
Level
Level adjustable leg
1.3 PREPARATION BEFORE OPERATION
1.3.1 CHECK BEFORE OPERATION
1.3.2 MARKING A HORIZONTAL ADJUSTMENT
NOTE

1-5
Basic Operations
If weighing is not
performing normally,
consult your ISHIDA
dealer.
Provide sufficient space at the right side of the machine for label replacement.
1.
1.
Turn on the power and confirm that weighing is performing
normally by putting the weight on the platter while the normal
operation screen is being displayed.
685mm
270mm
338mm
300mm
300mm
300mm
sufficient space
for label replacement
1.3.3 COMFIRMING THE WEIGHING STATE
1.3.4 PROVIDING SUFFICIENT INSTALLATION
SPACE

1-6
Basic Operations
1.
1.
Insert the power plug of the
power cable properly into the
outlet after making sure that
the machine’s power switch is
turned OFF.
The shape of the power plug is different
depending on the specifications in each
country.
Push the power button to turn
the power ON.
The opening screen is displayed, and
the normal operation screen will be
displayed after a little while.
2.
2.
3.
3.
Ensure that nothing has been placed on the weighing platter.
Avoid overloading
from a single electrical
outlet for power supply
and other cables.
Otherwise it may
cause a fire.
Power Plug
Electrical outlet
1.3.5 TURNING ON THE POWER
Power switch

1-7
Basic Operations
1.
1.
Press the power button.
The power-off execution confirmation
screen is displayed.
Touch [EXECUTE] on
the power-off execution
confirmation screen.
The printer unit automatically turns off.
2.
2.
EXEC
1.3.6 TURNING OFF THE POWER
Power switch

1-8
Basic Operations
This section describes the method of installing a new label roll when issuing peeled labels.
1.
1.
Pull out the label set unit.
Pass the tip of the label paper
through the printer as shown in
the illustration.
2.
2.
Put a new label roll on the roll
holder and fasten it with the roll
stopper.
2-1 Set a new label roll on the roll holder
while lifting the roll stopper, and slide
the stopper to fit the width of the
label.
2-2 Lower the roll stopper and lock the
label roll.
Fix the leading edge of the label
paper with the backing paper
stopper, and lightly turn the
winding bobbin clockwise to
remove the slack.
3.
3.
4.
4.
Ensure there is a
clearance ranging
from 1 mm to 5 mm
between the label roll
and the roll stopper,
and the label roll can
be lightly rotated.
When the width of
the label is 70 mm or
more, bend the tip of
the backing paper as
shown in the figure.
At this time, it is
recommended to
slightly bend the tip
of the label backing
paper for smoother
passage.
Label set unit
Roll stopper
Roll holder
Label roll
Label paper insertion path
Winding bobbin rotational direction
Backing paper
Winding bobbin
Backing paper
stopper
70 mm
or more
1.4 INSTLLING A NEW LABEL ROLL
INFORMATION

1-9
Basic Operations
5.
5.
Adjust the width of the label
guide.
Slide the label guide to fit the width of
the label backing paper.
Press the [FEED] key.
A label is fed and the peeling position is
determined.
Press the FEED key several times when
one label is not completely peeled off.
Note: Confirm that the backing paper is
smoothly wound.If the backing
paper is not normally wound,
reconfirm the way of threading the
label paper, label stop position by
the backing paper stopper, and
width of the label guide.
6.
6.
Push the label set unit into the
main body until it clicks into
place.
Push the label set unit straight into the
machine.
Note: If the cassette cannot be normally
inserted when pushing the label
set unit into the machine, check
that the auxiliary roller is released.
7.
7.
Make the space
between the label
guide and the label
backing paper as
small as possible.
Push the label set unit
into the machine after
making sure that the
roll stopper has been
completely lowered.
Push the label printer
carefully so as not to
get your fingers, etc.
caught between the
label set unit and the
main body.
When the first label is
set at the position as
shown in the figure on
the right,
the number of labels
issued at the time of
feeding is reduced.
FEED
Label backing
paper
The first label
Label guide
Thermal head
cover
Label set unit
Auxiliary roller
Released state
Label
INFORMATION

1-10
Basic Operations
Perform cleaning once a week to maintain excellent printing clarity and successful label issuance.
1.
1.
Pull out the label set unit.
In the same way, dip the
attached felt tip pen in the
cleaning solution, and lightly
wipe the surface of the thermal
head with the pen.
2.
2.
Dip the attached felt tip pen
in the cleaning solution, and
lightly wipe the surface of the
peeling sensor with the pen.
3.
3.
4.
4.
If the bottom of the
label set unit is dirty,
wipe off and remove
dirt with a cloth wrung
out of water.
In the same way, dip the
attached felt tip pen in the
cleaning solution, and lightly
wipe the surfaces of the print
roller and auxiliary roller with
the pen.
Label set unit
Peeling sensor
Thermal head
Print roller
Auxiliary roller
Auxiliary roller
1.5 CLEANING
1.5.1 CLEANING OF THERMAL HEAD, LABEL
ROLLER, AND PEELING SENSOR
INFORMATION
Table of contents
Other ISHIDA Scale manuals

ISHIDA
ISHIDA AC-4000 Series User manual

ISHIDA
ISHIDA Astra User manual

ISHIDA
ISHIDA Uni-5 User manual

ISHIDA
ISHIDA SR-2000 alpha Manual

ISHIDA
ISHIDA BC-4000 User manual

ISHIDA
ISHIDA CWS-02 Quick guide

ISHIDA
ISHIDA MTE-300 User manual

ISHIDA
ISHIDA IWX-150/30 User manual

ISHIDA
ISHIDA SR-2000a Manual

ISHIDA
ISHIDA IWX-150/30 User manual

ISHIDA
ISHIDA UNI-7 User manual

ISHIDA
ISHIDA Uni-3 User manual

ISHIDA
ISHIDA AC-4000H User manual

ISHIDA
ISHIDA INS-100 User manual

ISHIDA
ISHIDA iwq-150/30 User manual

ISHIDA
ISHIDA Astra Instruction Manual

ISHIDA
ISHIDA IWB Series User manual

ISHIDA
ISHIDA IPC User manual

ISHIDA
ISHIDA BC-4000 User manual

ISHIDA
ISHIDA AC-4000 Series User manual