OPERATION
Before taking any measurements, read the Safety
Information Section. Always examine the
instrument for damage, contamination (excessive
dirt, grease, etc.) and defects. Examine the test leads
for cracked or frayed insulation. If any abnormal
conditions exist do not attempt to make any
measurements.
Autoranging
The meter defaults to autorange when you turn it on. In
autorange, the meter selects the range automatically.
Manually Selecting a Range
The meter also has a manual range mode. In manual range,
you select and lock the meter in a range. To manually
select a range:
Press [RANGE] button to hold the selected range.
Subsequently pressing the [RANGE] button will select
each range in sequence from the lowest to highest range.
Hold the button for 2 seconds to return to the Autorange
Mode.
DataHold Feature
Press [HOLD] button to toggle in and out of the Data Hold
mode. In the data hold mode, the " H" annunciator is
displayed and the last reading is held on the display.
Press [HOLD] button again to release the hold and current
readings are once again displayed.
Mode Switch (DC/AC), (Ω/ /)
Press this switch to toggle between DC and AC in the
voltage measurements. Press this switch to toggle between
the continuity/diode and ohms modes, if the function
switch is set toΩ/ /position.
MeasuringVoltage
1. Set the Function Switch to " VOLT" position.
2.Press Mode switch to toggle between "DC" and "AC".
The "DC" to "AC" mark is displayed.
3. Touch the probes to the test points.The range will
change automatically to the level that will display the
input voltage with best resolution.
4. The value indicated in the display window is the
measured value of voltage with proper decimal point and
annunciator indication.
Measuring Resistance and Testing Continuity
1. Set the function switch to Ω/ /position.
2. Turn off power to the circuit under test. External voltage
across the components causes invalid readings.
3. To toggle between the ohms/continuity/diode modes,
press Mode Switch.
4. Touch the probes to the test points. In ohms, the value
indicated in the display is the measured value of
resistance with proper decimal point and annunciator
indication. In continuity test, the beeper sounds
continuously, if the resistance is less than approximately
35Ω.
Testing Diodes
1. Set the Function switch toΩ/ /position.
2. Turn off power to the circuit under test. External voltage
across the components causes invalid readings.
3.Press Mode Switchto toggle between the
ohms/continuity/diodemodes
4. Touch probes to the diode. A forward-voltage drop is
about 0.6V (typical for a silicon diode).
5. Reverse probes. If the diode is good, "OL" is displayed.
If the diode is shorted, a value near 0mV will be
displayed.
6. If the diode is open, "OL" is displayed in both
directions.
7. Audible Indication: Less than 0.25V.
Auto Power off
1.Auto power off: approx. 8 minutes.
2. After auto power off, press any button to restart the
meter, and the reading of measurement will be
maintained in the display.
Cancellation Of Auto Power Off Feature:Pressandhold
the (RANGE) button while rotating function switch
from off to any position to turn the meter on. The
auto power off feature is disabled.
Safety: Conforms to IEC1010-1 (EN61010-1), Rev-2;
CATII 600V, CATIII 300V.
EMC: Conforms to EN61326.
The symbols used on this instrument are:
Caution, refer to accompanying documents
Equipment protected throughout by Double
insulation (Class II)
Alternating current
Direct current
Ground
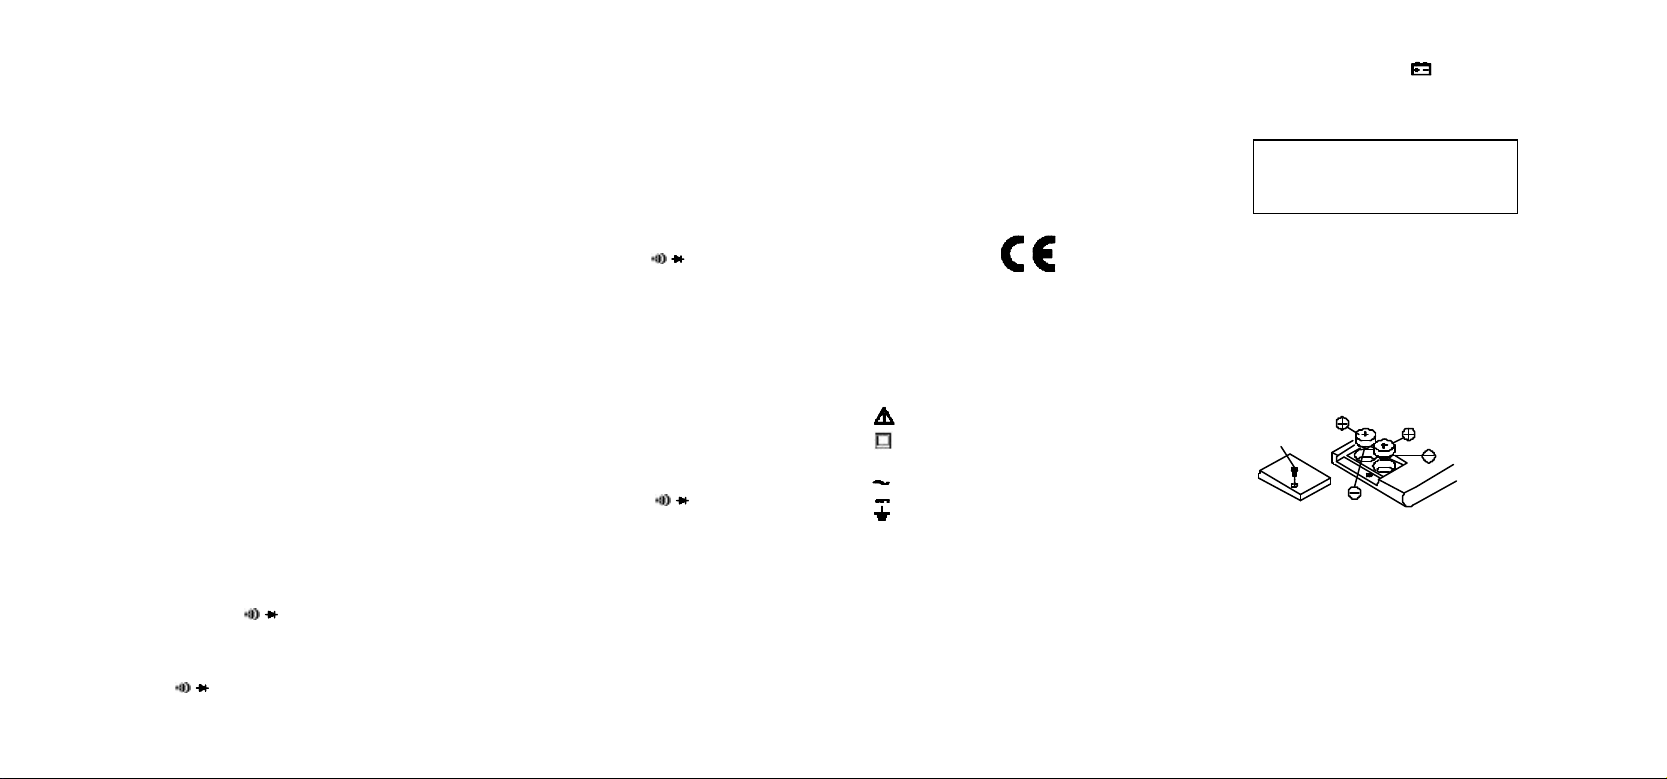
BATTERY REPLACEMENT
Power is supplied by two button-type batteries (NEDA
1166A, IEC LR-44).The"" appears on the LCD
display when replacement is needed.
WARNING
Before attempting to replace the battery,
first disconnect the Test Leads from any
energized circuit.
1. Disconnect the test leads from any energizedcircuit.
2. Set the Function Switch to OFF.
3. Remove battery cover screw.
4. Slide off battery cover and change batteries.
5. Replace battery cover and screw.
SCREW


