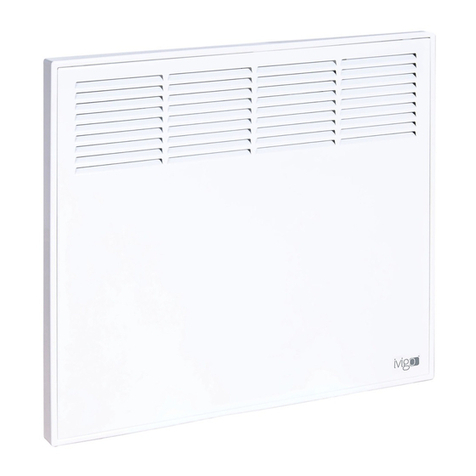
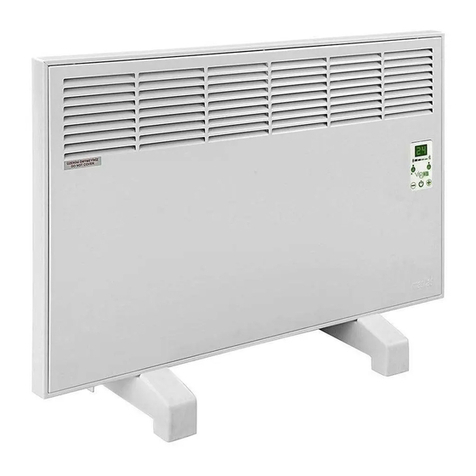
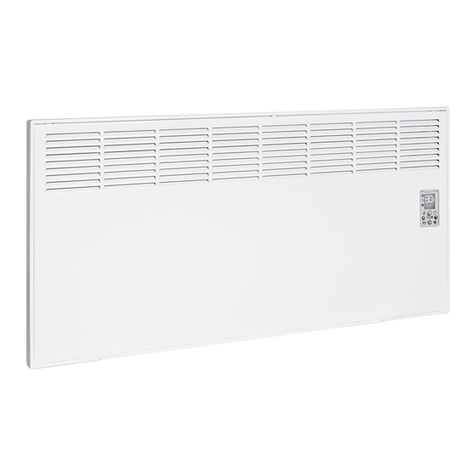
IVIGO EHR5012P275 User manual

EN USER MANUAL
PROFESSIONAL
TOWEL WARMER
since
Models:
EHR5012P275
EHR5015P350
EHR5019P450
EHR5023P600
EHR5033P800

LANGUAGES
EN USER MANUAL 1
DE MONTAGE UND BETRIEBSANLEITUNG 15
SL NAVODILA ZA UPORABO 31
HR UPUTE ZA UPOTREBU 47
www.ivigo.com

1
EN
ENVIRONMENTAL POLICY
We hereby commit that we are going to:

2
Our Esteemed Customer,

3
EN
SAFETY INSTRUCTIONS
over.

4

5
EN
TABLE OF CONTENTS
1. GENERAL OVERVIEW AND TECHNICAL FEATURES 6
2. INSTALLATION INSTRUCTIONS 8
3. OPERATING INSTRUCTIONS 11
4. CLEANUP and MAINTENANCE 13
5. TRANSPORTATION INFO 13
6. PRACTICAL AND USEFUL INFORMATIONS 13
7. GUARANTEE CONDITIONS 14

6
1. GENERAL OVERVIEW AND TECHNICAL FEATURES
7
1

7
EN
TECHNICAL SPECIFICATIONS
Electronic
Control
Unit
Type Width
(mm) Length
(mm) Voltage
(Volt)
Cur-
rent
(Am-
per)
Frequn-
cy
(Hz)
Power
(Watt) Weight
(kg)
Color
Choices:
White
(B), Inox
(I)
EHR
5012P275* 500 650 220-
240 1.25 50-60 275 8 (B), (I)
EHR
5015P350* 500 800 220-
240 1.59 50-60 350 9.8 (B), (I)
EHR
5019P450* 500 1000 220-
240 2.04 50-60 450 12 (B), (I)
EHR
5023P600* 500 1250 220-
240 2.72 50-60 600 15 (B), (I)
EHR
5033P800* 500 1274 220-
240 3.63 50-60 800 19 (B), (I)

8
2. INSTALLATION INSTRUCTIONS
1

9
EN
Model A
EHR 5012P275* 500 mm (50 cm)
EHR 5015P350* 650 mm (65 cm)
EHR 5019P450* 850 mm (85 cm)
EHR 5023P600* 1100 mm (110 cm)
EHR 5033P800* 1156 mm (115.6 cm)
A
h=
min. 600 mm
cd
390 mm
180 mm
a b

10
IMPORTANT NOTICE
p
Zone 3 Zone 1 Zone 2
Zone 1
0.6 m
0.6 m
0.6 m
2.25 m
Zone 2
Zone 3

11
EN
3. OPERATING INSTRUCTIONS
Switching on the Unit
Push the On/O button on the heater to turn it on. If the On/O button is blue, the
appliance is activated. To turn the heater on, you may also press the“Power Indicator”
or“Turn OTimer” buttons. At rst activation, all the LEDs turn on and o one by
one.
By default at rst activation, the turn o timer is o, and the power indicator is at 1.
The turn o timer and power indicator settings are saved in the permanent memory.
Next time the appliance is powered via“On/O”button , it starts at the previ-
ous power indicator level, and the turn o timer is reset. If powered via the“Power
Indicator”button , the appliance starts at the previously set power indicator level. If
powered via the“Turn OTimer”button , the appliance starts with the latest turn o
timer and power indicator settings. Once switched on, you may change these settings
via respective buttons.
The appliance has a speed heating mode. In this mode, full heating is on for the rst 10
minutes into activation, fast heating the appliance. After 10 minutes, it goes back to its
regular functioning at previous turn o timer and power indicator settings.
1. On/O Button and Leds 2.Timer Button and Leds 3. Power Indicator Button and Led
1

12
Programming the Unit / Turn o timer
Press the“Turn OTimer”button to program the heater for resuming work for another
hour. You can set it to a maximum of four hours.The appliance is automatically turned o
when the timer hits zero. If pressed and held (take 1 second before pressing again), the
turn o timer goes up by one hour, and returns to 0 -is deactivated- after 4. The turn o
timer is indicated with four LEDs, with each corresponding to one hour. The number of lit
LEDs indicate the remaining time before turn o.
Example: If two LED lights are lit and one LED light blinks, the appliance has 2 hours and
30 to 45 minutes to turn o.
In case of power outage and return, the appliance resumes work with saved settings.
Power Indicator Levels Setting
The heater has four power indicator levels shown by four LED lights. Press the “Power
Indicator” button to set it to a level from 1 to 4. Levels switch as you press on the
“Power Indicator”button. Release the button when the LED light(s) is/are on for the pre-
ferred power level.The lit LED(s) indicate(s) that the appliance is set to the corresponding
power level.
Turning o the Appliance
Press the “On/O” button for more than 1.5 seconds to turn o the appliance. The
orange LED light is on when the appliance is o.

13
EN
4. CLEANUP and MAINTENANCE
5. TRANSPORTATION INFO
6. PRACTICAL AND USEFUL INFORMATIONS

14
7. GUARANTEE CONDITIONS
1.The Guarantee Period commences upon the delivery of the unit and is 3 years.
2. The unit is completely within the guarantee coverage of our company including all the parts
thereof.
3. Breakdowns due to usage other than the ways specied in usage manual of the unit is out of
guarantee coverage.
Thisguarantee givenbyMASTAŞ MAKİNA KALIP SANAYİVETİCARET A.Ş. does not coverbreakdowns
other than the normal usage of the product and the following cases are also out of guarantee:
1. Alterations and distortions on the Registry Tag and Guarantee Certicate.
2. Damages and breakdowns due to usage for any other purpose than its intended use indicated in
the User Manuel of the product.
3. Damages and breakdowns due to maintenance and repair made by unauthorized persons.
4. Damages and breakdowns due to factors occurring following the delivery of the product such
as transportation, loading, unloading, storage, external physicalmpact, collision, scratches) or
chemical reasons.
5. Damages and breakdowns due to voltage increases or decreases, decient or illegal electrical
installationsor usage indierentvoltagesother than theoneswrittenon thelabelofthe appliance.
6. Damages and breakdowns due to re and stroke of lightening.
7.The damage caused to the defective product without the interventions of the authorized service
personnel.
The seller, dealer or the agency from where the appliance is purchased is responsible for stamping
the certicate of warranty and issuing it to the customer. The guarantee is valid only for the time
stated on the back side of this certicate and the breakdowns of the product. The Guarantee
certicate will be null and invalid in case of any alterations thereon and if the original serial
number on the product is removed or altered.
1. Please rst check if the appliance is plugged into the power outlet.
2. Please check if the cord is broken or damaged while not plugged into the power outlet.
3. Please check if there is power in the outlet by another equipment.
4. Please check if the power switch is on or o. (See Figure 1)
5. If the appliance does not operate when you push the button ( ) for nearly 2-3 seconds although
all the above conditions are provided please call to the Customer Services before making any
application on the unit.

ELEKTRISCHE
PROfEssiOnELLER
HAnDTUCHHEiZUnGsKÖRPER
bis heute
von
DE MONTAGE UND BETRIEBSANLEITUNG
Modelle:
EHR5012P275
EHR5015P350
EHR5019P450
EHR5023P600
EHR5033P800

16
UMWELTPOLITIK

17
DE
Sehr geehrter Kunde,

18
• Die Arbeitsspannung des elektrischen Handtuchheizungskörpers ist auf 220 V eingestellt.
Aus dieser Hinsicht, bitte nur Drehstrom (AC) auf diesem Niveau benutzen.
• Elektrischen Handtuchheizungskörper unbedingt an geerdete Steckdosen anschließen.
Bei Unfällen und Schäden die bei Betrieb ohne geerdete Steckdose entstehen können,
trägt die Firma keine Haftung. • Den elektrischen Handtuchheizungskörpers nach
Einbauregeln in der Gebrauchsanleitung installieren. Heizungskörper immer in vertikaler
Lage benutzen. Niemals in horizontaler Stellung einbauen. • Bei längerem Stillstand des
elektrischen Handtuchheizungskörpers und bei Reinigungsmaßnahmen Kabel aus dem
der Steckdose entfernen. • Kabel des elektrischen Handtuchheizungskörpers nicht in
Bereiche mit viel Personenbewegung verlegen. Eventuelle Stolpergefahr. • Den elektrischen
Handtuchheizungskörper bei Transport, Einbau und Gebrauch gegen Stoße und Schläge
schützen. • Den elektrischen Handtuchheizungskörper nicht in Räumen einsetzen, in denen
entamm- und entzündbare Materialien (Gase, Benzin und ähnliche Brennstoe) gelagert bzw.
benutzt werden. • Elektrischen Handtuchheizungskörper nicht in Flüssigkeiten tauchen;
bitte darauf achten, dass keine Flüssigkeit in das Gerät eindringt. Stromschlaggefahr •
Stromkabel des elektrischen Handtuchheizungskörpers gegen Spannungsgefahr etwas
locker halten. Stecker niemals mit Zug am Stromkabel aus dem Steckdose ziehen • Dieses
Gerät ist nicht für Personen vorgesehen (Kinder mit eingeschlossen), die aus physischer,
sensorischer oder seelischer Hinsicht über eingeschränkte Kapazitäten verfügen oder
ihre Erfahrung und/oderWissenskenntnis unzureichend sind, falls ihre Sicherheit nicht
der Kontrolle von qualiziertem Personal unterliegt oder sie bestimmungsgemäßer
Anweisungen zum Gebrauch des Gerätes bekommen haben. Um davon sicher auszugehen,
dass sie nicht mit dem Gerät spielen, sollten Kinder unter Aufsicht gehalten werden.
• Verlängerungskabel, Timer u.ä. Elemente für die Stromversorgung des elektrischen
Handtuchheizungskörpers sollten nach passendem Stromwert gewählt werden.Bevor der
elektrische Handtuchheizungskörper getragen wird, Gerät abschalten und abkühlen lassen.
SICHERHEITSWARNUNGEN
Other manuals for EHR5012P275
1
This manual suits for next models
4
Table of contents
Languages:
Other IVIGO Heater manuals
Popular Heater manuals by other brands

Polygroup
Polygroup SUMMER WAVES SHM-1004 owner's manual

Chromalox
Chromalox V-2020 Installation and rewnewal parts identification

ARDES
ARDES AR4P16 Instructions for use

HearthStone
HearthStone STERLING "G" B-VENT 8521 owner's manual

Zephir
Zephir ZCRB1200 instruction manual

Crane
Crane HMC-1500T-TIM instruction manual

ECOheat
ECOheat Eco Heat 1MS500W2 user manual

EUROM
EUROM Mon Soleil 601 instruction manual

Kermi
Kermi AKP 2011/03 Use and Installation Instructions

Space-Ray
Space-Ray SBF 25 Installation and operation instructions

Zehnder Rittling
Zehnder Rittling 40005939 operating instructions

Rohnson
Rohnson R-6064 instruction manual