manuals.online logo
Brands
  1. Home
  2. •
  3. Brands
  4. •
  5. J-Power
  6. •
  7. Toy
  8. •
  9. J-Power B-60 User instructions

J-Power B-60 User instructions

Assembly and Operating Manual
B‐60
Specification:
*Length:58‐7/10"(1490mm)
*Wingspan:63"(1600mm)

*Flyingweight:88‐1/5oz(2500g)
Assembly and Operating Manual B-60
2
Dear customer,
Congratulations on your choice of a
factory-assembled model aircraft from the jpower
LIGHT PLANE RANGE and thank you for placing
your trust in us.
The model can very quickly be completed ready to
fly. Please read right through these instructions
and the separate information sheets before
attempting to assemble and fly the model, as this
will make it much easier to complete the tasks
required.
All directions, such as “right-hand”, are as seen
from the tail of the model, looking forward.
Notes on the power system
Abrushless outrunner motor, propeller and spinner
are factory-installed.
The motor is connected to the speed controller,
ready to use, and the controller is correctly set up
at the factory.
To complete the power system all you have to do
is connect the LiPo flight battery.
The radio control system
For this model you require a radio control system
with at least four channels. We particularly
recommend 2.4 GHz systems.
The receiving system is powered by the speed
controller’s integral BEC system.
Before you check the model’s working systems,
set the control surfaces to neutral from the
transmitter (transmitter sticks and trims central).
Before operating the model always move the
throttle stick to the “motor stopped” position before
switching the transmitter on. Only then connect the
flight battery.
To switch off, first disconnect the flight pack from
the speed controller, and only then switch the
transmitter off.
Glued joints, suitable adhesives
Foam safe epoxy is recommended and available
from most reputable model retail shops.
Trial-fit all parts “dry” before applying glue.
Follow the recommended curing time suggested
by the glue manufacturer. Allow the glue to fully
cure (harden) to the point where the joint can be
placed under stress.
Kit contents
Fuselage, complete with motor, speed controller
and servo.
Integral wing panels with L.H / R.H. ailerons and
servos
Tailplane and elevator
Fin
Factory-fitted propeller and spinner
2 X Aileron pushrod, Two Z-bend
2 X Elevator pushrod, Two Z-bend.
1 X Rudder pushrod one Z-bend
2 X Landing flaps pushrod Two Z-bend
8 X Y-lead
7 X Control surface horn
1 X 4S1P LiPo battery,3600 mAh, 20C
Assembly and Operating Manual B-60
3
Figs. 1
- Assemble the control horns with their backing
plates to the elevators
Figs. 2
- Photo shows the control horns assembled in the
elevators.
Fig. 3
-Assemble the control horns with their backing
plates to the vertical fin .
Fig. 4
- Photo shows the control horns assembled in the
vertical fin.
21
3 4
Assembly and Operating Manual B-60
4
Fig. 5 -6
-Glue each of the three flap hinges into their
prepared locations in the wings and the flaps. Check
their exact positioning allow to dry thoroughly.
Fig. 7
-Assemble the control horns with their backing
plates to the aileron.
Fig. 8
- Assemble the control horns with their backing
plates to the wing flap.
7
6
8
5
Assembly and Operating Manual B-60
5
Fig. 9
-Connect the horizontal tail push rod to the servo
arm at second hole. Photo shows the finished view.
Fig. 10
-Connect the vertical tail push rod to the servo arm
at second hole. Photo shows the finished view.
Figs. 11
-Connect the wing flap push rod to the servo arm at
second hole. Photo shows the finished view.
Figs. 12
-Connect the aileron push rod to the servo arm at
second hole. Photo shows the finished view.
10
11 12
9
Assembly and Operating Manual B-60
6
Figs. 13
-Feed the servo lead through the rear of the
fuselage.
Slide the M 3 x 55 bolt in position.
Figs. 14
-Place tailplane in position and screw in position,
feed the lead toward the nose..
Figs. 15
-Turn over and screw the vertical fin from the
underneath.
Figs. 16
- Assemble the control horn to the rudder.
- Connect the rudder pushrod to the servo and attach
to the
control horn, make sure it is in the neutral position.
- Place the fin in position and screw in place, at the
same
14
13
15 16
Assembly and Operating Manual B-60
7
time feeding the lead towards the nose.
Figs. 17
- Place servo leads in the fuselage and pull towards
the nose. Trial fit the fuselage rear and check for
exact fit.
Figs. 18
- Epoxy the tailplane unit to the fuselage.Pay
attention that
the fin and fin fairing are not twisted in relation to
each
other, but remain at the same height.
Check by eye that everything is still accurately
aligned.on
the fuselage and fix in place until the glue has
hardened.
Figs. 19-20
- Trim the sprues from the parts.
- Remove the paint from the glue joint. Glue the
sub-fins into the openings in the rear fuselage.
18
17
19 20
Assembly and Operating Manual B-60
8
Figs. 21
- Trim the dummy exhausts from their backing piece
with a sharp knife and glue into their position in the
engine nacelle undersides.
Figs. 22
-Set the motor air intakes on the nacelles and screw
in place.
Figs. 23
-Glue the left and right Wingtips to the ends of the
wing.
Figs. 24
-Photo shows the finished view.
22
21
23
24
Assembly and Operating Manual B-60
9
Figs. 25-26
-Dry assemble the wings with the connector to check
correct fit.
- Coat the complete connector and root area of one
wing panel with white glue and fit the wings in place.
Pay attention that the wing half alignment is perfect
with each other and that they are not twisted.
Figs. 27
- Secure glue joints and leave to dry thoroughly.
Figs. 28
- After the glue has dried, fit the wing assembly to the
fuselage and screw in place.
26
27 28
25
Assembly and Operating Manual B-60
10
Figs. 29-30
- - Fit the prop driver to the motor shaft. Leave a
distance of 3 - 4 mm between spinner backplate and
cowling. Tighten the prop nut securely using an 8
mm spanner.
Figs. 31-32
-Fit the spinner cap and the retaining screws.
-Repeat the procedure for the second Motor.
30
31 32
29
Assembly and Operating Manual B-60
11
Figs. 33
-Photo shows the throttle channel connect to
receiver.
Figs. 34
- Place the flight battery in the fuselage.
Figs. 35
- Photo shows battery leads connected to the speed
controller.
Figs. 36
-Glue aerial into fin.
35
34
36
33
Assembly and Operating Manual B-60
12
Figs. 37
-Glue aerial into cabin roof,
Figs. 38
-Place the cabin top in position and click into position
at the rear.
Figs. 39
-Photo shows the finished view.
38
39
37
Assembly and Operating Manual B-60
13
Figs. 40
-Congratulation! You have done all the assemble
step.
Figs. 41
Photo shows the balancing weight.
40
41
Assembly and Operating Manual B-60
14
Fig.42
- Charge the flight battery; connect the Equalizer
lead using and adapter lead matching your charger
(adapter lead not included).
Fig.43
- Switch the transmitter on, and move the throttle
stick to the “Motor OFF” position. (Diagram MODE 1
right throttle control stick)
42
43
Assembly and Operating Manual B-60
15
Fig.44-47 Function test
Check the channel assignment at the receiver, and if
necessary swap the plugs as necessary.
- Set the transmitter sticks and trims to centre.
- The control surfaces should now also be at centre (neutral).
Adjust the clevis where necessary.
- Check the direction of rotation of the servos.
- Stand behind the model. - When you move the rudder stick
to the right, the rudder should also deflect to the right.
- Pull the elevator stick back towards you, and the rear edge
of the elevator should rise.
- Moving the aileron stick to the right, you MUST check that
the trailing edge of the right aileron rises, the left aileron
should go down.
- If any function works the wrong way round, correct it using
the servo reverse facility on your transmitter.
- Set the control throw using the transmitter servo end point
adjustment function.
Adjusting the landing flaps
Check the direction of rotation of the landing flap servos.
up: 0 mm
down: 40 mm
- The travels are measured at the inboard end of the control
surfaces.
- The stated control throws are just a guide for the first few
flights. You will probably need to adjust the actual settings
to suit your individual flying style.
- The Expo settings should also be adjusted to suit the pilot's
47
44
45
46
Assembly and Operating Manual B-60
16
preference.
Fig. 48 checking the electric power system
- Caution: position the throttle stick in such a way
that the motor cannot possibly start running.
48
Assembly and Operating Manual B-60
17
- Switch the transmitter on, and connect the
flight pack Check the direction of rotation of
the motor: when viewed from the front, the
output shaft must rotate anti-clockwise. If this is
not the case, perhaps because you are using
components other than those recommended,
swap over any two motor wires to reverse the
direction of rotation.
Note: whenever you are installing, adjusting
or servicing the power system,
keep well clear of the rotational
plane of the propeller –injury
hazard. Ensure also that
nobody stands in front of the
model when the motor is running.
- First disconnect the battery from the speed
controller, and then switch the transmitter
off.
- The model is ready for flying once you have
recharged the battery.
Test-flying, flying notes
Read the sections in the Safety
Notes entitled “Routine pre-flight
checks”and “Flying the model”
before attempting to fly the model
for the first time.
- Advice on control surface travels
- The stated control surface travels are just a
guide for the first few flights. Every pilot will need
to adjust the settings slightly to suit his or her
individual flying style. Exponential settings
should also be set to suit your personal
preference.
- For your first few flights please wait for a day
with no more than a gentle breeze.
- A good flying site consists of a large, flat, open
grassy field, devoid of trees, fences,
high-tension overhead cables etc.
- Repeat the check of all the working systems.
- Ask an experienced modeling friend to
hand-launch the aircraft for you. He should be
capable of giving the model a reasonably strong,
flat launch.
- The model must be launched directly into any
wind.
- With the motor running at full-throttle, give the
aeroplane a firm launch directly into any breeze,
with the fuselage and wings level.
- Allow the B60 to fly straight ahead initially; don’t
initiate turns close to the ground.
- Adjust the control surface trims if necessary, so
that the model flies straight with a reasonable
rate of climb “hands off”.
- Check the model’s reaction to control inputs. If
necessary, you may need to increase or reduce
the control surface travels after the first landing.
- Check the aeroplane’s stalling speed at a safe
height.
- Keep the model’s speed well above the stall for
the landing approach.
- If you needed to adjust the trims during the
test-flight, correct the length of the appropriate
pushrod once the model is back on the ground,
then return the transmitter trims to centre so that
full trim travel is available to both sides of neutral
for subsequent flights.
- We reserve the right to introduce technical
modifications and suggest that you check our
website for updates.
Assembly and Operating Manual B-60
18
J-POWER GROUP CO.,LTD
5th Floor, A3 Building, Xinjianxing Technology Industrial Park, Fengxin Road, Guangming Town,
Bao'an, Shenzhen City, 518107 China
Phone: +86 755 33699201
Fax: +86 755 33699203
www.jpower.hk

Other J-Power Toy manuals

J-Power AJO THUNDERBOLT User manual

J-Power

J-Power AJO THUNDERBOLT User manual

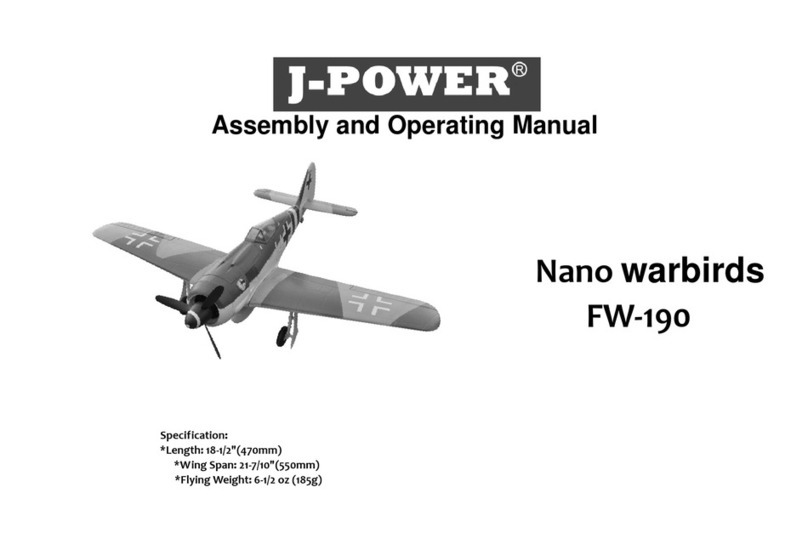
J-Power Nano warbirds FW-190 User instructions

J-Power

J-Power Nano warbirds FW-190 User instructions

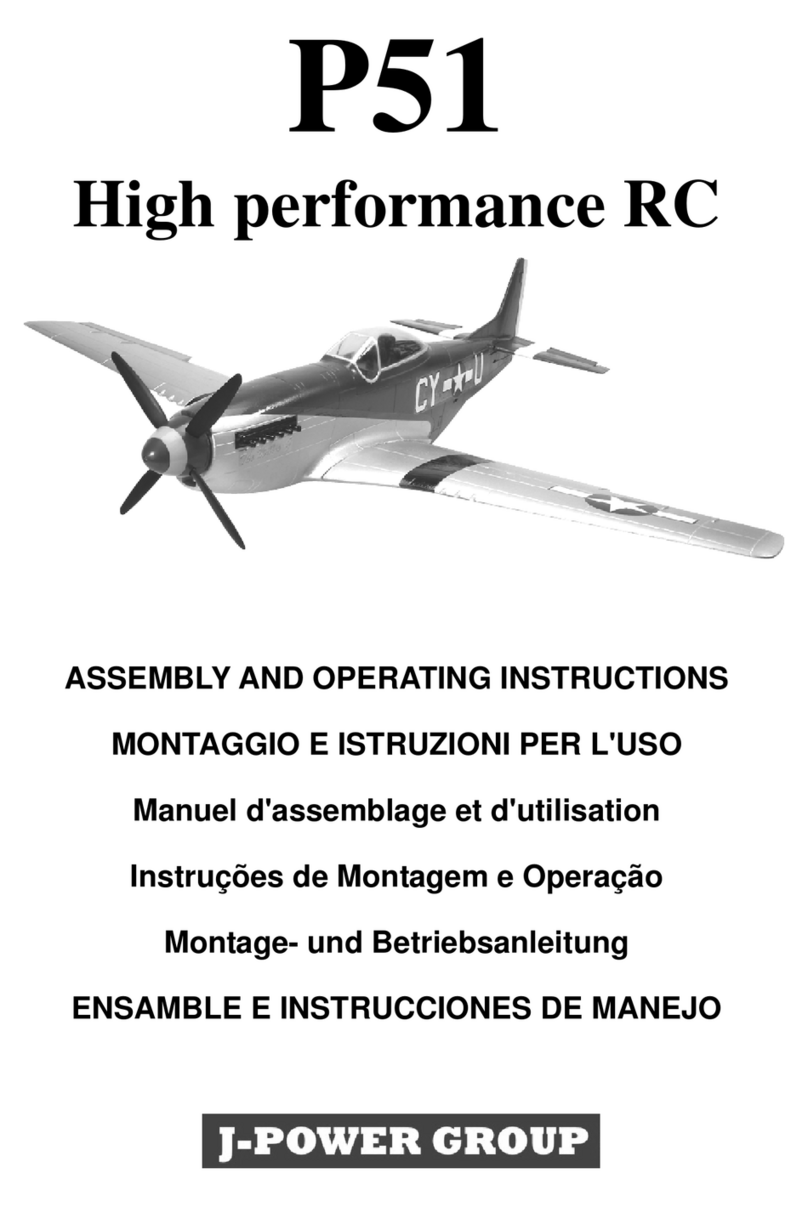
J-Power P51 User manual

J-Power

J-Power P51 User manual

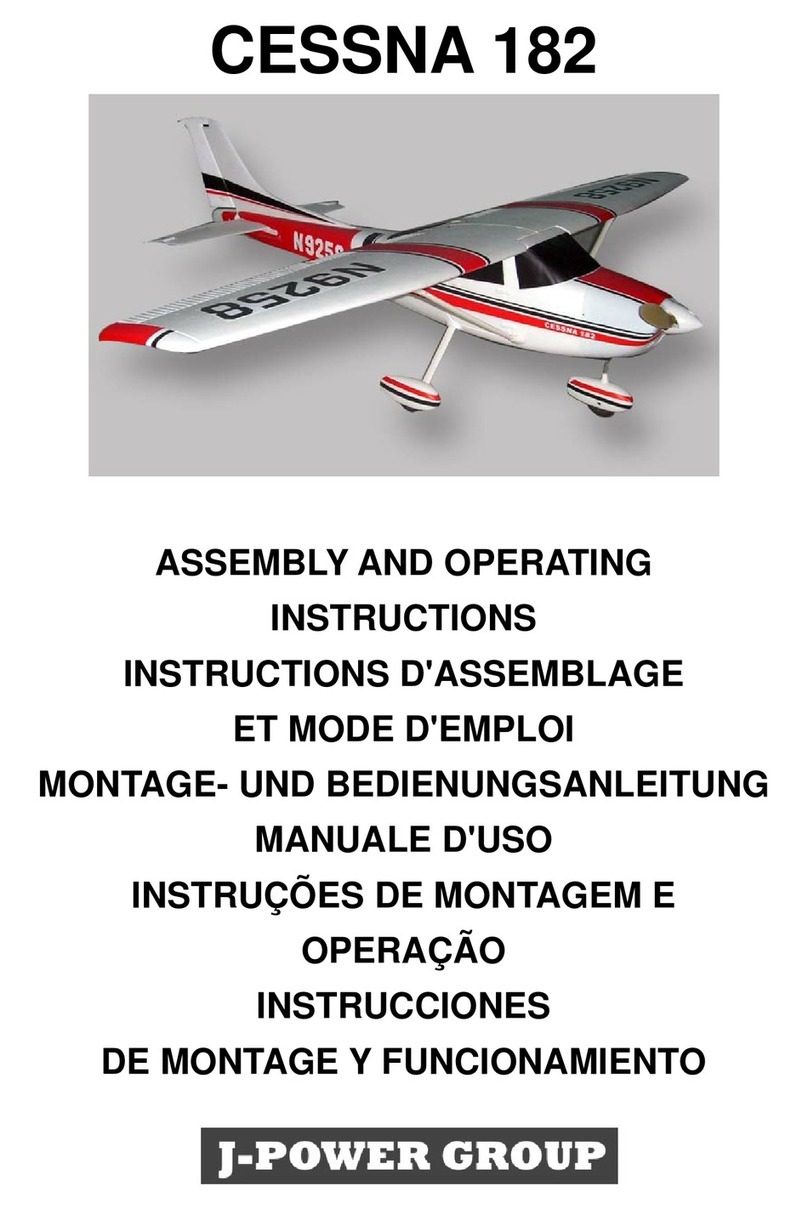
J-Power CESSNA 182 User manual

J-Power

J-Power CESSNA 182 User manual

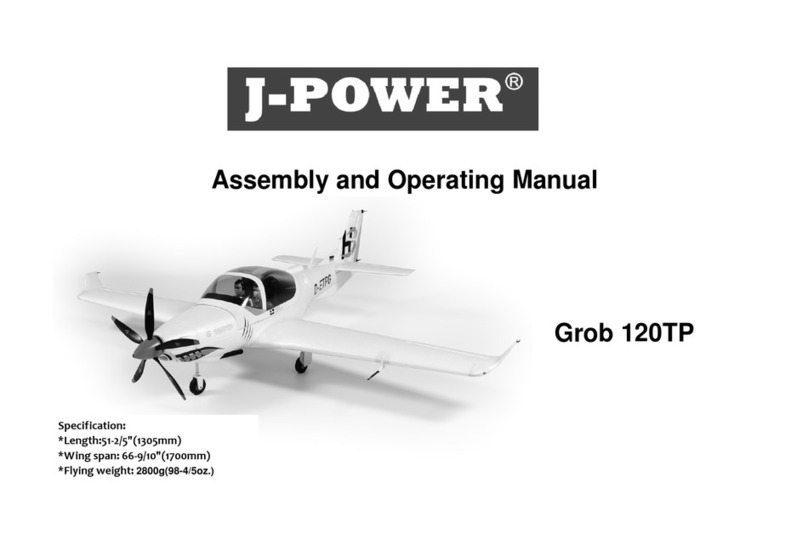
J-Power Grob 120TP User instructions

J-Power

J-Power Grob 120TP User instructions

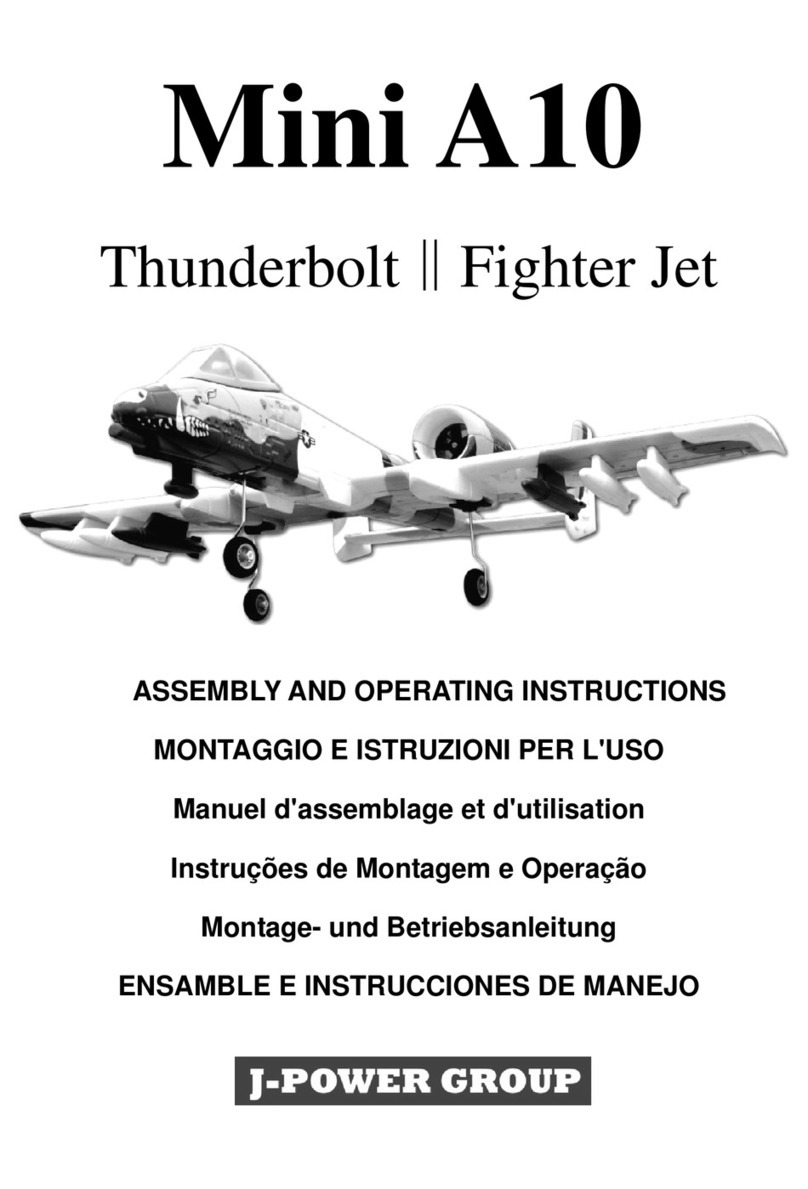
J-Power Thunderbolt Mini A10 User manual

J-Power

J-Power Thunderbolt Mini A10 User manual

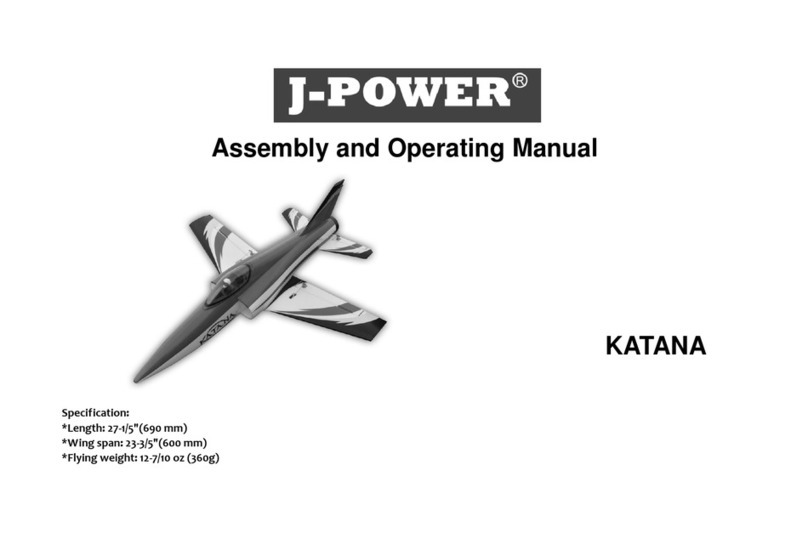
J-Power KATANA User instructions

J-Power

J-Power KATANA User instructions

J-Power Nano Warbirds T-28 User instructions

J-Power

J-Power Nano Warbirds T-28 User instructions

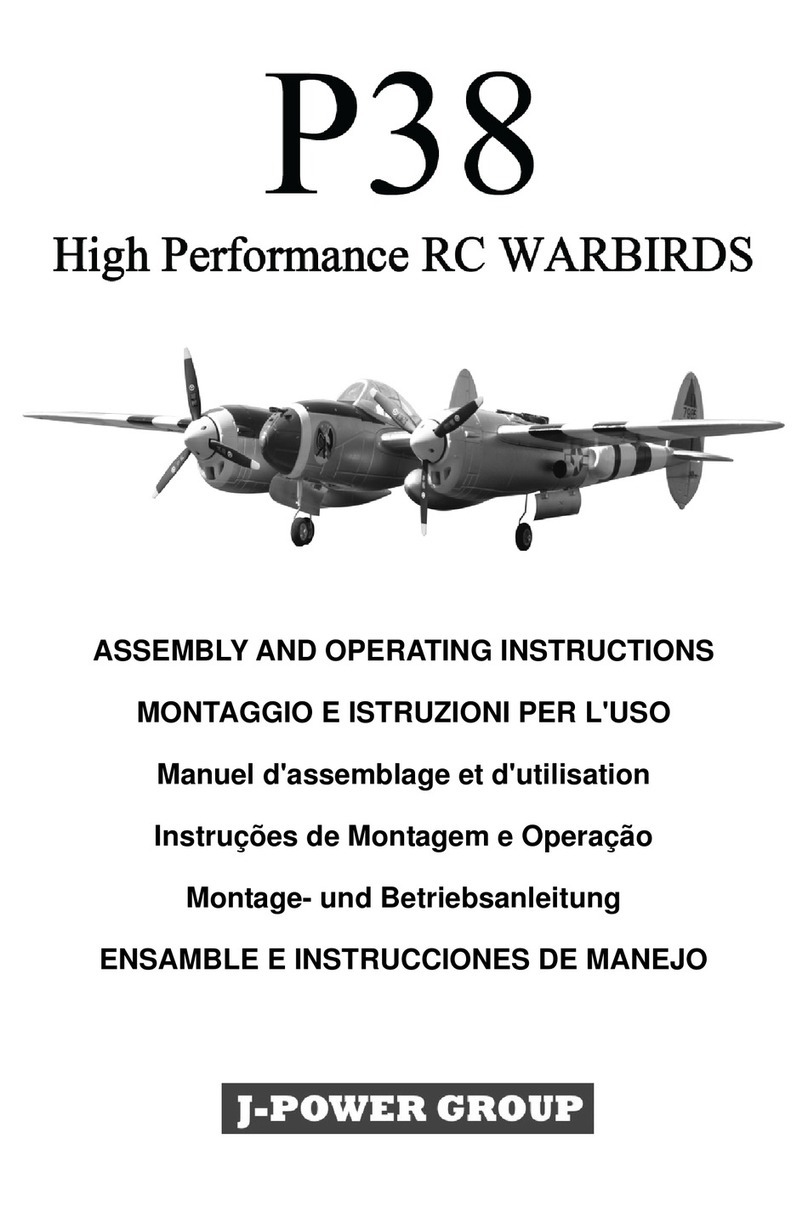
J-Power P38 User manual

J-Power

J-Power P38 User manual

J-Power Nano Warbirds P-47 User instructions

J-Power

J-Power Nano Warbirds P-47 User instructions

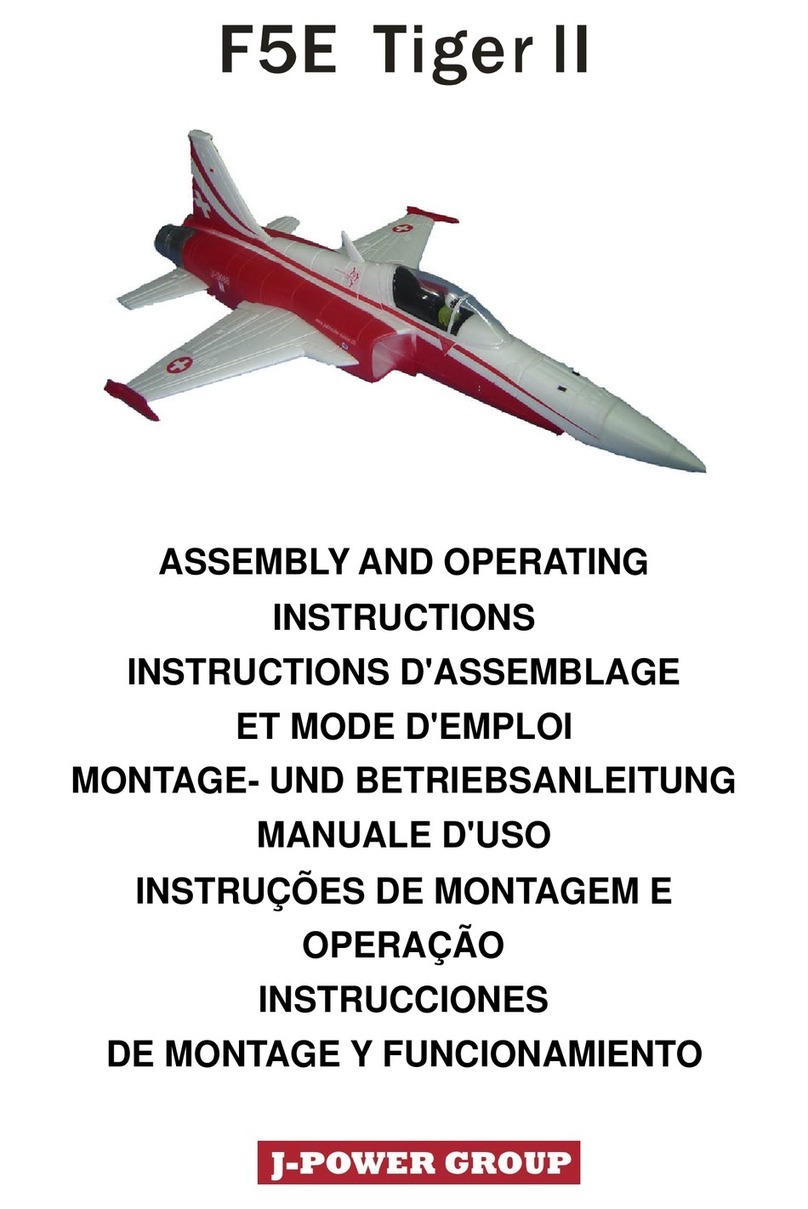
J-Power F5E Tiger 2 User manual

J-Power

J-Power F5E Tiger 2 User manual

J-Power Explorer EDF User instructions

J-Power

J-Power Explorer EDF User instructions

J-Power Explorer Prop User instructions

J-Power

J-Power Explorer Prop User instructions

J-Power SKY SURFER User manual

J-Power

J-Power SKY SURFER User manual

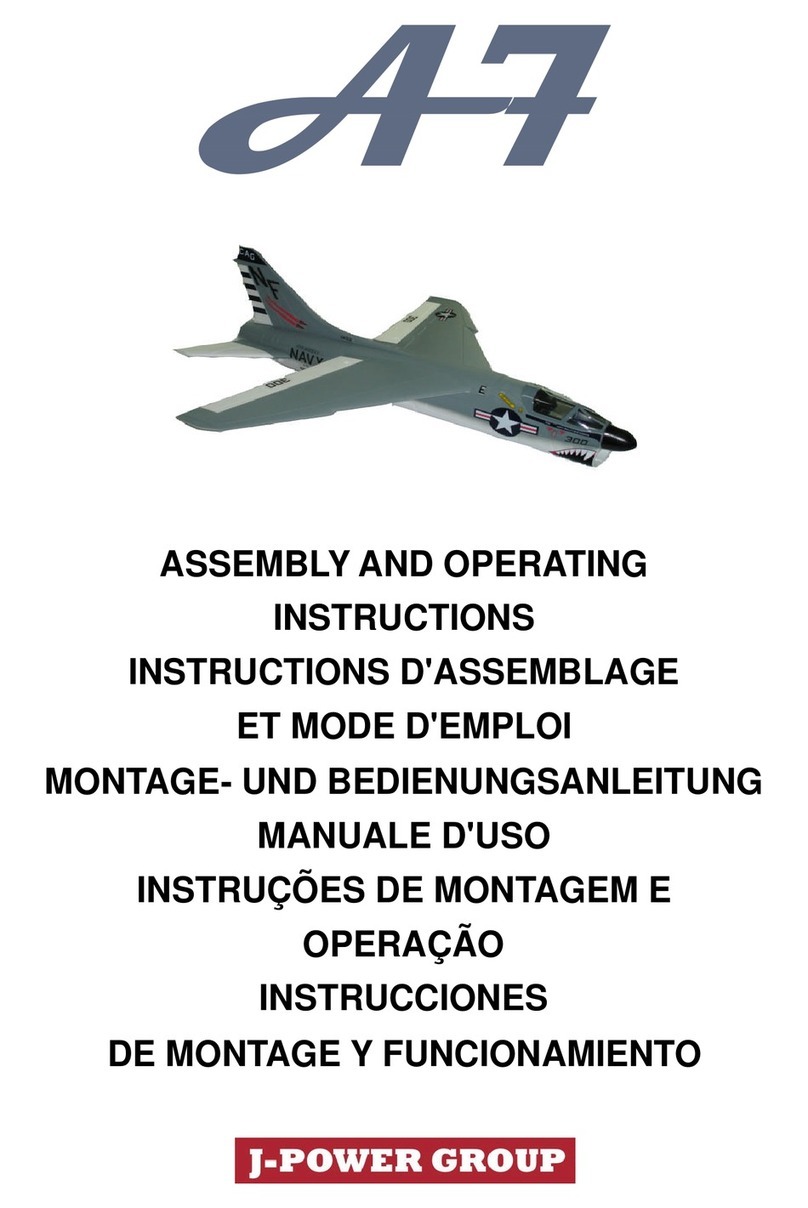
J-Power A-7 User manual

J-Power

J-Power A-7 User manual

Popular Toy manuals by other brands

AquaCraft Top Speed 2 HCAB5010 Assembly and operation manual

AquaCraft

AquaCraft Top Speed 2 HCAB5010 Assembly and operation manual

Mattel THOMAS & FRIENDS HMC28 instructions

Mattel

Mattel THOMAS & FRIENDS HMC28 instructions

Hasbro Transformers Armada Optimus 7056 instructions

Hasbro

Hasbro Transformers Armada Optimus 7056 instructions

Fisher-Price Y3623 instruction sheet

Fisher-Price

Fisher-Price Y3623 instruction sheet

Smoby 28015 quick start guide

Smoby

Smoby 28015 quick start guide

LeapFrog Lettersavrus Parent guide & instructions

LeapFrog

LeapFrog Lettersavrus Parent guide & instructions

Hirobo jm2-0307903 Instructoin manual

Hirobo

Hirobo jm2-0307903 Instructoin manual

Power Wheels FCD21 Owner's manual with assembly instructions

Power Wheels

Power Wheels FCD21 Owner's manual with assembly instructions

Hasbro Spiderman Origins Spiderman with Leaping Attack... instruction manual

Hasbro

Hasbro Spiderman Origins Spiderman with Leaping Attack... instruction manual

Fisher-Price Power Wheels CDY14 owner's manual

Fisher-Price

Fisher-Price Power Wheels CDY14 owner's manual

Fisher-Price Brilliant Basics Bobble & Giggle Pals G8685 instructions

Fisher-Price

Fisher-Price Brilliant Basics Bobble & Giggle Pals G8685 instructions

Mattel Hot Wheels Custom Motors R1228 instructions

Mattel

Mattel Hot Wheels Custom Motors R1228 instructions

Uncle Milton 2831 Setup

Uncle Milton

Uncle Milton 2831 Setup

Jamara Pfeil & Bogen Set Bow Pro instruction manual

Jamara

Jamara Pfeil & Bogen Set Bow Pro instruction manual

Eduard 32 954 manual

Eduard

Eduard 32 954 manual

Mattel Mega Bloks Hot Wheels Bone Shaker manual

Mattel

Mattel Mega Bloks Hot Wheels Bone Shaker manual

Fisher-Price PLANETHEROES L3770 instruction sheet

Fisher-Price

Fisher-Price PLANETHEROES L3770 instruction sheet

Lansay MONSTER HIGH CUTIE STIX ORIGINAL instructions

Lansay

Lansay MONSTER HIGH CUTIE STIX ORIGINAL instructions

manuals.online logo
manuals.online logoBrands
  • About & Mission
  • Contact us
  • Privacy Policy
  • Terms and Conditions

Copyright 2025 Manuals.Online. All Rights Reserved.