JAROLIFT BrushLine 2000 User manual

V1.05-06.2022
für fenster
individuell
anpassbar
original Montageanleitung
DE Original Montageanleitung
EN Original instructions
Sie erreichen uns
unter der Service-Hotline
+49 8178 - 932 932
BrushLine 2000
insektenschutz Spannrahmen
nach Maß | mit umlaufender Bürstendichtung

(Rev.: 05/2015_JM35/45)
INHALTSVERZEICHNIS
TABLE OF CONTENTS
Hinweise zur Sicherheit ............................................................ 3
Safety advice
Verpackungsinhalt ......................................................................5
Package content
Empfohlenes Werkzeug..............................................................5
Recommended tools
Montage........................................................................................5
Installation
Notizen ......................................................................................... 19
Notes

HINWEISE ZUR SICHERHEIT
SAFETY ADVICE
3
Für die Sicherheit von Personen ist es wichtig, diese Anlei-
tung zu befolgen. Durch Nichtbeachtung der Anleitung kön-
nen bei der Verwendung des Produkts Personen- und / oder
Sachschäden entstehen. Für durch die Nichtbeachtung dieser
Anleitung verursachte Personen- oder Sachschäden besteht
keine Haftung des Herstellers.
Beachten Sie folgende Punkte, bevor Sie mit der Montage
beginnen:
■Warnhinweise sind mit diesem Symbol in
der Anleitung gekennzeichnet.
■Berücksichtigen Sie bitte die Warnhinweise
und Einsatzbedingungen des Produkts!
■Lesen Sie sich bitte alle Anleitungen
sorgfältig vor der Montage durch.
■Befolgen Sie bitte zum eigenen Schutz alle
Sicherheits- und Einstellhinweise!
Die vorliegende Montageanleitung gehört zu diesem Produkt
und enthält wichtige Hinweise zur Montage und zum Betrieb.
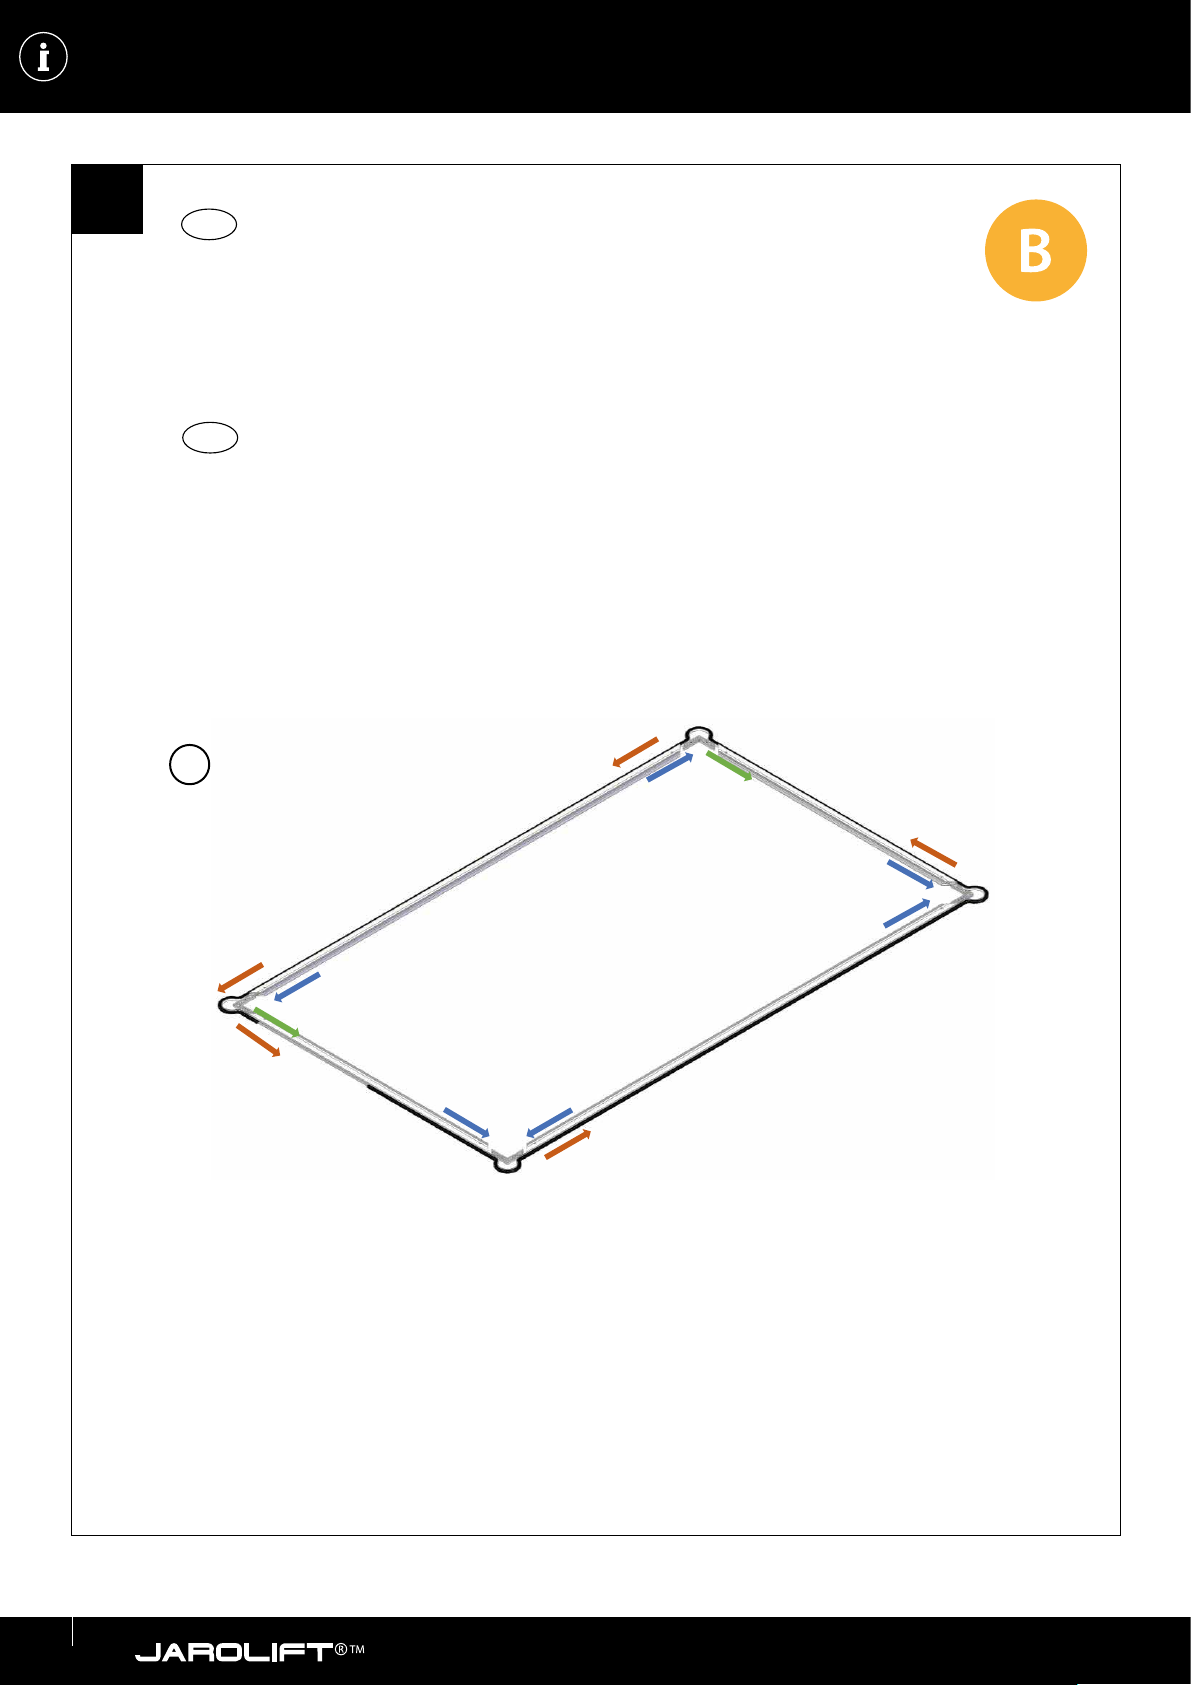
Sie beschreibt die Montage des JAROLIFT®™ Spannrahmens.
Für einen abweichenden Einsatz oder Sonderlösungen ist
dieses Produkt nicht bestimmt.
Richtige Verwendung / Einsatzbedingungen
Der JAROLIFT®™ Spannrahmen ist ein außenliegendes Insek-
tenschutzprodukt, das nur für den bestimmungsgemäßen
Gebrauch verwendet werden darf. Zusätzliche Belastungen
des JAROLIFT®™ Spannrahmens durch angehängte Gegen-
stände oder Seilabspannungen können zur Beschädigung
des Produkts führen und sind deshalb nicht zulässig. Zum
bestimmungsgemäßen Gebrauch gehören auch das Be-
achten der vorliegenden Anleitung und die Einhaltung der
Montagebedingungen. Verwenden Sie nur Original-Bauteile
und -Zubehör des Herstellers.
■ACHTUNG! Achten Sie bei Arbeiten an Fenstern
oder Türen darauf, gegen Stürze abgesichert zu
sein. Lassen Sie kein Werkzeug aus dem Fenster
fallen!
■ACHTUNG! Fluchtwege müssen freigehalten wer-
den und dürfen nicht mit einem Insektenschutz
versehen werden.
■ACHTUNG! Verhindern Sie, dass Kinder sich bei of-
fenem Fenster gegen den Insektenschutz lehnen.
Es besteht sonst die Gefahr eines Sturzes.
■ACHTUNG! Prüfen Sie in regelmäßigen Abständen,
ob der Insektenschutz nach wie vor ordentlich
befestigt ist, sich keine Befestigung gelöst hat
und der Insektenschutz nicht bei Winddruck oder
Windsog aus dem Fenster fallen kann!
■ACHTUNG! Schneiden Sie sich nicht! Beim Um-
gang mit scharfen Werkzeugen besteht Verlet-
zungsgefahr!

4
HINWEISE ZUR SICHERHEIT
SAFETY ADVICE
It is important for personal safety that these instructions are
followed. Failure to observe these instructions could result in
material damage or personal injury during the use of this pro-
duct. The manufacturer bears no responsibility for material
damage or personal injury caused by failure to observe these
instructions.
Take note of the following points before commencing
assembly:
■Warning notes are marked with this symbol
in the instructions.
■Please take note of the product‘s warning
notices and conditions of use.
■Please read all instructions carefully before
assembly.
■For your own safety, follow all safety
instructions and settings notes.
The present assembly instructions belong to this product and
contain important notes to the assembly and the use of the
product. It describes the assembly of the Jarolift®™ y screen
frame. Forms or special solutions which diverges are not
considered.
Correct use / conditions of use
The Jarolift ® ™ y screen frame is an outdoor y screen which
can be used only for the intended use. Additional loading
of the Jarolift®™ y screen frame by means of suspended
objects or cables can lead to the damage of the product, and
is therefore not allowed. Following the present instructions
and the observance of the montage conditions belong to
the intended use. Use only original components and original
accessories of the manufacturer.
■ATTENTION! When working on windows or doors,
be sure to be protected against falls. Do not let any
tool fall from the window!
■ATTENTION! Escape routes must be kept clear
and must not be provided with an insect screen.
■ATTENTION! Prevent children from leaning against
the y screen when the window is open. Other-
wise, there is the danger of falling.
■ATTENTION! Make sure at regular intervals that
the y screen is still correctly fastened, that it has
lost no mounting parts and that it is safe from
falling down from the window by wind pressure or
suction.
■ATTENTION! Do not cut yourself! There is the risk
of injury while using sharp tools!

5
VERPACKUNGSINHALT
PACKAGE CONTENT
Rahmenverbindung mittels PVC-Eckverbinder /
Frame connection by means of PVC corner connectors
4 x 4 x 2 x 8 x
8 x
8 x
1 x 1 x 1 x 1 x
Rahmenverbindung mittels Gehrungsschnitt /
Frame connections by means of mitre cut
2 x 8 x
8 x
8 x
1 x 1 x 1 x 1 x
1 x
2,0
8 x
4 x
4 x
Traverse (optional) /
Crossbar (optional)
2 x 1 x
2 x
2 x
2 x

6
EMPFOHLENES WERKZEUG
RECOMMENDED TOOLS
ACHTUNG! Schneiden Sie sich nicht! Beim Umgang mit scharfen Werkzeugen besteht Verletzungsgefahr! /
ATTENTION! Do not cut yourself! Risk of injury when handling sharp tools!

7
MONTAGE
INSTALLATION
A
Schneiden Sie die Bürstendichtung auf Länge (L). Nutzen Sie hierfür die gemessene Breite A und die gemessene Höhe B,
welche die Grundlagen für die Bestellmaße waren.
B
L = 2 x (A + B) - 20 mm
Trim the brush seal to length. Use the measured width A and the measured height B, which were the basis for the ordering
dimensions.
EN
DE
1
L = 2 x (A + B) - 32 mm

8
MONTAGE
INSTALLATION
2Zusammensetzen der Rahmenverbindung mittels
PVC-Eckverbinder /
Frame connection by means of PVC corner connectors
L
2a
2b
2c
Anfang / Beginning
Ende / Ending

9
MONTAGE
INSTALLATION
1
2Zusammensetzen der Rahmenverbindung mittels
Gehrungsschnitt /
Frame connections by means of mitre cut
Prolschienen, Eckverbinder und Bürstendichtung wie in den nächsten drei Bildern bereitlegen;
noch nicht miteinander verbinden.
Arrange prole rails, corner connectors and brush seal as shown in the next 3 pictures; not yet connect.
EN
DE
2a
L
2b
2c

10
MONTAGE
INSTALLATION
3.d. Montage B
1a. 1b.
1c.
2a.
2b.
2c.
3a.
3b.
3c.
3d.
3d.
3c.
3e.
1
2Gehen Sie nun Schritt für Schritt wie folgt vor:
• 1a + 1b. Verbinden Sie die Prolschienen mit dem Eckverbinder.
• 1c. Ziehen Sie die Bürstendichtung an.
• 2a + 2b. Verbinden Sie die Prolschienen mit dem Eckverbinder.
• 2c. Ziehen Sie die Bürstendichtung an.
• 3a + 3b. Verbinden Sie die Prolschiene mit dem Eckverbindern.
• 3c. Ziehen Sie die Bürstendichtung nach.
• 3d. Verbinden Sie die Eckverbinder mit den Prolschienen.
• 3e. Ziehen Sie die Bürstendichtung an.
Now proceed step by step as follows:
• 1a + 1b. Connect the proles with the corner.
• 1c. Tighten the brush seal.
• 2a + 2b. Connect the proles with the corner.
• 2c. Tighten the brush seal.
• 3a + 3b. Connect the prole with the corners.
• 3c. Tighten the brush seal.
• 3d. Connect the corners with the proles.
• 3e. Tighten the brush seal.
EN
DE
2d

1
2
11
MONTAGE
INSTALLATION
2e
Anfang / Beginning
Ende / Ending
2f
2g

12
3
* optional / optional
3a*
3b*
L/2
L
MONTAGE
INSTALLATION

1
4
1
5
13
MONTAGE
INSTALLATION

14
MONTAGE
INSTALLATION
1
6
1
71
8
Zum Spannen des Netzes und Einarbeiten des Keders legen Sie eine Beschwerung in die Mitte auf das Gewebe. Wenn Sie den
Keder einziehen, halten Sie das Gewebe mit der einen Hand fest (Abb. 7), ziehen Sie mit der anderen Hand das Kederwerk-
zeug und drücken sie dabei den Keder in die Kedergasse (Abb. 8). Zur leichteren Handhabung können Sie den Keder auch auf
der jeweils gegenüberliegenden Seite eindrücken
To stretch the mesh and work in the piping, place a weight in the middle of the fabric. When you pull in the piping, hold the fabric
with one hand (Fig. 7) and pull the piping tool with the other hand while pressing the piping into the piping alley (Fig. 8). For
easier handling, you can also press in the piping on the opposite side.
EN
DE

15
HmHm/2 Wm
W
9
MONTAGE
INSTALLATION
Prüfen Sie die Abmessungen des Rahmens. Diese müssen an allen gegenüberliegenden
Seiten gleich lang sein.
Check that the dimensions of the frame. These have to be the same length on all opposite sides.
EN
DE
Wm - 5 mm < W < Wm
1
10

16
1
11
*
1
12
* optional / optional
MONTAGE
INSTALLATION

17
MONTAGE
INSTALLATION
1
13
1
14

18
MONTAGE
INSTALLATION
1
15

19
NOTIZEN
NOTES / NOTES / NOTAS / NOTE / OPMERKINGEN / UWAGI / NOTLAR

ist eine eingetragene Marke der Schoenberger
Germany Enterprises GmbH & Co. KG
Zechstraße 1-7, 82069 Hohenschäftlarn
Tel.: 08178 / 932 932
Fax: 08178 / 932 970 20
www.jarolift.de
Technische Änderungen, Druckfehler und Irrtümer behalten wir uns vor.
Table of contents
Popular Pest Control manuals by other brands

Silverline
Silverline gardenSystem Sork & Mullvads Fritt Vole & Mole Free... manual

Gimenez Ganga
Gimenez Ganga Saxun Sliding Mosquito Screen Assembly manual

Cardigo
Cardigo 25186 instruction manual

Isotronic
Isotronic 35311 Instructions for use

COLPHARMA
COLPHARMA Ticks Defense manual

VOSS
VOSS VOSS.sonic 1000 instruction manual