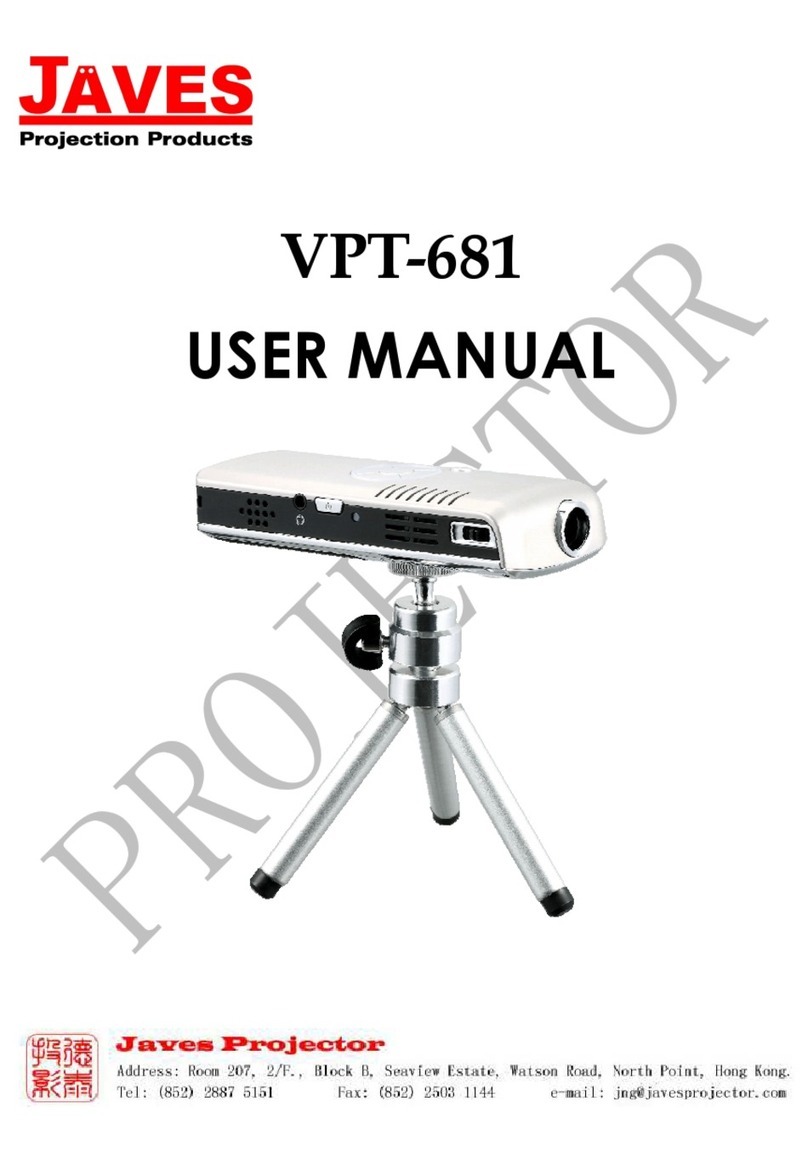
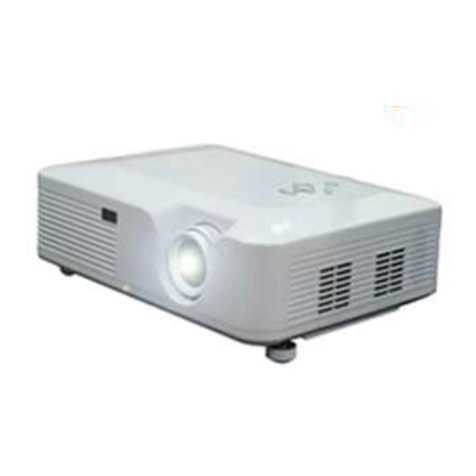
Javes ADX-525 User manual

www.javesprojector.com
Projector & Screen
ADX-525 / ADS-523 / ADS-513
DLP Front Projector
User Guide

FCC Warning
This equipment has been tested and found to comply with the limits for a
Class A digital device, pursuant to part 15 of the FCC Rules. These limits are
designed to provide reasonable protection against harmful interference when
the equipment is operated in a commercial environment. This equipment
generates, uses, and can radiate radio frequency energy and, if not installed
and used in accordance with the instruction manual, may cause harmful
interference to radio communications. Operation of this equipment in a
residential area is likely to cause harmful interference in which case the user
will be required to correct the interference on his own expense.
Safety Certificated
Other standards authorized by the state may be suitable for our products as
well, please refer to the product authentification label for more details.
EMC Electromagnetism Compatibility EN 55022
EN 55024
EN 61000-3-2
EN 61000-3-3
Low Voltage Directive 73/23/EEC, Amended by 93/68/EEC
Safety EN 60950-1:2001
1
Front Projector
Front Projector
DLP
DLP

Warning, Certification, Declaration 1
Content 2
Note 3
Introduction 5
Image Resolution 5
Compatibility 5
Package Unfolding Notice 5
Usage Guide 8
Help 8
Maintenance 8
Installing Projector 9
Connecting a Computer 11
Connecting a video device 12
Turning on the Projector Power Supply 14
Turning off the Projector power supply 17
Using the Projector 18
Adjusting the projector 19
Using the remote control 20
Using the control panel and keypad buttons 21
Using the menus 22
Maintenance and Error Solutions 28
Cleaning the lens 28
Cleaning the lamp filter 28
Replacing the projection lamp 29
Replacing the remote control batteries 31
Using the security lock 31
Error Solutions 32
Appendix 36
Accessories 36
Projection image size 37
Content
2
Front Projector
Front Projector
DLP
DLP

Operating Considerations for Safety
Please read and conform to the operating considerations strictly before attempting to operate
the projector. Otherwise, fire, thunder damage or person injure may be caused and the
equipment protection may be destroyed or weaken as well.Please preserve all security introduc-
tions well.
Security Definition:
Warning: explanation for the operation that may hurt person
Caution: explanation for the operation that may damage the equipment.
Security Tag:
Note: please refer to User’s Guide for the usage explanations of diversified functions.
Warning:the surface is very hot, please don’t touch!
The arrow, used to point to the lamp door on projector.
Warning: turn off the projector and unplug the power cable, and turn on the lamp
module after 60 minutes.
Security Considerations:
Warning: please don’t look the lens with the direct-vision after the projector’s power supply
is turned on.
Warning: when the projector lamp need to be replaced, please turn off the projector
and unplug the power cable, for avoiding burn hurt, after 60 minutes to turn on the
power switch. The considerations mentioned in the User’s Guide should be conformed.
Warning: use the power supply cable offered specially, and connects it to the safety
earthing protected socket.
Warning: the projector should be maintained by special service workers when the error
occurs, individual maintenance will disable the service guarantee.
Caution: the ventilation hole shouldn’t be covered.Caution: liquid substance putting on the
projector is forbidden, the spills may damage the projector.
Caution: the projector laying on the hot one is forbidden, exposure under the sun neither.
Caution: preventing the projector from falling, the approved cases (Listed as page 37)
must be covered.
3
Front Projector
Front Projector
DLP
DLP

Place the projector in a horizontal position no greater than 15 degrees off axis
Locate the projector in a well-ventilated area without any obstructions to intake or
exhaust vents. Do not place the projector on a tablecloth or other soft covering that
may block the vents.
Locate the projector at least 4' (1.2 m) away from any heating or cooling vents.
Refer to this guide for proper startup and shutdown procedures.
In the unlikely event of the lamp rupturing, discard any edible items placed in the
surrounding area and thoroughly clean the area along all sides of the projector. Wash
hands after cleaning the area and handling the ruptured lamp. This product has a lamp
which contains a very small amount of mercury. Dispose of it as required by local, state
or federal ordinances and regulations. For more information, please login
www.eiae.org..
Important Operating Considerations for Safety
To ensure the image quality and lamp life, please follow the instructions. Otherwise, the
product maintenance guarantee may be affected.
0.6m?2ft?
Don’t place objects in the range
of 2' (.6m) after the projector.
4
Front Projector
Front Projector
DLP
DLP

Introduction
The new-designed projector has the advantages of convenient taking
away, simple connection and harmonious coordination, which is not only
easy to connect, easy to use, but also easy to maintain.
Image Resolution
The resolution of the projection image (XGA) is 1024*768, compatible
with the projector screen with the resolution of 1280*1024 at most. The
computer resolution should be adjusted to be lower while it is higher
than 1280*1024 before connecting to the projector.
Compatibility
The projector supports diversified computers and video equipments
compatible, which include:
Computers with IBM compatible (desktop included, resolution
1280*1024 permitted mostly).
Apple Macintosh and PowerBook computers (resolution 12*1024
permitted mostly)
Most VCR, DVD player, Video camera, digital camera and laser CD
player complied with the common standards.
Package Unfolding Notice
The projector items as shown on Fig.1. Please make sure all lists are
included. Otherwise, contact the seller for missing immediately.
If you are experienced in setting up prese Remote Control and
Batteriesntation systems, use the included Quick Set Up card. For
complete details on connecting and operating the projector, refer to this
User’s Guide.
Note: the projector
can extend the image
with the resolution
from 640*480 or
800*600 to 1024*768
automatically.
5
Front Projector
Front Projector
DLP
DLP

The items included in the package
1Projector 2Remote Control and Batteries
3Audio/Video Cable 4Power Cable
5Computer Cable
6《User’s Guide》and 《Quick Set Up card》
*The item with * may be vary in different countries.
Fig.1
1
234
56
6
Front Projector
Front Projector
DLP
DLP

Projector Former Vision
Projector Rear Vision
Projector Bottom Vision
Control Panel
Remote control receiver (IR)
Zoom
Focus
Fig.2
Fig.3
Fig.4
Power Connector
Security lock
Elevator foot release
Lamp Door
Leveling foot
Adjustable foot
7
Front Projector
Front Projector
DLP
DLP
Connector

Please don’t look the lens with the direct-vision after the projector’s
power supply is turned on, the glare may burn your eyes.
Make sure vents aren’t blocked, the airflow-prevented may cause the
projector to shut down because over heat. If it occurs, please remain
the projector to cool for one minute and then turn on.
Like moving the glass structures, be extremely careful when removing
the projector, prevent from being fall off.
Avoid the projector from exposing under the sun or extreme low
temperature, if it occurs, which can only be used until it reach the
temperature of surrounding
When moving the projector, the case covered must be approved by
the manufacture.
Usage Guide
Help
If you need a help, please look up the User’s Guide in advance, the
consideration of “Error solutions” listed on Page 33 should be viewed, or
login our website “http?//www.amt-prc.com” for more information.
Maintenance
The maintenance guarantee we offered are limited, the prolonged service
can be purchased from the seller.
When the projector need to be maintained, the coverage used originally is
recommended, or packed well by the specialized package company, and
please purchase the full coverage.
8
Front Projector
Front Projector
DLP
DLP

Installing Projector
1Level off the projector.
The distance between the projector and power supply, or computer
can’t be over 6' (1.8m).
The projector should be put behind the screen when it is
semitransparent, please refer to the “Rear Projection Installation”
on page 24 to master how to reverse the image.
2Adjust the projector to suit the screen.
Adjust the zoom when the image is not suitable, or move the
projector forwardly or backwardly. As it is shown on Fig.5, lists the
three projection images.
Make sure the power supply of projector and computer are all shut down.
Note: the distance
between projector and
screen must be no less
than 4.9'(1.5m).
Fig.5
Projection Image Size
59'(1.5m)
154'(3.9m)
394' (10m)
39'(1m)
100'(2.5m)
240'(6.1m)
9
Front Projector
Front Projector
DLP
DLP

Note: please make
sure the power supply
of the projector and
other equipments are
all shut down besides
other operations, if the
computer needs to be
connected, the
distance between
computer and
projector shouldn’t be
more than 2m.
Fig.6
Connector Panel
S-Video
Composite Video
USB Interface
10
Monitor
VGA
Computer
Lock
Power
Connector
Remote Control
Receiver (IR)
Front Projector
Front Projector
DLP
DLP

Connecting a Computer
A simulate computer connection cable is available in your projector
case, if your computer supports digital signal output, the digital connec-
tion
Error: the image is not focus
cable can be purchased to receive the
signal as quickly and as clearly as possible with superior quality. Refer
to the “AvailableAccessories” on page 37.
Note: some desktop
computers will not
enable the external
video connectors
automatically when
the display
equipments (such as
projector) are
connected, please
refer to the computer
guide for the
commands of
activating outer ports.
Fig.7
Connecting a Computer
Do you want to view the Powerpoint with the
remote control? Note: USB mouse is
supported under the
system of Windows
98 or superior only.
11
VGA
computer
Front Projector
Front Projector
DLP
DLP
Connect the black end of the computer cable to the “Computer
Connector” on the projector.
Connect the blue end to the video port on your computer. If you are
using a desktop computer, you need to disconnect the monitor
cable, from the computers video port at first.
1
2
1Connect the USB end to the mouse port on your computer.The
proper USB driver should installed on your computer.
Some suitable drivers included in Windows 98. Please refer to
“Turn on projector power” shown on Page 11 for details.
Now, the power supplies of the projector and computer can be
turned on, jump to the 11 page for reference.

Connecting a Video Device
If the video device (VCR, DVD player, video camera) uses a single-prong,
round compound video connector, please adopt the audio/video (A/V)
cable.
If the video device uses a round, four-prong S-video connector, please
purchase the S-video connector which can generate the image with
superior quality.
1Plug the audio/video (A/V) cable’s yellow round connector into the
video-out connector on the video device, the connector may be indicated
with “To Monitor”.
If the S-video cables are adopted, please plug the black round
connector into the S-video out connector on the video equipment.
2Plug the remaining yellow connector into the Video connector on the
projector.
If the S-video is adopted, please plug the remaining connector into the
S-video connector on the projector.
Connect the projector to VCR with the video cables
Fig.8
Compound Video
12
Front Projector
Front Projector
DLP
DLP

3Adopt the S-video cable and Video cable simultaneously.
Connect the projector to VCR with S-video and Video cables. Caution: there may
be the Video Out
connector which is
used for coaxial line
connecting. It can’t
be used to connect
the projector.
The compatible video standards of the projector can be listed as:
NTSC, NTSC4.43, PAL, PAL-M, PAL-N, PAL-60 as well as SECAM.
The input video can be adjusted to optimize by the projector automati-
cally.
Fig. 9
S-Video
13
Front Projector
Front Projector
DLP
DLP

Turn on the projector power supply
1Plug the power cable into the side of the projector and plug the
remaining into the power supply slot, the surge protection wiring board
is suggested.
The LED indicator will be shown with blue (Fig.6 on page 6)。
2Press the power button on the top of the projector.。
The fan will run as long as the projector connects well, the LCD
indicator will be shown with red (Fig.6 on page 6) and then the
screen will be initialized, after one minute, the image will be clear.
3If there is a video player available, please turn it on.
The image should be shown on the screen, if not, pressing the
Source/Select on keypad or Video button on remote control to
display.
4If there is computer available, please turn it on.
When the projector connects the computer for the first time, the
computer will show “Detect a new hardware” and the new hardware
guide will be poped up, add the proper driver under the direction of
the guide (installed accompanied with Windows).
Select “The optimized driver” and click “Next”.
Note: the power
supply cables offered
by the projector seller
should be used
extremely.
Note: when the
projector connects the
computer for the first
time, the computer will
show “Detect a new
hardware” and the
new hardware guide
will be popped up,
add the proper driver
under the direction of
the guide (the
projector is
considered as a “Plug
and Play” display).
14
Front Projector
Front Projector
DLP
DLP

Cancel the selection and click “Next”, Windows will query the driver
automatically. When the driver has been deleted, please reload it with the
Windows OS disk.
After the driver is found, click “Next” to install.
15
15
Front Projector
Front Projector
DLP
DLP

After the installation is finished, click “Finish”.
5The computer image should be shown on the screen, if not, pressing
the Source/Select on keypad or Video button on remote control to
display.。
Make sure all the external connectors on the desktop computer
are enabled (please refer to the desktop computer introductions
for details).
Adjust the image with the projector menu, if necessary. Press
“Menu” on the control panel or remote control to open the menu
list. Please refer to Page.21 for the details.
Note: for some
computers, the
equipments initializing
sequence is extremely
important. Most
computer power
supplies should be
turned on after the
remaining peripherals
are enabled. Please
refer to the computer
introductions for the
details.
16
Front Projector
Front Projector
DLP
DLP

Turning off the projector power supply
Press “Power” to turn off the projector power supply and a confirming
window will be shown, press the button again to confirm and the lamp
extinguished.After the fun working and LED indicator displaying yellow
for 90 seconds, the projector shuts down. Unplug the power cable until
the LED shown with saffron in stable.
If the power supply of lamp needed to be turned on, cool the lamp for
90 seconds in advance. Otherwise, it will not be lit.
Use the “Display Power Management System”, the projector power
supply can be shut down automatically when there is non active single
detected. Please refer to Page 24 for details.
Notice: to prolong the
lamp natural life,
please turn off the
projector power supply
after 5 minutes
working.
17
Front Projector
Front Projector
DLP
DLP

Using the Projector
This chapter introduces how to use and adjust the projector. Besides,
the buttons on control panel or remote control, available items on
screen are all mentioned here.
Basic Adjustment on Image
Notice: to reach the
superior image quality,
please open the menu
to adjust the focus.
Fig.10
Focus and Zoom
18
Front Projector
Front Projector
DLP
DLP
Zoom
Focus
Make sure the power supplies on the equipments are turned on in
correct sequence (refer to page11),
If the image shown is not integrated, please rotate the zoom (refer
to the figure listed as following), or adjust the projector height
(refer to page16), or center the image position in level or vertical
(refer to page 23). The projector should be positioned at a 90
degree angle to the screen.
Rotate the focus to precise it.
Adjust the brightness, contrast, tone or saturation to pretty the
colors (refer to page21).
Adjust the zoom or focus rings (page10) by rotating them until the
desired image size and focus are produced.
1
2
3
4

There are the “elevator foot release” and “leveling foot” available on the
projector, if the projector need to be hoisted, please follow the steps:
1Hoist the projector to the height required and press the “elevator foot
release” button to fix it.。
2Rotate the “leveling foot” to adjust the image, if necessary.
Fig.11
Adjust the projector height.
Elevator foot release button
Leveling foot
19
Front Projector
Front Projector
DLP
DLP
This manual suits for next models
2
Table of contents
Other Javes Projector manuals

Javes
Javes JCD-720P User manual

Javes
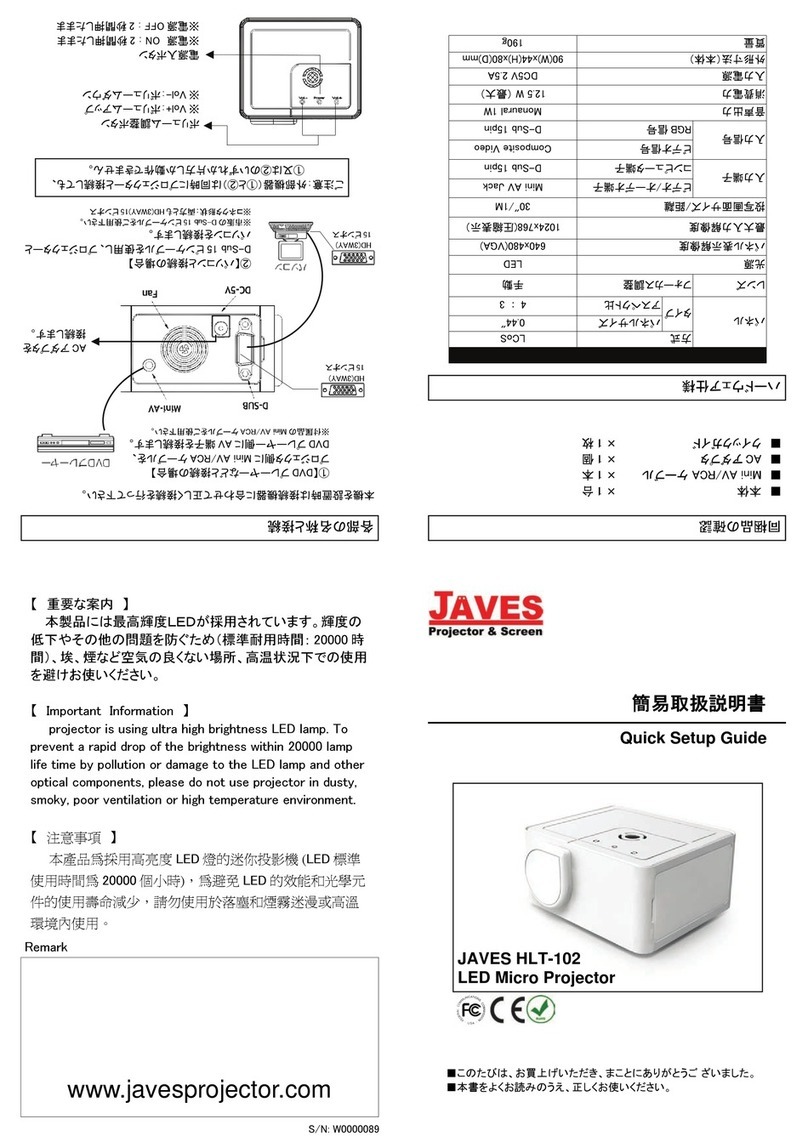
Javes HLT-102 User manual

Javes
Javes OLX-730 User manual

Javes
Javes LSE-530 User manual

Javes
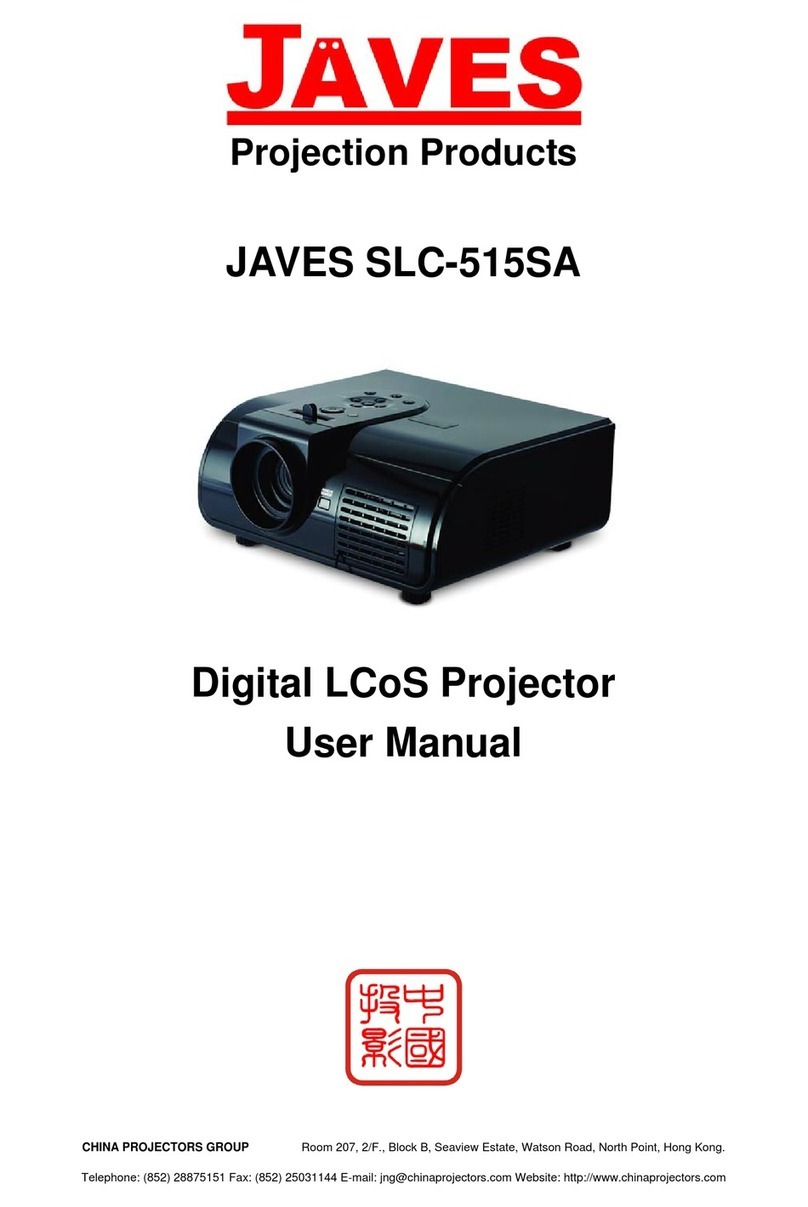
Javes JAVES SLC-515SA User manual

Javes
Javes XPL-520 User manual

Javes
Javes NSK-1080P User manual

Javes
Javes TOY-550 User manual

Javes
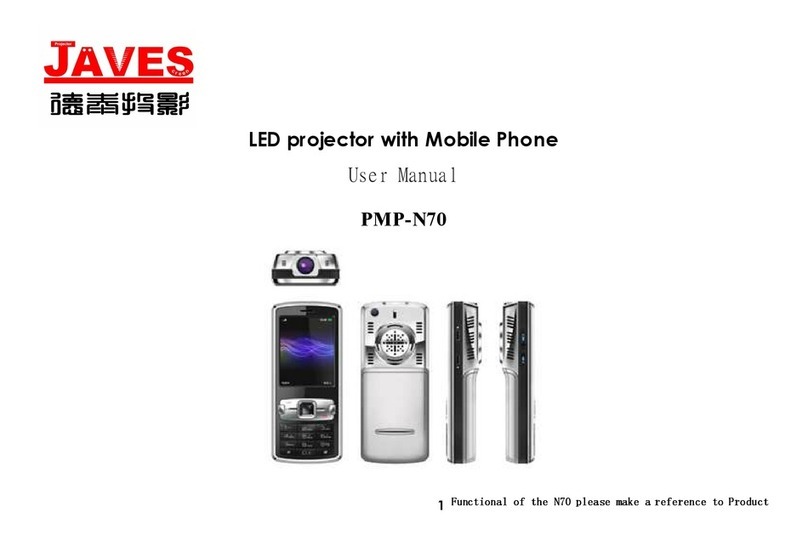
Javes PMP-N70 User manual

Javes
Javes HLT-102 User manual