manuals.online logo
Brands
  1. Home
  2. •
  3. Brands
  4. •
  5. JENCONS
  6. •
  7. Laboratory Equipment
  8. •
  9. JENCONS Safetypette Pro Specifications

JENCONS Safetypette Pro Specifications

Introduction
Safetypette Pro may be used with glass or plastic pipettes to facilitate the pipetting of a wide range of
liquids. Pipettes within the volume range of 1ml to 100ml can be used.
When correctly used, liquid only comes into contact
with the pipette.
Operating Instructions
1. Fitting the pipette
Carefully attach the pipette by inserting it into the sili-
cone holder inside the nose cone. Do not use force.
2. Filling the pipette
Press the suction bulb first whilst holding the
Safetypette Pro in a vertical position with the
pipette tip down. Place the tip of the pipette into
the liquid to be aspirated. Press the aspirate lever
slowly upwards allowing the liquid to fill the pipette
so that the meniscus level is slightly above the
required mark.
Note: Do not allow liquid to enter the
Safetypette Pro. The function of the filter will
be severely impaired reducing suction efficiency.
Spare filters are available see over.
3. Meniscus Adjustment
Wipe the pipette tip with a suitable lint-free tissue.
Press the dispense lever down slowly until the
required meniscus has been reached.
4. Dispensing
Hold the receiving vessel in an inclined position,
placing the pipette tip against the receiving vessel’s
wall. Press the dispense lever down to empty the
pipette.
5. ‘Blow-out’ Pipettes
As soon as the meniscus in the pipette comes to a
standstill, press the discharge button to expel the last few
drops. To ensure a complete dispense Procedure, wipe the
pipette tip upwards a few millimeters along the inside wall of the
receiving vessel.
Suction Bulb
Discharge
Button
Aspirate &
Dispense
Control lever
Nose Cone
SAFE T YPETTE PRO
Operator Instructions
SAFE T YPE TTE PRO
6. ‘To Deliver’ Pipettes
As soon as the liquid in the pipette comes to a standstill, wait
for the period of time required to ensure the timed liquid has
been fully dispensed.
Note: Pipetting time is printed on the pipette e.g.’EX + 10s’
7. To Remove Pipette
Hold the pipette at its upper end and gently twist and remove
from the silicone pipette holder.
8. Cleaning
The Safetypette Pro can be easily maintained and cleaned. A
damp cloth is all that is required.
9. Replacing Filter
When replacement of the filter is necessary, proceed as follows:-
a. remove pipette
b. unscrew the nose cone
c. remove the filter and replace with a new one
(Cat. No. 266-003)
d. re-assemble
10. Leak Test
Attach a pipette and aspirate liquid to a minimum of half the
capacity of the pipette. Hold the pipette over a suitable reservoir.
If liquid drips from the pipette tip, dismantle the unit
(see 9) and re-assemble correctly.
11. Returning For Repair
When returning Safetypette Pro for repair, please ensure the
instrument has been cleaned and decontaminated. Please ask
for a decontamination statement form.
SAFE T YPETTE PRO
Operator Instructions (cont.)
Jencons Scientific Inc (USA)
800 Bursca Drive, Suite 801
Bridgeville, PA 15017
Phone: 412 257-8861
Toll Free: 800 846-9959
Fax: 412 257-8809
Email: [email protected]
Website: www.jenconsusa.com
Jencons Scientific Ltd
Cherrycourt Way Ind. Est.
Stanbridge Rd, Leighton Buzzard
LU7 4UA, ENGLAND
Phone: 01525 372010
Fax: 01525 379547
Int. Phone: +44 1525 372010
Int. Fax: +44 1525 851461
Email: [email protected]
Int. Email: [email protected]
Website: www.jencons.co.uk
Online sales: www.ecomcat.co.uk
ISO 9001:2000
FM 15114
Filter
Cat. No. 266-003
Silicone holder
Cat. No. 266-004
Nose Cone
White: Cat. No. 475-156

Other JENCONS Laboratory Equipment manuals

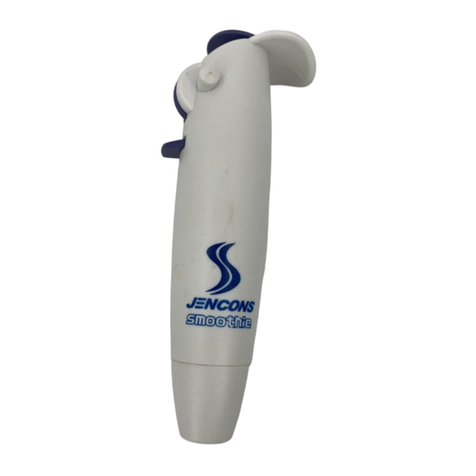
JENCONS Smoothie Specifications

JENCONS

JENCONS Smoothie Specifications

JENCONS Powerpette Specifications

JENCONS

JENCONS Powerpette Specifications

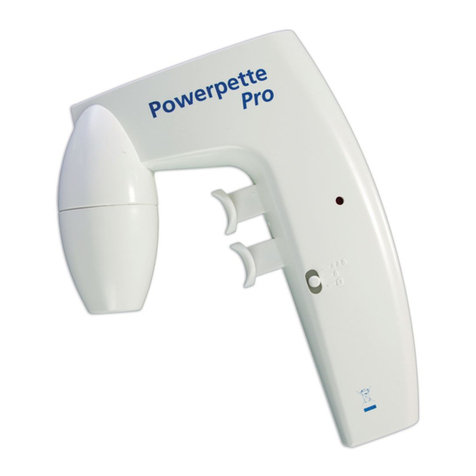
JENCONS Powerpette Pro Specifications

JENCONS

JENCONS Powerpette Pro Specifications

JENCONS Powerpette Pro Specifications

JENCONS

JENCONS Powerpette Pro Specifications

JENCONS SAFETYPETTE Specifications

JENCONS

JENCONS SAFETYPETTE Specifications

Popular Laboratory Equipment manuals by other brands

Accuris isoPURE Mini Operation manual

Accuris

Accuris isoPURE Mini Operation manual

Klein Tools TI220 instruction manual

Klein Tools

Klein Tools TI220 instruction manual

BioLAB BIFL-202 Operation manual

BioLAB

BioLAB BIFL-202 Operation manual

ABB PGC5000 Series Service instruction

ABB

ABB PGC5000 Series Service instruction

PASCO EM-8678A instruction sheet

PASCO

PASCO EM-8678A instruction sheet

Sakura Tissue-Tek AutoTEC a120 Quick reference guide

Sakura

Sakura Tissue-Tek AutoTEC a120 Quick reference guide

CORNING Spin-X UF 500 Technical data and operating instructions

CORNING

CORNING Spin-X UF 500 Technical data and operating instructions

Thermo Scientific Accela Pump installation guide

Thermo Scientific

Thermo Scientific Accela Pump installation guide

MRC CCM-10 instruction manual

MRC

MRC CCM-10 instruction manual

Bruker minispec TC3 user manual

Bruker

Bruker minispec TC3 user manual

Thermo Scientific Sorvall ST 8FR instruction manual

Thermo Scientific

Thermo Scientific Sorvall ST 8FR instruction manual

DH Lifelabs Aaira Surface ASE-00WH07 quick start guide

DH Lifelabs

DH Lifelabs Aaira Surface ASE-00WH07 quick start guide

Sartorius PICUS quick guide

Sartorius

Sartorius PICUS quick guide

SKC 249-01 operating instructions

SKC

SKC 249-01 operating instructions

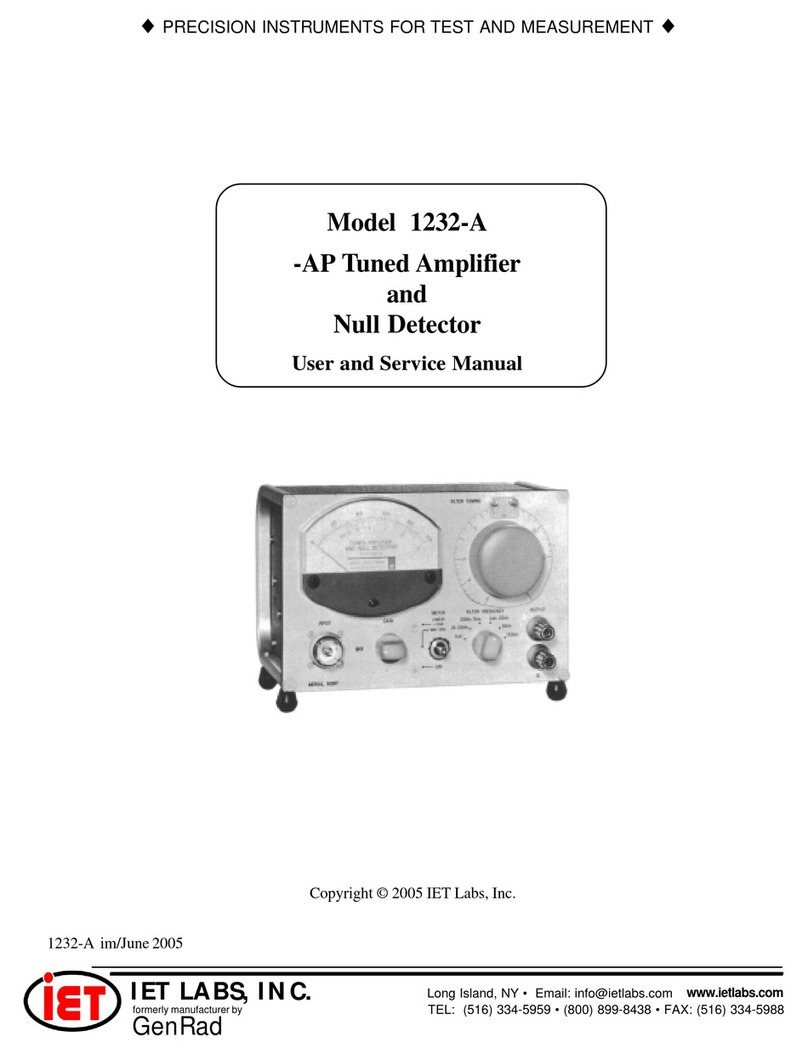
IET Labs 1232-A User and service manual

IET Labs

IET Labs 1232-A User and service manual

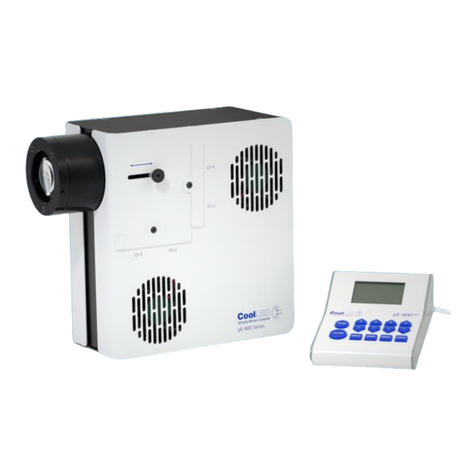
CoolLED pE-400 Series user manual

CoolLED

CoolLED pE-400 Series user manual

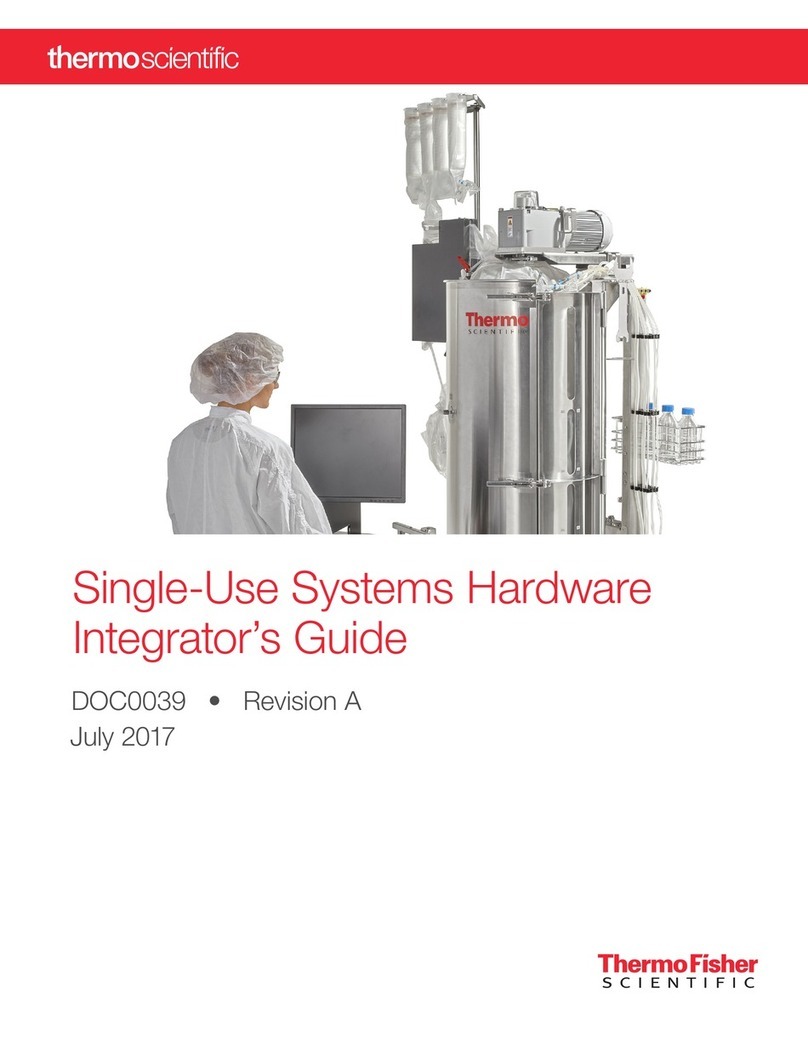
Thermo Scientific HyPerforma 5.1 S.U.B. Hardware Integrator Guide

Thermo Scientific

Thermo Scientific HyPerforma 5.1 S.U.B. Hardware Integrator Guide

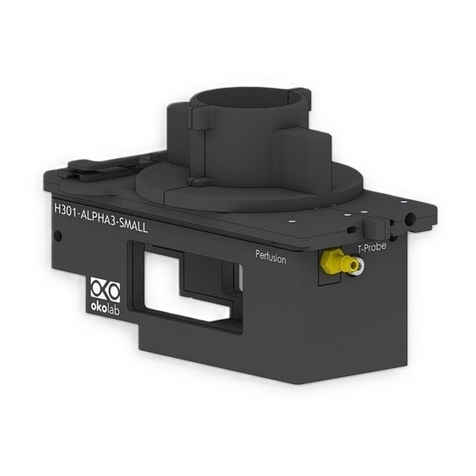
Okolab H301-ALPHA3-SMALL user manual

Okolab

Okolab H301-ALPHA3-SMALL user manual

manuals.online logo
manuals.online logoBrands
  • About & Mission
  • Contact us
  • Privacy Policy
  • Terms and Conditions

Copyright 2025 Manuals.Online. All Rights Reserved.