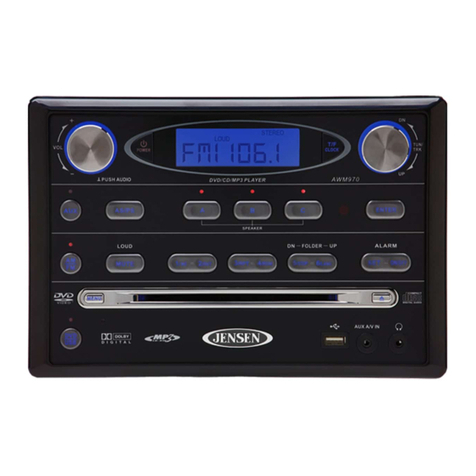
Auxiliary
Input Function
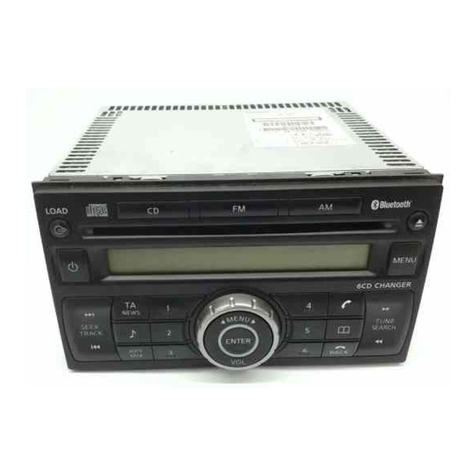
Press th e AU X button (14) to directly access auxiliary input modes (AUX IN 1 and
AUX IN2) from an y other mode when a portable audio device is connected to the
unit. To connect a portable audio device, insert a standard 3.5mm (audio line
output or headphone output from your portabl e CD / MP3 / iPod or other media
player) into the AUX A/ V IN connecto r (AUX IN1) (36 ) on the front of the unit or
th e AUDIO IN (AUX IN2 ) on the back of the unit (see
“
Wiring
”
on page 3).
Auxiliary Input
Connector
For front pane l A/ V input, an external audio/video (A/V) source such as a video
game player, camera, etc. ca n be connecte d to the fron t panel A/V input wit h the
provided 3.5m m A/V cable adapter (Please note that there ar e severa l di fferent
A/V cabl e "standards") . Connec t the device to th e AUX A/V IN connecto r (36) on
In addition to front panel auxiliary input source, the unit can also be connected
to the RCA audio input throug h the AUX AUDIO INPUT jack on the rear of th e
Press th e AUX button (14) to directl y access auxiliary input modes (AU X 1 IN
and AUX 2 IN) from any other mode when a portabl e audi o device is connecte d
USB
Interface Connector
You ca n connec t a US B device directly to US B interface (19) on the front of the
JWM40 for playbac k of compatible files. Playback begins automaticall y. Press
th e USB button (12) to switch to USB mode from another source. Refer to
“MP3/USB Operation” on page 13 for additional operating instructions.
NOTE: USB will not support Appl e device playback. Th e US B input supplies
up to 1A of charging current .
Press and hold the cloc k HOUR or MINUTE button (28, 30) to access clock setup
mode. The number representin g the hours and minutes will flash. Press the HOU R
button (28) to adjust the hou r and pres s the MINUTE button (30) to adjust minutes.
The new time wil l be saved five seconds after the last adjustment is made.
Sleep Mode
The Sleep Time r will automaticall y turn off the JWM40 in the designate d number of
minutes . To se t the Sleep Time, press the SLEEP button (26 ) and the sleep tim e will
appear in the display with the number representing th e minute s (SLEE P 0). Pres s
SLEEP button repeatedly to chang e th e sleep tim e from 0 (OFF), 15, 30 , 45 or 60
Alarm
Setting
To set the alarm , press an d hol d the
button (24) for 2 seconds and th e
clock digits will be flashing. Pres s th e HOUR button to adjust the hou r once at a time
or press and hold to advance rapidl y. Repeatedl y press the MINUT E button to adjust
the minute on e digit at a time, or press and hol d to advance rapidly.
Press th e ALARM SET or ENTER kno b button to save the alar m time.
Once a tim e is set, press ALARM ON/OFF (24) to turn the alarm functio n on or off.
Infrared receive r (18) is located on the upper left of front panel to receiv e infrared signal
emitted by the remote control.
The two speaker output buttons (15, 17) (Zone A, Zon e B) contro l
speaker zones output from th e radio. Press any of th e two buttons to turn th e
corresponding speaker zone on or off. SPK A (Zon e A), SP K B (Zone B) will
Reset
The reset button should be activated fo r th e following reasons :
•
initia l installatio n of the unit whe n al l wiring is completed
•
function buttons do not operate
•
error symbol on the display
Use a ball point pe n or similar object to press the RESE T button (21). This ma y be
necessary should th e unit display an error code.
Clock Display
Press the VIEW button (25) to alternate between playing time and clock time
while in Tuner, CD , DVD, USB or auxiliary input mode.
