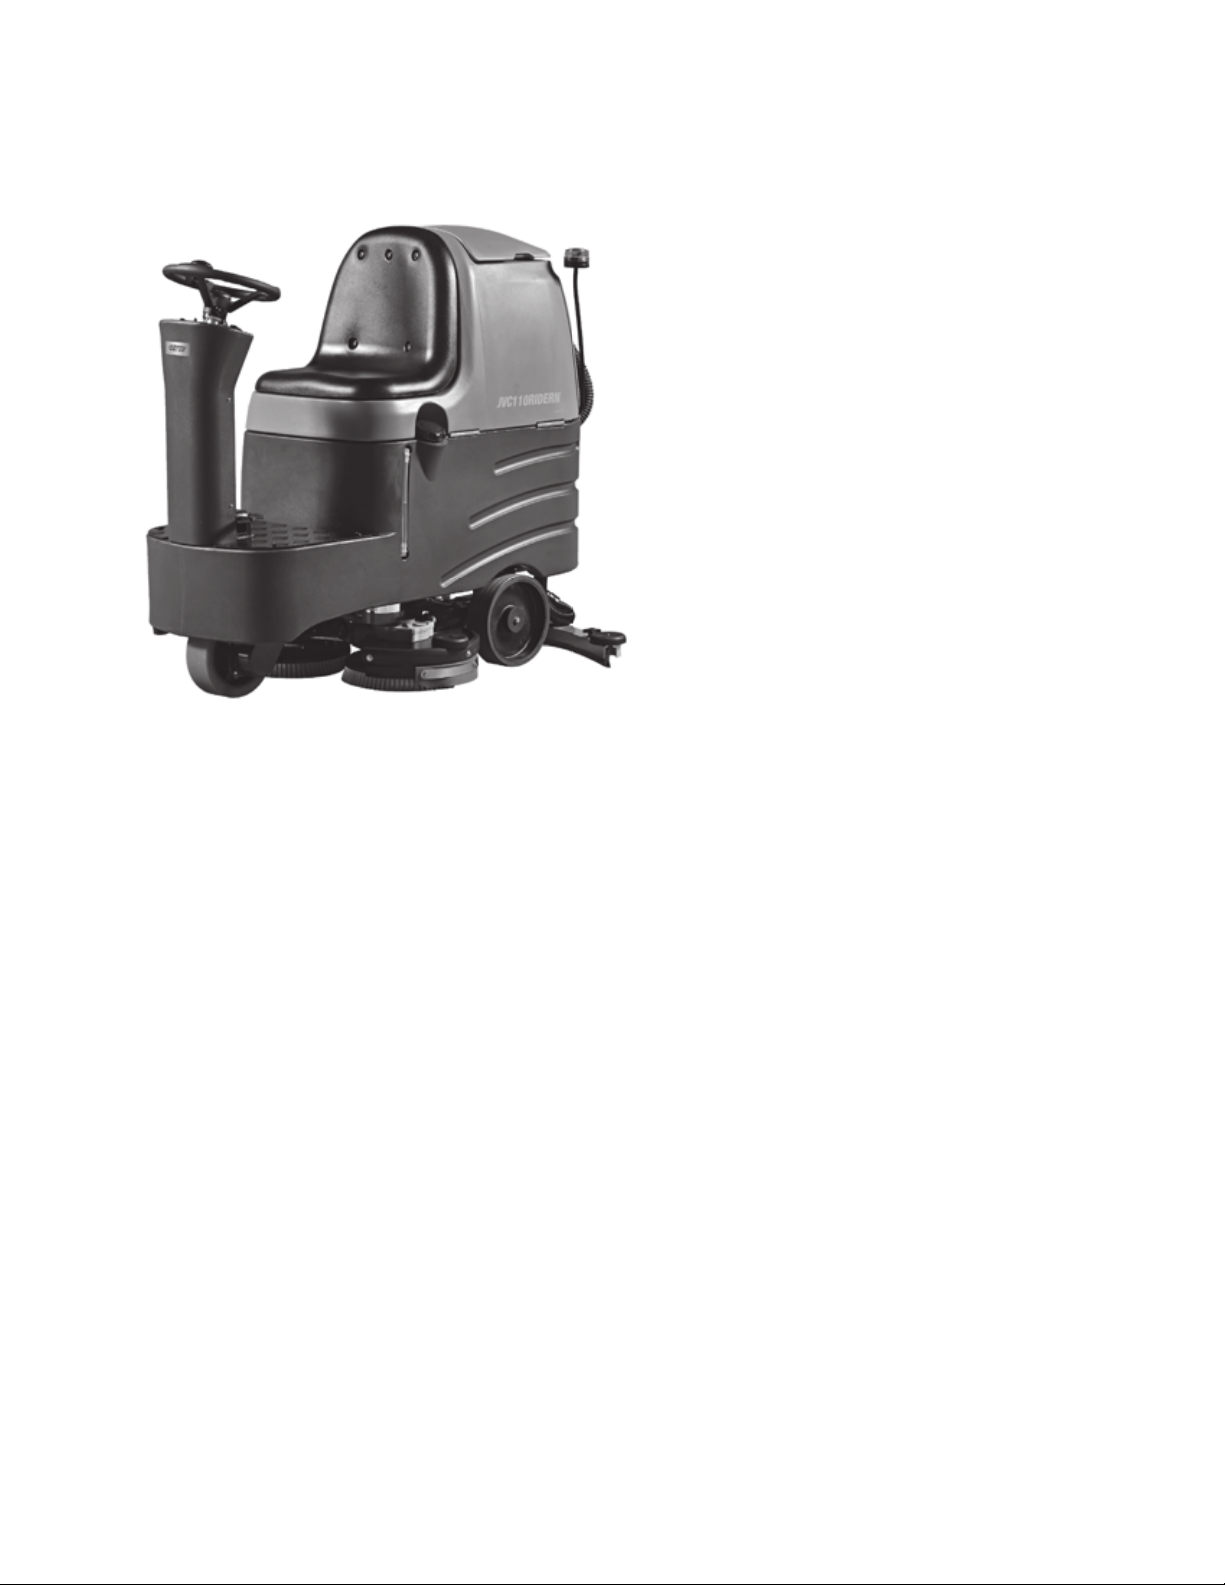
- 4 - User GuideJVC110 R I D E R N
CONTENTS
Safety Precautions.................5 - 6
Safety Labels ..........................7
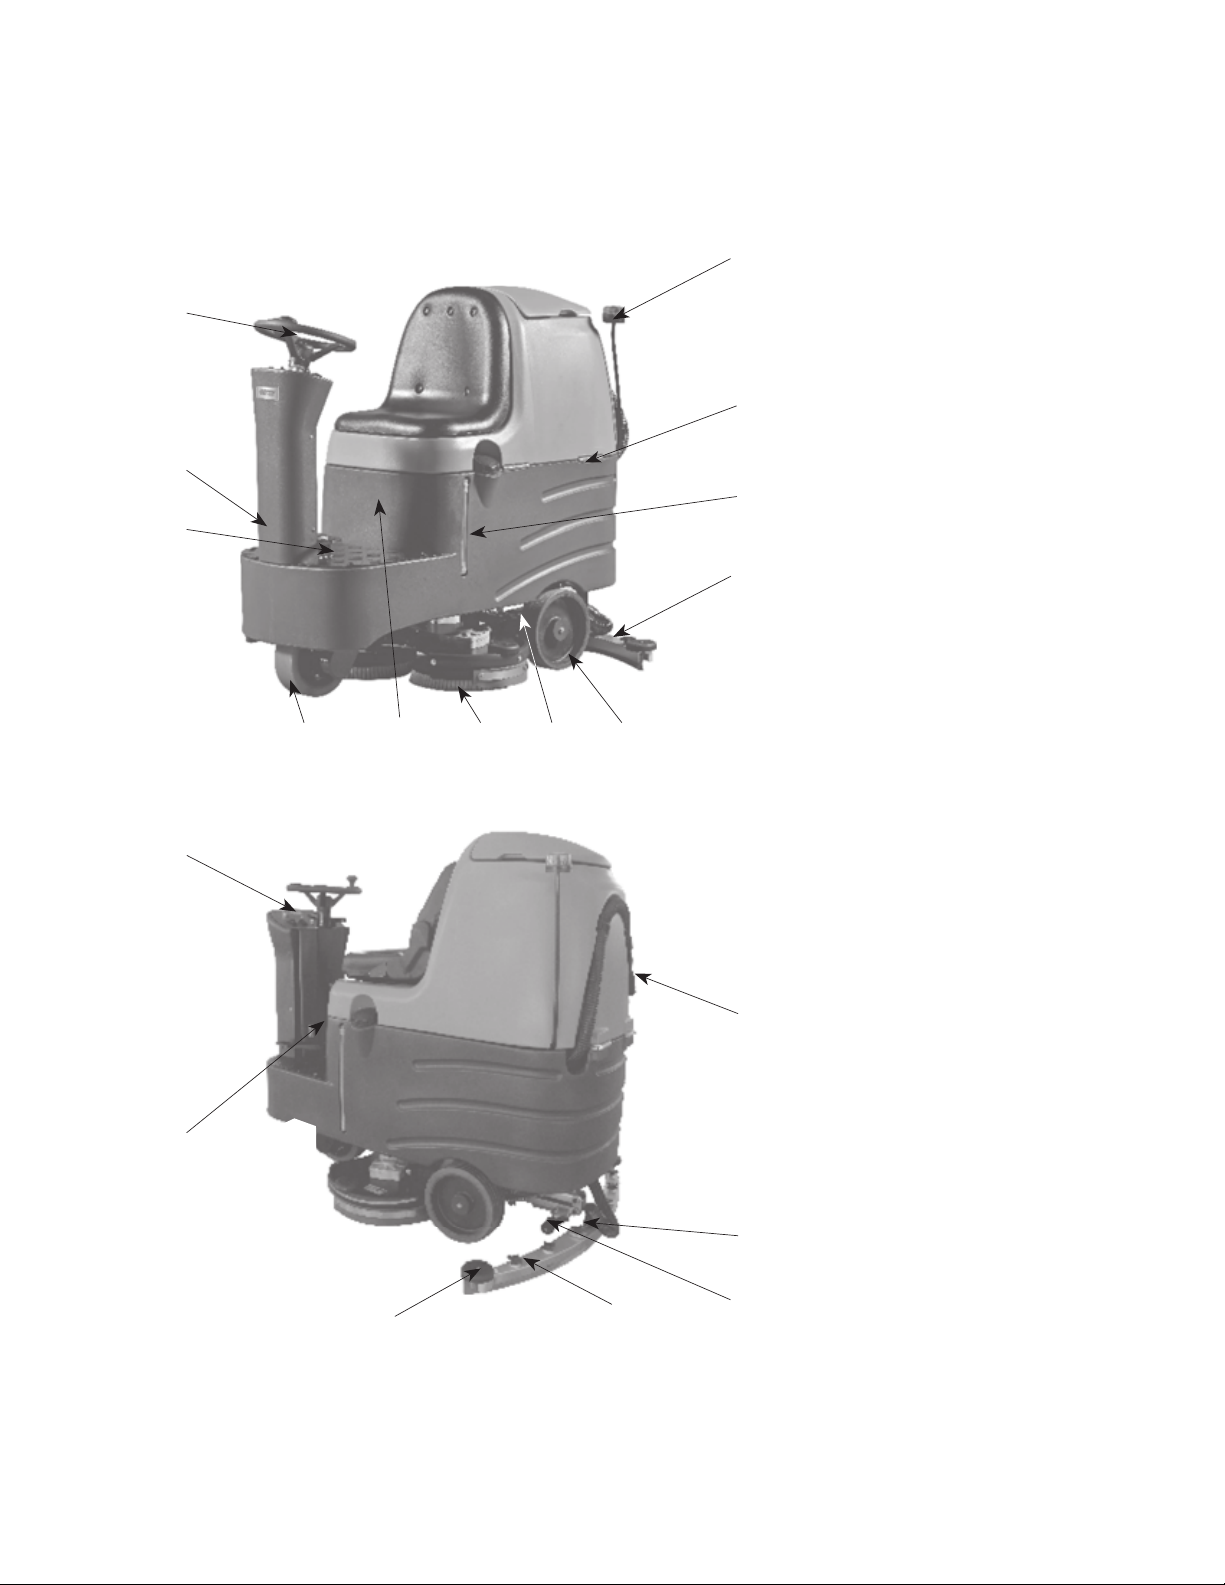
Machine Components .............8 - 9
Symbols On Control Panel ...........9
How the Machine Works .......10 - 11
• Usage........................................................... 10
• Cleaning Method.......................................... 10
• Cleaning Brush & Pads ................................ 10
• Brush Informations...................................... 11
Components Installation ......12 - 15
• Install The Battery........................................ 12
• ISqueegee Installation and Connection ........ 13
•
Install Brush And Pad Holder................. 13 -14
• Fill the Solution Tank ................................... 15
Machine Operation ............16 - 22
• Pre-Operational Check ................................. 16
• Start The Machine................................. 17 - 18
• During Operation.......................................... 19
• Scrubbing Method ....................................... 19
• Water Gauge Tube Of Solution Tank ............. 20
• Recovery Tank Sewage Sensor .................... 21
• Battery Discharge Indicator.......................... 21
• Overload Reset Switch ................................ 22
• Reversing Indicator...................................... 22
Drain The Tanks .................23 - 25
• Drain The Recovery Tank ...................... 23 - 25
Battery Charge ..................26 - 28
• Specifications For Charger........................... 26
• Use Of Charger............................................. 26
• Precautions When Installing ........................ 27
The Battery
• Intelligent Charger Led Indicator.................. 28
Machine Maintenance .........29 - 34
• Overview ...................................................... 29
• Maintenance List.......................................... 30
• Squeegee Blade Replacement .............. 31 - 32
• Squeegee Blade Maintenance....................... 33
• Squeegee Blade Adjustment......................... 34
Push, Tow And Transport ..... 35 - 36
The Machine
• Push Or Tow The Machine ........................... 35
• Transport The Machine ................................ 35
• Machine Storage.......................................... 36
• Frost Protection ........................................... 36
Troubleshooting .................37 - 38
Fault Codes Of The Charger........ 39
Specications ...................40 - 41
• Machine Dimensions And Capacity....... 40 - 41