manuals.online logo
Brands
  1. Home
  2. •
  3. Brands
  4. •
  5. Johnson Controls
  6. •
  7. Fire And Smoke Damper
  8. •
  9. Johnson Controls FD-1600 User manual

Johnson Controls FD-1600 User manual

FD-1600 1-1/2 Hour Dynamic Rated Multi-Blade Fire Dampers Installation Instructions 1
Applications
Johnson Controls, Inc., provides a dynamic rated
multi-blade fire damper for up to 2,000 feet per minute
(fpm) and 4 in. Water Column (w.c.) static pressure in
either direction.
•Underwriters Laboratories, Inc. ®(UL)
File No. R11172
•National Fire Protection Association (NFPA)
Standards 90A, 92A, 92B and 101
The FD-1600 Fire Dampers are listed under
UL Standard 555, dated 2006, and carry the UL/cUL
label.
FD-1600 1-1/2 hour fire-rated dampers are approved
for mounting in walls constructed of masonry or
gypsum wallboard (metal or wood studs) and mounting
in cement floors or ceilings.
The FD-1600 Fire Damper meets specifications
requiring one damper to provide a 1-1/2 hour fire
rating. The FD-1600 Fire Damper is tested according to
UL Standard 555 for dampers intended for use in
Heating, Ventilating, and Air Conditioning (HVAC) duct
systems passing through fire-resistant assemblies.
Install the FD-1600 Fire Damper according to the
manufacturer’s instructions. NFPA-90A and Sheet Metal
and Air Conditioning Contractors’ National Association
SMACNA Fire Damper Guide provide additional
reference guidelines.
The FD-1600 damper meets the requirements for the
International Code Council (ICC) building code.
The standard FD-1600 Fire Damper includes a fusible
link rated at 165F (74C). Fusible links rated at 212F
(100C) and 285F (141C) are available.
FD-1600 dampers up to 72 in. wide x 96 in. high or
120 in. wide x 48 in. high meet rating requirements for
mounting in walls, cement floors, or ceilings.
Installation
Refer to the Electric Fuse Link/SP100 Application
Note, LIT-1201604 for additional information or special
requirements.
Notes
Use the following notes as guidelines when installing
this product.
1. Opening Clearance
The opening in the wall or floor shall be larger than
the damper/ sleeve assembly to permit installation
and expansion. For two angle installations, the
opening shall be a minimum of 1/8 in. per ft (3 mm
per 305 cm) larger than the overall size of the
damper/sleeve assembly. The maximum opening
size shall not exceed 1/8 in. per ft (3 mm per
305 cm) plus 2 in. (51 mm), nor shall the opening
be less than 1/4 in. (6 mm) larger than the damper/
sleeve assembly. For one angle installations, the
opening shall be a minimum of 1/4 in. (6 mm) to a
maximum of 1 in. (25 mm) larger than the overall
size of the damper/sleeve assembly. The opening
may be as much as 2 in. (51 mm) larger than the
damper/sleeve assembly if a 16 ga (1.6 mm)
mounting angle is utilized.
Table 1: FD-1600 Maximum UL Classified Size
Sections Vertical and Horizontal Installation
Single 30 in. w x 48 in. (762 mm x 1219 mm)
Vertical or Horizontal Mount
Multiple 60 in. w x 96 in h (1524 mm x 2438 mm) or
120 in. w x 48 in. h (3,048 mm x
1,219 mm) Vertical or Horizontal Mount
FD-1600 1-1/2 Hour Dynamic Rated Multi-Blade Fire
Dampers
Installation Instructions Part No. 44-1121-67, Rev. B
Issued March 2016
44- 1121- 67, Rev. B
FD-1600 1-1/2 Hour Dynamic Rated Multi-Blade Fire Dampers Installation Instructions2
2. Fasteners and Multiple Section Assembly
When joining multiple damper assemblies or
fastening the damper to the sleeve, dampers shall
be fastened with 1/4-20 (M6) bolts, number 10
(M5) screws, or 1/2 in. (13 mm) long welds
staggered intermittently on both sides. Space
fasteners 6 in. (152 mm) on center and a maximum
2 in. (51 mm) from the ends of the joining sections
or from each corner.
3. Damper Sleeve
Sleeve thickness must be equal to or thicker than
the duct connected to it. Sleeve gage requirements
are listed in the SMACNA Fire, Smoke and
Radiation Damper Installation Guide for HVAC
Systems and in NFPA90A. If a breakaway style
duct/sleeve connection is not used, the sleeve
shall be a minimum of 16 gage (1.6 mm) for
dampers up to 36 in. (914 mm) wide by 24 in.
(610 mm) high and 14 gage (1.9 mm) for dampers
exceeding 36 in. (914 mm) wideby 24 in. (610 mm)
high. Damper sleeve shall not extend more than
6 in. (152 mm) beyond the fire wall or partition
unless damper is equipped with an actuator and/or
factory installed access door. Sleeve may extend
up to 16 in. (406 mm) beyond the fire wall or
partition on sides equipped with actuator and/or
factory installed access door. Sleeve shall
terminate at both sides of wall within dimensions
shown.
4. Damper Orientation
Damper is designed to operate with blades running
horizontally and must be installed with leading
edge of closed blades within the wall or floor when
they are in the closed position. Use Mount With
Arrow Up label as a guide for proper damper
orientation. Horizontal mount dampers may be
installed with the jackshaft above or below the
floor.
5. Mounting Angles
Mounting angles shall be a minimum of 1-1/2 in. x
1-1/2 in. x 20 gage steel (38 mm x 38 mm x
1.0 mm). For openings in metal stud and wood
stud and concrete/masonry walls of sizes 90 in. x
49 in. or 49 in. x 90 in. (2,286 mm x 1,245 mm or
1,245 mm x 2,286 mm) and less, mounting angles
are only required on one side of the wall or top of
the floor and must be attached to both the sleeve
and the wall.
Mounting angles may be installed directly to the
metal stud under the wallboard on metal stud wall
installations only. Larger openings installations
require mounting angles on both sides of the
partition and must be attached only to the sleeve.
Mounting angles must overlap the partition a
minimum of 1 in. (25 mm). Do not weld or fasten
angles together at corners of dampers. Johnson
Controls® fire/smoke dampers may be installed
using optional fast-mounting (FAST) angle for one
angle installation or the standard Picture Frame
Mounting Angle (PFMA) for two angle installations.
a. Mounting Angle Fasteners
To sleeve #10 bolts or screws, 3/16 in. (5 mm)
steel rivets or 1/2 in. (13 mm) long welds.
Masonry Wall or Floor: #10 self-tapping concrete
screws
Wood/Steel Stud Wall: #10 screws.
b. Mounting Angle Fastener Spacing
For one angle installations, the sleeve fasteners
shall be spaced at 6 in. (152 mm) o.c. and the wall
or floor fasteners shall be spaced at 12 in.
(305 mm) o.c. with a minimum of two fasteners on
each side, top and bottom. Screw fasteners used in
metal stud must engage the metal stud a minimum
of 1/2 in. (13 mm). Screw fasteners used in wood
stud must engage the wood stud a minimum of
3/4 in. (19 mm). Screw fasteners used in masonry
walls or floors must engage the wall or floor a
minimum of 11/2 in. (38 mm). For two angle
installations, the fasteners shall be spaced at 8 in.
(203 mm) o.c.
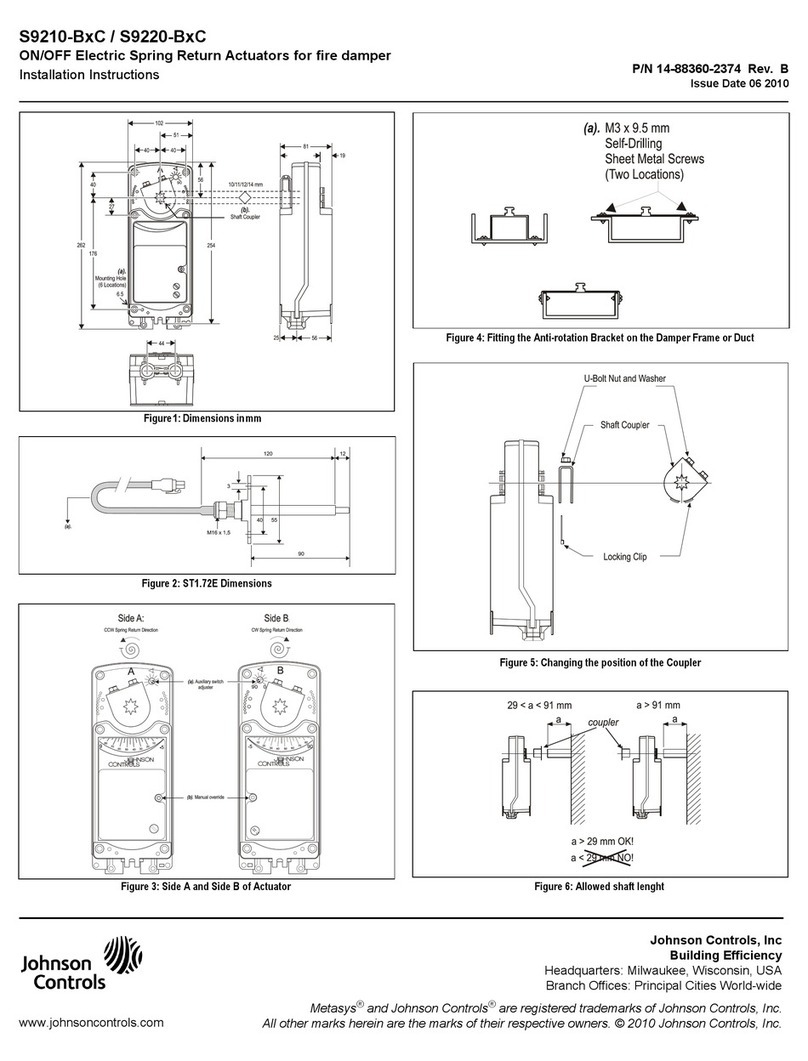
6. Break-Away Duct/Sleeve Connections
Flanged connection systems manufactured by
Ductmate, Nexus or Ward are approved break-
away when installed as shown in Figure 1.
Transverse Duct Connection (TDC) and
Transverse Duct Flange (TDF) roll-formed flanged
connections using 3/8 in. (10 mm) steel bolts and
nuts, and metal cleats, as tested by SMACNA, are
approved break-away connections when installed
as shown in Figure 1.
FD-1600 1-1/2 Hour Dynamic Rated Multi-Blade Fire Dampers Installation Instructions 3
Flange breakaway connection for fire damper or
combination fire smoke damper. These instructions
apply to a connection between a manufactured
flange system by a specific manufacturer
(Ductmate® Industries, Inc.) or connection styles
produced by several manufacturers (Nexus, TDC
and TDF). These connections allow the use of
combining mixed flange types or like for like. The
following instruction depicts the use of metal or
plastic cleats, a butyl or neoprene gasket, and
bolted or non-bolted corners. Also the flanges may
be connected with the use of #10 screws without
the cleats.
a. Install the manufactured flange system onto
the damper sleeve or duct per the
manufacturers instructions.
b. Seal the two flange systems together.
Neoprene or Butyl gasket may be applied to
the mating surfaces.
c. Align the two flange systems together. A 3/8 in.
(9 mm) bolt may be used in the corners to help
with the alignment.The bolt does not have to
be removed. Bolted corners are permitted.
d. Install the cleat or # 10 tek screw,
approximately equally spaced, per the
schedule described:
e. Install the cleat or # 10 tek screw,
approximately equally spaced, as indicated in
Table 2.
Table 2: Cleat or Screw Spacing
Width or Height Screws or Cleats
per side
Less than 24 in. (610 mm) 1
24 in. (610 mm) to less than
36 in. (914 mm) 2
36 in. (914 mm) to less than
54 in. (1,372 mm) 3
54 in. (1,372 mm) to less than
72 in. (1,829 mm) 4
72 in. (1,829 mm) or greater 5
Figure 1: Flanged System Breakaway Connections
FD-1600 1-1/2 Hour Dynamic Rated Multi-Blade Fire Dampers Installation Instructions4
7. Non-Break-away Duct/Sleeve Connections
If other duct/sleeve connections are used, the
sleeve shall be a minimum of 16 gage (1.6 mm) for
dampers up to 36 in. (914 mm) wide x 24 in.
(610 mm) high and 14 gage (2.0 mm) for dampers
36 in. (914 mm) wide x 24 in. (610 mm) high.
8. Installation and Maintenance
To ensure optimum operation and performance,
the damper must be installed so it is square and
free from racking. Do not compress or stretch the
damper frame into the duct or opening. Lift or
handle the damper using sleeve or frame. Do not
lift damper using blades or jackshaft. Dampers
must be maintained, cycled and tested in
accordance with the latest editions of NFPA 80,
90A, 92A, 92B, 105, UL864, AMCA 503 and local
codes. Care should be exercised to ensure that
such tests are performed safely and do not cause
system damage.
Install the damper so that it is square and free from
raking. Compressing or stretching the damper frame
into the duct or opening may result in failed operation.
Recommended Framing for Openings in Wood
and Metal Stud Walls
Use the guidelines that follow when framing openings
for damper installation.
1. Frame wall openings as shown in Figure 4 and
Figure 5.
IMPORTANT: Do not lift the damper using the
blades or actuators. Lift or handle the damper using
the frame or sleeve. Handling or lifting the damper
by the blades or actuator may damage the damper
and will void the warranty.
IMPORTANT: Examine each smoke damper on a
regular basis to ensure it is not rusted or blocked. In
addition, test each smoke damper annually or semi-
annually, depending on the application, and
according to the National Fire Protection Association
(NFPA) standards, to ensure it will perform as
intended. Exercise care to ensure that such tests
are performed safely and do not cause system
damage.
Figure 2: Horizontal Installation
Figure 3: Vertical Installation
FD-1600 1-1/2 Hour Dynamic Rated Multi-Blade Fire Dampers Installation Instructions 5
2. Double vertical studs are not required for openings
36 in. wide x 36 in. high (914 mm x 914 mm) or
smaller.
3. All construction fasteners must meet the
requirements of the appropriate wall design and/or
local codes.
4. All construction and fasteners must meet the
requirements of the appropriate wall design and/or
local codes.
5. Consult the authority having jurisdiction for other
acceptable framing methods.
The metal stud construction and wood stud
construction figures that follow depict mounting angles
installed on both sides of the partition. A single angle
may be sufficient. Refer to the instructions for single
angle installation requirements.
Figure 4: Metal Stud Wall Framing
Figure 5: Wooden Stud Wall Framing
Figure 6: Wood Stud Construction
Figure 7: Metal Stud Construction
Published in U.S.A. www.johnsoncontrols.com
FD-1600 1-1/2 Hour Dynamic Rated Multi-Blade Fire Dampers Installation Instructions6
Metasys® and Johnson Controls® are registered trademarks of Johnson Controls, Inc.
All other marks herein are the marks of their respective owners. © 2016 Johnson Controls, Inc.
Building Efficiency
507 E. Michigan Street, Milwaukee, WI 53202
European Single Point of Contact: NA/SA Single Point of Contact: APAC Single Point of Contact:
JOHNSON CONTROLS
WESTENDHOF 3
45143 ESSEN
GERMANY
JOHNSON CONTROLS
507 E MICHIGAN ST
MILWAUKEE WI 53202
USA
JOHNSON CONTROLS
C/O CONTROLS PRODUCT MANAGEMENT
NO. 22 BLOCK D NEW DISTRICT
WUXI JIANGSU PROVINCE 214142
CHINA

Other Johnson Controls Fire And Smoke Damper manuals

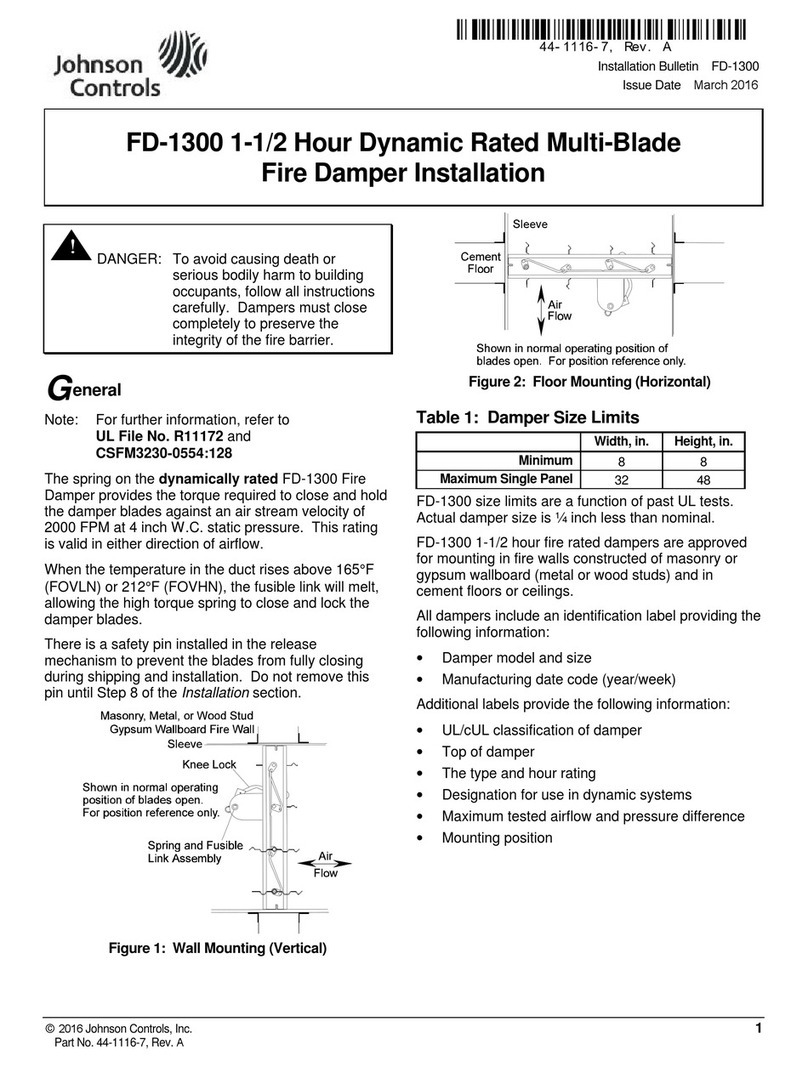
Johnson Controls FD-1300 User manual

Johnson Controls

Johnson Controls FD-1300 User manual

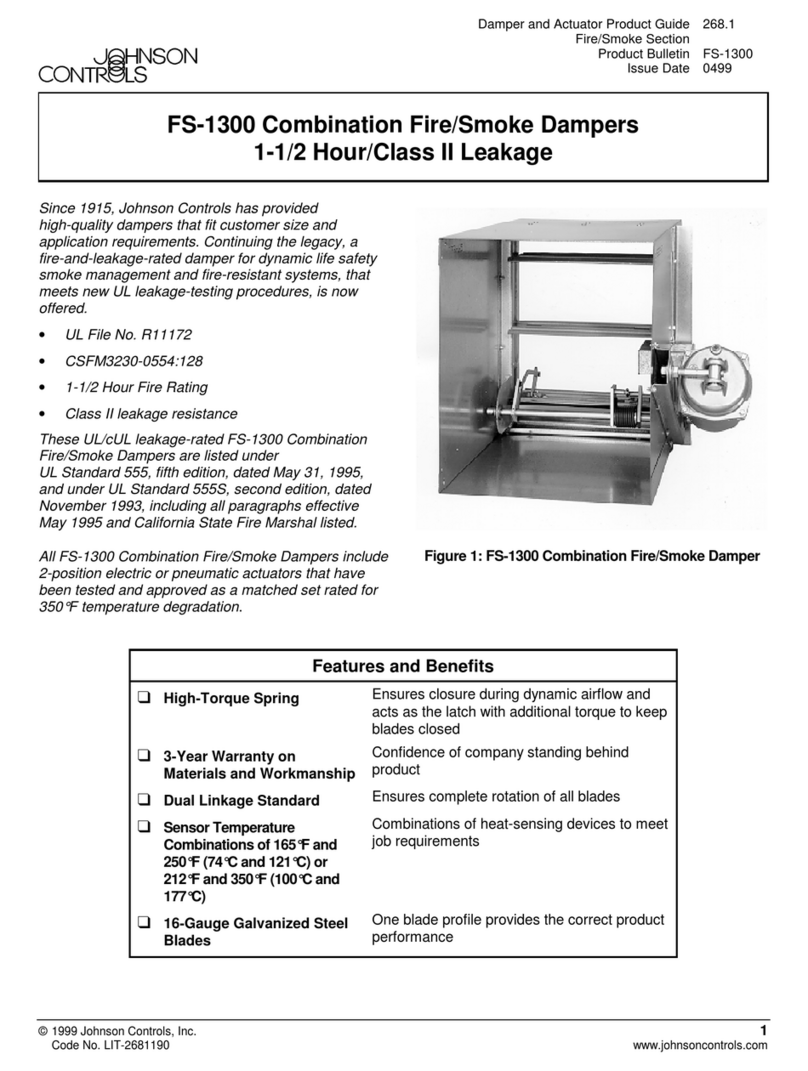
Johnson Controls FS-1300 User manual

Johnson Controls

Johnson Controls FS-1300 User manual

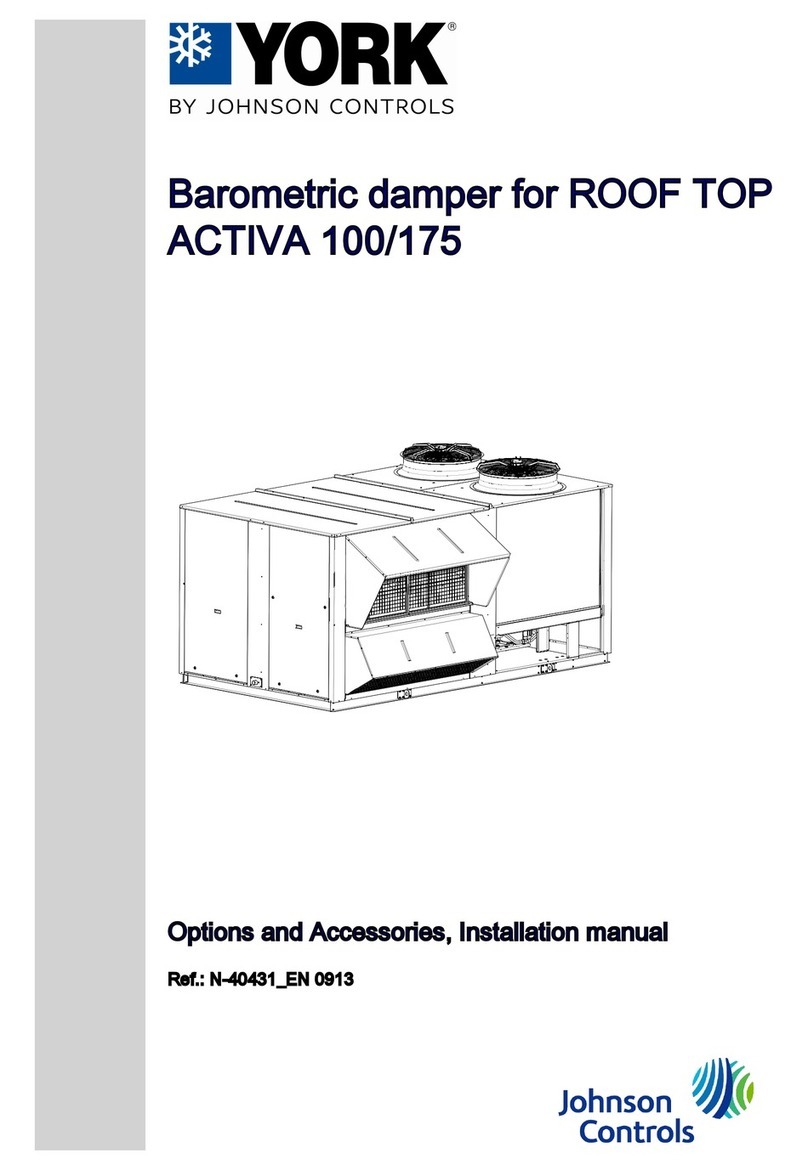
Johnson Controls YORK ACTIVA 100 User manual

Johnson Controls

Johnson Controls YORK ACTIVA 100 User manual

Johnson Controls S9210-BC Series User manual

Johnson Controls

Johnson Controls S9210-BC Series User manual

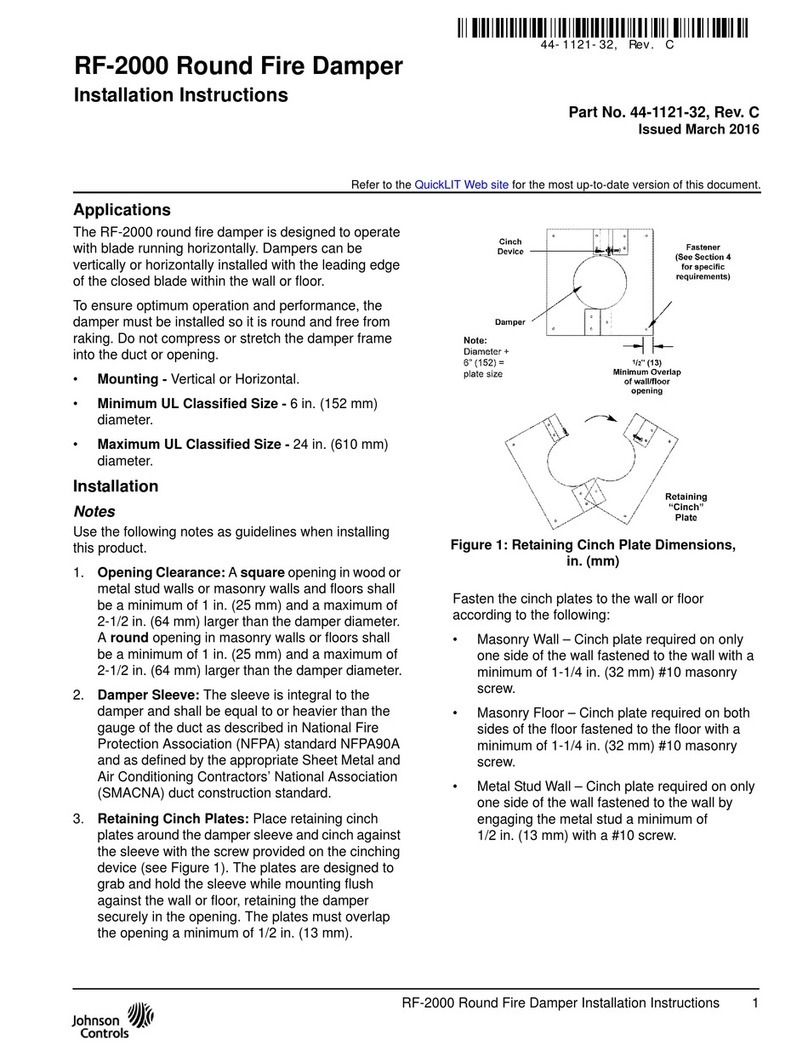
Johnson Controls RF-2000 User manual

Johnson Controls

Johnson Controls RF-2000 User manual

Johnson Controls BD-1300 User manual

Johnson Controls

Johnson Controls BD-1300 User manual

Popular Fire And Smoke Damper manuals by other brands

Brofer MDF30EURO Installation and operation manual

Brofer

Brofer MDF30EURO Installation and operation manual

Faber MUDAMPER6 Product installation and safety instructions

Faber

Faber MUDAMPER6 Product installation and safety instructions

Mandik FDML Technical documentation

Mandik

Mandik FDML Technical documentation

SMAY KWP-L Technical documentation

SMAY

SMAY KWP-L Technical documentation

ETS NORD NORDfire manual

ETS NORD

ETS NORD NORDfire manual

aldes CF1 Installation, operation and maintenance manual

aldes

aldes CF1 Installation, operation and maintenance manual

klimaoprema FD25 Technical manual

klimaoprema

klimaoprema FD25 Technical manual

Greenheck FD Series Installation, operation and maintenance instructions

Greenheck

Greenheck FD Series Installation, operation and maintenance instructions

mercor mcr WIP PRO Series Technical manual

mercor

mercor mcr WIP PRO Series Technical manual

LUCOMA RGK-10 Series Installation, operation and maintenance instructions

LUCOMA

LUCOMA RGK-10 Series Installation, operation and maintenance instructions

actionair FG Series manual

actionair

actionair FG Series manual

System air MA multi manual

System air

System air MA multi manual

System air FDS-3G OF Series manual

System air

System air FDS-3G OF Series manual

System air DKIR1 ORIGINAL INSTALLATION, OPERATION AND MAINTENANCE MANUAL

System air

System air DKIR1 ORIGINAL INSTALLATION, OPERATION AND MAINTENANCE MANUAL

Lindab WK45 Series Installation booklet

Lindab

Lindab WK45 Series Installation booklet

Schako BSK-RPR-EU Installation, mounting and operating instructions

Schako

Schako BSK-RPR-EU Installation, mounting and operating instructions

VPro MA Series instruction manual

VPro

VPro MA Series instruction manual

VPro MA Series instruction manual

VPro

VPro MA Series instruction manual

manuals.online logo
manuals.online logoBrands
  • About & Mission
  • Contact us
  • Privacy Policy
  • Terms and Conditions

Copyright 2025 Manuals.Online. All Rights Reserved.