910
產品資訊
Allison Baby UK Ltd.
Venture Point, Towers Business Park,
Rugeley, Staffordshire, WS15 1UZ
www.joiebaby.com
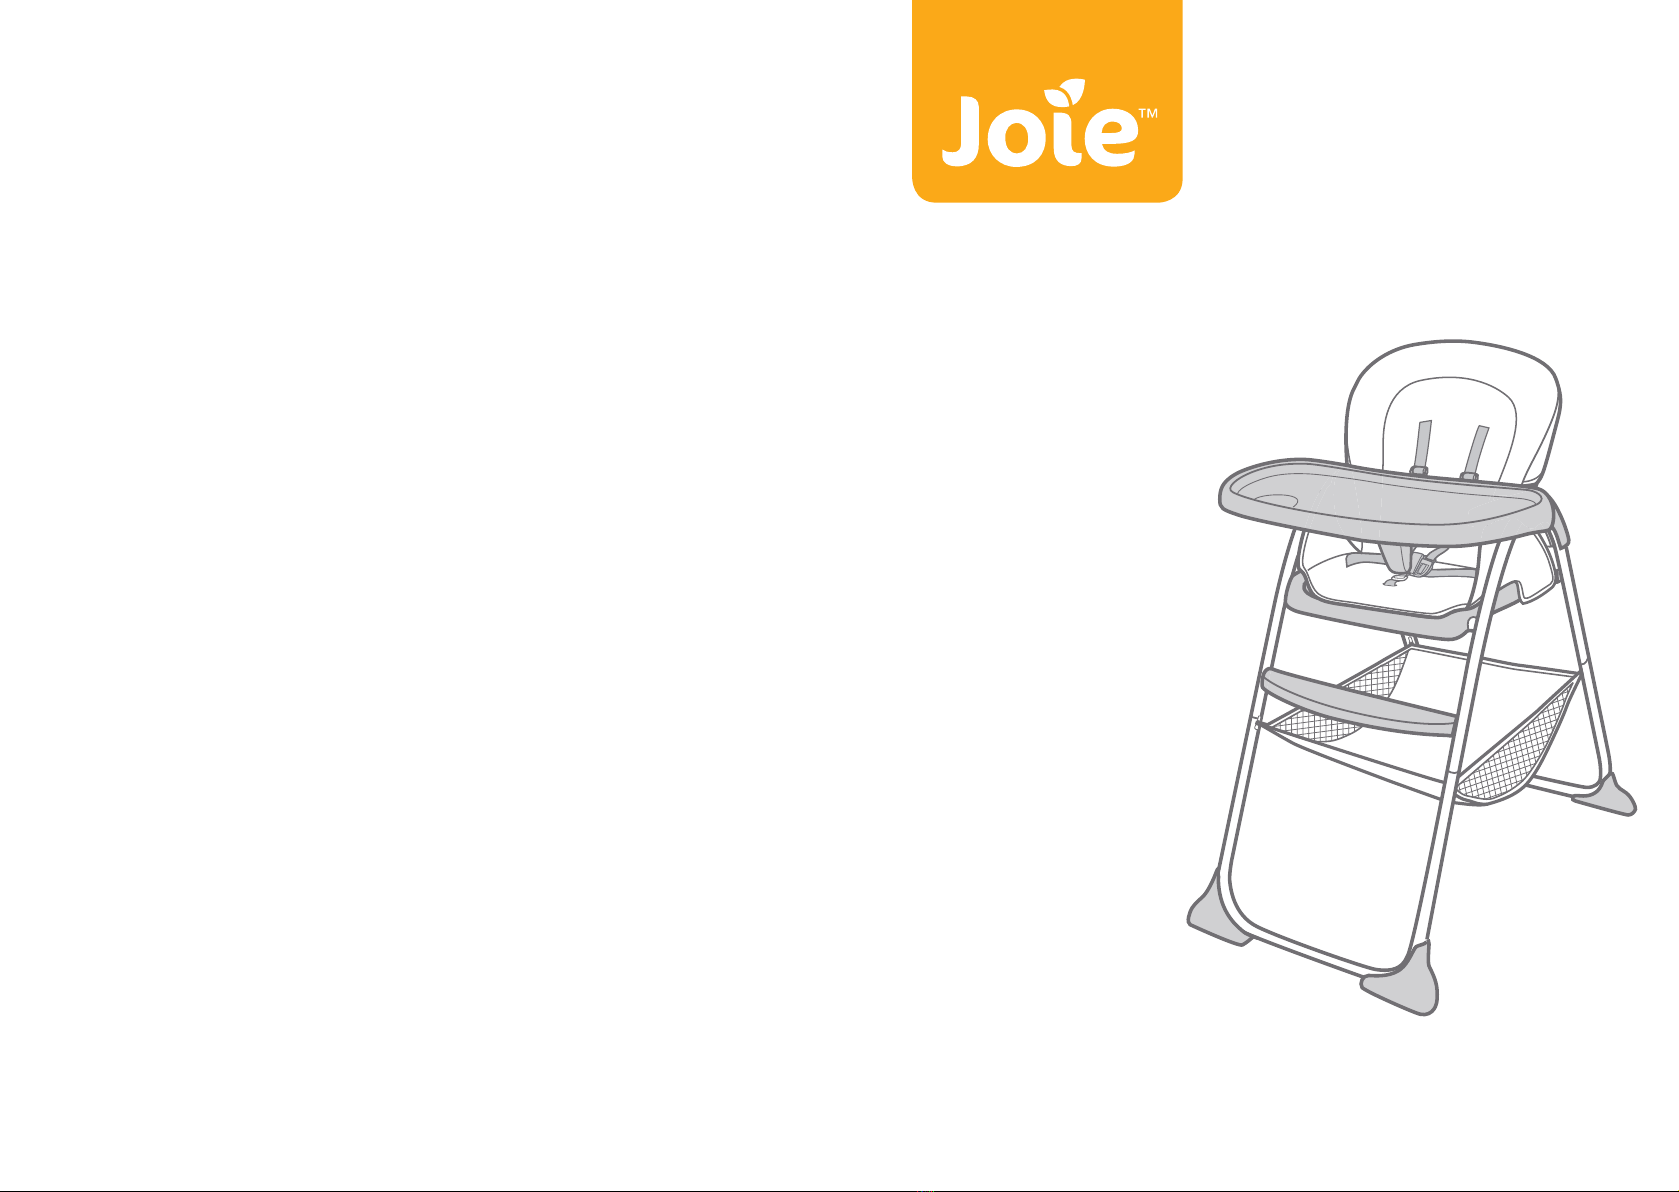
產品名稱輕便高腳餐椅
產品型號H1127
適用年齡15公斤以下(6 -36 個 月)的 寶 寶
淨 重 6.52公斤
產品尺寸 890mmx535mmx1020mm
製造日期詳見產品上貼紙日期(年/月/日)
主要材質塑 膠、五 金、布
專利號碼專利申請中
產 地中國
委 製 商巧兒宜國際股份有限公司
(進口商)
地 址 台北市內湖區瑞光路431號2樓
電 話 02-27973000
統一編號 52603333
代 理 商 奇哥股份有限公司Chickabiddy Co., Ltd
地 址 台北市南京東路四段186號5樓
服務專線 0800-001-256 /02-25781188
統一 編號 04222671
網 址 www.chick.com.tw
使用本產品前請先閱讀說明書全文,如果您對於使用本產品還有
任何疑問 ,請撥打服務熱線0800-001-256 /02-25781188
!請注意火源及其他熱源,例如高腳椅附近的電器、瓦斯等風險。
!當寶寶能用腳推桌子或其他結構時,請注意翻覆危險。
!為避免勒斃危險,請勿將本產品置於任何有繩索的地方,比如窗簾,電話
線 等 物 體 附 近。
!使用餐椅前,請確保餐椅已完全打開且所有的鎖定機構均已鎖定。
!請定期檢查所有鎖定和固定裝置,以確保安全。
!請定期檢查本產品是否有破損的組件,鬆動的連接,丟失的零件或尖銳
的 邊 緣。
!折疊或調整餐椅時,需將寶寶抱開。
!寶寶接近餐椅前,請確認餐椅已完全打開或折疊。
!有關零件更換或維修問題,請向進口商咨詢。
!請勿放置會燙傷寶寶的熱食於餐盤上。
!請確保所有織帶都已正確固定。
!所有零件正確安裝和調整前,請勿使用本產品。
!寶寶能自行坐立後方可使用本產品。
!使用本產品前,請取掉PE袋和包裝材料,並放到嬰兒和兒童觸摸 不到的
地 方。
緊急情況處理
意外發生時,應盡速將乘坐的寶寶送醫急救處理。