Jorjin J-102 User manual

J-Supporter Smart Glasses
Starter Kit
(Model: J-102)
User’s Manual
English
version 1.0

1
Contents:
1. A Quick Tour of J-Supporter (J-102) ...........................................................................................................2
Computer..............................................................................................................................................2
Headset ................................................................................................................................................2
2. Specifications............................................................................................................................................3
Operating Frequency Bands ..................................................................................................................4
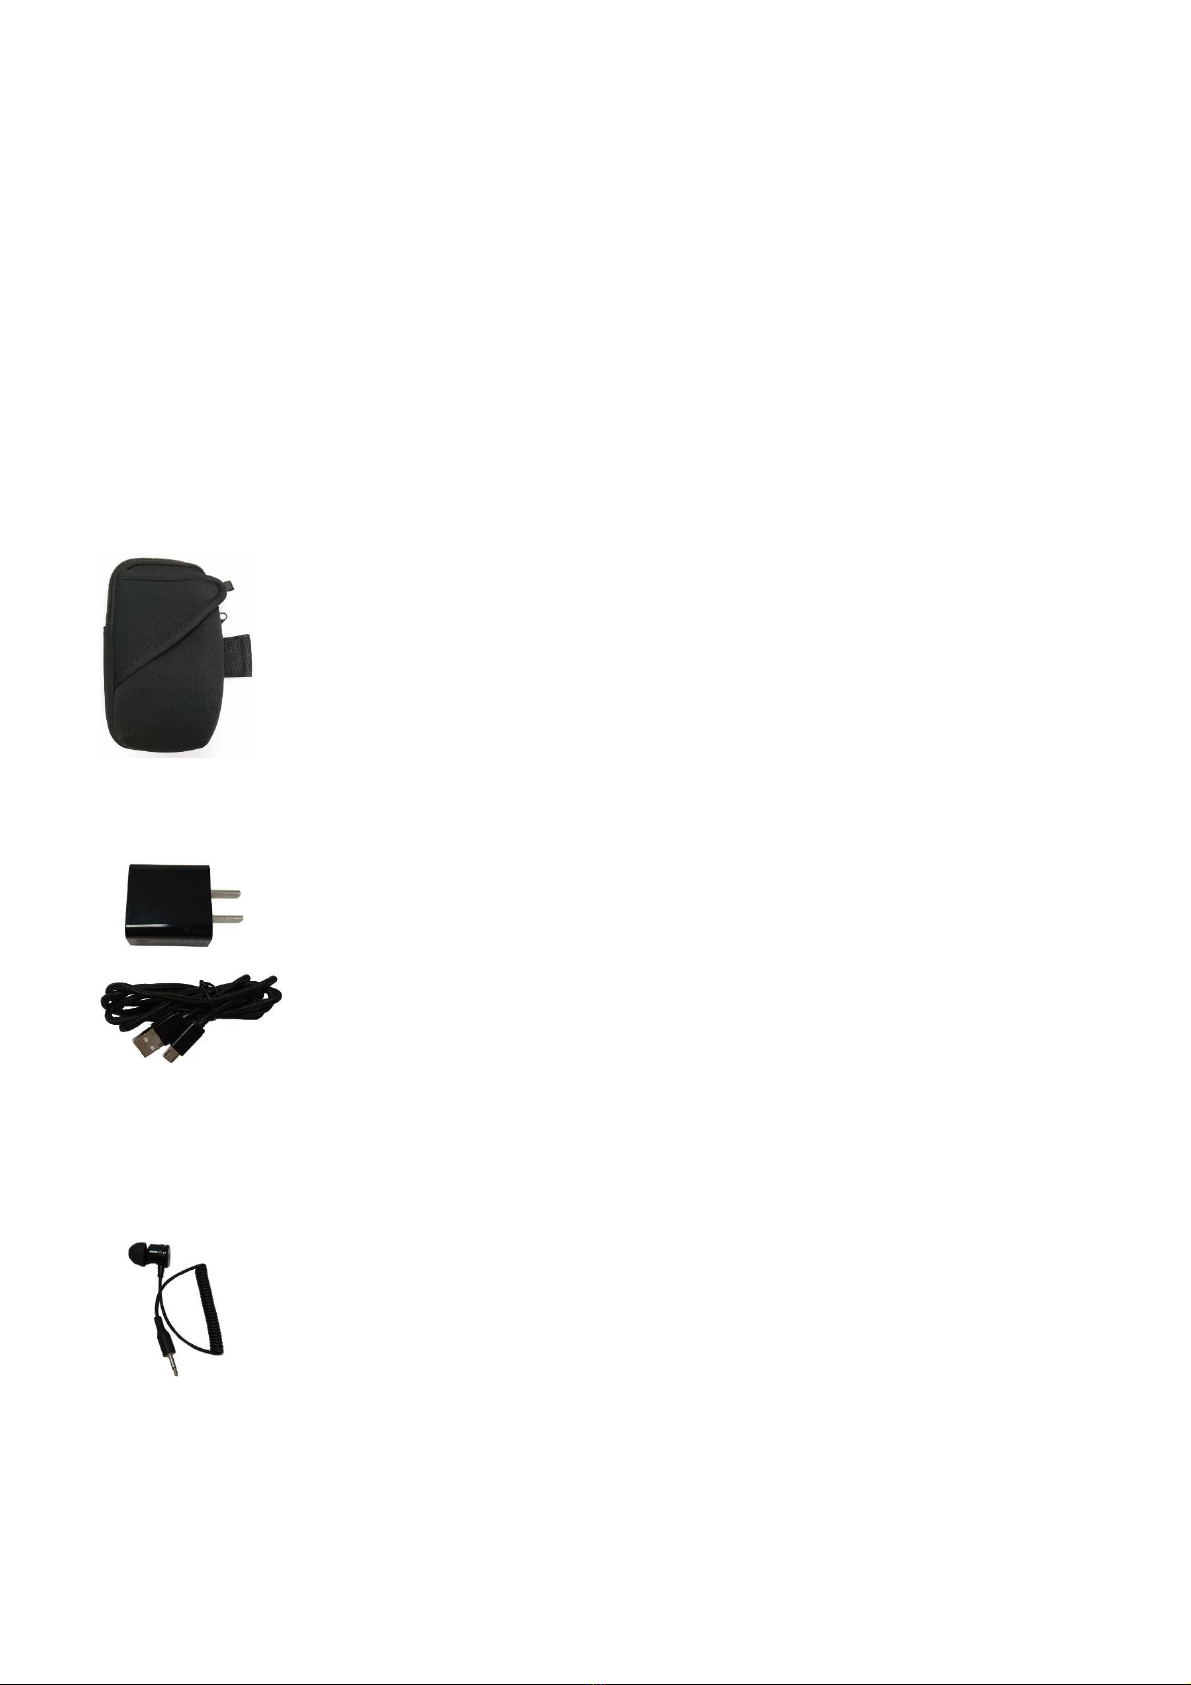
Standard Accessories ............................................................................................................................4
Additional Accessories (for J-102) .........................................................................................................5
3. Using J-Supporter......................................................................................................................................6
Turn J-Supporter On/Off........................................................................................................................6
Software Functions ...............................................................................................................................6
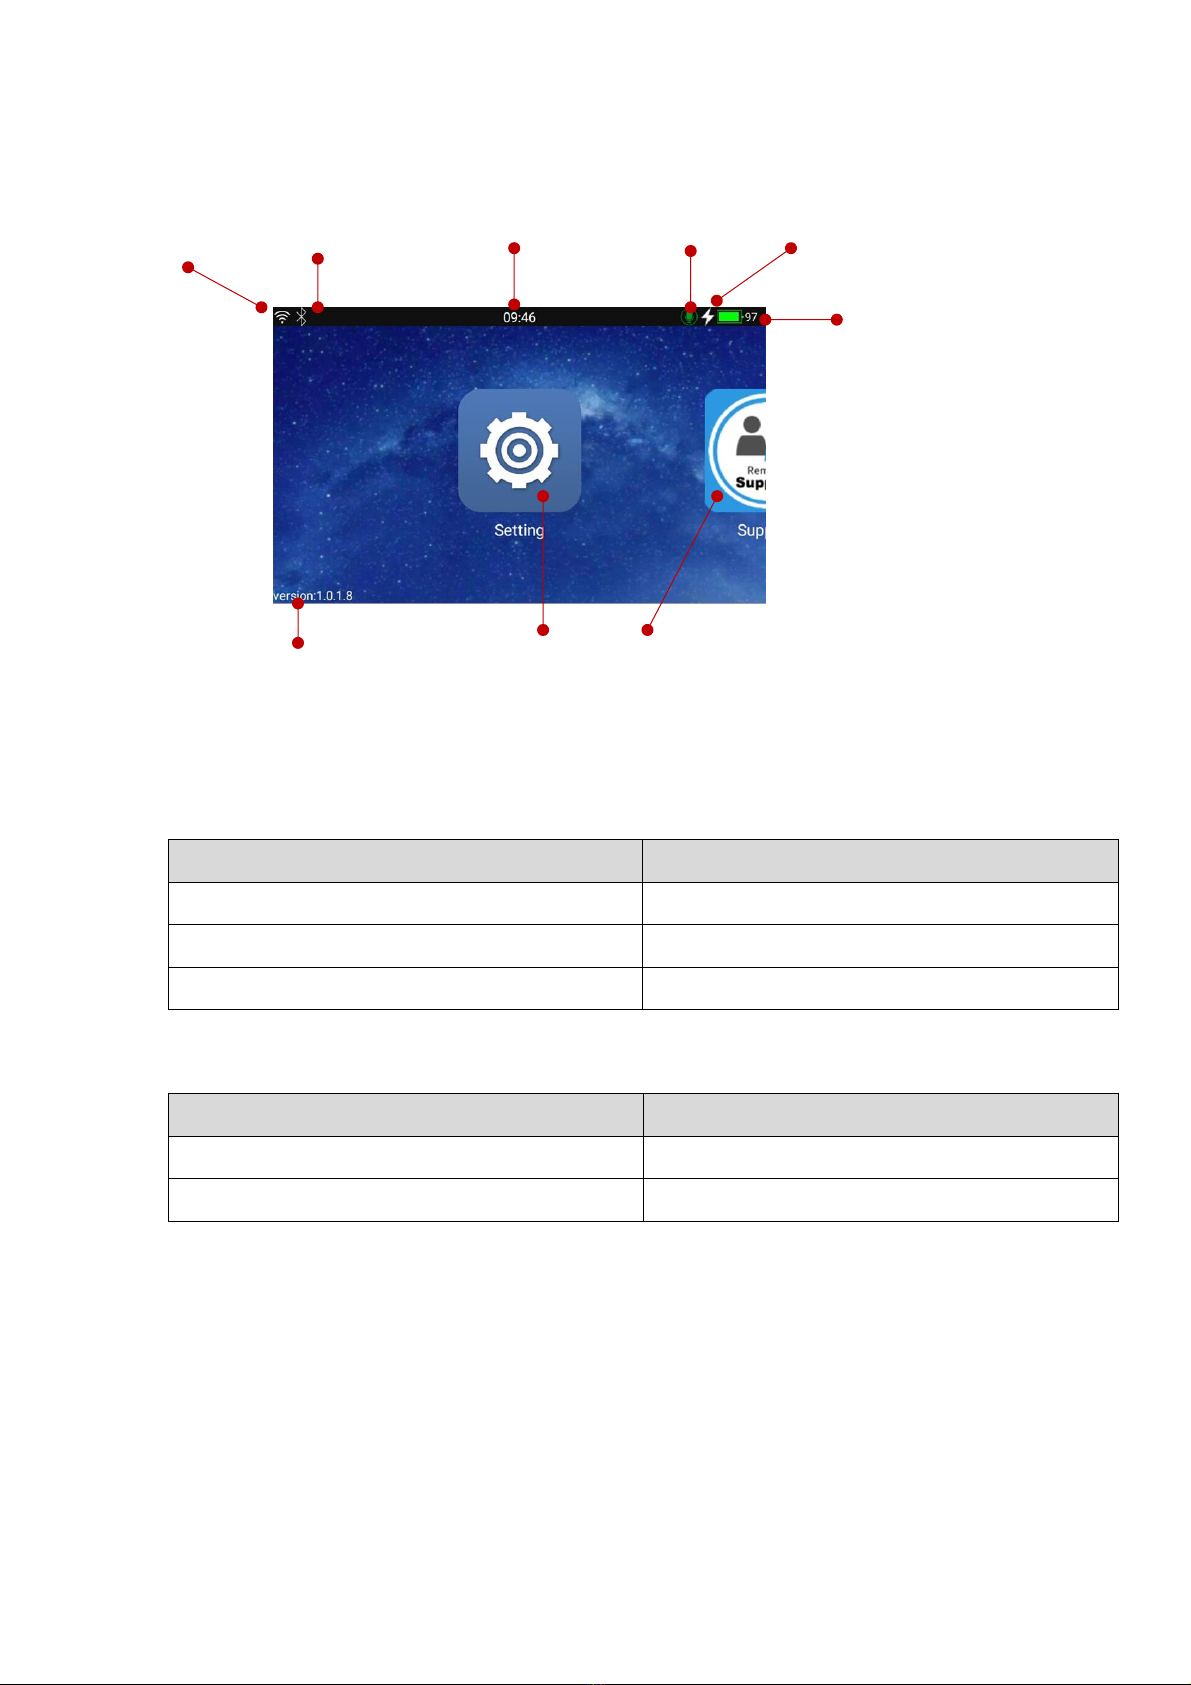
Home Screen ........................................................................................................................................7
Setting Up J-Supporter ..........................................................................................................................9
Connecting to Wireless Network.........................................................................................................10
Setup Time..........................................................................................................................................11
Setup Bluetooth Function....................................................................................................................12
Check Software version .......................................................................................................................12
Power Status .......................................................................................................................................13
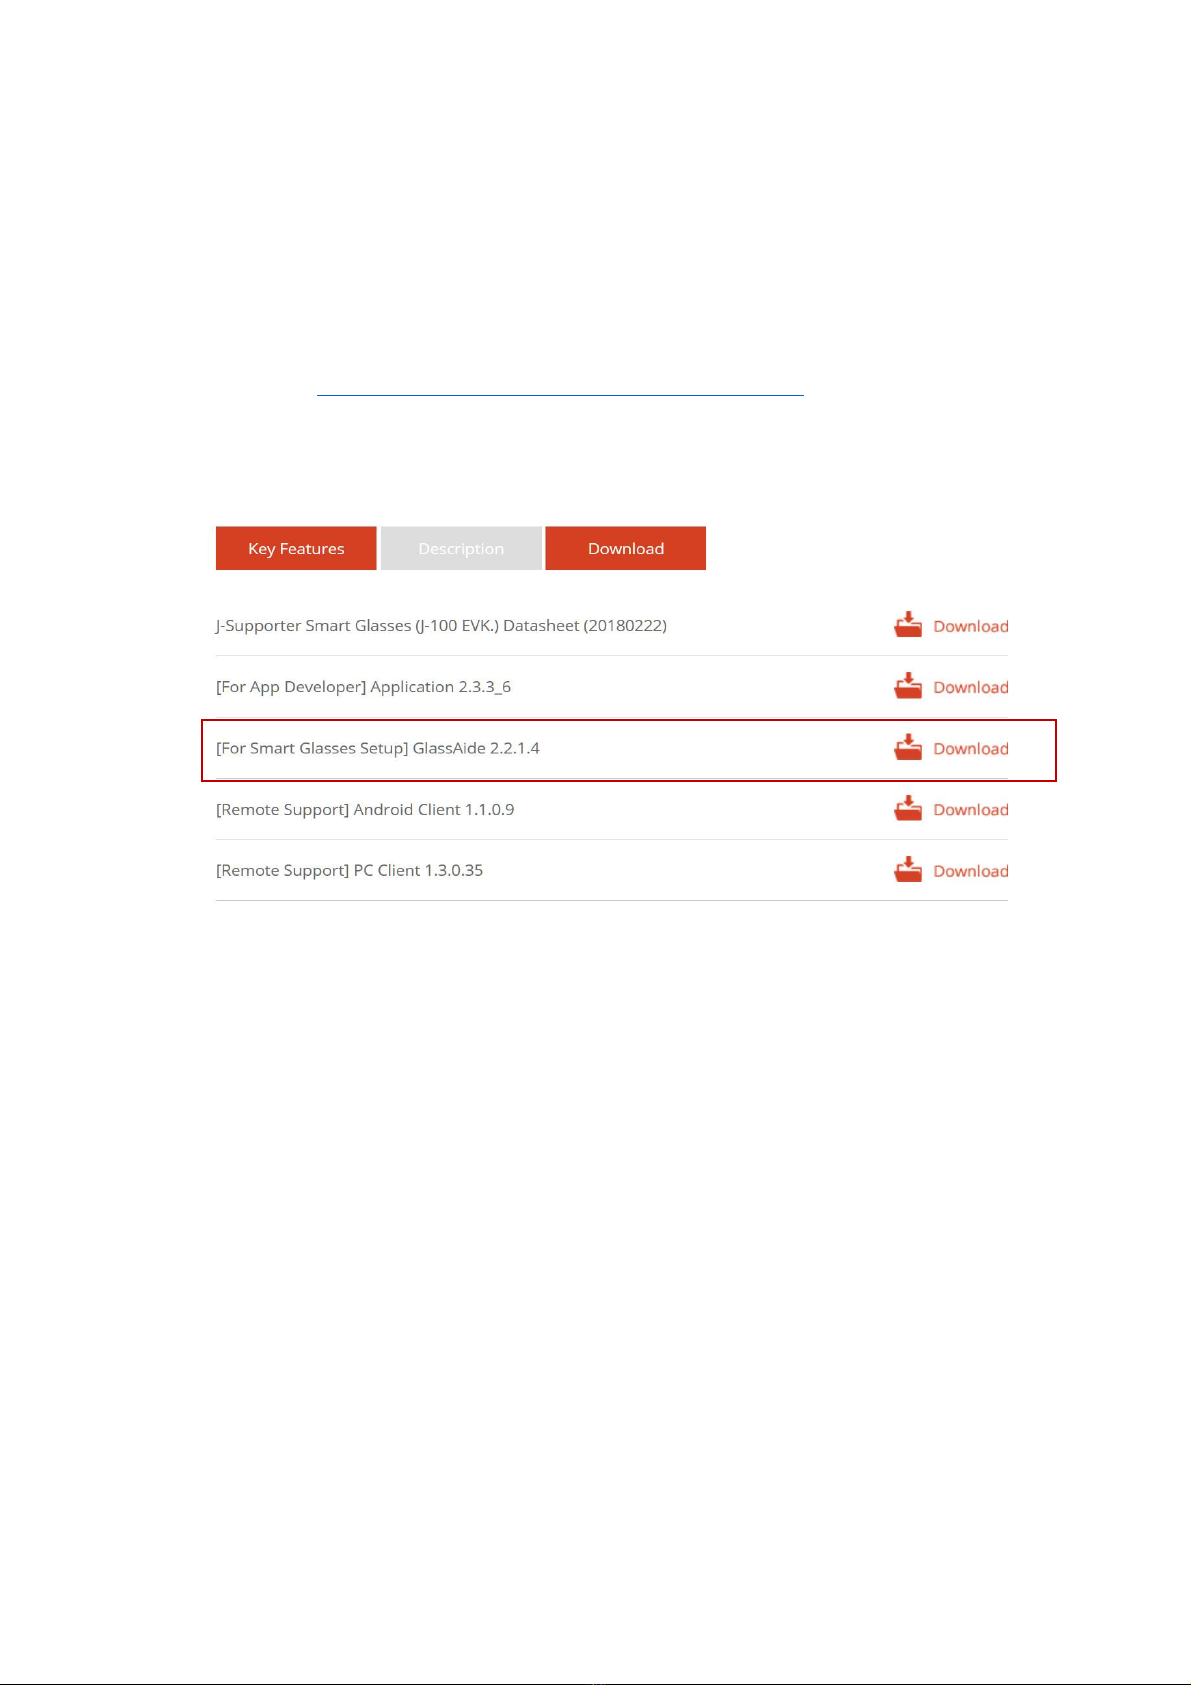
4. For Developers: Install your own Apps ....................................................................................................14
5. Safety and Handling Information:............................................................................................................18
6. Regulatory Statements............................................................................................................................19
7. Copyright Information.............................................................................................................................23

2
1. A Quick Tour of J-Supporter (J-102)
Headset
Home Key
Monocular Lens
(See-thru)
Camera
LED
Navigation Pad
Computer
3.5mm Earphone Socket
Micro USB: for charging or transfer data
Power: hold it to turn on/off
Volume Control
2.5mm
Earphone
Socket

3
2. Specifications
Operating System
Android 5.1
Processor
Texas Instrument Dual Core OMAP4460
Display Panel
Monocular (See-through)
Field of View:16 degree
Resolution:800x480 (480p)
Internal Memory
RAM:1GB
Storage:16GB
Wireless Connectivity
Bluetooth 4.0 Dual mode (BLE 4.0+ Classic Bluetooth
2.0/2.1/3.0)
Wi-Fi, 802.11 b/g/n 2.4G
I/O Connectors
1 x Micro USB connector
2 x Earphone sockets (1 x 2.5mm & 1 x 3.5mm)
Camera
8 Million pixels (auto-focus supported)
Picture resolution up to 3264 x 2448,
Support 1080p video
Sensor
GPS
Ambient Light Sensor
3-axis Gyroscope
3-axis Accelerometer
3-axis Magnetometer
Mic
1 x internal Mic
Navigation
Touch pad
(voice command function need supported by third party’s
solution)
Supported Still-Image Format
JPEG, PNG, BMP, GIF
Supported Video Format
MP4 (MPEG4/H.264+AAC), MPEG2 (H.264+AAC), VP8
Weight
Headset:27g
Computer: 132g
Battery
Lithium polymer battery 3.7V,capacity up to 3,600 mAh
Power Input
5V/2A
Charge via USB cable/adapter

4
Operating Frequency Bands
Wi-Fi operating frequency band(s) details are as follows:
802.11b
802.11g
802.11n HT20 (2.412~2.462GHz),
Bluetooth: 2.402~2.480 GHz
Standard Accessories
Arm Bag
Accommodates the J-Supporter computer set and a mobile
power bank, and can be worn on user’s arm.
Charger
Include both micro usb cable and adapter
for recharging J-Supporter.
•input 100-240V~ 50-60Hz 0.35A
•output 5V 2A
2.5mm earphone

5
Additional Accessories (for J-102)
Basic Len-less Frame
For right side wearing.
Helmet Adapter
An adapter with a ball joint secures the J-102 to the helmet
and helps user adjust the smart glasses position freely.

6
3. Using J-Supporter
Turn J-Supporter On/Off
Turn on: hold the “Power”button approximately 3 seconds to turn the device on.
Turn off: hold the “Power”button approximately 8 seconds to turn the device off.
Standby mode: tap the “Power”button once to turn off the lens display and enter
standby mode.
Software Functions
Function
Descriptions
Setting
This allows users to set up J-Supporter, including
wireless network, Bluetooth, time, brightness, font
size and language for navigation.
Support
(The Free Trial is only for
designated project customers)
This enables remote two-way communication so
that the on-site staff can transfer video footages to
a distant personnel through J-Supporter. The
distant personnel can provide instructions
overlapping onto the footage in a real-time manner
to help conduct the tasks.
This service requires fee payment. Once the
payment is made, user will receive a user account
offering 300-minute of usage.
This is a paid service, and only for customers who
participate in the designated project can get free
trial program (from 300 minutes to 30 days).

7
Home Screen
Navigation Pad(Touch Pad) (please make sure your installed Apps support touch pad
navigation on smart glasses)
Touch Input
Function
Single Tap
Enter Menu/Confirm
Slide down
Back
Slide forward/back
Switch App/Function
HOME Key
Touch Input
Function
Tap lightly
Enter Menu/Confirm
Hold it approx. 3 seconds
Return to Home Screen
Wireless
Network Status
Bluetooth Status
Time
Charging Status
Battery Level
Launcher Version
Voice Control
(enabled once active the
third party’s solution.)
Setting/Support:
default Apps activated by touch pad or voice command

8
Voice control (demo function)
Double-click the home button to switch the microphone on/off.
The voice control function in J-Supporter is demonstration function and need to be
connected to the Internet to be used.
When J-Supporter is connected to the Internet, voice control is automatically
enabled.
Default Voice Commands (2 sets for demo version)
By Mandarin
By English
Function
“設定”
“setting”
Activates Setting App
“遠端協助”
“Support”
Activates Remote Support App
You need to find third-party vendors to cooperate and develop voice control
functions.

9
Setting Up J-Supporter
The setup of J-Supporter requires the use of QR Code. To get the QR Code, please
download and install our “Glasses Aide”App.
1. Please download “Glasses Aide”APK file (GlassesAide_2.2.1.4_Release.apk)
from the link http://www.jorjin.com/product.php?id=177, it is in the category
“Download ”
2. Install “Glasses Aide”APK into your Android smartphone as an App.
(You may need to use a third-party tool or the adb command to do this)

10
Connecting to Wireless Network
1. Open “Glasses Aide”APK on your Android-based smartphone.
2. Open the Wi-Fi setting option and scan available Wi-Fi connections. Then choose
a Wi-Fi connection from the scanned list.
3. Enter the necessary information for the Wi-Fi connections including SSID and
password, and then tap to generate QR Code to connect to wireless network.
4. The “Setting”screen should appear. Simply tap “Scan & Connect Wi-Fi”.
Note: you must have scanned the QR Code to access this step.
The device will be automatically connected to the same Wi-Fi network if the setup is
performed properly.
Tap on the Wi-Fi status screen
Tap on “Scan & Connect Wi-Fi”

11
Setup Time
1. Open “Glasses Aide”APK on your Android-based smartphone.
2. Open the “Time”option.
3. Input current time and generate QR Code.
4. The “Setting”screen should appear. Simply tap on the time setup screen.
Note: you must have scanned the QR Code in the last step.

12
Setup Bluetooth Function
1. Enter the Bluetooth setup screen. Tap it and then choose “Discover Bluetooth
Devices”to search available Bluetooth devices.
2. Set up the Bluetooth connections for the device(s) you wish to connect with your
J-Supporter Smart Glasses. Please perform the setup based on the device user’s
guide.
Check Software version
You can find the "Software Version" option in the "Settings" function, tap the
touchpad to see the software and version information currently provided by
J-Supporter.

13
Power Status
Power Remaining
Status Indicator
< 20%
Red
20% - 90%
Orange
90% - 97%
Green (flashing)
97% - 100%
Green (constant)

14
4. For Developers: Install your own Apps
Install “Application Folder” and “System Folder”
Note: The App you installed, or the app in the native Android system may not
support using navigation pad. You may need to connect the wireless mouse to J-
Supporter for operating them.
1. Please download “Application Folder”APK (Current version is 2.4.0.0) from
Jorjin website. (download url: http://www.jorjin.com/product.php?id=177)
2. Establish connection between J-Supporter and your computer. Then, use
Android “adb”command to install “Application”APK.
To use Android adb command, you need to download “Android Studio”first.
Use the following instructions to insall “Application”APK.
adb install TvApplication_2.4.4_0_Release.apk

15
3. Once the installation is completed, the “Application”App will appear on the
screen of J-Supporter
The apps you install later will appear in the “Application”.

16
4. Please download “System Folder”APK (Current version is 2.4.0.0) from Jorjin
website. (download url: http://www.jorjin.com/product.php?id=177)
5. Refer to step 2 to install System Application into J-Supporter.
6. After installation, you will be able to see the new System Application folder in
the Application app. You can access the original Android Device Setting through
System Application app.

17
About SDK and Technical Support
J-Supporter Smart glasses can be developed by using the standard Android API.
However, Jorjin still prepares the Basic SDK for developers to access camera and
navigation pad functions.
If you need the Basic SDK service, please contact your business contactor.

18
5. Safety and Handling Information:
Read these instructions before operation
Please contact professional technicians when replacing batteries, to avoid any
potential heat issues.
Please do NOT disassemble the product to avoid damages or hazards, and be aware
that the parts inside cannot be used individually.
Please stop using the device if it is damaged, and contact Jorjin for repair service
immediately.
Disassembling the device or removing the chassis may cause electrical shock. For
repair, please contact Jorjin.
Please apply dry cloth and turn the device off to clean it.
Please do NOT place the device in proximity with any heat source, such as heater, oven,
chamber or any object that may result in fire or explosion.
Please do NOT expose the device to dust.
Please do NOT allow any liquid or solvents to touch the product to avoid electrical
shock. In case it happens, please apply dry cloth to wipe the device.
Please do NOT place the device in locations subject to sudden changes in ambient
temperatures. Doing so may result in fogs in the device.

19
6. Regulatory Statements
WARNING: Changes or modifications made to this equipment not expressly approved by
JORJIN TECHNOLOGIES INC. for compliance could void the user’s authority to operate the
equipment.
FCC Statement
This device complies with Part 15 of the FCC Rules. Operation is subject to the following two
conditions:
(1) This device may not cause harmful interference, and
(2) This device must accept any interference received, including interference that may cause
undesired operation.
Attention that changes or modification not expressly approved by the party responsible for
compliance could void the user’s authority to operate the equipment.
Note: This product has been tested and found to comply with the limits for a Class B digital
device, pursuant to Part 15 of the FCC Rules. These limits are designed to provide reasonable
protection against harmful interference in a residential installation. This product generates,
uses, and can radiate radio frequency energy and, if not installed and used in accordance
with the instructions, may cause harmful interference to radio communications. However,
there is no guarantee that interference will not occur in a particular installation. If this product
does cause harmful interference to radio or television reception, which can be determined by
turning the equipment off and on, the user is encouraged to try to correct the interference by
one or more of the following measures:
—Reorient or relocate the receiving antenna.
—Increase the separation between the equipment and receiver.
—Connect the equipment into an outlet on a circuit different from that to which the receiver
is connected.
—Consult the dealer or an experienced radio/TV technician for help.
Please take attention that changes or modification not expressly approved by the party
responsible for compliance could void the user’s authority to operate the equipment.
Table of contents
Other Jorjin Smart Glasses manuals