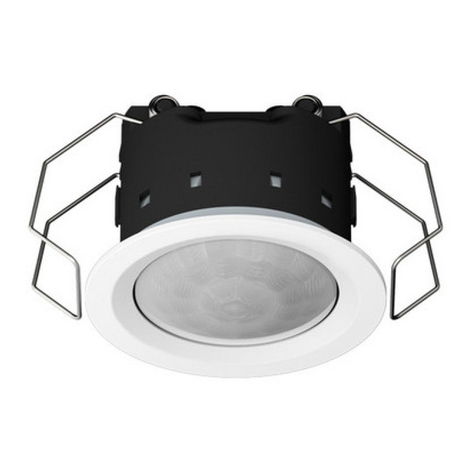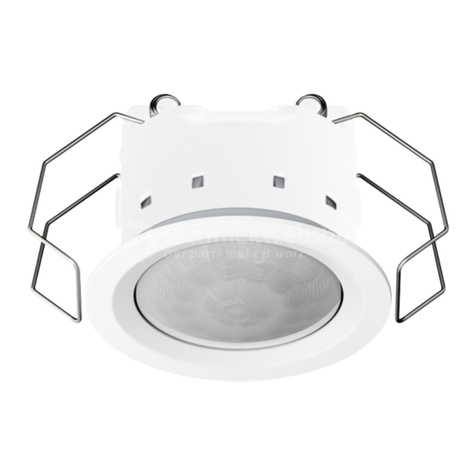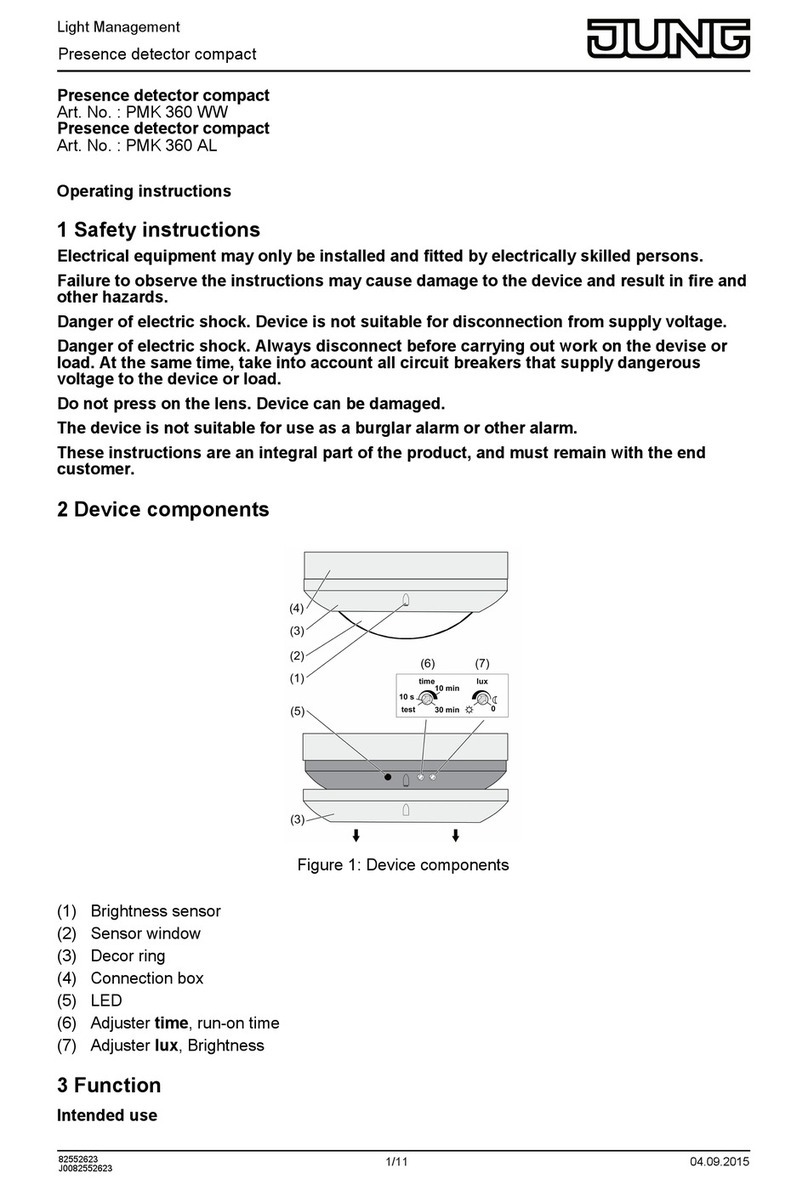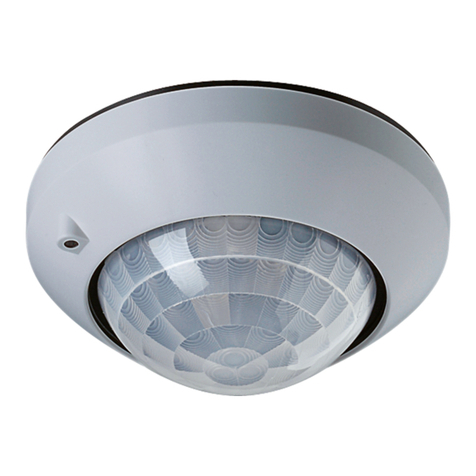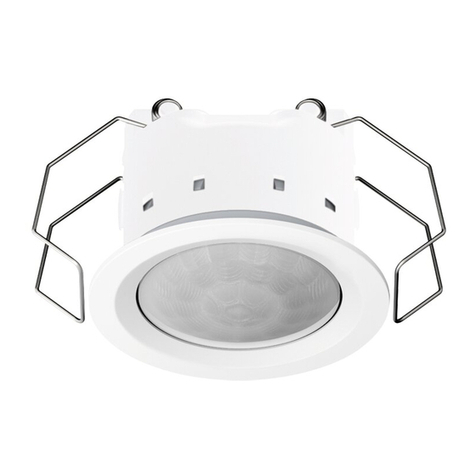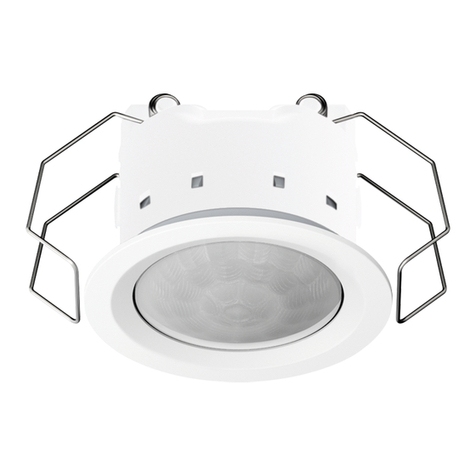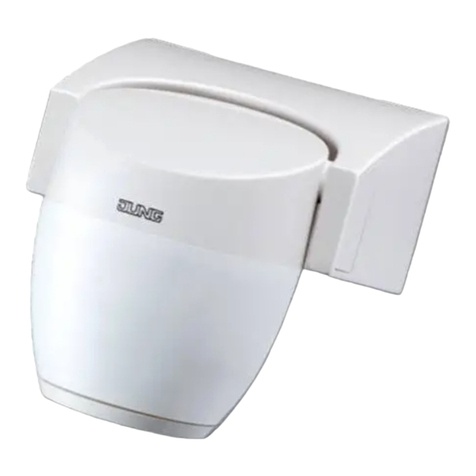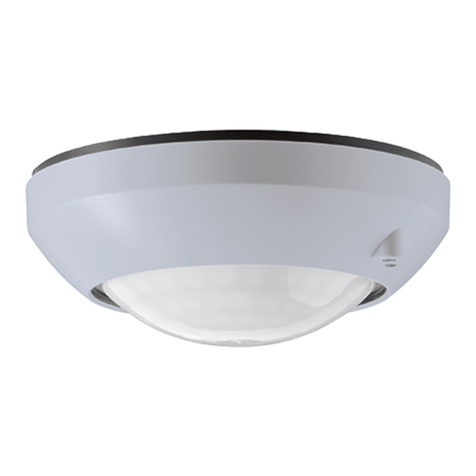
oWhen mounting the supporting frame (1), make sure that the areas A, B and C are aligned
correctly.
oRun the bus cable through the supporting frame.
iUse only cables which are approved for KNX.
oUse connecting terminal to connect bus line to the bus connection on the rear side of the
device.
oPress the device into the supporting frame correctly aligned until it locks in place.
oAttach decor ring (3).
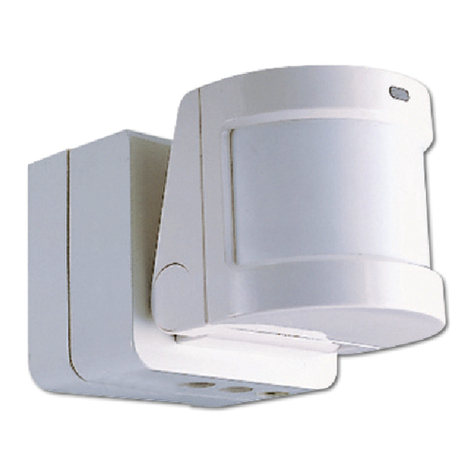
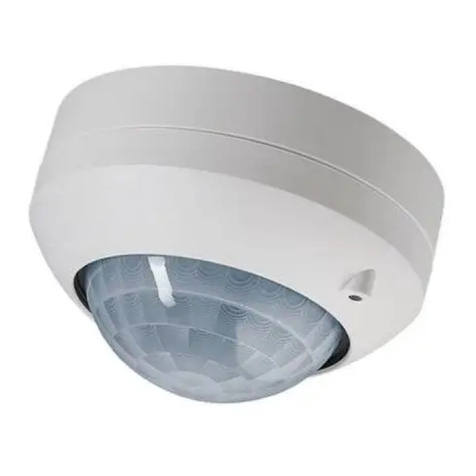
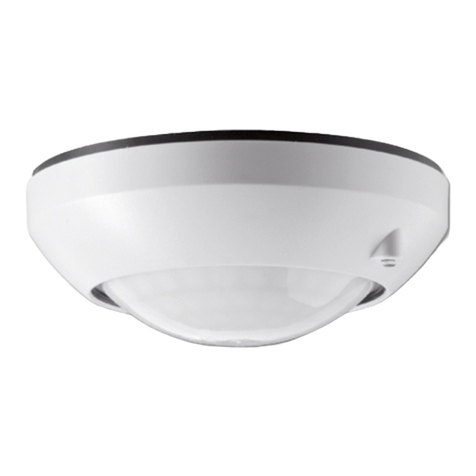
Mount and connect device in a surface-mounted housing
Using a surfacemounted housing (see accessories).Using a surfacemounted housing (see
accessories).
oPull off decor ring (3).
oGuide the bus cable through the eyelet of the surfacemounted housing provided.
oMake sure that the areas A, B and C are aligned correctly when mounting the surface
mounted housing on the ceiling.
iUse only cables which are approved for KNX.
oUse connecting terminal to connect bus line to the bus connection on the rear side of the
device.
oMount the device correctly in the housing and screw down tightly.
oAttach decor ring (3).
5.2 Commissioning
Load the address and the application software
oSwitch on the bus voltage.
oPress the programming button (7).
The programming LED (5) in the sensor window lights up.
oAssign physical address.
The programming LED goes out.
oWrite the physical address on the device label.
oLoad the application software into the device.
Test the detection area
In the case of presence detectors connected in parallel, check the detection areas individually
one after the other.
The presence detector is mounted and connected. The physical address and application soft
ware are loaded.
oActivate walking test:
Activate parameter "walking test after download" and download application software.
The presence detector operates independently of the brightness. All sensors are active
according to their programmed sensitivity.
oPace off the detection area, paying attention to reliable detection and interference sources.
Any motions detected are displayed by the blue status LED in the sensor window.
oLimit detection area if necessary using the pushon cover. Adjust sensitivity with adjuster
Sens. or IR remote control, or change the programming.
oDeactivate parameter "walking test after download" and download application software.
Only for "Universal" version:
iIf enabled, the walking test function can be activated with the button Ù of the IR remote
control.
10/12
Presence detector
82585625
J0082585625 04.12.2017
