10
Electricconnection
Before completing any connection, make
sure the house voltage corresponds with
the voltage indicated on the label affixed
inside the hood.
The hood is supplied with a standard plug;
connect it to a correspondingly standard
socket.
In the case is intended to connect the
appliance permanently to the mains after
having removed the plug supplied, must be
fitted a two-pole switch conforming to
regulations with an opening distance
between contacts of not less than 3mm.
The manufacturers are not liable for any
problems caused by the user’s failure to
observe the above instructions.
Fastening the hood
In order to fasten the unit do as follows:
a. Drill the holes on the bottom of the
cupboard using the drilling diagram
supplied with the unit.
b. Make a hole Ø 125÷130 mm. on the
bottom and the top of the cupboard for
the passage of the exhaust pipe.
c. Frominsidethehood insert the 4screws
C4,2x35 (Fig. 4) supplied with the unit.
d. Screw them onto the nuts D(Fig. 4).
e. Adjust the angle frame E(Fig. 4) tightly
to the wall.
Thehoodcanalsobemountedbymeans
of two brackets supplied with the hood.
Tofixthehoodinthisway(Fig.5-6),proceed
as follows:
a. Drill two holes Ø 2 mm on the two sides
ofthe cupboardfrom theinside usingthe
template N. 58A supplied.
b. Fix the two brackets Gto the upper side
of the hood using screws H4,2 x 35 (the
position of the brackets can be adjusted
in width according to the thickness of the
cupboard panels).
c. Fixthehood,throughthebracketsalready
mounted, on the inside of the cupboard
using screws L3,5 x 13 (two each side).
Only for JDA 5230
Replacing the plastic front
The hood is supplied with a brown plastic
frontwhichcanreplacethewhiteonealready
mounted.
Tomountthebrownplasticfrontproceedas
follows:
— Completelyopen the extractabledrawer.
— Remove the grid.
— Remove the three screws Fwhich fix the
plasticfrontfromtheinsideofthedrawer.
— Fit the brown plastic front to the drawer
with the same three screws F.
— Refit the grid.
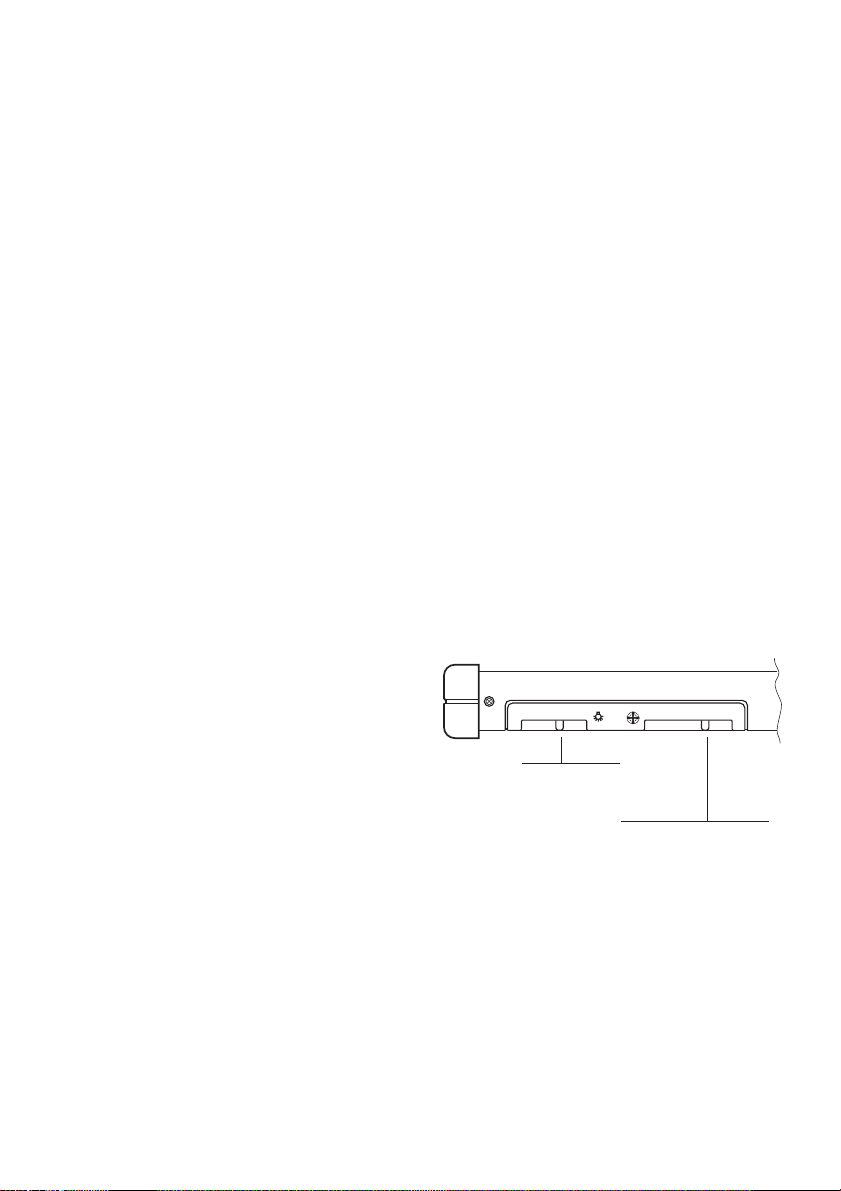
Using the hood
The hood is provided with one motor.
The power is adjusted by means of a 3-
speed switch.
To see the switching plate pull-out the
extractable drawer.
The switching plate is fitted with two
switches, one for adjustment of the motor
and one for illuminating the work surface.
To get best efficiency, we suggest to use
slow speeds in normal conditions and the
highest in particular cases of strong smell
and vapour concentration.
It is recommended to let the unit operate a
little before (5 min.) starting cooking of any
food and to let it run for about 15 minutes
after cooking.
In order to increase the suction surface
extract the extractable drawer completely.
Motorspeedswitch
Lightswitch