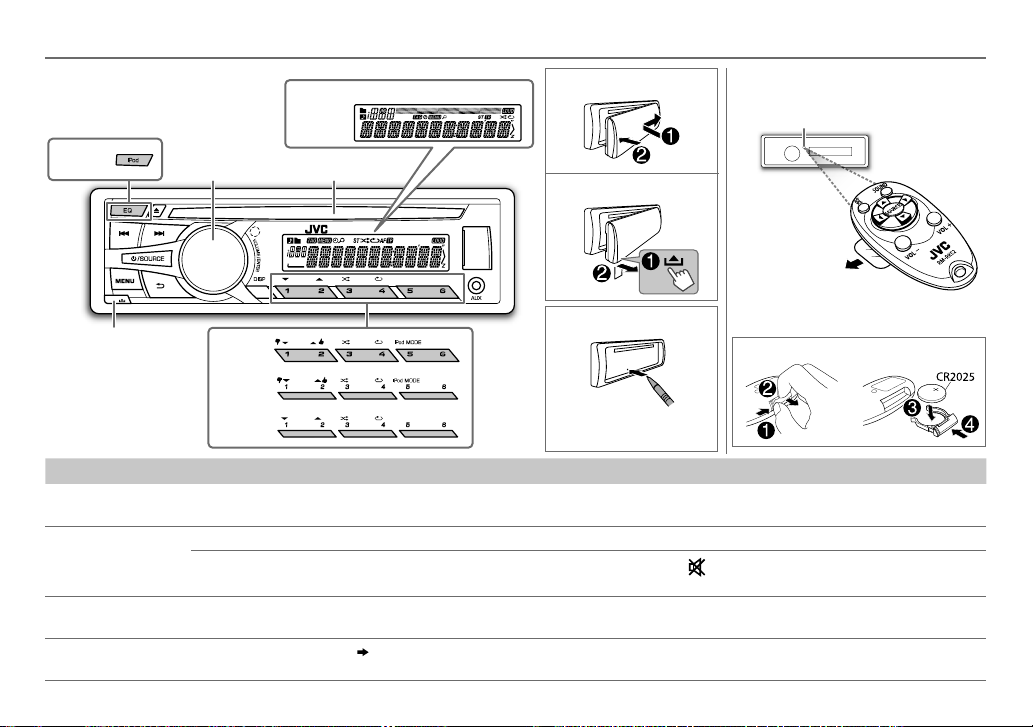
6
Data Size: B6L (182 mm x 128 mm)
Book Size: B6L (182 mm x 128 mm)
Select a track/file from a list
For iPod: Applicable only when
[HEAD MODE]
is selected.
( 5)
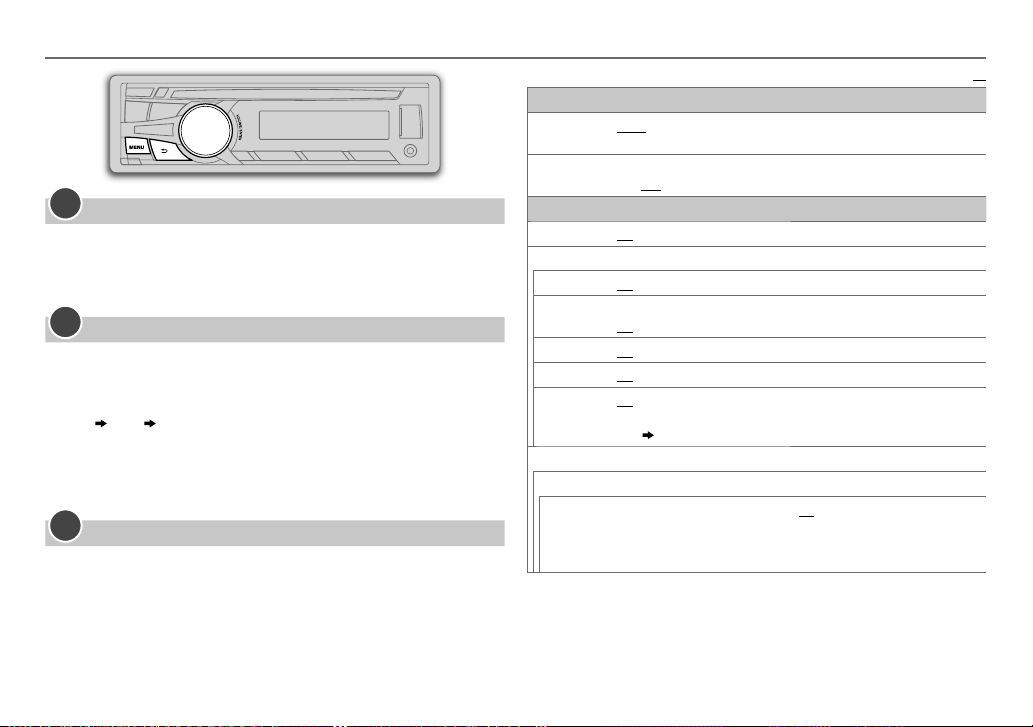
1 Press MENU
2 Turn the volume knob to make a selection, then press the knob.
• MP3/WMA/WAV file: Select the desired folder, then a file.
• iPod or JPC / JMC file: Select the desired file from the list (PLAYLISTS,
ARTISTS, ALBUMS, SONGS, PODCASTS*, GENRES, COMPOSERS*,
AUDIOBOOKS*).
*
Only for iPod.
If you have many files....
You can search through them quickly (on step 2above) by turning the
volume knob quickly.
• Not applicable for iPod.
Select a song by name
(For
KD-R756
/
KD-R656
)
While listening to the iPod and
[HEAD MODE]
is selected
( 5)
....
If you have many folders or tracks/files, you can search through them
quickly according to the first character (A to Z, 0 to 9 and OTHERS).
• “OTHERS” appear if the first character is other than Ato Z, 0 to 9.
1 Press MENU.
2 Turn the volume knob to select the desired list, then press the
knob.
3 Press 1/2or turn the volume knob quickly to select the desired
character.
4 Turn the volume knob to select the desired folder or track/file, then
press the knob.
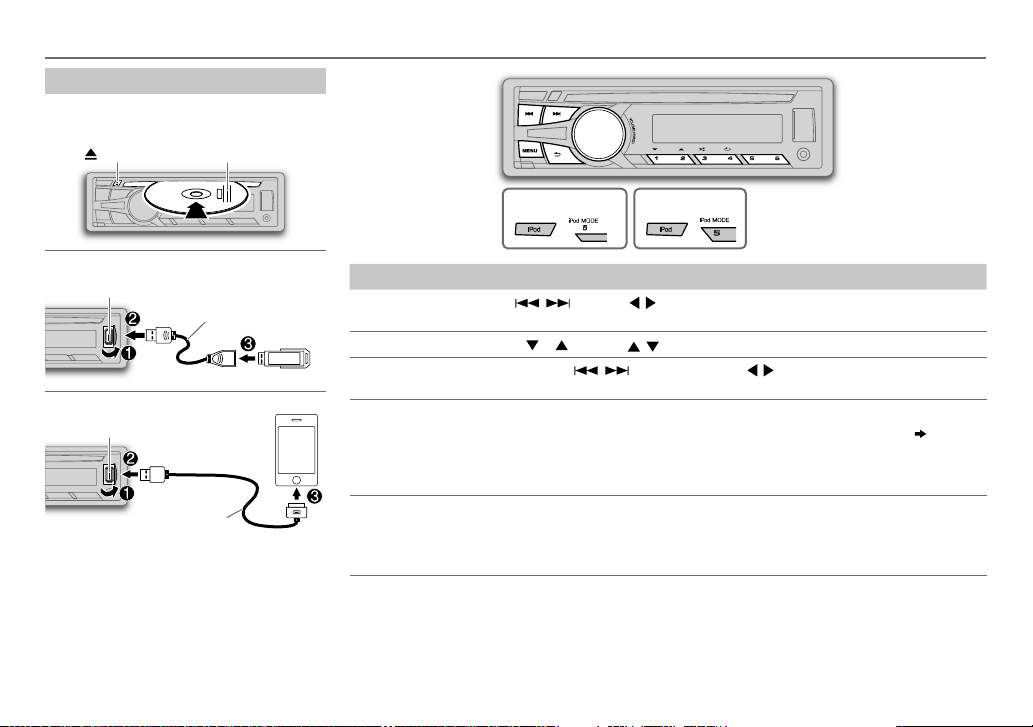
Change the USB drive
When a smartphone (Mass Storage Class) is connected to the USB input
terminal, you can select its internal memory or external memory (such as an
SD card) to playback the stored songs.
You can also select the desired drive to playback when a multiple drives
device is connected.
Press number button 5repeatedly to select the desired drive.
(or)
1 Press and hold MENU.
2 Turn the volume knob to select
[USB/IPOD]
, then press the knob.
3 Turn the volume knob to select
[USB]
, then press the knob.
4 Press the volume knob to select
[DRIVECHANGE]
.
The next drive is selected automatically.
Repeat steps 1to 4to select the following drives.
Selectable items:
[DRIVE
1]
to
[DRIVE
5]
Change the playback speed of the Audiobook
(For
KD-R756
/
KD-R656
)
While listening to the iPod and
[HEAD MODE]
is selected
( 5)
....
1 Press and hold MENU.
2 Turn the volume knob to select
[USB/IPOD]
, then press the knob.
3 Turn the volume knob to select
[IPOD]
, then press the knob.
4 Turn the volume knob to make a selection, then press the knob.
BOOK NORMAL
/
BOOK FASTER
/
BOOK SLOWER
: Select the desired playback
speed of the Audiobooks sound file in your iPod/iPhone.
(Default: Depends on your iPod/iPhone setting.)
• To return to the previous setting item or hierarchy, press G.
• To cancel, press MENU.
CD / USB / iPod
EN_KD-R756[U]1.indd 6EN_KD-R756[U]1.indd 6 9/20/2013 11:40:22 AM9/20/2013 11:40:22 AM