KV-DV50
Installation/Connection Manual
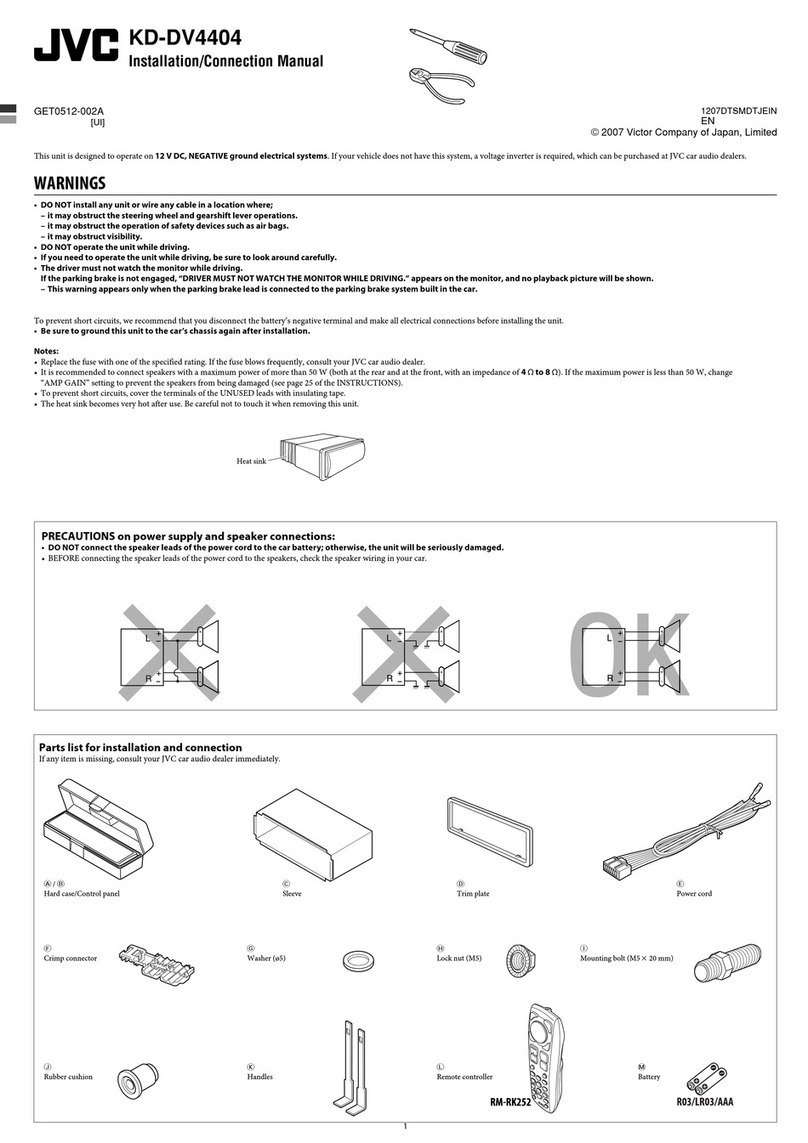
This unit is designed to operate on 12 V DC, NEGATIVE ground electrical systems. If your vehicle does
not have this system, a voltage inverter is required, which can be purchased at JVC car audio dealers.
WARNINGS
• TO EDUCE THE ISK OF FI E O ELECT IC SHOCK, DO NOT EXPOSE THIS UNIT TO AIN O
MOISTU E.
• Avoid installing the unit in the following places.
– Where it would hinder your safety driving.
– Where it would be exposed to direct sunlight or heat directly from the heater or placed in an
extremely hot place.
– Where it would be subject to rain, water splashes or excessive humidity.
– Where it would be subject to dust.
– Where it would be positioned on an unstable place.
– Where it could damage the car’s fittings.
– Where proper ventilation would not be maintained, such as under a floor mat.
– Where it would be located near inflammable objects (since heat is generated inside the unit).
• DO NOT operate the unit while driving.
• If you need to operate the unit while driving, be sure to look around carefully.
• The driver must not watch the monitor while driving.
If the parking brake is not engaged, “D IVE MUST NOT WATCH THE MONITO WHILE
D IVING.” appears on the monitor, and no playback picture will be shown.
– This warning appears only when the parking brake wire is connected to the parking brake
system built into the car.
To prevent short circuits, we recommend that you disconnect the battery s negative terminal and make all
electrical connections before installing the unit.
• Be sure to ground this unit to the car’s chassis again after installation.
I
Double-sided tape
E
L-shaped bracket
F
Tapping screw
(M5 × 20 mm)
G
Flat countersunk screw
(M5 × 8 mm)
B
Installation sleeve
D
Power cord (4-pins)
Parts list for installation and connection
If any item is missing, consult your JVC car audio dealer immediately.
J
Remote sensor unit
A
Main unit
L
Battery
C
Audio/video cable (3 m)
K
Remote controller
GET0482-009A
[A]
0507DTSMDTJEIN
EN
© 2007 Victor Company of Japan, Limited
H
Binding screw
(M5 × 8 mm)
TROUBLESHOOTING
• The fuse blows.
* When connecting through the car battery directly: Are the red and black leads connected correctly?
* When connecting through the cigarette lighter socket: Is the fuse with an appropriate rating (5 A) is
used?
• Power cannot be turned on.
* When connecting through the car battery directly: Is the yellow lead connected?
* When connecting through the cigarette lighter socket: Is the cigarette lighter plug connected correctly?
• Picture does not appear on the monitor.
* Is the video cord connected correctly?
• Sound cannot be heard.
* Is the audio cord connected correctly?
• This unit does not work at all.
* Have you reset your unit?
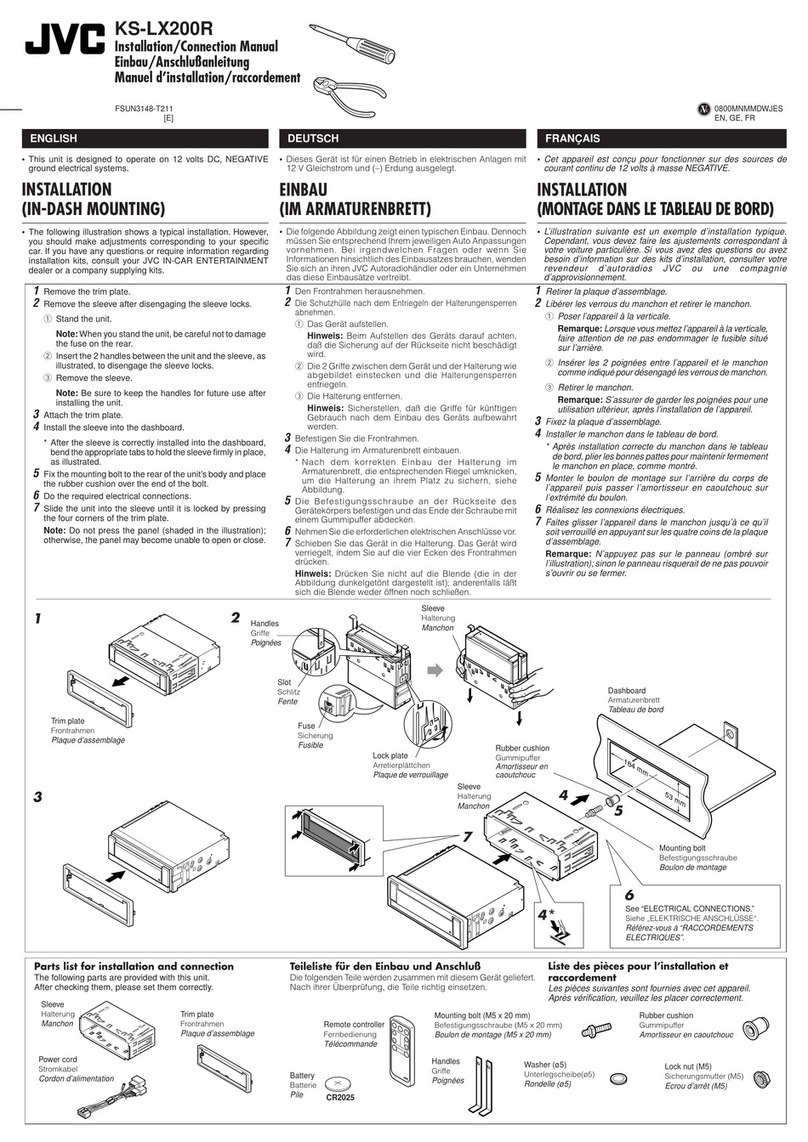
INSTALLATION
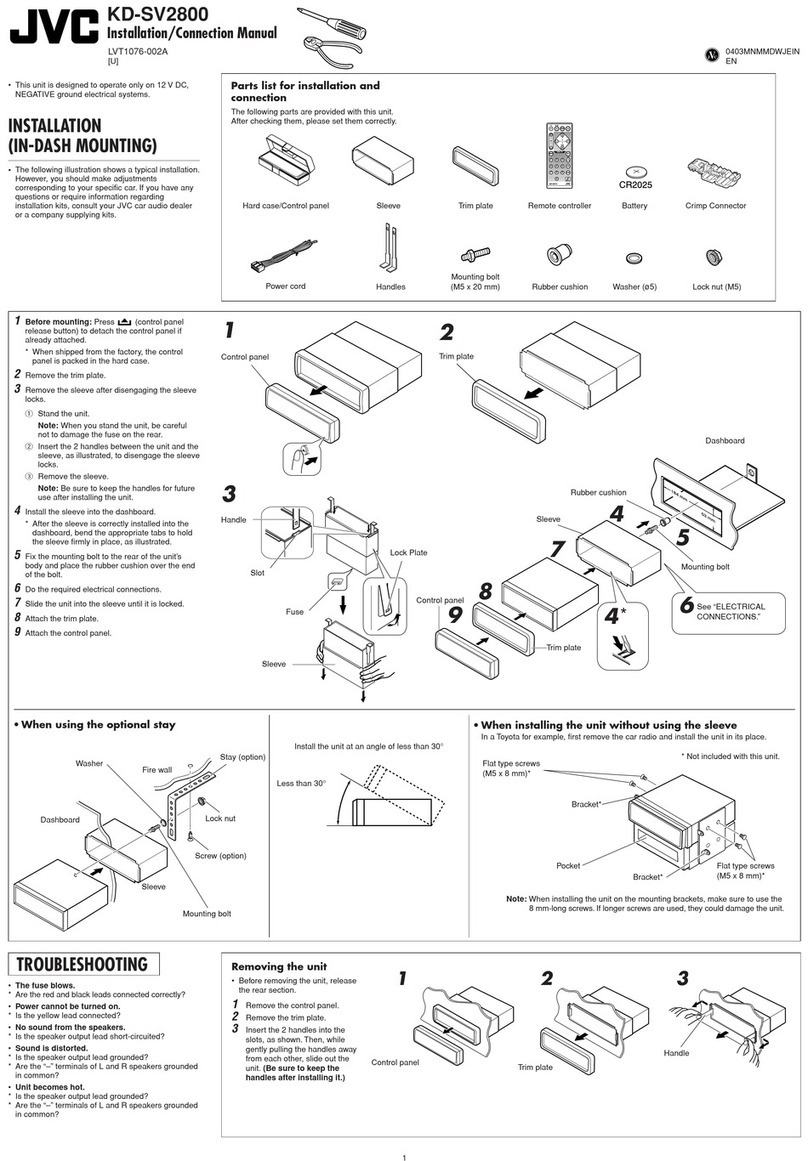
The following illustration shows a typical installation. If you have any questions or require information
regarding installation kits, consult your JVC car audio dealer or a company supplying kits.
• If you are not sure how to install this unit correctly, have it installed by a qualified technician.
With this arrow
facing the front
KV-DV50
Screw removed from the car in step 1
Mounting bracket
removed from the car
Screw removed from
the car in step 1
Car audio, etc.
1 Remove the audio system originally installed together with the mounting brackets.
Note: Be sure to keep all the screws and parts removed from your car for future use.
2 Attach the mounting brackets (removed from the car), to this unit (see below).
3 Connect the wires (see diagram ).
4 Fix this unit to the car using the screws removed in step 1.
• See “Caution” below.
Screws supplied for this unit:
Select the proper screw type, appropriate for your car.
Binding screws (M5 × 8 mm) Flat countersunk screws (M5 × 8 mm)
Install the unit at an angle of less than 30°.
Caution:
• To install the mounting brackets onto the unit, use only the supplied screws (M5 × 8 mm). If you
use any screw longer than 8 mm, the unit may be damaged.
• Never use the bolts or nuts from the vehicle s safety devices for installation. If the bolts or nuts
from the steering wheel, brakes or other safety devices are used for installation, it may cause an
accident.
If there is an interfering tab on the mounting
bracket, bend it flat.
When installing on the floor
When installing in the dash oard
Be careful not to damage the wiring
or parts under the floor.
Screw removed from
the car in step 1
Install_KV-DV50_009A_f.indd 1Install_KV-DV50_009A_f.indd 1 5/11/07 2:35:22 PM5/11/07 2:35:22 PM
