3
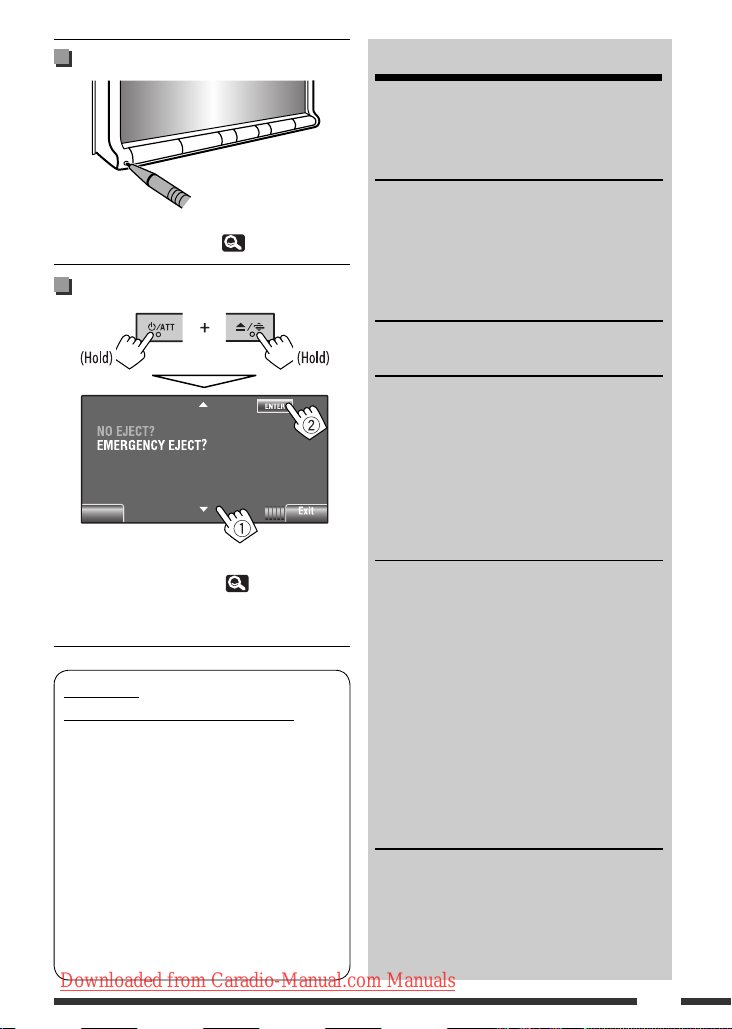
How to reset your unit
• Your preset adjustments will also be erased (except the
registered Bluetooth device). ( 24, 35)
How to forcibly eject a disc
• You can forcibly eject the loaded disc even if the disc is
locked. To lock/unlock the disc, 27.
• Be careful not to drop the disc when it ejects.
• If this does not work, reset your unit.
WARNINGS:
(To prevent accidents and damage)
• DO NOT install any unit or wire any cable in a
location where;
– it may obstruct the steering wheel and gearshift
lever operations.
– it may obstruct the operation of safety devices
such as air bags.
– it may obstruct visibility.
• DO NOT operate the unit while driving.
If you need to operate the unit while driving, be
sure to look around carefully.
• The driver must not watch the monitor while
driving.
CONTENTS
How to read this manual.............................. 2
How to reset your unit ................................. 3
How to forcibly eject a disc........................... 3
INTRODUCTIONS
Playable disc type ........................................ 4
Basic operations........................................... 5
• Using the monitor panel/touch panel......... 5
• Using the remote controller (RM-RK252).... 7
Preparation.................................................. 10
AV MENU
AV Menu operations .................................... 11
OPERATIONS
Listening to the radio................................... 26
Disc operations............................................. 27
• Operation buttons on the screen ................ 29
• Operations using the remote controller
(RM-RK252)................................................ 30
USB operations (for
KW-AVX726/
KW-AVX725/KW-AVX724
)....................... 34
EXTERNAL DEVICES
Using the Bluetooth® devices....................... 35
• Connecting a new Bluetooth device ........... 35
• Using the Bluetooth cellular phone ............ 36
• Using the Bluetooth audio player ............... 38
Listening to the CD changer......................... 38
Listening to the iPod/iPhone ....................... 39
• When connected with the USB cable.......... 39
• When connected with the interface
adapter....................................................... 40
Using other external components................ 41
• AV-INPUT.................................................... 41
• EXT-INPUT .................................................. 42
REFERENCES
Maintenance................................................ 43
More about this unit .................................... 44
Troubleshooting........................................... 52
Specifications............................................... 56
Operation index ........................................... 59
Back
EN02-09_KW-AVX726_001A_3.indd 3EN02-09_KW-AVX726_001A_3.indd 3 12/10/08 9:17:58 AM12/10/08 9:17:58 AM
Downloaded from Caradio-Manual.com Manuals