manuals.online logo
Brands
  1. Home
  2. •
  3. Brands
  4. •
  5. Kaba
  6. •
  7. Lock
  8. •
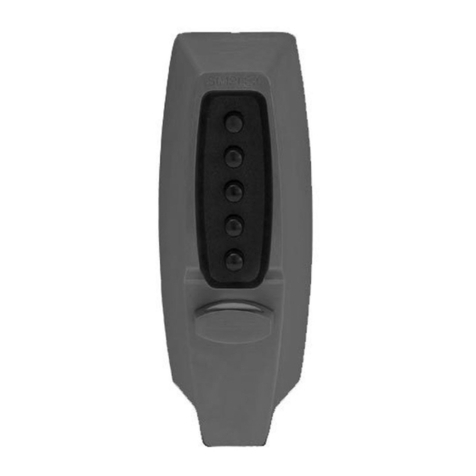
  9. Kaba COMBOGARDPRO User manual

Kaba COMBOGARDPRO User manual

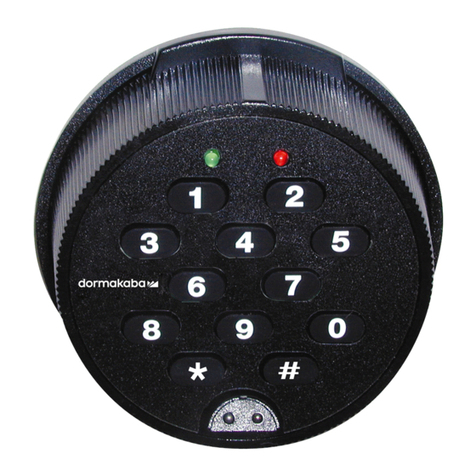
Introducing
the
• FEATURES
• 10 Codes (Manager and 9 User)
• Time Delay (99 min delay, 19 open)
• Code length (6 to 9)
• PC programmable Software
• Fully Key Pad configurable
• Audit (63 first in first out, non-erasable)
Lock Setup
Via
The
Key Pad
Tutorial
Lock Setup Steps
•ExitPre-set mode
• Select Code Length
• Install Users
• Select Additional Features
• Finalizing Configuration
• Exit Pre-set mode
Step 1) Press and Hold ‘0’ key until unit
signals twice.
Step 2) Enter the default Manger Code
5-5-5-5-5-5.
• Lock will open and is now in the Setup and
Test mode.
•Select Code Length
• Example: How to change code length from 6 to 9 digits
• Enter: 5-5-5-5-5-5 Hold down the last digit until the lock
signals twice and the LED stays on.
• PRESS ‘8’ key.
• PRESS ‘9’ (the desired code length), then PRESS ‘0’
• Re-enter: PRESS ‘9’, then PRESS ‘0’, to confirm.
• The code length has now been change to 9 digits.
• To verify: Enter: 5-5-5-5-5-5-5-5-5, the lock will open.
•Select Code Length
• Example: How to change code length from 9 to 6 digits
• Enter: 5-5-5-5-5-5-5-5-5 Hold down the last digit until the
lock signals twice and the LED stays on.
• PRESS ‘8’ key.
• PRESS ‘6’ (the desired code length), then PRESS ‘0’
• Re-enter: PRESS ‘6’, then PRESS ‘0’, to confirm.
• The code length has now been change to 9 digits.
• To verify: Enter: 5-5-5-5-5-5, the lock will open.
The lock is now set to operate using 6 digits codes.
•Install Users (1,2, & 9)
• Enter: 5-5-5-5-5-5 Hold down the last digit until the lock
signals twice and the LED stays on.
• PRESS ‘1’ key.
• Select User ID: ‘1’
• Enter user code: 1-1-1-1-1-1; re-enter code 1-1-1-1-1-1
• User is installed.
• Enter: 1-1-1-1-1-1 to verify. Lock will open.
•Install Users (1,2, & 9)
• Enter: 5-5-5-5-5-5 Hold down the last digit until the lock
signals twice and the LED stays on.
• PRESS ‘1’ key.
• Select User ID: ‘2’
• Enter user code: 2-2-2-2-2-2; re-enter code 2-2-2-2-2-2
• User is installed.
• Enter: 2-2-2-2-2-2 to verify. Lock will open.
•Install Users (1,2, & 9)
• Enter: 5-5-5-5-5-5 Hold down the last digit until the lock
signals twice and the LED stays on.
• PRESS ‘1’ key.
• Select User ID: ‘9’
(User 9 will later be enabled to override time delay)
• Enter user code: 9-9-9-9-9-9; re-enter code 9-9-9-9-9-9
• User is installed.
• Enter: 9-9-9-9-9-9 to verify. Lock will open.
Lock Programmable
Feature Chart.
√√√7
√√6
√√5
√4
√√3
√2
√1
0
SILENT ALARMDUAL CODETIME DELAY
OVERRIDE
MODE
Added Lock Features
• Enter: 5-5-5-5-5-5 Hold down the last digit until the lock
signals twice and the LED stays on.
• PRESS ‘8’ key.
• Enter ‘0’ (this will maintain the current code length)
• Enter Option ‘5’ (Time Delay Override and Silent Alarm)
• Re-enter ‘0’ then ‘5’ to confirm
• Finalizing and Exiting Setup
Once the Manager changes his or her code, the configuration is frozen.
Special Function #8 is no longer available.
Un-enrolled Users are blocked and can not be added later.
Also, the lock’s operational mode can no longer be changed.
To change Manger code:
• Enter: 5-5-5-5-5-5 Hold down the last digit until the lock signals twice
and the LED stays on.
• PRESS ‘0’ key.
• Enter New Manager code
• Example: ‘1-2-3-4-5-6’
• Re-enter ‘1-2-3-4-5-6’ to confirm.
The lock is now configured as follows:
• Users 1, 2, and 9 are active.
• Users 3, 4, 5, 6, 7, and 8 are blocked and
can not be enrolled later.
• Time delay Override is Enabled. (User 9)
• Silent Alarm is Enabled.
How to Changing Time Values
We will set the following time values:
Delay 1 minute
Open 1 minute
• Time Delay Setup
• Enter Master code ‘1-2-3-4-5-6’ Hold down the last digit until the lock
signals twice and the LED stays on.
• PRESS ‘9’ key.
• Enter the desired delay period: ‘0-1’
• Enter open period ’0-1’
• Re-enter ‘0 -1- 0 -1’ to confirm
The lock is now configured as follows:
• Users 1, 2, and 9 are active.
• Users 3, 4, 5, 6, 7, and 8 are blocked and
can not be enrolled later.
• Time delay Override is Enabled. (User 9)
• Silent Alarm is Enabled.
• One minute Time Delay with a one minute Open Period.
To start the delay period, enter either the Manager
or a User code.
To override the delay Enter User # 9’s code.
Note: If Time Delay is active it can only be deactivated or delay value
decreased in the Open Period. Selecting ‘0000’ deactivates the
Time Delay Feature.
This concludes the lock setup
with via the key pad.
Thank You

Other Kaba Lock manuals

Kaba E-Plex 5200 User manual

Kaba

Kaba E-Plex 5200 User manual

Kaba Saflok QuantumII MT RFID User manual

Kaba

Kaba Saflok QuantumII MT RFID User manual

Kaba Simplex 1000 Series Installation guide

Kaba

Kaba Simplex 1000 Series Installation guide

Kaba Quantum Series User manual

Kaba

Kaba Quantum Series User manual

Kaba C-lever compact User manual

Kaba

Kaba C-lever compact User manual

Kaba Simplex 6200 Series User manual

Kaba

Kaba Simplex 6200 Series User manual

Kaba PowerPlex 2000 Series User manual

Kaba

Kaba PowerPlex 2000 Series User manual

Kaba 1435MID User manual

Kaba

Kaba 1435MID User manual

Kaba Simplex 7104 Series User manual

Kaba

Kaba Simplex 7104 Series User manual
Kaba SILCA SW- VAG GROUP-L0 User manual

Kaba

Kaba SILCA SW- VAG GROUP-L0 User manual

Kaba Gege User manual

Kaba

Kaba Gege User manual

Kaba LA GARD 1947 User manual

Kaba

Kaba LA GARD 1947 User manual

Kaba 1546-K5 User manual

Kaba

Kaba 1546-K5 User manual

Kaba E-PLEX 2000 User manual

Kaba

Kaba E-PLEX 2000 User manual

Kaba E-Flash EF680 User manual

Kaba

Kaba E-Flash EF680 User manual

Kaba KEYLESS ENTRY LOCK User manual

Kaba

Kaba KEYLESS ENTRY LOCK User manual

Kaba 5402 Series User manual

Kaba

Kaba 5402 Series User manual

Kaba La Gard MECHANICAL User manual

Kaba

Kaba La Gard MECHANICAL User manual

Kaba SIMPLEX EE1000 Series User manual

Kaba

Kaba SIMPLEX EE1000 Series User manual

Kaba C-lever compact User manual

Kaba

Kaba C-lever compact User manual

Kaba SIMPLEX LD450 User manual

Kaba

Kaba SIMPLEX LD450 User manual

Kaba Simplex 506 Series User manual

Kaba

Kaba Simplex 506 Series User manual

Kaba PowerPlex 2000 Series User manual
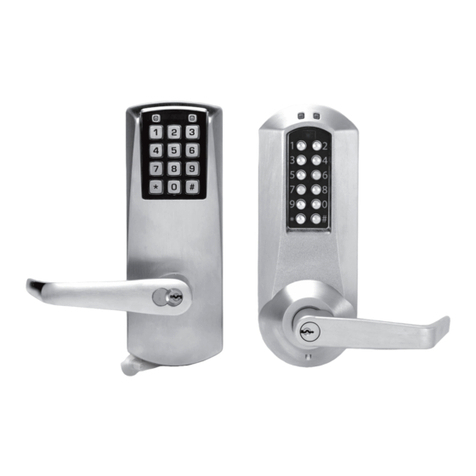
Kaba

Kaba PowerPlex 2000 Series User manual

Kaba E-Plex 5000 User manual

Kaba

Kaba E-Plex 5000 User manual

Popular Lock manuals by other brands

COMPX 23-24KSERIES quick guide

COMPX

COMPX 23-24KSERIES quick guide

COMPX TYPE300 Dimensional drawing

COMPX

COMPX TYPE300 Dimensional drawing

Abloy EL402 installation manual

Abloy

Abloy EL402 installation manual

Ingersoll-Rand Schlage ND Series Service manual

Ingersoll-Rand

Ingersoll-Rand Schlage ND Series Service manual

Zap ACC510 quick start guide

Zap

Zap ACC510 quick start guide

LEHMANN Dial lock 57 operating instructions

LEHMANN

LEHMANN Dial lock 57 operating instructions

Brisa Ezylock Smart lock installation manual

Brisa

Brisa Ezylock Smart lock installation manual

G-U Secury 19 EK installation instructions

G-U

G-U Secury 19 EK installation instructions

Onguard 5514 user guide

Onguard

Onguard 5514 user guide

CENTURION SYSTEMS D5-EVO installation manual

CENTURION SYSTEMS

CENTURION SYSTEMS D5-EVO installation manual

COMPX elock quick guide

COMPX

COMPX elock quick guide

Honeywell GKZL2 installation instructions

Honeywell

Honeywell GKZL2 installation instructions

XLOCK 142 installation guide

XLOCK

XLOCK 142 installation guide

Metro DataVac Flexline CompX RegulatoR Instructions for use

Metro DataVac

Metro DataVac Flexline CompX RegulatoR Instructions for use

Robimatic YARDLOCK installation guide

Robimatic

Robimatic YARDLOCK installation guide

Griffon SWINGLOX instruction manual

Griffon

Griffon SWINGLOX instruction manual

IFAM MCA 200 instruction manual

IFAM

IFAM MCA 200 instruction manual

Häfele LockerLock LL 200 operating instructions

Häfele

Häfele LockerLock LL 200 operating instructions

manuals.online logo
manuals.online logoBrands
  • About & Mission
  • Contact us
  • Privacy Policy
  • Terms and Conditions

Copyright 2025 Manuals.Online. All Rights Reserved.