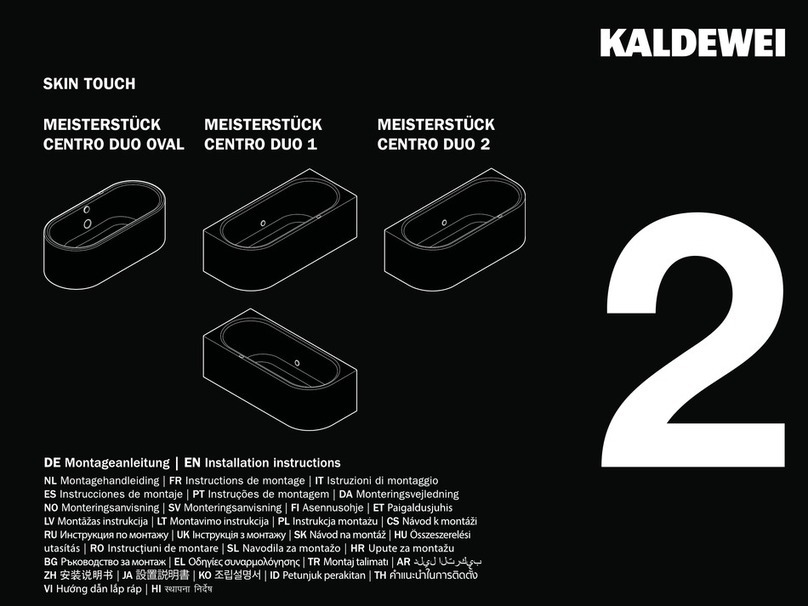
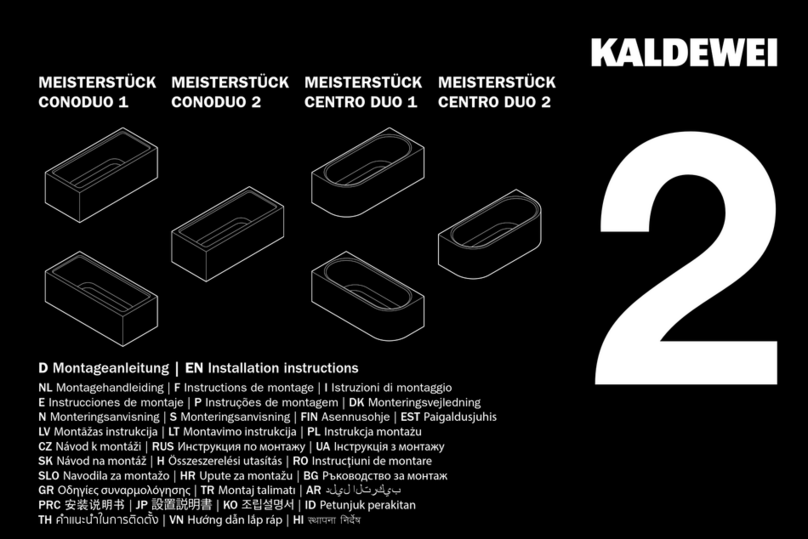
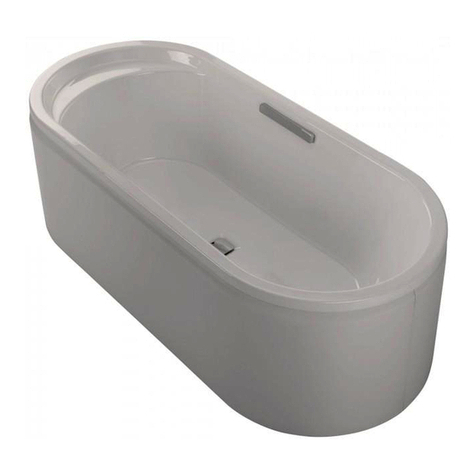
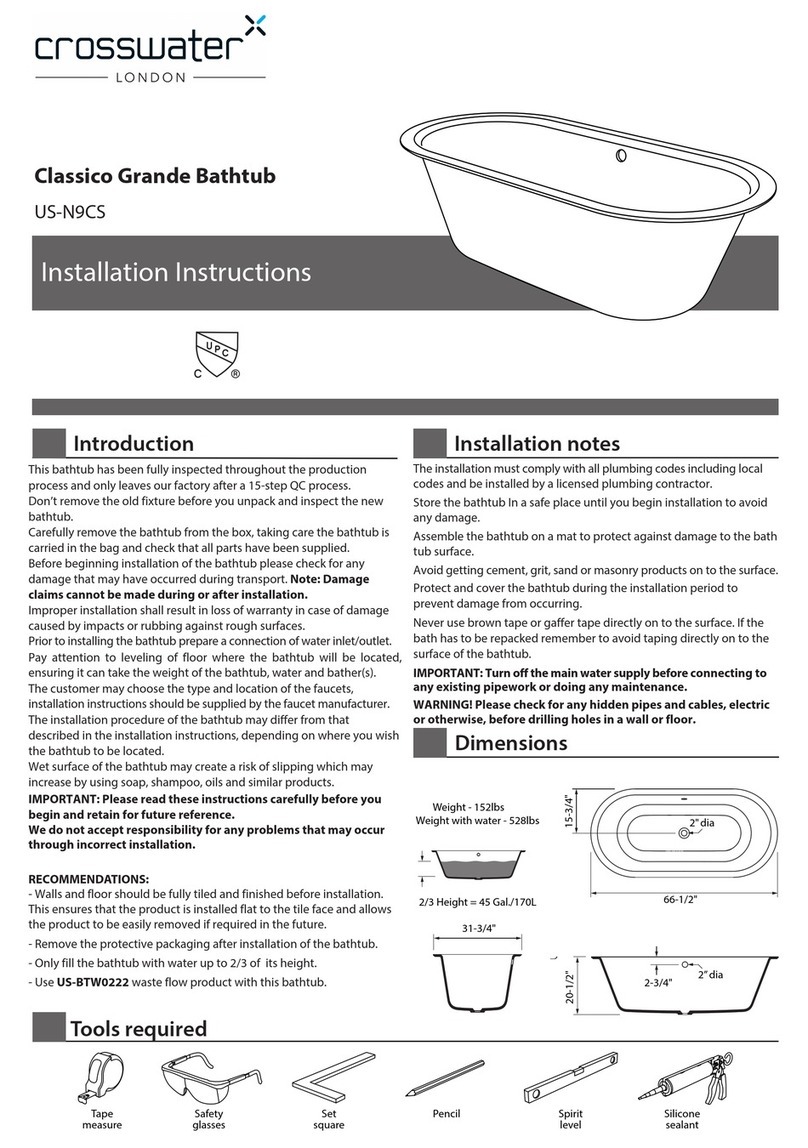
Kaldewei DUO POOL 150 Series User manual

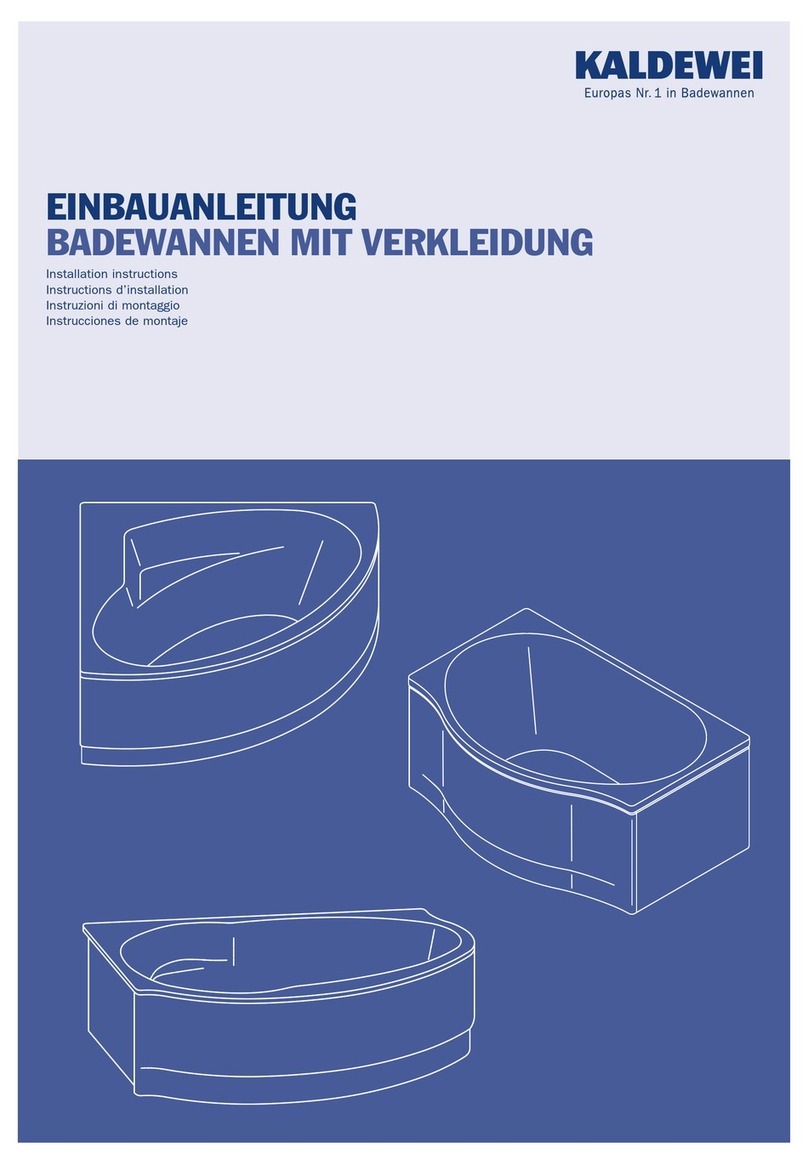
MONTÁŽNÍ NÁVOD
VANY S PANELEM
Installation instructions
Instructions d’installation
Instruzioni di montaggio
Instrucciones de montaje

MONTÁŽNÍ NÁVOD
VANY
S PANELEM
VANYSPANELEM
Udělejte si trochu času a pečlivě si přečtěte tento
montážní návod k vanám s panelem
.
V montážním návodu jsou použity následující
piktogramy. Těmito piktogramy jsou vyznačeny
pokyny a návody, které vyžadují zvláštní pozornost
.
PROHLÁŠENÍ
• Firma Kaldewei vytvořila tento montážní
návod podle svých nejlepších znalostí.
• Firma Kaldewei si vyhrazuje právo provést
změny montážního návodu, aniž by se
zavazovala informovat o tom třetí stranu.
POKYNY
Instrukce a pokyny, které zajišťují
bezporuchovou funkci a bezproblémovou
instalaci vany s panelem.
• Firma Kaldewei si vyhrazuje právo provést
změny ke zlepšení technického zařízení, aniž
by se zavazovala informovat o tom třetí stranu.
Čtěte případně přiložené dodatečné informace.
• Žádná část tohoto návodu nesmí být
reprodukována nebo kopírována bez
výslovného souhlasu firmy Kaldewei.
CZ
GB
F
I
E
Vanu s panelem přepravujte jen
v přepravním obalu a vylučte
nepřiměřené zatížení.
Za škody vzniklé v důsledku
nevhodného skladování a přepravy a
nedbání vyjmenovaných předpisů firma
Kaldewei neručí
.
Montáž smí provádět pouze odborná
montážní firma.
Všechny práce provádějte vhodným
nářadím.
Chraňte povrch vany, panelu a obkladů
během montáže před poškozením
.
Při montáži odpadní a přepadové
soupravy se řiďte pokyny výrobce.
1
Zabraňte znečištění jakéhokoliv druhu,
zejména znečištění, v jehož důsledku by
mohlo dojít při instalaci k ucpání sifonu.
Podklad, na který se lepí polystyrénový
nosič případně vana, musí být zbaven
prachu, mastnoty a být suchý.
Použité lepidlo
(silikon/dvousložková
montážní pěna)
musí být vhodné pro lepení
polystyrénu. Dbejte na pokyny výrobce
.
Aby použité lepidlo mezi jednotlivými
kroky neztvrdlo, je třeba provádět
jednotlivé kroky v předepsaném pořadí
(Dejte pozor na dobu schnutí lepidla).

MONTÁŽNÍ NÁVOD
VANY
S PANELEM
BATHTUBS WITH PANELLING SYSTEM
Take a little time and read the mounting instruc-
tions of the bathtubs with panelling carefully.
In these mounting instructions, the pictograms
described below are used. They refer to instruc-
tions and notes which require your special atten-
tion.
EXPLANATION
• Kaldewei prepared these mounting instructions
to the best of its knowledge.
• Kaldewei reserves the right to change the con-
tents of the mounting instructions without be-
ing obliged to inform any third parties.
NOTES
Instructions and notes which guarantee
the perfect function and smooth installa-
tion of bathtubs with panelling.
• Kaldewei reserves the right to modify and
improve the technical system without being
obliged to inform any third parties. Please read
the attached additional information, if neces-
sary.
• No part of these mounting instructions may be
reproduced or transferred otherwise without
the express approval of Kaldewei.
CZ
GB
F
I
E
Transport the bathtub with panelling in
its transport box only andavoid improper
loads.
Kaldewei shall notassume any liability for
damage incurred due to improper inter-
mediate storage and improper transport.
The installation must be carried out by an
authorized sanitary shop.
All work has to be carried out using spe-
cial technical tools.
When mounting the bathtub, protect the
surface and panelling of it as well as the
wall and floor tiles from damage.
2
Observe the manufacturer’s instructions
when mounting the siphon trap.
Avoid soiling of any kind and, in particular,
soiling which might cause clogging of the
drain.
The ground has to be dustfree, fat-free
and dry when glueing on the bathtub car-
rier and/or the bathtub.
The adhesive (silicone/2-components PUR
foam) to be applied must be suitable for
use with styrofoam. The general manufac-
turer’s instructions have to be observed.
To prevent the adhesive from hardening
during the individual steps, all the steps
have to be taken in direct succession (ob-
serve the drying times of the adhesive).

MONTÁŽNÍ NÁVOD
VANY
S PANELEM
BAIGNOIRES AVEC REVETEMENT
Prenez le temps de lire avec attention les présen-
tes instructions de montage des baignoires avec
revêtement.
Dans cette notice de montage, des pictogram-
mes sont utilisés qui sont décrits ci-après. Ces
pictogrammes servent àmarquer des instructions
et renseignements qui demandent une attention
particulière.
DECLARATION
• Kaldewei a établi ces instructions de montage
en toute conscience.
• Kaldewei se réserve le droit de porter des
modifications au contenu des instructions de
montage sans assumer par cela l’obligation
d’en informer des tiers.
CONSIGNES
Instructions et renseignements permet-
tant d’assurer un fonctionnement irrépro-
chable et une installation sans difficultés
des baignoires avec revêtement.
• Kaldewei se réserve le droit d’effectuer des
modifications ayant pour but l’amélioration de
l’installation technique sans assumer par cela
l’obligation d’en informer des tiers. Veuillez lire,
le cas échéant, les informations supplémentai-
res jointes àla présente.
• Sans approbation expresse de la société
Kaldewei, aucune partie des instructions de
montage ne peut être reproduite ou transmise
d’une autre manière.
CZ
GB
F
I
E
Ne transporter la baignoire avec revête-
ment que dans l’emballage de livraison et
éviter alors des charges non adéquates.
Kaldewei n’assume aucune responsabi-
lité pour des dommages résultant d’un
stockage provisoire non approprié et d’un
transport incorrect.
Le montage ne doit être effectué que par
une entreprise autorisée spécialisée dans
l’installation d’appareils sanitaires.
Tous les travaux doivent être effectués
avec les outils d’usage dans la profession.
Lors du montage, la surface de la baignoi-
re, le revêtement ainsi que les carreaux des
murs et des sols doivent être proté-
gés contre tout endommagement.
3
Lors du montage du siphon, observer les
indications du constructeur.
Il faut éviter des encrassements de toute
sorte et en particulier des encrassements
pouvant entraîner des engorgements du
tuyau d’écoulement.
La surface de base sur laquelle le support
de la baignoire ou la baignoire est collé(e)
doit être exempte de poussière, exempte
de graisse et être sèche.
La colle àutiliser (silicone / mousse de
montage à2 composants) doit être ap-
proprié au polystyrène. Observer les indi-
cations générales du constructeur.
Afin que la colle utilisée ne durcisse pas
entre les différentes phases des travaux,
toutes les phases des travaux doivent être
exécutées directement l’une après l’autre
(observer les durées de séchage de la
colle).

MONTÁŽNÍ NÁVOD
VANY
S PANELEM
VASCHE DA BAGNO CON RIVESTIMENTO
Concedetevi qualche minuto per leggere con
attenzione queste istruzioni di montaggio della
vasche da bagno con rivestimento.
In esse si fa uso dei pittogrammi descritti nel se-
guito, i quali caratterizzano istruzioni ed avverten-
ze che richiedono un‘attenzione particolare.
SPIEGAZIONE
• Kaldewei ha redatto le presenti istruzioni di
montaggio secondo scienza e coscienza.
• Kaldewei si riserva il diritto di modificare il
contenuto delle istruzioni di montaggio senza
assumersi l’obbligo di comunicarle a terzi.
AVVERTENZE
Istruzioni e informazioni che assicurano un
funzionamento perfetto ed una instal-
lazione senza difficoltà delle vasche da
bagno con rivestimento.
• Kaldewei si riserva il diritto di apportare modi-
fiche per migliorare le caratteristiche tecniche
del prodotto senza assumersi l’obbligo di co-
municarle a terzi. Leggere eventualmente le
informazioni supplementari in allegato.
• Nessuna parte delle presenti istruzioni di
montaggio puòessere riprodotta o altrimenti
trasmessa senza l’espressa autorizzazione della
Kaldewei.
CZ
GB
F
I
E
Trasportare la vasca con rivestimento
solo nell’imballaggio originale ed evitare
qualsiasi sollecitazione che possa dan-
neggiarlo.
La Kaldewei declina qualsiasi responsa-
bilitàper gli eventuali danni dovuti all’im-
magazzinamento intermedio o al trasporto
scorretto.
Il montaggio deve essere eseguito solo da
una ditta specializzata in impianti igienico-
sanitari ed autorizzata.
Tutti i lavori vanno eseguiti con attrezzi
consueti.
Durante il montaggio, proteggere la su-
perficie ed il rivestimento della vasca da
bagno e le piastrelle del pavimento e
delle pareti.
4
Per il montaggio del sifone, osservare le
istruzioni del produttore.
Evitare lo sporco di qualsiasi tipo, in parti-
colare lo sporco che puòcausare l’intasa-
mento dello scarico.
La superficie su cui si incolla il supporto
della vasca nonchèla vasca stessa deve
essere asciutta e priva di polvere e gras-
so.
La colla utilizzata (silicone/schiuma PUR
a
2 componenti) deve essere adatta per
polistirolo. Si devono osservare le avver-
tenze generali del produttore.
Affinché la colla utilizzata non si indurisca
tra una fase di lavoro e l’altra, tutte le fasi
di lavoro devono essere eseguite diretta-
mente in sequenza (attenzione ai tempi di
indurimento della colla).

MONTÁŽNÍ NÁVOD
VANY
S PANELEM
BAÑERAS CON REVESTIMIENTO
Tómese un poco de tiempo y lea atentamente
estas instrucciones de instalación para bañeras
con revestimiento.
En las instrucciones se utilizan los pictogramas
que se describen a continuación. Con estos pic-
togramas se caracterizan las instrucciones y nor-
mas de montaje importantes.
DECLARACIÓN
• Kaldewei ha elaborado estas instrucciones con
todos los conocimientos de que dispone.
• Kaldewei se reserva el derecho de modificar el
contenido de este manual de montaje sin pre-
vio aviso.
CONSEJOS
Instrucciones e indicaciones que garanti-
zan una instalación sin dificultades y un
funcionamiento perfecto de las bañeras
con revestimiento.
• Kaldewei se reserva el derecho de modificar
sin previo aviso la instalación técnica con el fin
de mejorar sus prestaciones. Por favor, lea las
informaciones adicionales adjuntas.
• Ninguna parte de este manual de instrucciones
podrá ser reproducida o utilizada con cualquier
otro fin, sin la autorización explícita de la em-
presa Kaldewei.
CZ
GB
F
I
E
Transporte la bañera con revestimiento
únicamente en el embalaje de suministro
y procure no poner encima cargas pesa-
das.
Kaldewei no se responsabiliza de los
daños originados por el almacenamiento
provisional o el transporte inadecuados.
La instalación deberá efectuarse única-
mente por un técnico autorizado especia-
lista en sanitarios.
Todos los trabajos se realizarán con herra-
mientas habituales de trabajo.
Durante la instalación se deberán pro-
teger de los dańos las superficies y el
revestimiento de la bañera y los azulejos
y baldosas.
5
Al montar el sifón se deberán seguir las
instrucciones del fabricante.
Deberá evitar cualquier tipo de suciedad,
en concreto ensuciamientos que pudieran
originarse por obstrucción del desagüe.
El suelo sobre el que se vaya a adherir la
bańera o el soporte de la bañera debe
estar limpio, seco y sin grasa.
El adhesivo que se vaya a emplear (masa
de montaje de 2 componentes / silicona)
debe ser apropiado para icopor. Deberá
seguir las instrucciones generales del
fabricante.
Con el fin de que el adhesivo empleado
no se endurezca entre las fases de traba-
jo, éstas deberán realizarse una detrás de
otra (cumplir los tiempos de secado del
adhesivo).

MONTÁŽNÍ NÁVOD
VANY
S PANELEM
CZ
GB
F
I
E
6

MONTÁŽNÍ NÁVOD
VANY
S PANELEM
OBSAH DODÁVKY
SCOPE OF SUPPLY
ÉTENDUE DE LIVRAISON
VOLUME DI FORNITURA
ARTÍCULOS INCLUIDOS EN LA
ENTREGA
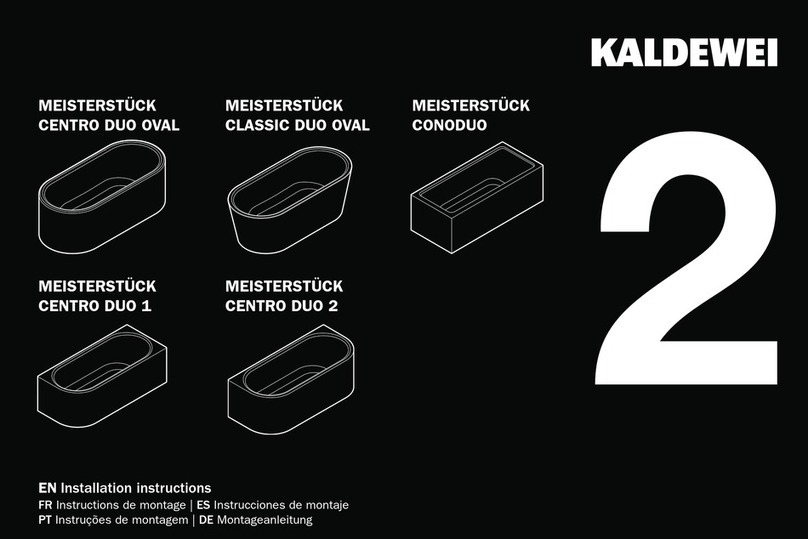
DUO POOL
Mod. 150
CZ
GB
F
I
E
OBSAH DODÁVKY
SCOPE OF SUPPLY
ÉTENDUE DE LIVRAISON
VOLUME DI FORNITURA
ARTÍCULOS INCLUIDOS EN LA
ENTREGA
STUDIO Mod. 826
STUDIO STAR Mod. 827
STUDIO Mod. 828
STUDIO STAR Mod. 829
PUNTA DUO 3 Mod. 910
7

MONTÁŽNÍ NÁVOD
VANY
S PANELEM
POTŘEBNÉ NÁŘADÍ
REQUIRED TOOLS
OUTILS NÉCESSAIRES
ATTREZZI NECESSARI
HERRAMIENTAS NECESARIAS
CZ
GB
F
I
E
MONTÁŽ PŘED HRUBOU STĚNU (S OBKLADEM
)
INSTALLATION IN FRONT OF
THE BARE WALL(TILING)
SITUATION D’INSTALLATION
DEVANT UN MUR BRUT
(A CARRELER)
SITUAZIONE DI INSTALLAZIONE
DAVANTI AD UN MURO GREZ-
ZO (DA PIASTRELLARE)
SITUACIÓN DE MONTAJE ANTE
PARED NATURAL (ALICATADA)
8

MONTÁŽNÍ NÁVOD
VANY
S PANELEM
MONTÁŽ PŘED OBLOŽENOU STĚNU
INSTALLATION IN TILED COR-
NER OF A ROOM
SITUATION D’INSTALLATION
DANS UN COIN DEJA CARRELE
DE LA SALLE
SITUAZIONE DI INSTALLAZIONE
IN UN ANGOLO GIA PIAST-
RELLATODELLA STANZA DA
BAGNO
SITUACIÓN DE MONTAJE EN
ESQUINASALICATADAS
CZ
GB
F
I
E
VYZNAČENÍ POLOHY SIFONU
DETERMINATIONOFSIPHON
POSITION
DETERMINATION DE LA POSITION
DU SIPHON
DETERMINAZIONE DELLA
POSIZIONE DEL SIFONE
DETERMINACIÓN DE LA
POSI
CIÓN DEL SIFÓN
9

MONTÁŽNÍ NÁVOD
VANY
S PANELEM
VÝŘEZY V POLYSTYRÉNOVÉM NOSIČI
CUTTING TO SIZE OF BATHTUB
CARRIER
COUPE DU SUPPORT DE LA
BAIGNOIRE
TAGLIO DEL SUPPORTO DELLA
VASCA DA BAGNO
CORTE AMEDIDADEL SOPOR-
TE DE LA BAÑERA
CZ
GB
F
I
E
KONTROLA MONTÁŽNÍ POLOHY
INSTALLATION CHECK
VERIFICATIONDELA SITUATION
D’INSTALLATION
VERIFICADELLA SITUAZIONE
DI
INSTALLAZIONE
COMPROBACIÓN DE LA
SITUACIÓN DE MONTAJE
10

MONTÁŽNÍ NÁVOD
VANY
S PANELEM
NALEPENÍ POLYSTYRÉNOVÉHO NOSIČE
AFFIXING THE BATHTUB CAR-
RIER
COLLAGE DU SUPPORT DE LA
BAIGNOIRE
INCOLLAMENTO DEL SUPPOR-
TO DELLA VASCA DABAGNO
ADHESIÓN DEL SOPORTE DE
LA BAÑERA
CZ
GB
F
I
E
USAZENÍ POLYSTYRÉNOBÉHO NOSIČE
ALIGNMENT OF BATHTUB CAR-
RIER
ALIGNAGE DU SUPPORT DE LA
BAIGNOIRE
ALLINEAMENTO DEL SUPPOR-
TO DELLA VASCA DABAGNO
ALINEACIÓN DEL SOPORTE DE
LA
BAÑERA
11

MONTÁŽNÍ NÁVOD
VANY
S PANELEM
PŘÍPRAVA VANY
PREPARATION OF BATHTUB
PREPARATION DE LABAIG-
NOIRE
PREPARAZIONEDELLA VASCA
DA BAGNO
PREPARACIÓN DE LA BAÑERA
CZ
GB
F
I
E
USAZENÍ VANY A PŘÍPOJENÍ SIFONU
INSTALLATION OF BATHTUB
AND CONNECTIONOFSIPHON
MISE EN PLACE DE LA BAIG-
NOIRE ET RACCORDEMENT DU
SIPHON
POSA DELLA VASCA DA BAGNO
E COLLEGAMENTO DEL SIFONE
INSTALACIÓN DE LA BAÑERA Y
CONEXIÓN DEL SIFÓN
12

MONTÁŽNÍ NÁVOD
VANY
S PANELEM
USAZENÍ VANY
ALIGNMENT OF BATHTUB
ALIGNAGE DE LA BAIGNOIRE
ALLINEAMENTO DELLA VASCA
DA BAGNO
ALINEACIÓN DE LA BAÑERA
CZ
GB
F
I
E
MONTÁŽ PANELŮ
FITTING OF THEPANELLING
SYSTEM
MISE EN PLACE DU REVETE-
MENT
MONTAGGIO DEL RIVESTIMEN-
TO
COLOCACIÓN DEL REVESTIMI-
ENTO
13

MONTÁŽNÍ NÁVOD
VANY
S PANELEM
MONTÁŽ PANELŮ
FITTING OF THEPANELLING
SYSTEM
MISE EN PLACE DU REVETE-
MENT
MONTAGGIO DEL RIVESTIMEN-
TO
COLOCACIÓN DEL REVESTI-
MIENTO
CZ
GB
F
I
E
SPÁROVÁNÍ VANY
JOINTING THE BATHTUB
JOINTOIEMENT DE LA BAIG-
NOIRE
RIFINITURA DELLE COMMES-
SURE DELLA VASCA DA BAGNO
LLAGUEADO DE LA BAÑERA
14
Other manuals for DUO POOL 150 Series
1
This manual suits for next models
10
Table of contents
Other Kaldewei Bathtub manuals