manuals.online logo
Brands
  1. Home
  2. •
  3. Brands
  4. •
  5. Kartsana
  6. •
  7. Medical Equipment
  8. •
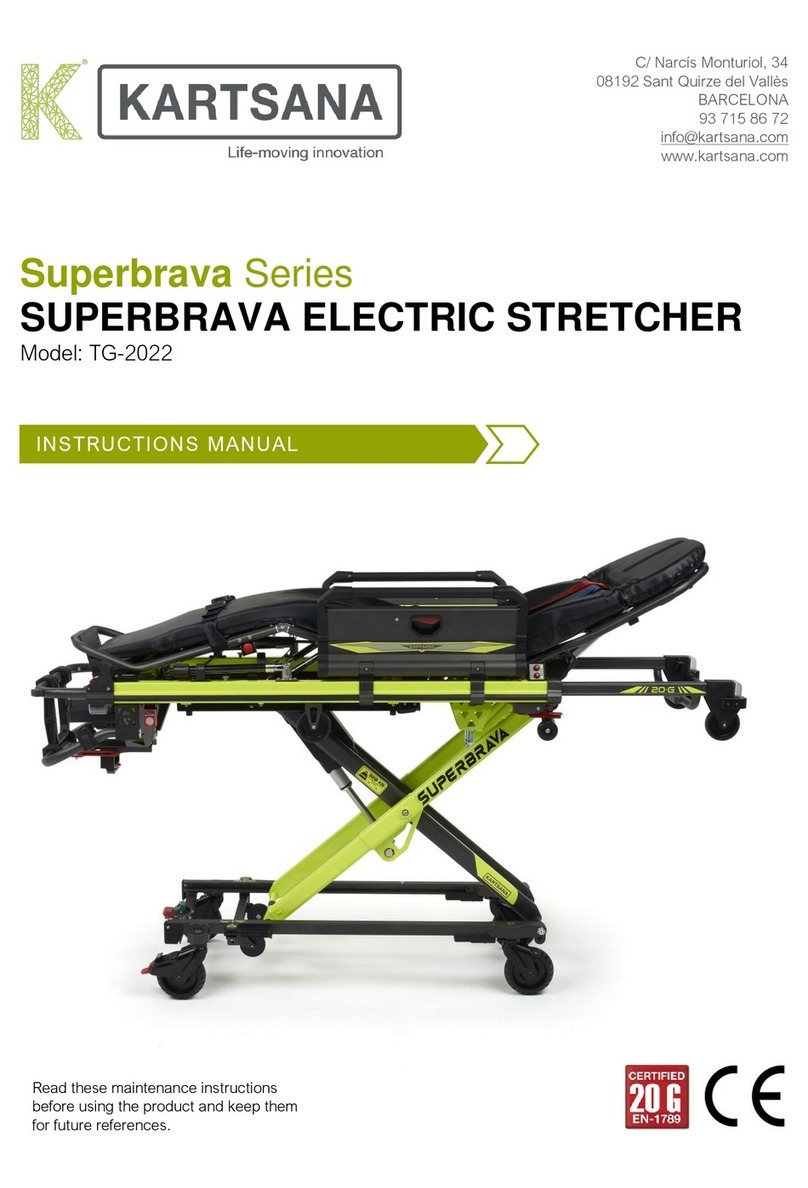
  9. Kartsana SUPERBRAVA TG-2022 User manual

Kartsana SUPERBRAVA TG-2022 User manual

QUICK GUIDE
TG-2022 SUPERBRAVA
+34 93 715-86-72
info@kartsana.com
www.kartsana.com
TG-2022
SUPERBRAVA
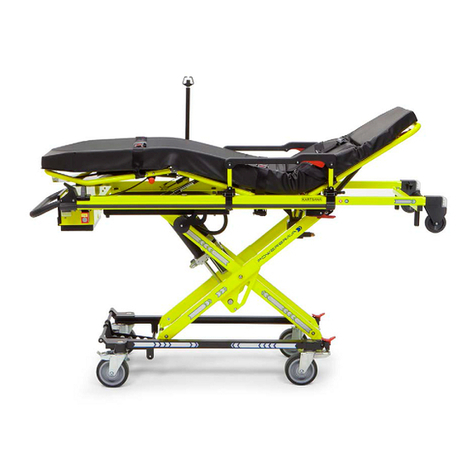
Electric stretcher
Maximum unassisted load
320Kg
Weight
78 Kg
Standards
UNE-EN-1865-2
UNE-EN-1865-3
EN-1789+A1
UNE-EN 60601-1 / UNE-EN 61000-6
UL-1642
Backrest Articulation/Shock Position
De 0º a 80º
Footrest Articulation/Shock Position
Double articulation
Wheels diameter
150 mm
Total Length 1
2090 mm
Total Width
590 mm
Maximum and minimum height 2
347 mm-1240 mm
Loading Height 3
Máx. 1090 mm
Recommended operatives required to load / unload an
occupied stretcher
1 operative, or 2 if the stretcher were occupied by a
larger sized patient.
Recommended/Compatible fixation system
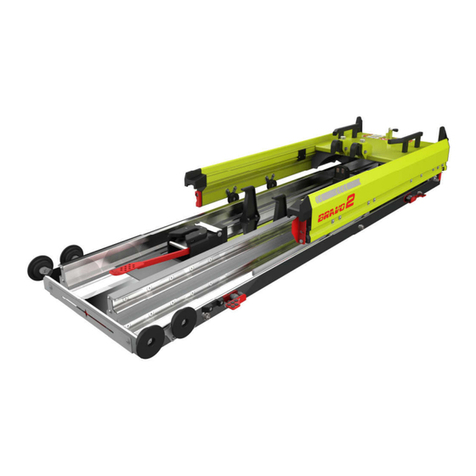
Rail SUPERBRAVO 1 and SUPERBRAVO 2
QUICK GUIDE
TG-2022 SUPERBRAVA
+34 93 715-86-72
info@kartsana.com
www.kartsana.com
1. Installing the battery
The first step to work with the SUPERBRAVA is to place the 28V battery that powers the
system. To do this we will place the battery in the connector incorporated in the stretcher.
To remove the battery, simultaneously press the
red buttons and pull to unclip the battery from its
connector.
The autonomy of the battery in no-load mode
(without charge) should be about 130 cycles.
If the battery becomes excessively discharged, it
must be charged using the external battery
charger. Do not attempt to charge the excessively
discharged battery with the charging point of the
Rail SUPERBRAVO.
The front part of the stretcher corresponds to the head part of the stretcher.
The battery is delivered with a minimum charge. Before operating the stretcher, the battery
must be charged with the supplied charger until all the charge indicator LEDs are lit. After that
you CAN work normally.
2. Starting and controlling the stretcher
To avoid possible injury to the patient and attendants in the event of an accident, do not place
objects in the path of the moving parts of the stretcher. It is also advisable to avoid protruding
elements inside the ambulance. The system starts up once the battery is connected to the
stretcher and the power switch is turned on. The number of lit LEDs on the control unit will
indicate the state of charge of the battery.
Functions of the buttons on the control panel
Yellow button: by pressing it, the LEDs on the stretcher light up.
Red button Right: The stretcher unfolds to the end of the stroke. It
will fully deploy with a single press until the end of the stroke if the
stretcher is positioned on the rail. This cycle can be interrupted by
touching any button.
Red button Left: The stretcher is folded to the end of the stroke.
When the end of travel is reached, the Stretcher Fold position LED
lights up. It will fold completely with a single push to the end of the
stroke if the stretcher is positioned on the rail. This cycle can be
interrupted by touching any button.
Red Right + yellow button: the stretcher folds out to its maximum
height, ignoring the end of travel.
The stretcher goes into low power Stand-By mode if no button is pressed for 60 minutes.
Simply press any button to switch the stretcher on again.
QUICK GUIDE
TG-2022 SUPERBRAVA
+34 93 715-86-72
info@kartsana.com
www.kartsana.com
Functions of the auxiliary control panel:
Red button Right: The stretcher unfolds to the end of travel. It will fully
deploy with a single press to the end of travel if the stretcher is
positioned on the rail. This cycle can be interrupted by touching any
button.
Red button Left: The stretcher folds down to the end of the stroke.
When the end of the stroke is reached, the Stretcher Fold position LED
lights up. It will fold completely with a single push to the end of the
stroke if the stretcher is positioned on the rail. This cycle can be
interrupted by touching any button.
3. Adjustable reclining headrest
The movement of the headrest is controlled by the auxiliary control
controls on the right and left side of the stretcher. The system allows
the head to be positioned at the desired inclination.
Top button: Headrest UP button. Raises the head to the end of the
stroke.
Lower button: DOWN button. Lowering of the head to the end of the
stroke.
4. Extendable back rest frame
Before carrying out this action the back rest must be put at its most upright position.
To extract or fold up the telescopic back rest frame, you must pull one of the two red triggers
located on each side of the stretcher. Stretching or pressing the back rest frame at the same
time.
The head frame has
a mechanical stop in
the intermediate
position (2090 mm
long), one in the
folded position (1723
mm) and one in the
extended position
(2210 mm). When
the travel of the head
frame reaches each
of these three positions, the red lever "clicks" back into its original position.
It is important that when the stretcher is inserted into the Superbravo rail, the position of the
front frame is intermediate. If it is in the extended or folded position it could cause damage to
the stretcher and/or the operator.
Red
Triggers
QUICK GUIDE
TG-2022 SUPERBRAVA
+34 93 715-86-72
info@kartsana.com
www.kartsana.com
5. Adjustable leg and footrest:
Button for adjusting the leg inclination:
The required inclination of the leg rest can
be obtained by pressing button A and
moving the leg rest manually. Once the
correct inclination has been reached,
release button A to automatically lock the
leg rest.
Button for adjusting the foot inclination:
Press button B to change the feet inclination to the required position without changing the
inclination of the legs, moving it only in the direction shown in the figure below until the required
inclination is obtained.
BUTTON A
The adhesive on the part of
the stretcher shown in the
drawing on the left indicates
the red button that must be
pressed to adjust the
position of the legs.
.
BUTTON B
QUICK GUIDE
TG-2022 SUPERBRAVA
+34 93 715-86-72
info@kartsana.com
www.kartsana.com
6. Guardrails
The safety rails can be adjusted from a fully horizontal position to a 90-degree position. The
system allows the guardrail to be fixed in the 5 intermediate positions. The upward
movement from the horizontal position
to the 90° position is carried out
manually. Once the desired position is
reached, the position of the railing is
automatically fixed.
To unlock the system, the red handles
must be pressed, releasing the
system, and the handrails can be
moved manually towards the outside
of the stretcher.
7. IV Poles
The stretcher is equipped with two I.V. holders on
both sides of the SUPERBRAVA stretcher. The IV
pole is raised to its vertical position so that it can
be fixed perpendicularly to the stretcher.
The length of the IV pole can be lengthened or
shortened by unscrewing the fixings on the
telescopic rod. Lift the hook to the desired
position and screw the attachment back on.The maximum permissible load of the whey
pole is 6 kg.
8. Rear wheel brake lever
Activate the lever with your foot to enable the brake to lock the rear
wheels. This lever locks both the lengthways and revolving
movement of the trolley.
9. Lever to unlock revolving front wheels
Pressing the red centre lever allows the wheels to turn
freely. Pressing the green rear lever blocks the free rotation
of the wheels.
HANDLE
QUICK GUIDE
TG-2022 SUPERBRAVA
+34 93 715-86-72
info@kartsana.com
www.kartsana.com
10. Emergency lever
In the event of a malfunction of the hydraulic
system, the stretcher can be operated
manually. For the following procedure, it is
essential that the stretcher is handled by two
operators. With the stretcher in the unfolded
position, pull the red trigger located next to the
battery at the rear of the stretcher. The
stretcher will lower to the lower stop and
remain in this position.
In the same way, by pressing the trigger and lifting the stretcher (always between the two
operators), the stretcher legs unfold until the trigger is released and the stretcher is fixed in
the adopted position.
If you wish to load the rail, you must position it on top of the block (as in the normal
procedure) and fold the stretcher manually by pushing the handles located on the lower part
of the chassis.
To insert the rail into the ambulance, the folded position of the stretcher must be held
manually until the rail is secured.

Other Kartsana Medical Equipment manuals

Kartsana Silver TG-1100 User manual

Kartsana

Kartsana Silver TG-1100 User manual

Kartsana BRAVO 2 User manual

Kartsana

Kartsana BRAVO 2 User manual

Kartsana TGM-241 Series User manual

Kartsana

Kartsana TGM-241 Series User manual

Kartsana BRAVA User manual

Kartsana

Kartsana BRAVA User manual

Kartsana Superbrava Series User manual

Kartsana

Kartsana Superbrava Series User manual

Kartsana TGX-241 M User manual

Kartsana

Kartsana TGX-241 M User manual

Kartsana JUPITER TG-880 C User manual

Kartsana

Kartsana JUPITER TG-880 C User manual

Kartsana BRAVA TG-1000 User manual

Kartsana

Kartsana BRAVA TG-1000 User manual

Kartsana TG-241 Series User manual

Kartsana

Kartsana TG-241 Series User manual

Kartsana Fuego TGR-244 User manual

Kartsana

Kartsana Fuego TGR-244 User manual

Kartsana TGE-241 Series User manual

Kartsana

Kartsana TGE-241 Series User manual

Kartsana SUPERBRAVO 2 User manual

Kartsana

Kartsana SUPERBRAVO 2 User manual

Kartsana BRAVA TG-1000 User manual

Kartsana

Kartsana BRAVA TG-1000 User manual

Popular Medical Equipment manuals by other brands

Chattanooga Intelect 225P Operator's manual

Chattanooga

Chattanooga Intelect 225P Operator's manual

REMEDI REMEX-KA6 user manual

REMEDI

REMEDI REMEX-KA6 user manual

Otto Bock 4R160 1 Instructions for use

Otto Bock

Otto Bock 4R160 1 Instructions for use

otometrics Bio-Logic NavPRO ONE quick start guide

otometrics

otometrics Bio-Logic NavPRO ONE quick start guide

MedLinket AM801 quick start guide

MedLinket

MedLinket AM801 quick start guide

3M Littmann Cardiology III quick guide

3M

3M Littmann Cardiology III quick guide

Lifelines Trackit M manual

Lifelines

Lifelines Trackit M manual

InMode MD InMode LUMECCA 515 Operator's manual

InMode MD

InMode MD InMode LUMECCA 515 Operator's manual

ALSA POLIVAC B4/SLT30 2 instruction manual

ALSA

ALSA POLIVAC B4/SLT30 2 instruction manual

Blatchford 4 Bolt ESK+ 239150 manual

Blatchford

Blatchford 4 Bolt ESK+ 239150 manual

Mindray A7 Service manual

Mindray

Mindray A7 Service manual

Stryker Renaissance 1210 Maintenance manual

Stryker

Stryker Renaissance 1210 Maintenance manual

Scheck&Siress CROW manual

Scheck&Siress

Scheck&Siress CROW manual

Haag-Streit Perkins Mk3 instruction manual

Haag-Streit

Haag-Streit Perkins Mk3 instruction manual

Nikon RetinaStation user manual

Nikon

Nikon RetinaStation user manual

TSCI Fluido Irrigation user manual

TSCI

TSCI Fluido Irrigation user manual

Dr. Mach LED 3 user manual

Dr. Mach

Dr. Mach LED 3 user manual

Ypsomed mylife YpsoPump care guide

Ypsomed

Ypsomed mylife YpsoPump care guide

manuals.online logo
manuals.online logoBrands
  • About & Mission
  • Contact us
  • Privacy Policy
  • Terms and Conditions

Copyright 2025 Manuals.Online. All Rights Reserved.