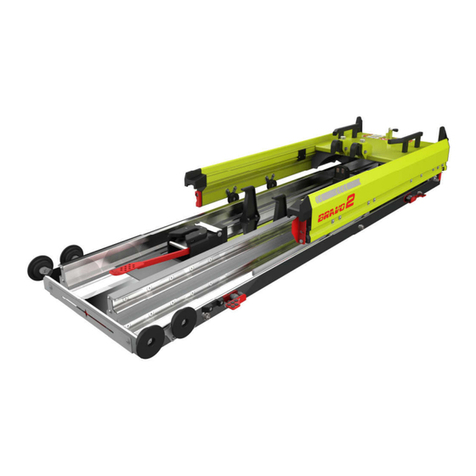
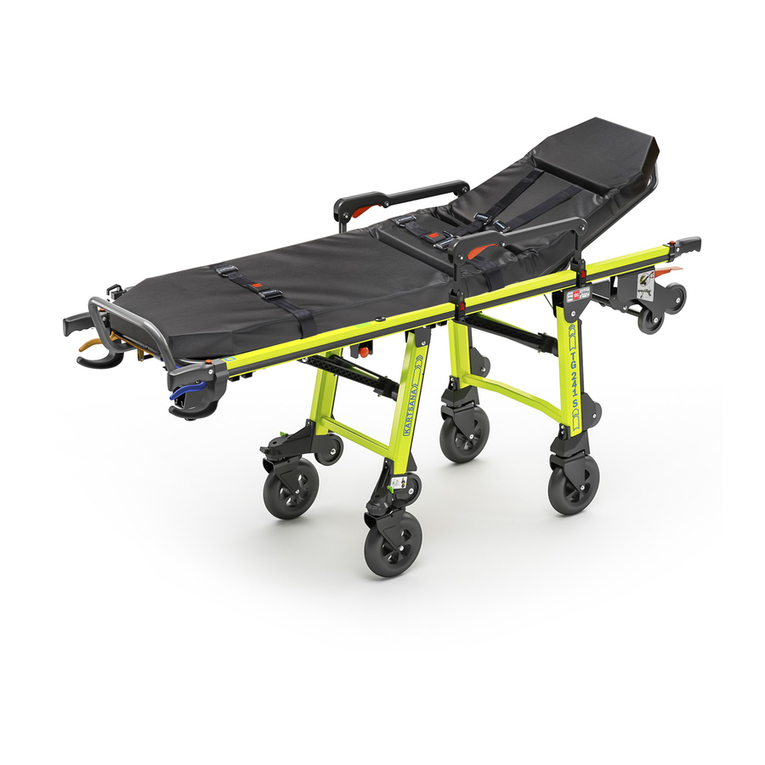
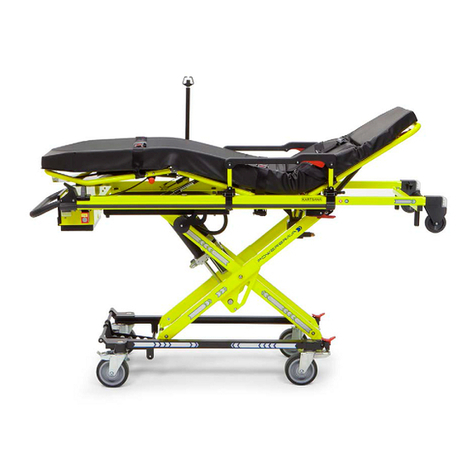
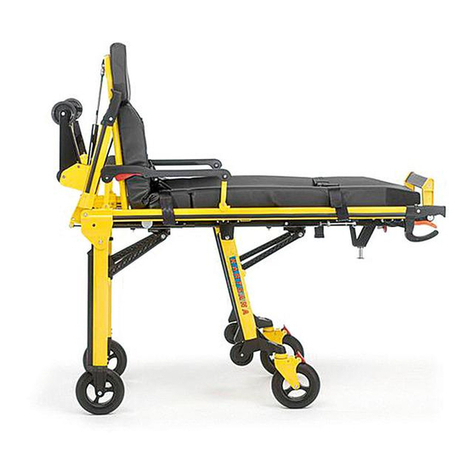
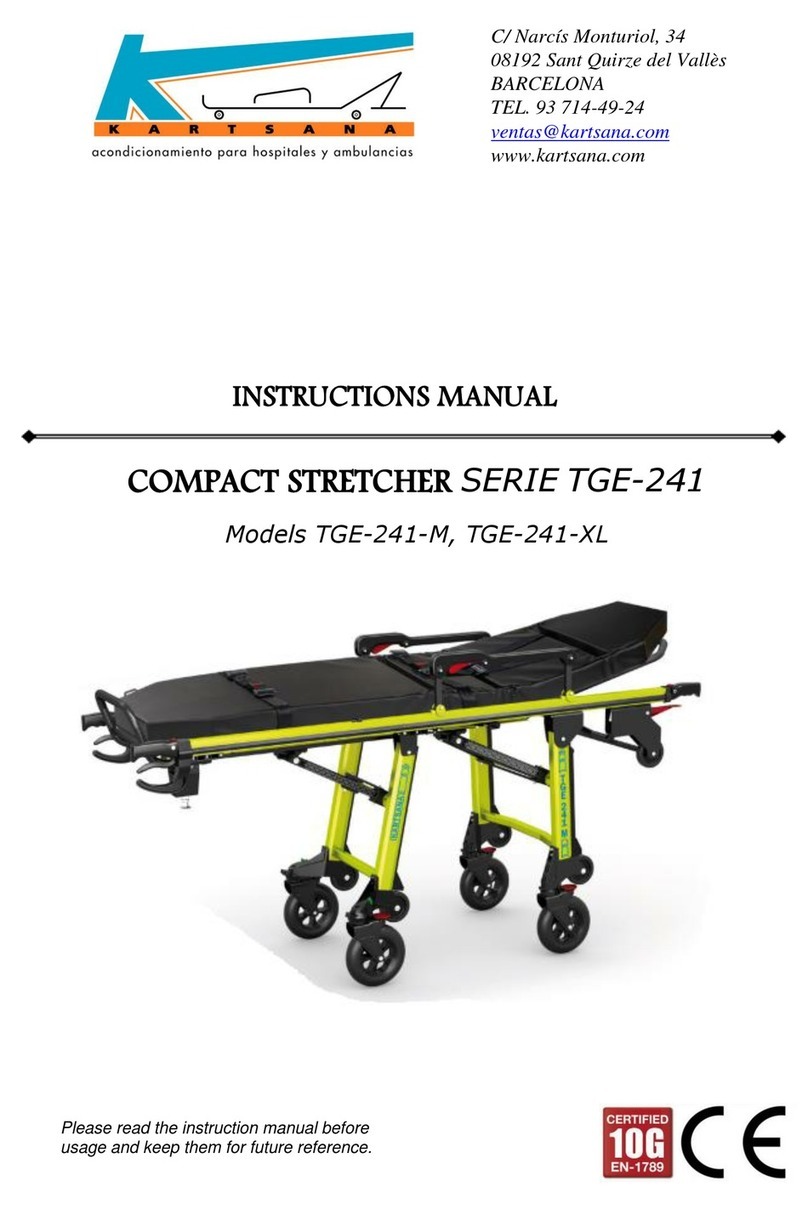
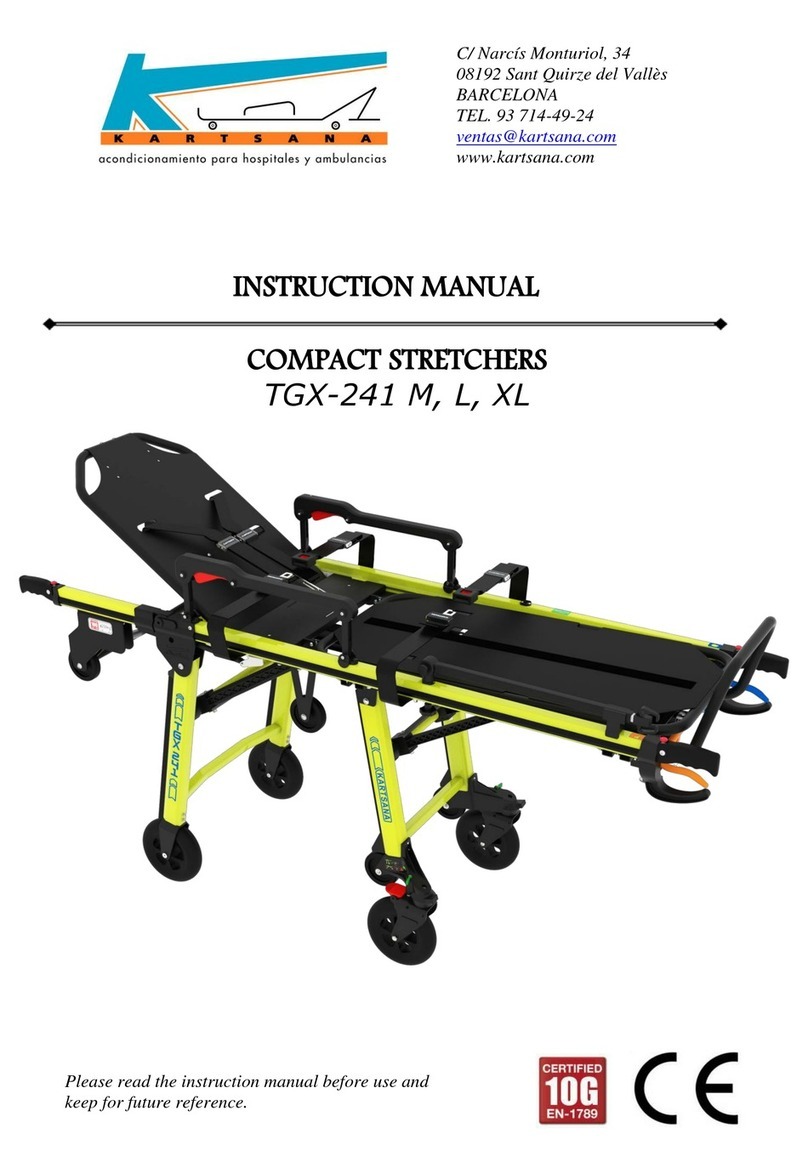
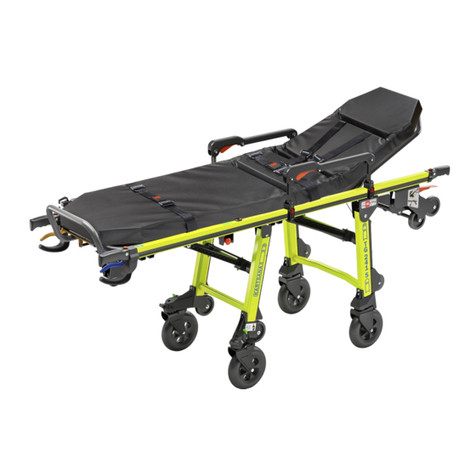
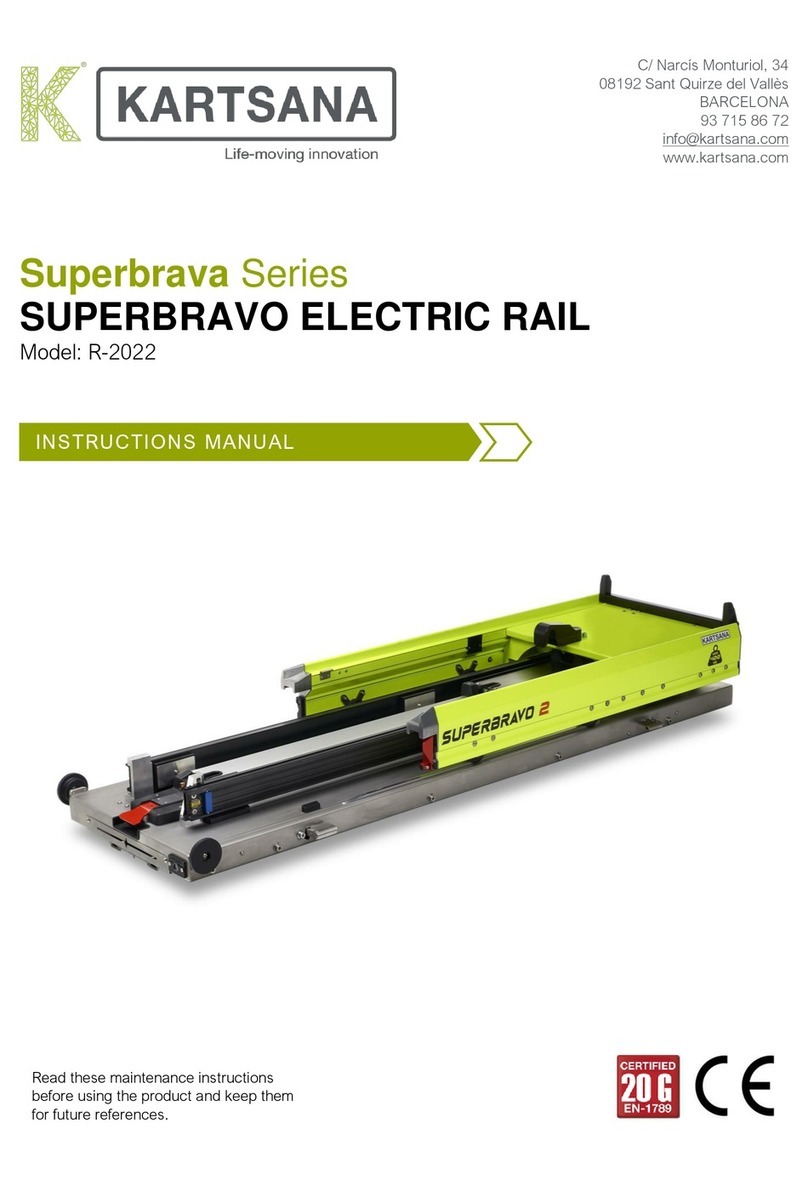
Kartsana Silver TG-1100 User manual

OPERATING AND HANDLING
SILVER STRETCHER
Rev. 4
28.11.22

OPERATING AND HANDLING
SILVER STRETCHER
1
Rev.4
28.11.22
ÍNDICE
1. INTRODUCTION 3
1.1. FOREWORD 3
1.2. INTENDED USE OF PRODUCT 4
1.3. RESPONSIBILITY AND WARRANTY 4
1.4. SPECIFICATIONS 4
1.5. ATTENTION 5
1.6. SUMMARY OF SAFETY PRECAUTIONS 5
2. INSTRUCTIONS MANUAL 6
2.1. TECHNICAL SPECIFICATIONS SILVER STRETCHER 8
2.2. VEHICLE'SCONFIGURATION 9
2.3. OPERATING ANDHANDLING THE STRETCHER 10
2.3.1. INSTALLING THE BATTERY 10
2.3.2. STARTING AND CONTROLLING THE STRETCHER. 11
2.3.3. ADJUSTABLE RECLINING HEAD 15
2.3.4. ADJUSTABLE LEG REST 16
2.3.5. SAFETY RAIL 16
2.3.6. INTRAVENOUS DRIP STAND. 18
2.3.7.WAY OF FASTENING THE SAFETY BELTS TO THE PATIENT. 19
2.3.7.1. Head belts. 19
2.3.7.2. Abdomen belts 19
2.3.8. DISMANTLING-ASSEMBLY OF THE STRETCHER BELTS. 20
2.3.9. POSITION OF THE BELTS. 20
2.3.9.1. Lateral belts. 20
2.3.9.2. Head belts. 21
2.3.10. REAR WHEEL BRAKE LEVER. 22
2.3.11. LEVER TO UNLOCK REVOLVING FRONT WHEELS (ONLY MODEL TG-1100 4) 22
2.3.12. ASSEMBLING THE SILVER STRETCHER ONTO THE R-1100 RAIL 23
2.3.13. TRANSFERRING THE PATIENT TO THE STRETCHER. 27
3. FAULTS 28
4. PRODUCT CARE & DISPOSAL 28
4.1. SERVICING REQUESTS 28
4.2. ENVIRONMENTAL CONDITIONS 29
4.3.CLEANING 29
4.4. MAINTENANCE 30
4.4.1.PRECAUTIONARY MAINTENANCE 30
4.4.2. SERVICING MAINTENANCE 30
4.5. TRANSPORT AND STORAGE 30

OPERATING AND HANDLING
SILVER STRETCHER
2
Rev.4
28.11.22
4.6. DISPOSAL 30
5. EXPLODED SILVER STRETCHER 31
6. ACCESSORIES 37

OPERATING AND HANDLING
SILVER STRETCHER
3
Rev.4
28.11.22
1. INTRODUCTION
1.1. Foreword
The SILVER stretcher has been solely designed to rescue and transport patients. The product
complies with the directive MDR (EU) 2017/745. It is an electric-hydraulic model that allows the
height to be adjusted according to different needs, with just two buttons. Manual operation is
possible when potential faults in the automated system occur.
The SILVER stretcher model must be joined to the ambulance using the KARTSANA R-1100 rail.
This stretcher has been tested according to the regulation UNE-EN 1789.
All information regarding treatment, disinfection and maintenance is indicated, taking into
consideration our current experience and know-how.
We reserve the right to change the specifications of the stretcher to improve the products.
Maximum duty cycle.
60 sec - operating maximum time.
100 sec. - Idle time.
Read the instructions manual Maximum load 230 Kg.
before using.
Medical Product class I.
Warnings and safety instructions
.
- Do not throw away. Send to recycling center.
- Packing should be manage as a reusable refuse.
- Metals should be treated as old metal.
- Plastic product should be treated as recycling material.
- Waste management must be as regulation of the country.
- Ask municipal administration about recycling and refuse.

OPERATING AND HANDLING
SILVER STRETCHER
4
Rev.4
28.11.22
1.2. Intended use of product
The Silver TG-1100 is a powered stretcher, which is intended to support and transport the entire
body of human patient. The battery-powered electro-hydraulic lift system is intended to help
reduce the effort required by the operator to raise and lower the stretcher. The device is designed
to support patients in horizontal position or sitting position and facilitate the transportation of
medical equipment in emergency transport vehicles.
This ambulance stretcher is rated to a maximum capacity of 230Kg, and the intended operators of
the device are trained professionals including emergency medical service and medical care center
personnel, as well as medical first responders.
Ambulance stretchers are intended for transportation purposes. They are not intended for
extended stay or to be used as hospital beds. They are also not intended to be used in devices
which modify air pressure, such as hyperbaric chambers.
1.3. Responsibility and warranty
The stretcher must be checked at the time of its delivery to the rescue organisation. All its
functions must be explained in detail. The assistance organisation must take charge of teaching all
its employees how to use it correctly.
The product has a 24-months warranty from the delivery date to the end user.
The warranty does not cover defects resulting from incorrect installation, misuse or improper use
of the stretcher. All repairs must be made by a technical service authorised by Kartsana or its
respective representative.
The manufacturer will not be liable for any anomaly caused to the stretcher as a result of using
products other than those provided by Kartsana.
Changes or modifications to the unit not expressly approved by Kartsana could void the user’s
authority to operate the system.
1.4. Specifications
Maximum unassisted load 230 Kg
Standards
UNE-EN-1865-2
EN-1789+A1
UNE-EN 60601-1 / UNE-EN 61000-6
UL-1642
Backrest Articulation/Shock Position De 0º a 80º
Footrest Articulation/Shock Position Simple articulation
Wheels diameter 160mm
Total Length 1950mm
Total Width 568mm

OPERATING AND HANDLING
SILVER STRETCHER
5
Rev.4
28.11.22
Maximum and minimum height 1 430mm-1137mm
Loading Height 2 Max. 786 mm
Recommended operatives required to load / unload an
occupied stretcher
1 operative, or 2 if the stretcher were occupied
by a larger sized patient
Recommended/Compatible fixation system Rail R-1100
1Heigt measured from ground level to main structure of the patient area.
2For weights higher than 230kg it recommended to use the stretcher by a low position in patient transport, rising the stretcher until
the necessary position just in the moment of introduce it into the ambulance
Kartsana reserves the right to change specifications without notice.
1.5. Attention
Through this sign, information is furnished on important safety measures for the correct use of the
stretcher, to prevent accidents. The warnings alert the reader about a situation which, if not
avoided, could result in death or serious injury.The cautions alert the reader of a potentially
hazardous situation which, if not avoided, may result in minor or moderate injury to the user or
patient or damage to the equipment or other property. This includes special care necessary for
the safe and effective use of the device and the care necessary to avoid damage to a device that
may occur because of use or misuse.
1.6.- Summary of safety precautions
Carefully read and strictly follow the warnings and cautions listed on these pages. Service only by
qualified personnel.
WARNINGS:
- Improper usage of the stretcher can cause injury to the patient or operator. Operate the stretcher only as described in this manual.
- Do not modify the stretcher or any components of the stretcher. Modifying the product can cause unpredictable operation resulting
in injury to the patient or operator. Modifying the product also voids its warranty.
- Any emergency vehicle to be used with this stretcher must have the compatible fixation system installed.
- Do not attempt to operate the stretcher when it is loaded into a stretcher fastener.
- Have the vehicle safety rail compatible installed by a certified mechanic. Improper rail installation can cause injury to the patient or
operator and/or damage to the stretcher.Verify that the stretcher legs lock into the load position before without contact with the
fender of the vehicle. Failure to properly lock the stretcher height into position can cause injury to the patient or operator and/or
damage to the stretcher
- To avoid risk of electric shock, never attempt to open the battery pack for any reason. If the battery pack case is cracked or
damaged, do not insert it into the charger. Return damaged battery packs to a service center.
- Do not remove the battery when the stretcher is activated.
- Avoid direct contact with a wet battery or battery enclosure. Contact may cause injury to the patient or operator
- Inspect batteries for damage before every use.
- Practice changing height positions and loading the stretcher until operation of the product is fully understood. Improper use can cause
injury.

OPERATING AND HANDLING
SILVER STRETCHER
6
Rev.4
28.11.22
-Do not allow untrained assistants to assist in the operation of the stretcher. Untrained technicians/assistants can cause injury to the
patient or themselves.
- Do not ride on the base of the stretcher. Damage to the product could occur, resulting in injury to the patient or operator.
- Transporting the stretcher sideways can cause the stretcher to tip, resulting in possible damage to the product and/or injury to the patient
or operator. Transporting the stretcher in a lowered position, head, or foot end first, minimizes the potential of a stretcher tip.
- Grasping the stretcher improperly can cause injury. Keep hands, fingers and feet away from moving parts. To avoid injury, use extreme
caution when placing your hands and feet near the base tubes while raising and lowering the stretcher.
- Always use all restraint straps to secure the patient on the stretcher. An unrestrained patient may fall from the stretcher and be injured.
- Never leave a patient unattended on the stretcher or injury could result. Hold the stretcher securely while a patient is on the product.
- Never apply the optional wheel lock(s) while a patient is on the stretcher. Tipping could occur if the stretcher is moved while the wheel
lock is applied, resulting in injury to the patient or operator and/or damage to the stretcher.
- Siderails are not intended to serve as a patient restraint device.
- Hydraulically raising or lowering the stretcher may temporarily affect electronic patient monitoring equipment. For best results, patient
monitoring should be conducted when the stretcher is idle.
- High obstacles such as curbing, steps or rough terrain can cause the stretcher to tip, possibly causing injury to the patient or operator.
- The SILVER TG-1100 stretcher is designed to be compatible with R-1100 rail and is operator responsibility that these products work
together.
- Transporting the stretcher in lower positions reduces the potential of a stretcher tip. If possible, obtain additional assistance or take an
alternate route.
- Two operators must be present when the stretcher is occupied.
- Operators must be able to lift the total weight of the patient, stretcher, and any items on the stretcher.
- Never install or use a wheel lock on a stretcher with excessively worn wheels. Installing or using a wheel lock on a wheel with less than a
160mm diameter could compromise the holding ability of the wheel lock, possibly resulting in injury to the patient or operator and/or
damage to the stretcher or other equipment.
- When cleaning, use any appropriate personal safety equipment (goggles, respirator, etc.) to avoid the risk of inhaling contagion.
- Some cleaning products are corrosive in nature and may cause damage to the product if used improperly. If the products described
above are used to clean Kartsana equipment, measures must be taken to ensure the stretchers are wiped with clean water and thoroughly
dried following cleaning. Failure to properly rinse and dry the stretchers will leave a corrosive residue on the surface of the stretchers,
possibly causing premature corrosion of critical components.
- Failure to properly clean or dispose of contaminated mattress or other stretcher components will increase the risk of bloodborne
pathogens and may cause injury to the patient or operator.
- Escaping fluid under pressure can penetrate the skin causing serious injury. Avoid the hazard by relieving pressure before disconnecting
hydraulic or other lines. Tighten all connections before applying pressure. If an accident occurs, see a doctor immediately. Any fluid
injected into the skin must be surgically removed within a few hours or gangrene may result. Doctors unfamiliar with this type of injury
should reference a knowledgeable medical source.
- To avoid the risk of injury, do not use bare hands to check for hydraulic leaks.
- Take special precautions regarding electromagnetic compatibility (EMC) when using medical electrical equipment like Silver TG-1100
stretcher. Portable and mobile RF communications equipment can affect the function of the stretcher.
- The use of accessories, transducers and cables other than those specified, with the exception of transducers and cables sold by
Kartsana as replacement parts for internal components may result in increased emissions or decreased immunity of the TG-1100 SILVER
stretcher.
CAUTIONS:
- Changes or modifications to the unit not expressly approved by Kartsana could void the user’s authority to operate the system.
- The stretcher can be set at any stretcher load height position. Establish the required stretcher load height before placing the stretcher into
service
- Set the stretcher load height to the proper stop height prior to operation.
OPERATING AND HANDLING
SILVER STRETCHER
7
Rev.4
28.11.22
- Installation of the safety hook should be done by a certified mechanic familiar with ambulance vehicle construction. Consult the vehicle
manufacturer before installing the safety hook and be sure that the installation of the safety hook does not damage or interfere with the
brake lines, oxygen lines, fuel lines, fuel tank or electrical wiring of the vehicle.
- Only use the battery and charger as specified in this Instruction Manual.
- The stretcher is not for use with an AC adapter.
- When charging a battery in an ambulance, locate the charger in an enclosed cabinet and out of patient reach during transport.
- Ensure that the battery is fully charged prior to placing into service. An uncharged or depleted battery may cause poor stretcher
performance.
- Before operating the stretcher, clear any obstacles that may interfere and cause injury to the operator or patient.
- When unloading the stretcher from the patient compartment, ensure that the caster wheels are safely set on the ground or damage to the
product may occur.
- Remove the battery if the stretcher is not going to be used for an extended period (more than 24 hours).
- Wheel lock(s) are only intended to help prevent the stretcher from rolling while unattended and to aid in patient transfer. A wheel lock may
not provide sufficient resistance on all surfaces or under loads.
- Ensure that the restraints are not entangled in the base frame when raising and lowering the stretcher.
- Do not store items under the stretcher mattress. Storing items under the mattress can interfere with the operation of the stretcher.
- Do not steam clean or ultrasonically clean the unit.
- Maximum water temperature should not exceed 80°C.
- Allow stretcher to air dry.
- Towel dry all casters and interface points.
- Failure to comply with these instructions may invalidate any/all warranties.
- Always remove the battery before washing the stretcher.
- For additional maintenance information, see the preventative maintenance information.
- Improper maintenance can cause injury or damage to the product. Maintain the stretcher as described in this manual. Use only Kartsana
approved parts and maintenance procedures. Using unapproved parts and procedures could cause unpredictable operation and/or injury
and will void the product warranty
- Failure to use authorized parts, lubricants, etc. could cause damage to the stretcher and will void the warranty of the product.
- Hydraulic lines, hoses, and connections can fail or loosen due to physical damage, kinks, age, and environment exposure. Check hoses
and lines regularly to avoid damage to the stretcher. Check and tighten loose connections.
NOTES:
- Loose items or debris on the patient compartment floor can interfere with the operation of the safety hook and stretcher fastener. Keep
the patient compartment floor clear
- This manual should be considered a permanent part of the stretcher and should remain with the product even if the stretcher is
subsequently sold.
- Kartsana continually seeks advancements in product design and quality. Therefore, while this manual contains the most current product
information available at the time of printing, there may be minor discrepancies between your stretcher and this manual
- Kartsana recommends that, prior to installation, the certified mechanic plan the placement of the safety hook in the rear of the vehicle.
- Automatic charging will only occur with the batteries. Pak batteries supplied by Kartsana.
- Only use Kartsana-approved batteries with R-1100 rail.
- Batteries slowly lose power when not on the charger.

OPERATING AND HANDLING
SILVER STRETCHER
8
Rev.4
28.11.22
2. INSTRUCTIONS MANUAL
2.1. Technical specifications SILVER stretcher
Make sure that no damage is caused to the areas containing the stretcher mechanisms, to
prevent them from malfunctioning.
Aprox. Weight: 69 kg
Trolley dimensions: Elevation in mm
FOLDED LEGS

OPERATING AND HANDLING
SILVER STRETCHER
9
Rev.4
28.11.22
2.2. Vehicle's configuration
This installing instructions are recommended for the fixation of the assembly SILVER-SILVER
(stretcher + rail) of Kartsana. The correct installation of the fastening system (rail) is providential
for the appropriate use of the joint.
You have to screw the fixed part
of the rail in a way that there has
to be a maximum distance of
50mm from the backdoor of the
ambulance (from the base of the
Silver).
We must take into account the
distance / type of fender that the
ambulance has, so if the fender
protrudes more than 180mm we
will have to adapt it to allow
proper rise of the legs of the
stretcher.
Depending on the model of
ambulance and the type of rear
bumper fixing measures may
change and / or adapt.

OPERATING AND HANDLING
SILVER STRETCHER
10
Rev.4
28.11.22
2.3. Operating and handling the stretcher
2.3.1. Installing the battery
The first step when working with SILVER is to install the 24 V battery which power the
system. To do this, we place the battery opposite their housings at the front-right of the
stretcher and push until it locks.
To remove the battery, press the small trigger located on the lower left-hand side and
pull carefully.
The battery life under normal circumstances (from 80 to 120 kg load) should be about
20 cycles.
Information note:
The front part of the stretcher corresponds to the head part.
Batteries are delivered with a minimum charge. Prior to operating the bed we charge the
batteries with the charger supplied, until the LED turns green it. After that we can work
normally.
Trigger to
remove battery

OPERATING AND HANDLING
SILVER STRETCHER
11
Rev.4
28.11.22
2.3.2. Starting and controlling the stretcher.
To avoid potential injury to the patient and companions, do not place objects in the
way of the moveable parts of the stretcher. It is also recommended to avoid having
objects that stick out the ambulance.
The stretcher has a security system to avoid collapse in the case of system failure.
To start the system, we must press the yellow button on the control panel for 2 seconds.
The control panel leds will turn on. Afterwards, we will be able to manoeuvre just with the
orange button (to lower stretcher) and with the blue button (to raise stretcher). From then
on, if we press the yellow button again the amber emergency lights at the four ends of the
bed will turn on (see emergency lights photo). We should also see the two battery level leds
lit up. The upper line of lights shows the voltage level of battery 1 whilst the lower line shows
that of battery 2.
If the level lights are in the green area, the charge level is high, this is the optimum level to
carry out the manoeuvres necessary. If they are at the orange level this shows that they are
half charged and if they show red we are being warned that we must recharge the batteries
as they may soon stop working due to the low voltage level.
Control
panel
Stretcher
Down
Stretcher
Up
On/off lights
Battery charge
level
Led showing
“stretcher
entirely folded
up”

OPERATING AND HANDLING
SILVER STRETCHER
12
Rev.4
28.11.22
Once both batteries have been installed the system will be powered by battery 1, when this
runs down, the system will automatically switch to battery 2. Both will recharge when the
stretcher is on the rail and inside the ambulance.
The level screen also shows us any possible system errors. In the following table we will
show all the incidences that the display can show.
FAILATURE MESSAGE CODE LEDS
R R Y Y Y G G G G
Load tension error (ambulance entrance) VERY
LOW
2 ON
Load intensity error VERY HIGH 3 ON
O
N
Error in battery charge due to lack of ambulance
tension or connection switch
4 ON
End of battery charge (by Vmax or time) 5 ON O
N
Reserved
6
ON ON
Charge error due to low battery.
7
ON ON
O
N
Charge error due to exceeding the maximum
PWM duty cycle
8 ON
Upwards movement error due to excess time. 9 ON
O
N
Downwards movement error due to excess time. 10 ON
ON
Engine failure due to exceeding maximum
intensity. 11 ON
ON O
N
Engine failure due to low tension.
12
ON
ON

OPERATING AND HANDLING
SILVER STRETCHER
13
Rev.4
28.11.22
TROUBLESHOOTING
COD DESCRIPTION OF
ERROR
POSSIBLE CAUSE OF
ERROR
SOLUTION
2
The battery Voltage is
below 3V. The battery(ies)
are disconnected or
damaged.
Battery(ies) disconnected
Connect the batteries correctly
in the dock.
Check that the battery cables
are securely connected to the
circuit board.
Damaged battery(ies)
Replace with new battery(ies)
3 The battery Voltage is
above 34V
An overload occurred while
the battery was recharging.
(ONLY use the charger
supplied by KARTSANA or
the stretcher for recharging
the batteries.)
Leave the battery
disconnected, preferably in a
cool place for 3 or 4 hours (or
until it does not show error 3
when connected to the
stretcher) for it to discharge.
Check that the batteries have
not suffered internal damage
while discharging caused by
stretcher raising and lowering
movements. It must perform at
least 15 cycles before
discharging.
Damaged battery(ies)
Replace with new battery(ies)
4
The stretcher does not
receive voltage from the
ambulance.
The stretcher-rail plug does
not connect properly
Check that the two prongs of
the stretcher plug and the rail
are touching, and that no
foreign objects are between
them.
The ambulance battery is
discharged or damaged.
Charge battery or replace with
a new one respectively.
Power cables incorrectly
connected to either the
ambulance, rail or stretcher.
Check cable connections.
Recommended checking
order: ambulance, rail and
stretcher
One of the copper prongs
on the stretcher plug has
not come completely out of
its housing in the plastic
part.
Check that the plug prongs
gently go in and out of their
housing.
5 The Voltage of the two
batteries is below 18V.
Batteries discharged Charge batteries
6
The stretcher is receiving
voltage through the plug
but the copper prongs
have not been pressed in.
The stretcher is not fully
inserted in the rail.
Position it correctly on the
inside of the rail.
7 No batteries detected Batteries disconnected
Fully insert them in the
fastening plate until you hear a
click.

OPERATING AND HANDLING
SILVER STRETCHER
14
Rev.4
28.11.22
Battery(ies) damaged
Replace with new battery(ies)
Batteries very low Charge using the external
charger
8 Failure in recharging
process
Contact technical support Contact technical support
9
More than 22 seconds
have elapsed in the
upward movement
Discharged battery(ies) Charge battery(ies)
Failure in hydraulic system
Contact technical support
The mechanism does not
move freely
Check mechanism in search of
some excessive friction or
interference between parts
10
More than 22 seconds
have elapsed in the
downward movement
Discharged battery(ies) Charge battery(ies)
Failure in hydraulic system Check for possible oil leaks.
Contact technical support
The mechanism does not
move freely
Check mechanism in search of
some excessive friction or
interference between parts
11 Intensity greater than 48A
Stretcher overloaded
Do not load the stretcher with
more than 300 kg.
Discharged battery(ies)
Charge battery(ies)
The mechanism does not
move freely
Check mechanisms in search
of any excessive friction,
blocking or interference
between parts.
12 Voltage lower than 15V
Stretcher overloaded Do not load the stretcher with
more than 300 kg.
Discharged battery(ies) Charge battery(ies)
The mechanism does not
move freely
Check mechanisms in search
of any excessive friction,
blocking or interference
between parts.
After any fault or incident, we must restart the system pressing the three keys at
the same time for 1 seconds.
The system will automatically go on STANDBY if more than 15 minutes pass
without any action being carried out. It will restart by pressing the yellow button
for 2 seconds.
If we perform continuous stretcher raising and lowering movements for 2 min.
we should then stop for 10 sec. for the system to recover and we can continue
operating without problems.
Removing the battery is advised if the stretcher will remain unused for long
periods of time.

OPERATING AND HANDLING
SILVER STRETCHER
15
Rev.4
28.11.22
2.3.3. Adjustable reclining head
Pull the red lever that is located below the head rest and move it to the required position.
Then release the lever so that the head is locked in the required position.

OPERATING AND HANDLING
SILVER STRETCHER
16
Rev.4
28.11.22
2.3.4. Adjustable leg rest
Button for adjusting the leg inclination
The required inclination of the leg rest can be obtained by pressing button A and moving the
leg rest manually. Once the correct inclination has been reached, release button A to
automatically lock the leg rest.
2.3.5. Safety rail
The safety rail has a red bar that locks the rail into place. To lower the rail, just press the bar
as shown in the figure below. To lock it in the safety position again, move it to that position
manually, and it will automatically lock into place.
The adhesive on the part of the
stretcher shown in the drawing on the
left indicates the red button that must
be pressed to adjust the position of
the legs.
Railing
Bar
A

OPERATING AND HANDLING
SILVER STRETCHER
17
Rev.4
28.11.22
Pull the trigger
Pull the trigger
This way the stretcher stays with the folded safety rail:
The safety rail can be folded in the width direction too. You must pull the two triggers at
same time to open the safety rail in width direction. Perform the same operation on both
sides.

OPERATING AND HANDLING
SILVER STRETCHER
18
Rev.4
28.11.22
R
2.3.6. Intravenous drip stand.
The stretcher comes with a drip holder located on the left-hand side. Unscrewing the silver
knob “R” we lift the salt solution section to the vertical position perpendicular to the
stretcher, then we twist the knob again.
The length of said drip pole may be lengthened or shortened pressing a small positioner
located on the inner side, raising the hook until the upper position is reached.
The "drip pole" assembly can be placed on either the left or right side of the stretcher.
Dimensions:
539,5 (+288extended)mm x61mm
Weight: 0,48 Kg
Maximum load allowed: 6Kg
The maximum weight is indicated on the drip rod by
an adhesive like the one shown above.
Table of contents
Other Kartsana Medical Equipment manuals

Kartsana
Kartsana TG-241 Series User manual

Kartsana
Kartsana BRAVA TG-1000 User manual

Kartsana
Kartsana BRAVA TG-1000 User manual

Kartsana
Kartsana SUPERBRAVO 2 User manual

Kartsana
Kartsana TGX-241 M User manual

Kartsana
Kartsana JUPITER TG-880 C User manual

Kartsana
Kartsana Superbrava Series User manual

Kartsana
Kartsana SUPERBRAVA TG-2022 User manual

Kartsana
Kartsana Fuego TGR-244 User manual

Kartsana
Kartsana TGE-241 Series User manual