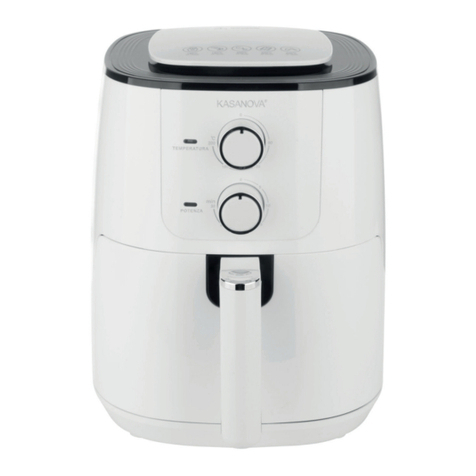
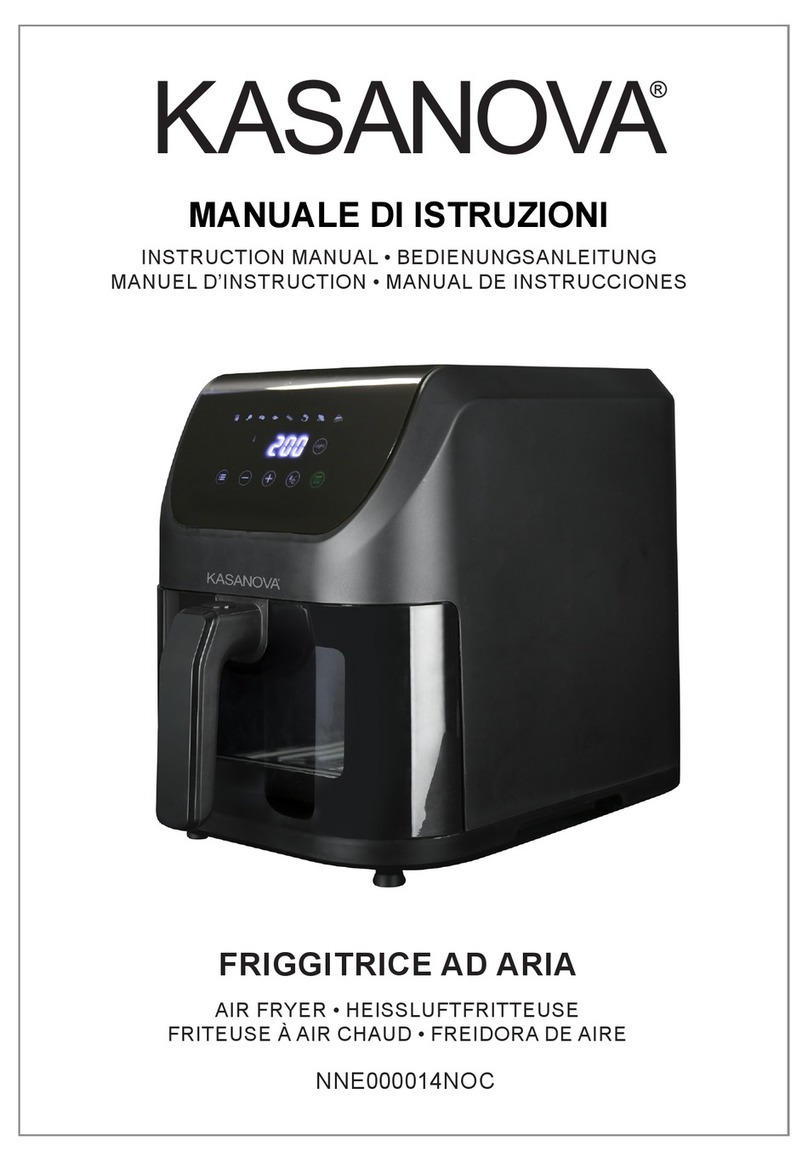
Kasanova LEI003106NOC User manual

FRIGGITRICE DIGITALE
DIGITAL AIR FRYER •DIGITALE HEISSLUFTFRITTEUSE
FRITEUSE À AIR CHAUD NUMÉRIQUE •FREÌDORA DE AIRE DIGITAL
INSTRUCTION MANUAL • BEDIENUNGSANLEITUNG
MANUEL D’INSTRUCTION • MANUAL DE INSTRUCCIONES
MANUALE DI ISTRUZIONI
LEI003106NOC

2FRIGGITRICE DIGITALE
INTRODUZIONE
La friggitrice ad aria sfrutta il sistema a rapida circolazione dell’aria per
preparare cibi che normalmente andrebbero fritti nell’olio. La circolazione
dell’aria genera un usso caldo nel cestello che simula una cottura in
forno e vi consente di preparare gustose e croccanti specialità, ma senza
utilizzare l’olio. Questa friggitrice ad aria presenta un capiente cestello da 5
litri e 8 programmi di cottura preimpostati, ma è anche possibile regolare la
temperatura manualmente da 80 a 200°C e impostare il timer no a 30 minuti.
AVVERTENZE DI SICUREZZA
1. Leggere attentamente le istruzioni prima dell’uso.
2. Conservare la scatola e il materiale di imballaggio per riporre la friggitrice
dopo l’uso.
3. Non immergere il cavo, la spina o qualsiasi parte del prodotto in acqua
o altri liquidi per prevenire il rischio di scosse elettriche e per evitare di
danneggiare la friggitrice.
4. Inserire gli ingredienti da cuocere all’interno del cestello per evitare che
tocchino le resistenze.
5. Non coprire le aperture di circolazione dell’aria mentre l’apparecchio è in
funzione.
6. Non riempire il recipiente di olio per evitare il pericolo di incendi.
7. Non toccare le parti interne dell’apparecchio mentre è in uso.
8. Non utilizzare l’apparecchio se la spina, il cavo di alimentazione o
l’apparecchio stesso sono danneggiati.
9. Qualsiasi operazione di riparazione o manutenzione deve essere eettuata
da personale tecnico qualicato.
10. Tenere il cavo di alimentazione lontano da superci calde.
11. Non collegare o usare l’apparecchio con le mani bagnate.
12. Assicurarsi che l’apparecchio sia correttamente collegato a una presa di
corrente.
13. Tenere l’apparecchio e il relativo cavo fuori dalla portata dei bambini.
14. Questo apparecchio non è stato progettato per essere utilizzato in
abbinamento a un timer esterno o a un sistema separato con telecomando a
distanza.
15. Non posizionare l’apparecchio sopra o in prossimità di materiale
combustibile, ad esempio tovaglie e tende.
16. Non collocare l’apparecchio contro una parete o un altro apparecchio
durante l’uso. Lasciare almeno 10 cm di spazio libero sul retro e i lati e 10
cm di spazio sopra l’apparecchio per non bloccare le aperture di circolazione
dell’aria.
17. Non posizionare alcun oggetto sopra l’apparecchio durante l’uso.

3
FRIGGITRICE DIGITALE
18. Non usare l’apparecchio per scopi diversi da quelli descritti nel presente
manuale.
19. Non lasciare l’apparecchio incustodito durante l’uso.
20. Durante la frittura ad aria calda viene emesso vapore attraverso le
aperture di circolazione dell’aria. Tenere le mani e il visto a distanza di
sicurezza dal vapore e dalle prese d’aria. Fare attenzione al vapore e all’aria
calda quando si rimuove il recipiente dall’apparecchio. Le superci accessibili
potrebbero diventare calde durante l’uso.
21. Scollegare immediatamente l’apparecchio se da quest’ultimo fuoriesce del
fumo scuro. Attendere che dall’apparecchio non fuoriesca più fumo prima di
rimuovere il recipiente.
22. Posizionare e utilizzare sempre l’apparecchio su una supercie piana,
stabile e orizzontale.
23. Questo apparecchio è stato progettato per il solo uso domestico. Non è
progettato per l’uso in ambienti quali zone dedicate alla cucina all’interno di
negozi, uci e altri ambienti di lavoro. Non è ideato per essere utilizzato dagli
ospiti di alberghi, motel, bed and breakfast e in altri ambienti residenziali.
24. La garanzia decade se l’apparecchio è usato a ni professionali o semi-
professionali o se non è usato in conformità alle istruzioni.
25. Lasciare rareddare l’apparecchio per circa 30 minuti prima di maneggiarlo
o pulirlo.
26. Se il cavo è danneggiato, farlo sostituire dal produttore, dal centro
assistenza o da personale debitamente qualicato, per evitare situazioni
pericolose.
27. L’apparecchio può essere utilizzato da bambini di età non inferiore a 8
anni e da persone con ridotte capacità siche, sensoriali o mentali, o con
esperienza e conoscenze insucienti, purché attentamente sorvegliate o
istruite sull’uso sicuro dell’apparecchio e sui pericoli che ciò comporta.

4FRIGGITRICE DIGITALE
DESCRIZIONE GENERALE
1. Pannello laterale
2. Base
3. Pannello superiore
4. Pannello di controllo
5. Cestello
6. Manico
7. Recipiente
PRIMA DELL’USO
1. Rimuovere tutto il materiale di imballaggio, gli adesivi e le etichette
dall’apparecchio.
2. Pulire il cestello e il recipiente con acqua calda, detersivo per piatti e una
spugna non abrasiva.
3. Pulire l’interno e l’esterno dell’apparecchio con un panno pulito.
NOTA: Non riempire il recipiente di olio perché la friggitrice utilizza aria calda.
PROGRAMMI PREIMPOSTATI
Questa friggitrice ad aria dispone di 8 programmi di cottura, tutti con un tempo
e una temperatura di cottura preimpostati. Per selezionare l’impostazione
predenita, premere . È possibile anche cambiare le impostazioni se si
sceglie di cuocere a una temperatura o con un tempo dierenti. Premere i
pulsanti “+” o “-“ vicino ai simboli corrispondenti per aumentare o ridurre il
tempo o la temperatura di cottura. Se non si sceglie l’impostazione predenita,
è possibile selezionare manualmente il tempo e la temperatura di cottura
premendo i pulsanti “+” o “-“.

5
FRIGGITRICE DIGITALE
MODALITÀ D’USO
1. Posizionare la friggitrice ad aria su una supercie orizzontale, piana, stabile
e termoresistente.
2. Inserire il cestello all’interno del recipiente.
NON RIEMPIRE IL RECIPIENTE DI OLIO, GRASSO PER FRITTURA O
ALTRI LIQUIDI.
3. Inserire gli ingredienti nel cestello e reinserire il recipiente all’interno
dell’apparecchio. La luce LED dovrebbe accendersi.
4. Impostare il tempo e la temperatura di cottura selezionando uno degli 8
programmi preimpostati o premendo i pulsanti “+” o “-“ no a raggiungere
l’impostazione desiderata.
NOTA: Quando si imposta il tempo manualmente, ricordarsi di aggiungere
sempre uno o due minuti al tempo di cottura per far riscaldare la friggitrice.
5. Una volta selezionati il tempo e la temperatura di cottura, premere il
pulsante di accensione per iniziare la cottura.
Nota: Per mettere in pausa il processo di cottura o per ripristinare le
impostazioni della friggitrice, premere nuovamente il pulsante di accensione.
Alcuni ingredienti richiedono di essere scossi o girati a metà cottura (vedi
“Consigli per una cottura ottimale”). Per farlo, rimuovere il recipiente
dall’apparecchio, la friggitrice si spegnerà automaticamente. Scuotere il
recipiente o girare gli ingredienti. Reinserire il recipiente con il cestello
all’interno dell’apparecchio. Il ciclo di cottura riprenderà. Assicurarsi di
reimpostare il timer sul tempo di cottura rimanente altrimenti il timer si
reimposterà automaticamente al tempo di partenza.
7. A ne cottura, il timer emetterà 5 segnali acustici. La ventola smetterà di
funzionare dopo 40 secondi.
8. Rimuovere il recipiente dalla friggitrice e posizionarlo sopra una presina.
NOTA: L’olio in eccesso o il grasso sciolto degli ingredienti si raccoglie sul
fondo del recipiente, fare attenzione quando lo si rimuove dall’apparecchio.
9. Controllare che gli ingredienti siano pronti, se non lo sono, reinserire il
recipiente all’interno della friggitrice e reimpostare il tempo e la temperatura
desiderata. Premere il pulsante di accensione per accendere la friggitrice.
10. Per rimuovere gli ingredienti, estrarre il cestello dal recipiente tramite
l’impugnatura.
NOTA: Non rovesciare il recipiente per svuotare il contenuto del cestello
in quanto l’olio raccolto sul fondo del recipiente potrebbe riversarsi sugli
ingredienti.
11. Svuotare il contenuto del cestello in un recipiente o in un piatto.
12. Quando è pronta una prima parte di ingredienti, la friggitrice ad aria è
subito pronta per friggerne un’altra.

6FRIGGITRICE DIGITALE
CONSIGLI PER UNA COTTURA OTTIMALE
La tabella sottostante aiuta a selezionare le impostazioni di base (tempo
e temperatura di cottura) per le pietanze che si desidera preparare. Dal
momento che gli ingredienti sono di origine, dimensione, forma e marca
diversa, non possiamo garantire le impostazioni migliori per gli ingredienti
utilizzati. La friggitrice utilizza un sistema a rapida circolazione dell’aria per
riscaldare la friggitrice, per cui rimuovere il recipiente dalla friggitrice per poco
tempo non interromperà il processo di cottura.
CONSIGLI:
1. È necessario scongelare gli ingredienti surgelati prima di cuocerli
nell’apparecchio. Temperatura consigliata: 80°C. Tempo: 8-12 minuti.
2. In alcuni casi (es. durante la preparazione delle patatine fritte), è necessario
scuotere o capovolgere gli ingredienti a metà cottura.
3. Prima della cottura, tagliare a pezzi le verdure più grandi come le zucchine
e le melanzane.
4. Per la preparazione di ingredienti non elencati, regolare la temperatura e il
tempo di cottura a seconda delle dimensioni e della quantità.
5. É preferibile cuocere gli ingredienti stendendo uno strato per volta, senza
impilarli uno sull’altro. Se impilati, aumentare il tempo di cottura e ricordarsi di
scuotere il cestello a metà cottura.
6. Aggiungere un leggero strato di olio quando si preparano patatine fritte a
base di patate fresche così da farle diventare più croccanti.
7. È sconsigliato l’uso della friggitrice ad aria per cucinare alimenti molto unti.
8. È possibile usare la friggitrice ad aria anche per riscaldare gli ingredienti:
per farlo, impostare la temperatura a 80°C e il tempo di cottura a 10 minuti.
Ingredienti Quantità
(g)
Tempo
(min.)
Tempera-
tura
Scuotere o
capovolgere Note
Patatine fritte 300-500 15-20 200°C Scuotere Da scongelare
prima
Carne di maiale 100-500 12-18 180°C Capovolgere
Gamberetti 300-500 13-15 160°C
Torta 300 12-18 180°C Usare solo il
recipiente
Cosce di pollo 100-500 12-18 200°C Capovolgere
Bistecca 100-500 12-15 180°C Capovolgere
Pesce 300-500 14-20 180°C
Pizza 300-500 18-22 170°C

7
FRIGGITRICE DIGITALE
PULIZIA
1. Scollegare la friggitrice e pulirla dopo ogni uso.
LASCIARE RAFFREDDARE L’APPARECCHIO PER ALMENO 30 MINUTI
PRIMA DI PULIRLO.
NOTA: Non pulire il recipiente, il cestello e l’interno dell’apparecchio con
utensili da cucina in metallo o detergenti abrasivi per evitare di danneggiare il
rivestimento antiaderente.
2. Pulire l’esterno dell’apparecchio con un panno umido.
3. Pulire il recipiente e il cestello con acqua calda, detersivo per piatti e una
spugna non abrasiva.
Consiglio: per eliminare eventuali residui di cibo rimasti attaccati al fondo
del recipiente, lasciarlo ammollo in acqua calda e detersivo per piatti per circa
10 minuti.
4. Pulire l’interno dell’apparecchio con acqua calda e una spugna non
abrasiva.
NOTA: Assicurarsi che non entri acqua all’interno dell’apparecchio; passare un
panno umido per eliminare i residui di cibo e il grasso.
5. Pulire la resistenza con una spazzola per la pulizia per rimuovere i residui di
cibo.

8FRIGGITRICE DIGITALE
RISOLUZIONE DEI PROBLEMI
PROBLEMA POSSIBILE CAUSA SOLUZIONE
La friggitrice non
funziona.
L’apparecchio non è collegato
alla presa di corrente.
Inserire la spina.
Non è stato impostato il tempo
di cottura.
Impostare il tempo di cottura.
Gli ingredienti non
friggono.
La quantità di ingredienti all’in-
terno del cestello è eccessiva.
Inserire una minore quantità
di ingredienti all’interno del
cestello per friggerli in modo più
uniforme.
La temperatura impostata è
troppo bassa.
Aumentare la temperatura di
cottura premendo il pulsante “+”
della temperatura.
Gli ingredienti non
friggono in modo
uniforme.
Alcuni ingredienti devono esse-
re scossi a metà cottura.
Gli ingredienti che tendono ad
impilarsi uno sull’altro (es. le
patatine fritte) devono essere
scossi a metà cottura.
Gli alimenti fritti non
risultano croccanti
dopo la cottura.
Sono stati usati degli ingredienti
che dovrebbero essere fritti
usando una friggitrice tradizio-
nale e non ad aria calda.
Usare ingredienti che possono
essere cotti al forno; altrimenti
spennellare la supercie degli
ingredienti con dell’olio per otte-
nere un risultato più croccante.
Il recipiente non scorre
all’interno dell’appa-
recchio.
La quantità di ingredienti all’in-
terno del cestello è eccessiva.
Non riempire il cestello oltre
la tacca che indica il livello
massimo.
Dall’apparecchio fuo-
riesce del fumo bianco.
Si stanno cucinando alimenti
molto unti.
Durante la cottura di alimenti
unti, all’interno del recipiente si
riverserà una grande quantità di
olio. Il fumo bianco è prodotto
dall’olio riscaldato nel recipiente,
che potrebbe scaldarsi più del
solito. Questo non danneggerà
l’apparecchio e non compromet-
terà il risultato di cottura nale.
Il recipiente contiene residui di
grasso degli alimenti cucinati in
precedenza.
Il fumo bianco è causato dai re-
sidui di grasso che si riscaldano
all’interno del recipiente. Pulire
accuratamente il recipiente e il
cesto dopo ogni uso.
9
FRIGGITRICE DIGITALE
TRATTAMENTO DEL DISPOSITIVO ELETTRICO ED
ELETTRONICO A FINE VITA
Informazione agli utenti per il corretto smaltimento del prodotto ai sensi della Direttiva Europea
2002/96/CE e del D.lgs N. 151/2005
Caro consumatore,
è importante ricordarti che, come buon cittadino, avrai l’obbligo di smaltire questo prodotto non
come riuto urbano, ma di eettuare una raccolta separata. Il simbolo sopra indicato e riportato
sull’apparecchiatura indica che il riuto deve essere oggetto di “raccolta separata”. I dispositivi
elettrici ed elettronici non devono essere considerati riuti domestici. Pertanto, il prodotto alla ne
della sua vita utile, non deve essere smaltito insieme ai riuti urbani. L’utente dovrà conferire (o far
conferire) il riuto ai centri di raccolta dierenziata predisposti dalle amministrazioni locali, oppure
consegnarlo al rivenditore contro l’acquisto di una nuova apparecchiatura di tipo equivalente. La
raccolta dierenziata del riuto e le successive operazioni di trattamento, recupero e smaltimento
favoriscono la produzione di apparecchiature con materiali riciclati e limitano gli eetti negativi
sull’ambiente e sulla salute eventualmente causati da una gestione impropria del riuto.
Grazie!

10 DIGITAL AIR FRYER
PRODUCT INTRODUCTION
This air fryer uses rapid air technology to cook foods that usually need to be
fried in oil. Rapid air technology works by quickly circulating hot air within the
pan. The best part of the air fryer is that it heats up foods in all directions, and
it does not require oil. This is a 5L air fryer with 8 built-in smart programs, an
adjustable temperature from 80 to 200°C, and a timer up to 30 minutes.
IMPORTANT SAFEGUARDS
1. READ THE MANUAL.
2. Keep the box and packing material for storage.
3. Do not immerse the cord, plug, or any part of the appliance in water or any
other liquid to avoid electric shock or damage to the fryer.
4. Always put the ingredients to be fried in the basket, to prevent them from
coming into contact with the heating elements.
5. Do not cover the air inlet and air outlet openings when the appliance is
operating.
6. Do not ll the pan with oil as this may cause a re hazard.
7. Do not touch the inside of the appliance during operation.
8. Do not use the appliance if the plug, the mains cord, or the appliance itself
is damaged.
9. Do not get any unauthorized person to replace or x the appliance.
10. Keep the mains cord away from hot surfaces.
11. Do not insert the plug or use the appliance with wet hands.
12. Make sure that the appliance is plugged into the wall socket properly.
13. Keep the appliance and its cord out of the reach of children.
14. This appliance is not intended to be operated by means of an external
timer or a separate remote-control system.
15. Do not place the appliance on or near combustible materials, such as a
tablecloth or curtain.
16. Do not place the appliance against a wall or against any other appliance
while in operation. Leave at least 5 inches of free space on the back, sides,
and above the appliance to keep air inlet/outlet clear.
17. Do not place anything on top of the appliance during operation.
18. Do not use the appliance for any other purpose than described in this
manual.
19. Do not let the appliance operate unattended.
20. During hot air frying, hot steam is released through the air outlet openings.
Keep your hands and face at a safe distance from the steam and from the air
outlet openings. Also be careful of hot steam and air when you remove the
pan from the appliance. Any accessible surface may become hot during use.
21. Immediately unplug the appliance if you see dark smoke coming out of

11
DIGITAL AIR FRYER
the appliance, wait for the smoke emission to stop before you remove the pan
from the appliance.
22. Ensure that the appliance is placed on a horizontal, even, and stable
surface.
23. This appliance is intended for normal household use only. It is not intended
for use in environments such as sta kitchens of shops, oces, farms or other
work environments. Nor is it intended to be used by clients in hotels, motels,
bed and breakfasts and other residential environments.
24. If the appliance is used improperly or for professional or semi-professional
purposes or if it is not used according to the instructions in the user manual,
the guarantee becomes invalid.
25. Let the appliance cool down for approx. 30 minutes before you handle or
clean it.
26. If the supply cord is damaged, it must be replaced by the manufacturer or
its service agent or a similarly qualied person in order to avoid a hazard.
27. This appliance is not intended to be used by children or by persons with
reduced physical, sensory or mental capabilities, or lack of experience and
knowledge, unless they have been given supervision or instruction concerning
use of the appliance by a person responsible for their safety.
PRODUCT STRUCTURE
1. Side panel
2. Base
3. Top panel
4. Control panel
5. Basket
6. Handle
7. Pan

12 DIGITAL AIR FRYER
BEFORE USE
1. Remove all packaging materials, stickers, and labels from the appliance.
2. Clean the basket and pan with hot water, soap, and a non-abrasive sponge
before use.
3. Wipe the inside and outside of the appliance with a clean cloth.
NOTE: There is no need to ll the pan with oil because the appliance works on
hot air.
AIR FRYER SETTINGS
There are 8 settings that you can use with this air fryer. They all have a preset
time and preset temperature. You can select the presets by pressing the
button . If you decide to cook with a dierent temperature and/or time, you
can increase or decrease the time or temperature by pressing the “+” o r “-”
button next to the corresponding symbols.
If you decide not to use the preset settings and want to set it yourself, you can
set the time and temperature by pressing the “+” or “-” buttons of the cooking
time and temperature.
HOW TO USE
1. Place the air fryer on a at and even surface.
DO NOT PLACE THE AIR FRYER ON A SURFACE THAT IS NOT HEAT
RESISTANT.
2. Put the basket in the pan.
DO NOT FILL THE PAN WITH OIL OR ANY OTHER LIQUID.
3. Put the ingredients in the basket and put the basket into pan. Slide the pan
with the basket back into the appliance. The fryer LED should light up.
4. Set your cooking time and temperature by either choosing one of the 8
presets or manually setting by “+”-” button.
NOTE: When setting the time manually, always add one/two extra minute(s) to
the cooking time to allow the fryer to warm-up.
5. Once you have set your cooking time and temperature, press the power
button to begin the cooking cycle.
Note: To stop the cooking cycle or reset the fryer setting, press the power
button again.
Some ingredients require shaking or turning halfway through the cooking cycle
(See “Cooking Advice”). To do this, pull the pan out of the appliance by the
handle, the air fryer will automatically shut down, and shake the pan or turn-
over the ingredients. Then put the pan back into the air fryer and it will resume
the cooking cycle. The timer will reset to the original setting, so take note of
the remaining time before pulling the basket out of the air fryer.

13
DIGITAL AIR FRYER
7. After cooking, the timer will beep for 5 times, after that the air blower will
stop in 40 seconds.
8. Pull the pan out of the appliance and place it on a potholder.
NOTE: Excess oil or rendered fat from the ingredients is collected on the
bottom of the pan, so be careful when pulling the pan out of the fryer.
9. Check if the ingredients are ready, if not, simply slide the pan back into the
air fryer, set your cooking time and temperature, and press the power button to
turn on your air fryer.
10. To remove ingredients, always remove the basket from the pan as hot oil
may be in the bottom of the pan.
NOTE: Do not turn the pan over, the oil collected at the bottom of the pan will
leak onto the ingredients.
11. Empty the basket contents into a bowl or plate.
12. When a batch of ingredients is ready, the air fryer is instantly ready for
preparing another batch.
COOKING ADVICE
The table below is an advice that will help you select the basic settings
(cooking time and temperature) for certain ingredients. Please note that as
ingredients dier in origin, size, shape as well as brand, we cannot guarantee
the best setting for your ingredients. Rapid air fryer technology reheats the air
inside the fryer instantly, so pulling the pan out of the fryer for a short time will
not interrupt the cooking process.
TIPS:
1. Frozen food needs to be defrosted rst, recommended temperature: 80°C,
time: 8-12 minutes.
2. Certain types of ingredients (e.g.french fries) need to be shaken/turned over
halfway through the cooking time.
3. Large vegetables like courgettes and aubergines need to be cut into pieces
before cooking.
4. When cooking other ingredients not mentioned, please adjust the
temperature and time according to their size and quantity.
5. For optimal cooking, we recommend cooking one layer of ingredients at a
time, without layering them on top of each other to prevent the pieces from
touching each other. If stacked, please increase the cooking time, and shake
the ingredients halfway through the preparation time.
6. Add very little amount of oil when cooking fresh potatoes for a crispier result.
7. Do not cook extremely greasy ingredients in the fryer.
8. You can also use the air fryer to reheat ingredients, set the temperature to
80°C for up to 10 minutes.

14 DIGITAL AIR FRYER
Ingredient Amount
(g)
Time
(min.)
Temperature Shake or ip Note
Frozen Fries 300-500 15-20 200°CShake Defrost rst
Pork 100-500 12-18 180°CFlip
Shrimp 300-500 13-15 160°C
Cake 300 12-18 180°COnly use the pan
Drumsticks 100-500 12-18 200°CFlip
Steak 100-500 12-15 180°CFlip
Fish 300-500 14-20 180°C
Pizza 300-500 18-22 170°C
CLEANING
1. Unplug the appliance. Clean the air fryer after every use.
LET THE APPLIANCE COOL DOWN FOR APPROX. 30 MINUTES BEFORE
CLEANING.
NOTE: Do not clean the pan, basket, and inside of the appliance with any
metal kitchen utensils or abrasive cleaning materials because this may
damage the non-stick coating.
2. Wipe the outside of the air fryer with a moist cloth.
3. Clean the pan and basket with hot water, dishwashing liquid, and a non-
abrasive sponge.
Tip: If food residues stuck to the pan or the basket, you can soak them in hot
water and dishwashing liquid for about 10 minutes.
4. Clean the inside of the appliance with hot water and non-abrasive sponge.
NOTE: Be sure not to get too much water inside the appliance, just wipe to
get rid of food debris and grease.
5. Clean the heating element with a cleaning brush to remove any food
residues.

15
DIGITAL AIR FRYER
TROUBLESHOOTING
PROBLEM POSSIBLE CAUSE SOLUTION
The air fryer does
not switch on.
The appliance is not plugged in. Insert the plug.
The cooking time is not set. Set the cooking time.
The ingredients fried
with the air fryer are
not done.
The amount of ingredients in the
basket is too big.
Put smaller batches of ingre-
dients in the basket to fry more
evenly.
The set temperature is too low. Increase the temperature by
pressing the “+” button of tempe-
rature.
The ingredients are
fried unevenly.
Certain types of ingredients need
to be shaken halfway through the
cooking
time.
Ingredients that lie on top of or
across each other, for example
fries, need to be shaken halfway
through the cooking
time.
Fried snacks are not
crispy when they
come out of the air
fryer.
You used a type of snack meant
to be prepared in a traditional
deep fryer.
Use oven snack or lightly brush
some oil onto the snacks for a
crispier result.
I cannot slide the
basket into the
appliance properly.
The amount of ingredients in the
basket is too big.
Do not ll the basket beyond the
“MAX” indication.
White smoke comes
out of the appliance
You are preparing greasy ingre-
dients.
When you fry greasy ingredients
in the air fryer, a large amount
of oil will leak into the pan. The
oil produces white smoke and the
pan may heat up more than
usual.
This does not affect the appliance
or the end result.
The pan still contains grease
residues from previous use.
White smoke is caused by grease
heating up in the pan. Make sure
you clean the pan properly after
each use.

16 DIGITAL AIR FRYER
INFORMATION FOR USERS OF DOMESTIC APPLIANCES
This marking indicates that this product should not be disposed with other household wastes
throughout the EU. To prevent possible harm to the environment or human health from
uncontrolled waste disposal, recycle it responsibly to promote the sustainable reuse of material
resources. To return your used device, please use the return and collection systems or contact
the retailer where the product was purchased. They can take this product for environmental safe
recycling.

17
DIGITAL AIR FRYER
NOTES

18 DIGITALE HEISSLUFTFRITTEUSE
DAS PRODUKT
Bei dieser Heißluftfritteuse wird die Schnellluft-Technologie verwendet,
um Speisen zu garen, die normalerweise in Öl frittiert werden. Durch
die Schnellluft-Technologie erfolgt eine schnelle Heißluftumwälzung im
Garfach. Das beste an der Heißluftfritteuse ist, dass sie die Speisen von
allen Seiten erwärmt und ohne Öl funktioniert. Dies ist eine 5 l Fritteuse mit
8 voreingestellten Garprogrammen, einem weiten Temperaturbereich von
80–200 °C und einem Timer bis 30 min.
WICHTIGE SICHERHEITSHINWEISE
1. BITTE DIE ANLEITUNG DURCH LESEN.
2. Bewahren Sie Karton und Verpackungsmaterial zur Lagerung auf.
3. Tauchen Sie Kabel, Stecker oder andere Teil des Geräts niemals in Wasser
oder andere Flüssigkeiten, um Stromschläge oder Schäden an der Fritteuse
zu vermeiden.
4. Lassen Sie die Speisen nicht aus dem Korb austreten, um einen Kontakt
mit den Heizelementen zu verhindern.
5. Decken Sie Lufteinlass und -auslass nicht ab, während das Gerät in Betrieb
ist.
6. Füllen Sie kein Öl oder Bratfett in das Garfach. Füllen Sie das Garfach nicht
mit Öl, um Brandgefahr zu vermeiden.
7. Berühren die Innenseite des Geräts während des Betriebs nicht.
8. Benutzen Sie das Gerät nicht, wenn Stecker, Kabel oder andere Teile
beschädigt sind.
9. Lassen Sie diese nicht von unbefugten Personen ersetzen oder reparieren.
10. Vermeiden Sie den Kontakt des Netzkabels mit heißen Oberächen.
11. Achten Sie darauf, dass Ihre Hände trocken sind, wenn Sie das Gerät
berühren oder den Stecker anschließen.
12. Achten Sie darauf, dass der Stecker richtig in der Steckdose sitzt.
13. Halten Sie Kabel und Gerät außerhalb der Reichweite von Kindern.
14. Schließen Sie das Gerät nicht an einen externen Zeitschalter an.
15. Stellen Sie das Gerät nicht in der Nähe von brennbaren Materialien wie
z. B. einer Tischdecke oder einem Vorhang auf.
16. Stellen Sie das Gerät während des Betriebs nicht gegen eine Wand
oder andere Geräte. Halten Sie einen Abstand von mindestens 5 cm auf der
Rückseite und über dem Gerät ein, um den Lufteinlass und -auslass frei zu
halten.
17. Stellen Sie während des Betriebs keine Gegenstände auf das Gerät.
18. Verwenden Sie das Gerät nicht für Zwecke, die nicht in dieser Anleitung

19
DIGITALE HEISSLUFTFRITTEUSE
beschrieben sind.
19. Lassen Sie das Gerät nie unbeaufsichtigt, wenn es in Betrieb ist.
20. Beim Heißluftfrittieren tritt heißer Dampf aus dem Luftauslass. Halten
Sie Hände und Gesicht in einem sicheren Abstand zum Dampf und dem
Luftauslass. Nehmen Sie das Garfach vorsichtig aus dem Gerät, um
Verbrennungen durch den austretenden heißen Dampf und die heiße Luft zu
vermeiden. Alle Kontaktächen können während des Betriebs heiß werden.
21. Ziehen Sie den Netzstecker sofort aus der Steckdose, wenn dunkler
Rauch aus dem Gerät austritt, warten Sie, bis kein Rauch mehr austritt, bevor
Sie das Garfach aus dem Gerät nehmen.
22. Stellen Sie das Gerät auf eine waagerechte, ebene und stabile Fläche.
23. Dieses Gerät ist nur für den Hausgebrauch bestimmt. Die Verwendung
außerhalb von Wohnbereichen, wie z. B. in Personalküchen, Bauernhöfen,
Motels usw. ist nicht sicher.
24. Die Garantie verfällt, wenn das Gerät für gewerbliche oder
halbgewerbliche Zwecke oder nicht entsprechend der Anleitung verwendet
wird.
25. Vor der Handhabung oder Reinigung immer 30 Minuten abwarten, bis das
Gerät sich abgekühlt hat.
26. Ist das Netzkabel beschädigt, muss es, um Gefahren zu vermeiden, vom
Hersteller, dessen Kundendienst oder Personen mit ähnlicher Qualizierung
ersetzt werden.
27. Dieses Gerät ist nicht zur Verwendung durch Kinder oder Personen mit
eingeschränkten körperlichen, sensorischen oder geistigen Fähigkeiten oder
mangelnder Erfahrung und Kenntnis bestimmt, es sei denn, sie werden von
einer für ihre Sicherheit verantwortlichen Person beaufsichtigt oder wurden
von dieser in die Benutzung des Geräts eingewiesen.
28. Halten Sie Gerät und Kabel außerhalb der Reichweite von Kindern.

20 DIGITALE HEISSLUFTFRITTEUSE
AUFBAU DES GERÄTS
1. Seitenverkleidung
2. Boden
3. Oberes Bedienfeld
4. Bedienfeld
5. Korb
6. Gri
7. Pfanne
VOR DER VERWENDUNG
1. Entfernen Sie alle Verpackungsmaterialien, Aufkleber und Etiketten.
2 Reinigen Sie Korb und Garfach mit heißem Wasser, Spülmittel und einem
nicht scheuernden Schwamm.
3: Wischen Sie das Gerät innen und außen mit einem feuchten Tuch ab.
HINWEIS: Das Garfach braucht nicht mit Öl befüllt werden, denn das Gerät
funktioniert mit Heißluft.
EINSTELLUNGEN DER HEISSLUFTFRITTEUSE
Es gibt 8 Einstellungen, die Sie bei dieser Heißluftfritteuse verwenden können.
Bei allen Programmen sind die Zeit und die Temperatur voreingestellt. Um
die Voreinstellungen zu verwenden, tippen Sie bitte auf . Wenn Sie eine
andere Temperatur und/oder eine andere Zeit zum Garen verwenden wollen,
können Sie die Temperatur bzw. die Zeit erhöhen oder verringern, indem Sie
auf die „+“ oder „-“-Tasten neben den entsprechenden Symbolen tippen.
Wenn Sie die programmierten Einstellungen nicht verwenden und Zeit und
Temperatur selbst bestimmen wollen, tippen Sie auf die „+“ oder „-“-Tasten für
Garzeit und -temperatur.
Table of contents
Languages:
Other Kasanova Fryer manuals

Kasanova
Kasanova NNE000014NOC User manual

Kasanova
Kasanova LEI003032NOC User manual

Kasanova
Kasanova AEO000006NOC User manual

Kasanova
Kasanova NEL000001NOC User manual

Kasanova
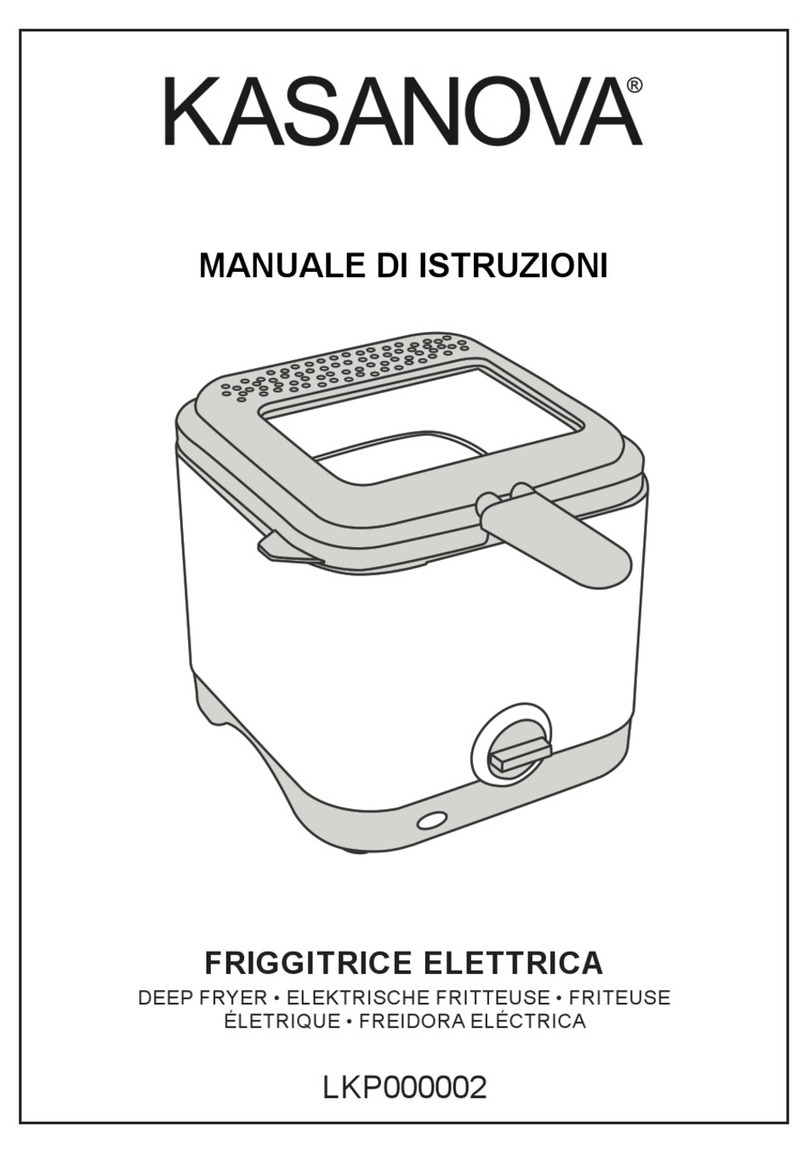
Kasanova LKP000002 User manual

Kasanova
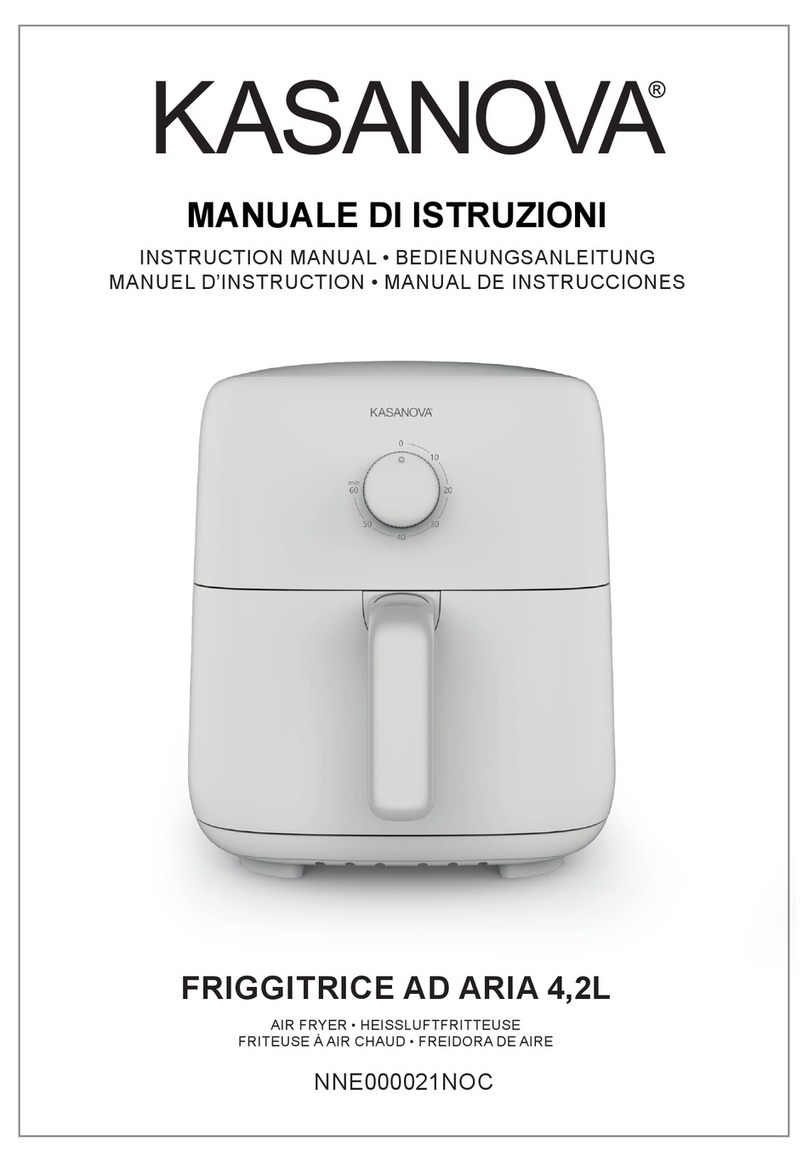
Kasanova NNE000021NOC User manual

Kasanova
Kasanova AEO000013NOC User manual

Kasanova
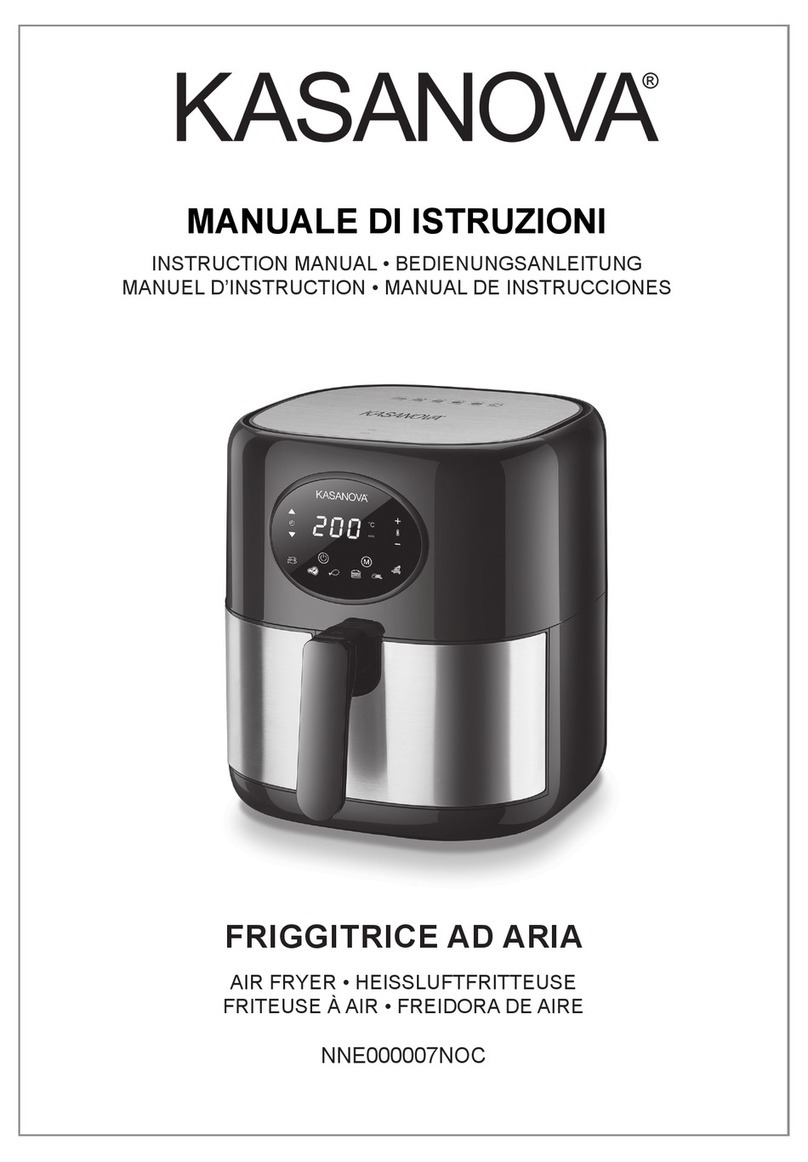
Kasanova NNE000007NOC User manual

Kasanova
Kasanova NNE000011NOC User manual

Kasanova
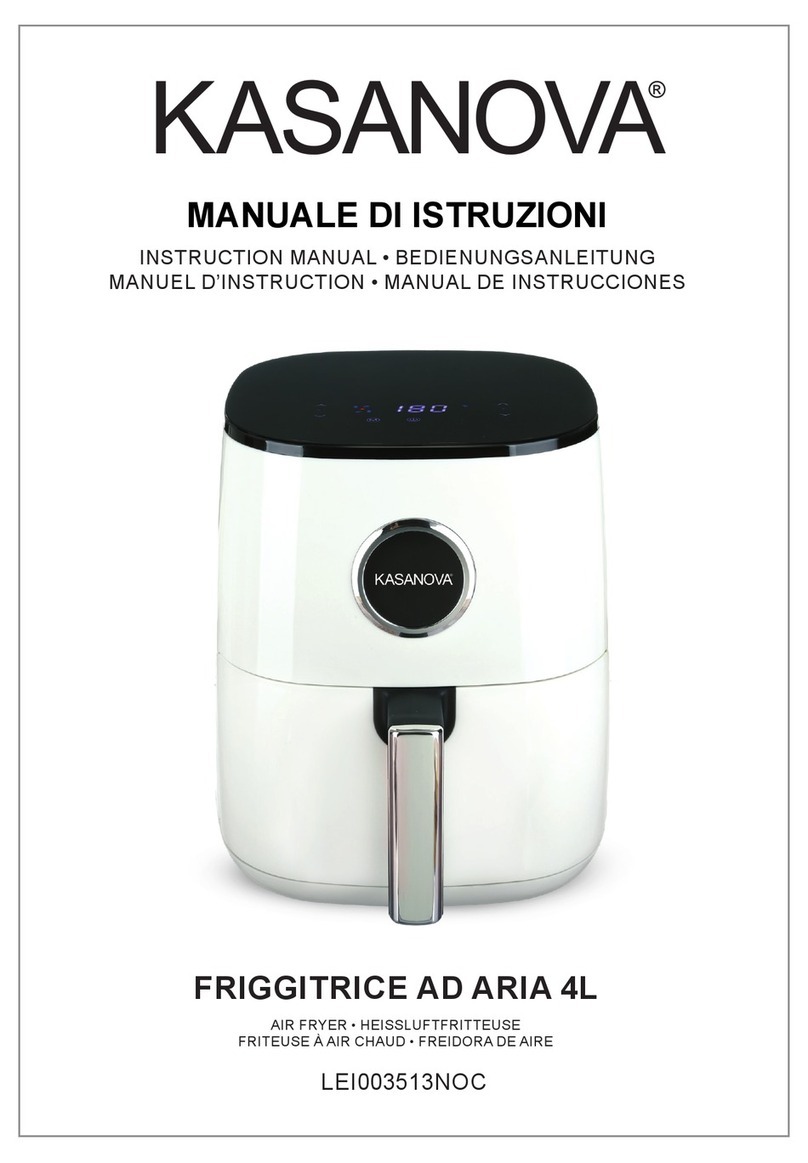
Kasanova FRIGGITRICE AD ARIA 4L User manual