manuals.online logo
Brands
  1. Home
  2. •
  3. Brands
  4. •
  5. KE2 Therm Solutions
  6. •
  7. Controllers
  8. •
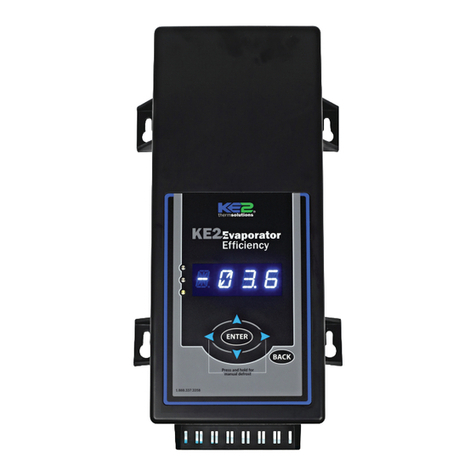
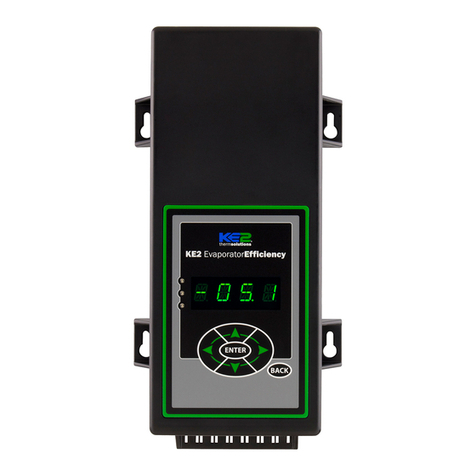
  9. KE2 Therm Solutions Evaporator Efficiency User manual

KE2 Therm Solutions Evaporator Efficiency User manual

Menu
Parameters:
MANUAL CONTROL
MANUAL VALVE4
CLEAR ALARMS
MANUAL COMPRESSOR RELAY
MANUAL DEFROST RELAY
MANUAL FAN RELAY
MANUAL AUX RELAY
FACTORY RESET
WEB PASSWORD RESET
SMART ACCESS
DHCP
DOD INIT
CLEAR MD
Menus: Variables Manual
(view only)
Non-adjustable
NO ALARM
PRESSURE SENSOR
SUCTION TEMP SENSOR
AIR TEMP SENSOR
COIL TEMP SENSOR
AUX TEMP SENSOR
HIGH SUPERHEAT
LOW SUPERHEAT
HIGH AIR TEMP
LOW AIR TEMP
EXCESS DEFROST
DEFR TERM ON TIME
DOOR SWITCH
COMMUNICATION ERROR
EXT ALARM
EMAIL FAILURE
FTP
SNTP
Alarms
(view only)
ENTER
ENTER
Left and Right Arrows Use to move between Menus
Up Arrow and Down Arrow
Scroll through Menu Parameters
ENTER
Press and hold ENTER for 3 seconds, when display
begins blinking changes can be made
BACK
Press BACK to return to the previous view.
ENTER
Press and hold ENTER for 3 seconds to save change
To change settings:
To save setting changes:
To move through
controller menus:
To return to Main Menu:
Indicator lights Red light - critical alarm (system o)
Yellow light - non-critical alarm (system running)
Green light - compressor on
Green ashing - compressor waiting on timer to start/stop
KE2 EvaporatorEfficiency
TM
thermsolutions
ENTER
BACK
2
2
1 T1 and T4 are parameters that
can be set to various functions.
The default for T1 is Suction
Temp, the T4 is Coil Temp.
2 The Setpoint paramenters
shown in BOLD (Valve Type,
Room Temp Setpoint and
Defrost Mode) need to be set by
the user prior to start up. The
other Setpoint Parameters can
also be adjusted, however the
factory setpoints are generally
correct for most applications.
3 The Setpoint parameters shown
in ITALIC are only displayed
when a Custom EEV is used.
4 Displayed when an EEV is used.
5 Only available if mechanical
valve is selected. When using an
electric valve the default,
suction temperature, is required.
6 The Setpoint parameters shown
in BOLD ITALIC are used for
bonded controllers only.
7 Only displayed when Run Time
Defrost is selected.
ROOM TEMP
COIL TEMP
SYSTEM MODE
SUPERHEAT
SUCTION PRESSURE
T1 SUCTION TEMP1
SATURATION TEMP
VALVE % OPEN4
T4 AUX TEMP1
COMPRESSOR RELAY
DEFROST RELAY
FAN RELAY
AUX RELAY
DIG 1 STATUS
DIG 2 STATUS
DIG 3 STATUS
IP OCTET 1
IP OCTET 2
IP OCTET 3
IP OCTET 4
SUBNET MASK OCTET 1
SUBNET MASK OCTET 2
SUBNET MASK OCTET 3
SUBNET MASK OCTET 4
FIRMWARE VERSION
ENTER
Press ENTER to go from parameter to value.
To toggle beween
description and value :
ROOM TEMP2
DEFROST TYPE2
VALVE TYPE2
MOTOR TYPE3
MOTOR STEP RATE3
MAX VALVE STEPS3
SUPERHEAT4
MAX OPERATING PRES4
REFRIGERANT
AUX TEMP 4 MODE
AUX TEMP 1 MODE5
AUX RELAY MODE
FAN SPEED
MIN COMP RUN TIME
MIN COMP OFF TIME
REFRIG FAN MODE
DEFROST MODE
DEFROSTS / DAY
1ST DEFROST DELAY
DEFROST FAN STATE
DEFROST TERM TEMP
DEFROST PARAMETER/MAX DEFROST TIME
DRAIN TIME
COMP RUN TIME7
ELEC DEFROST MODE
FAN DELAY TEMP
MAX FAN DELAY TIME
PUMP DOWN TIME
MULTI AIR TEMP CTRL
MULTI EVAP COOL6
MULTI EVAP DEFROST 6
MULTI EVAP SENSOR6
HIGH TEMP ALARM OFFSET
HIGH TEMP ALARM DELAY
LOW TEMP ALARM OFFSET
LOW TEMP ALARM DELAY
DOOR ALARM DELAY
DIG IN 1 MODE
DIG IN 1 STATE
DIG IN 2 MODE
DIG IN 2 STATE
DIG IN 3 MODE
DIG IN 3 STATE
2ND ROOM TEMP
SUCT PRES OFFSET
SUCT TEMP OFFSET
AIR TEMP OFFSET
COIL TEMP OFFSET
AUX TEMP OFFSET
TEMP UNITS
AIR TEMP DIFF
EXTREME TEMP DIFF
PROPORTIONAL
INTEGRAL
DERIVATIVE
Setpoints
Variables for DIG IN STATUS
DISABLED
2ND (ROOM) TEMP
DOOR SWITCH
EXT ALARM
SYSTEM OFF
DEFROST LOCKOUT
DEFROST INTERLOCK
Enter
Password
KE2 Evaporator Eciency
A.1.20
June 2015
© Copyright 2015 KE2 Therm Solutions,Inc. . Washington, Missouri 63090
A.1.20 June 2015 supersedes A.1.20 February 2014 and all prior publications.
Quick Start with a Custom EEV
Power up the newly installed controller
The ROOM TEMP display will show a blinking number. Use the left
or right arrow to move between digits, use the up or down arrow to
adjust the blinking digit higher or lower.
Once new setpoint is displayed, press and hold ENTER for 3 seconds
Now, the DEFROST TYPE is displayed. Wait until ELEC (Electric
Defrost) is displayed, if other than ELEC is needed, use the up or
down arrow to scroll through list and select AIR, HOT GAS COMP
ON, HOT GAS COMP OFF
Once desired option is shown, press and hold ENTER key for 3
seconds.
VALVE TYPE is displayed. MECHANICAL will appear, use the up or
down arrows to scroll to CUSTOM.
Press and hold ENTER for 3 seconds.
REFRIGERANT is displayed. 404A will appear. Use the up or down
arrows to view the other options.
Once the desired refrigerant is displayed, press and hold ENTER for
3 seconds.
MOTOR STEP RATE is displayed. Wait until 200 is displayed. Use
the left and right arrows to move between the digits. Use the up or
down arrows to adjust the blinking digit higher or lower.
Press and hold ENTER for 3 seconds.
MAX VALVE STEPS is displayed. Wait until 1300 is displayed. Use
the left or right arrows to move between digits. Use the up or down
arrows to adjust the blinking digit higher or lower.
Press and hold ENTER for 3 seconds.
SMART ACCESS* is displayed. DISABLED will appear. Use the up
or down arrow to change Smart Access to ENABLED.
Press & hold the ENTER button for 3 seconds to save change.
The controller will now begin controlling the system.
Quick Start with a Dened EEV
Power up the newly installed controller
The ROOM TEMP display will show a blinking number. Use the left
or right arrow to move between digits, use the up or down arrow
to adjust the blinking digit higher or lower.
Once new setpoint is displayed, press & hold ENTER for 3 seconds
Now, the DEFROST TYPE is displayed. Wait until ELEC (Electric
Defrost) is displayed, if other than ELEC is needed, use the up or
down arrow to scroll through list and select AIR, HOT GAS COMP
ON, HOT GAS COMP OFF
Once desired option is shown, press & hold ENTER key for 3
seconds.
VALVE TYPE is displayed. MECHANICAL will appear, use the up or
down arrows to scroll through pre-programmed EEV options.
Once desired EEV is displayed, press & hold ENTER for 3 seconds.
REFRIGERANT is displayed. 404A will appear. Use the up or down
arrows view the other options.
Once the desired refrigerant is displayed, press % hold ENTER for 3
seconds.
SMART ACCESS* is displayed. DISABLED will appear. Use the up
or down arrow to change Smart Access to ENABLED.
Press & hold the ENTER button for 3 seconds to save change.
The controller will now begin controlling the system.
Step-by-Step QuickStart
Mechanical Valve TEV - 4 steps Dened EEV - 5 steps Custom EEV - 8 steps
Room Temp Room Temp Room Temp
Defrost Type Defrost Type Defrost Type
Valve Type Valve Type Valve Type
Smart Access Refrigerant Refrigerant
Smart Access Motor Type (Unipolar/Bipolar)
Motor Step Rate
Max Valve Steps
Smart Access
Quick Start with a TEV
Power up the newly installed controller
The ROOM TEMP display will show a blinking number. Use the left
or right arrow to move between digits, use the up or down arrow to
adjust the blinking digit higher or lower.
Once new setpoint is displayed, press & hold ENTER for 3 seconds
Now, the DEFROST TYPE is displayed. Wait until ELEC (Electric
Defrost) is displayed, if other than ELEC is needed, use the up or
down arrow to scroll through list and select AIR, HOT GAS COMP
ON, HOT GAS COMP OFF
Once desired option is shown, press & hold ENTER key for 3
seconds.
VALVE TYPE is displayed. MECHANICAL will appear.
Press and hold ENTER for 3 seconds.
SMART ACCESS* is displayed. DISABLED will appear. Use the up
or down arrow to change Smart Access to ENABLED.
Press & hold the ENTER button for 3 seconds to save change.
The controller will now begin controlling the system.
* With version 4.0 firmware, the KE2 Evap comes with Smart Access capability.
Smart Access provides simple and quick online access, making it is easier than
ever to monitor and adjust your KE2 Evaps remotely.
For a nominal monthly fee, Smart Access provides quick, easy, real time access
to your refrigeration system 24/7. No port forwarding. No VPN.
All the KE2 Evap needs is a physical connection to the network router with a cat
5 cable. Once enabled, Smart Access automatically connects to your personal
web portal, hosted by KE2 Therm, and provides a “customized” dashboard of
all the controllers you setup with Smart Access.
Other manuals for Evaporator Efficiency

3

Other KE2 Therm Solutions Controllers manuals

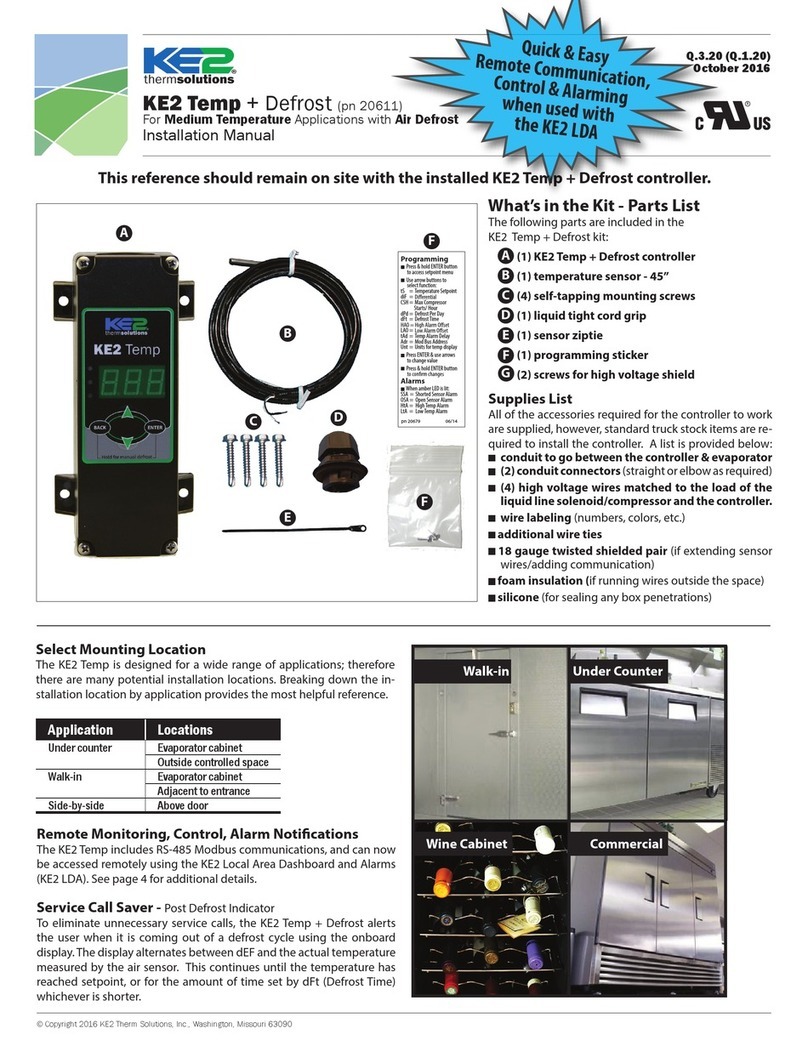
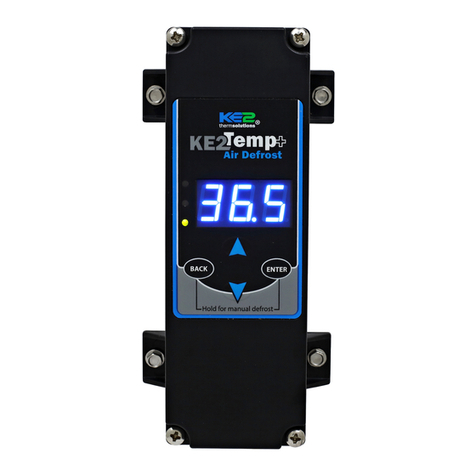
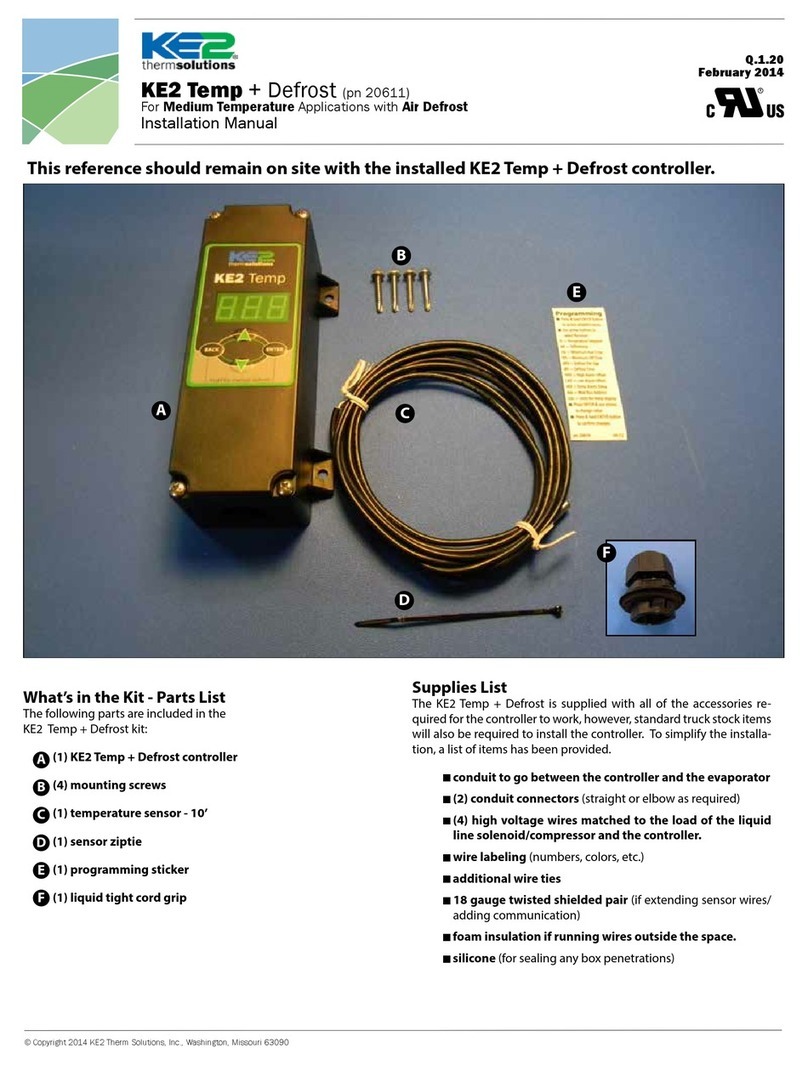
KE2 Therm Solutions Temp + Air Defrost User manual

KE2 Therm Solutions

KE2 Therm Solutions Temp + Air Defrost User manual

KE2 Therm Solutions 20844 User manual

KE2 Therm Solutions

KE2 Therm Solutions 20844 User manual

KE2 Therm Solutions 20844 User manual

KE2 Therm Solutions

KE2 Therm Solutions 20844 User manual

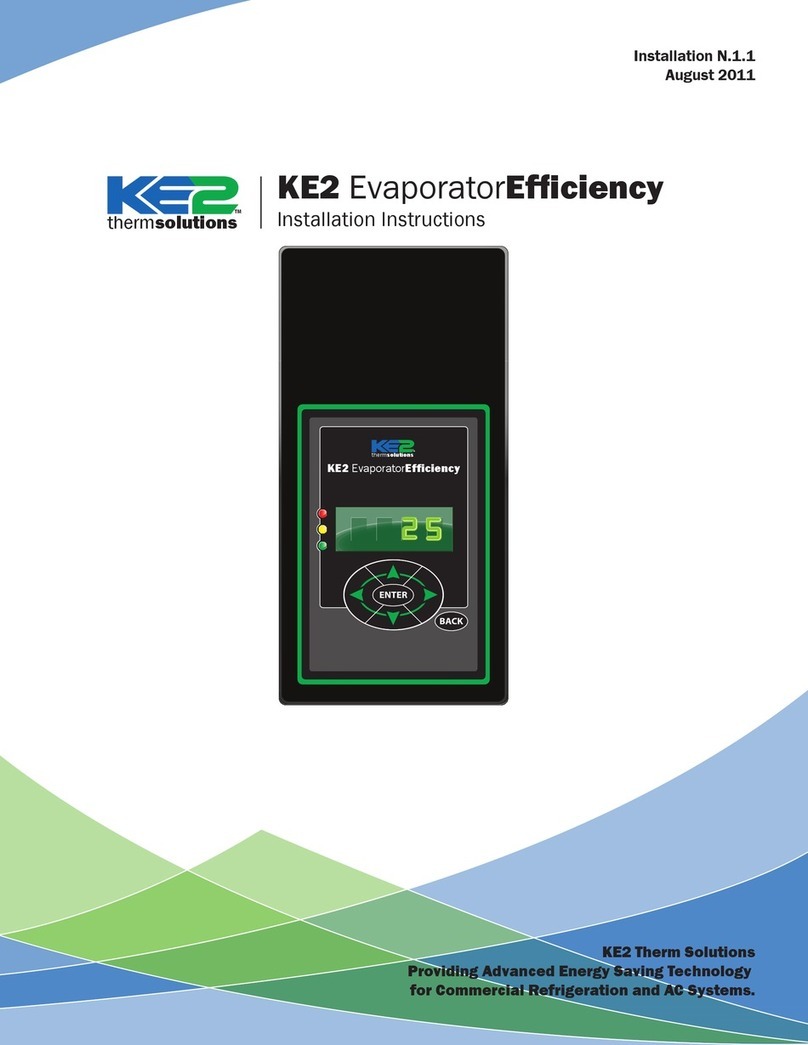
KE2 Therm Solutions Evaporator Efficiency User manual

KE2 Therm Solutions

KE2 Therm Solutions Evaporator Efficiency User manual

KE2 Therm Solutions Evaporator Efficiency User manual

KE2 Therm Solutions

KE2 Therm Solutions Evaporator Efficiency User manual

KE2 Therm Solutions KE2 Temp + Defrost User manual

KE2 Therm Solutions

KE2 Therm Solutions KE2 Temp + Defrost User manual

KE2 Therm Solutions temp + defrost User manual

KE2 Therm Solutions

KE2 Therm Solutions temp + defrost User manual

KE2 Therm Solutions Evaporator Efficiency User manual

KE2 Therm Solutions

KE2 Therm Solutions Evaporator Efficiency User manual

KE2 Therm Solutions 20893 User manual

KE2 Therm Solutions

KE2 Therm Solutions 20893 User manual

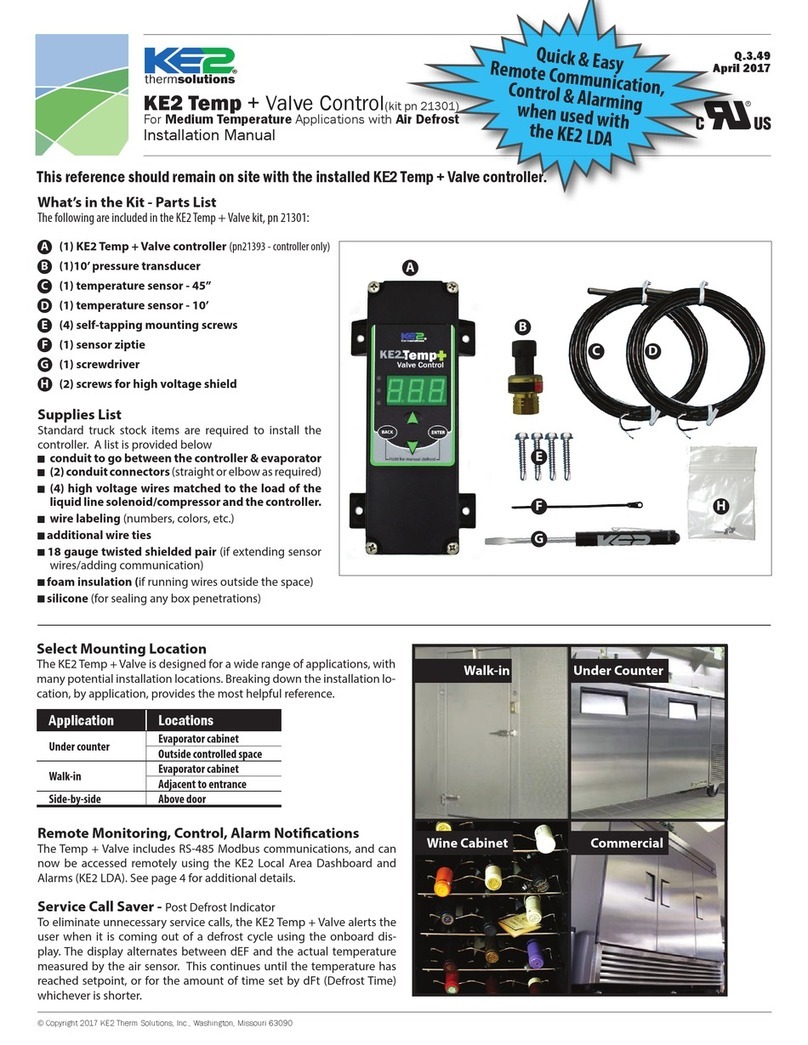
KE2 Therm Solutions Temp+Valve User manual

KE2 Therm Solutions

KE2 Therm Solutions Temp+Valve User manual

Popular Controllers manuals by other brands

Yaesu G-1000DXA user manual

Yaesu

Yaesu G-1000DXA user manual

Moog Silencer Series instruction manual

Moog

Moog Silencer Series instruction manual

YASKAWA PROFIBUS-DP Technical manual

YASKAWA

YASKAWA PROFIBUS-DP Technical manual

SEW-Eurodrive UHX71B manual

SEW-Eurodrive

SEW-Eurodrive UHX71B manual

audiophony RACER120 user guide

audiophony

audiophony RACER120 user guide

Sunnen HTA-2000 (2M) manual

Sunnen

Sunnen HTA-2000 (2M) manual

IPCOMM SEC2 General Operating, Maintenance, and Installation Manual

IPCOMM

IPCOMM SEC2 General Operating, Maintenance, and Installation Manual

DIGITIZE SEBB-6/24 user manual

DIGITIZE

DIGITIZE SEBB-6/24 user manual

Hach sc200 Basic user manual

Hach

Hach sc200 Basic user manual

FZONE STUDIO FZ-1011 user manual

FZONE STUDIO

FZONE STUDIO FZ-1011 user manual

Mitsubishi MELSEC Q Series Structured programming manual

Mitsubishi

Mitsubishi MELSEC Q Series Structured programming manual

Sony PlayStation DualSense Edge instruction manual

Sony

Sony PlayStation DualSense Edge instruction manual

Corkill Systems AGFIRST manual

Corkill Systems

Corkill Systems AGFIRST manual

Sunricher SR-2833T1 quick start guide

Sunricher

Sunricher SR-2833T1 quick start guide

YASKAWA P1000 Technical manual

YASKAWA

YASKAWA P1000 Technical manual

Patriot PS15 instruction manual

Patriot

Patriot PS15 instruction manual

Yokota YETC-210EA-L manual

Yokota

Yokota YETC-210EA-L manual

Evco Vcolor 819 Installer manual

Evco

Evco Vcolor 819 Installer manual

manuals.online logo
manuals.online logoBrands
  • About & Mission
  • Contact us
  • Privacy Policy
  • Terms and Conditions

Copyright 2025 Manuals.Online. All Rights Reserved.