manuals.online logo
Brands
  1. Home
  2. •
  3. Brands
  4. •
  5. KE2
  6. •
  7. Controllers
  8. •
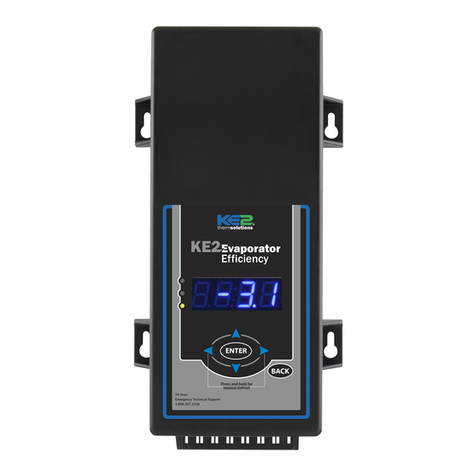
  9. KE2 Evaporator Efficiency User manual

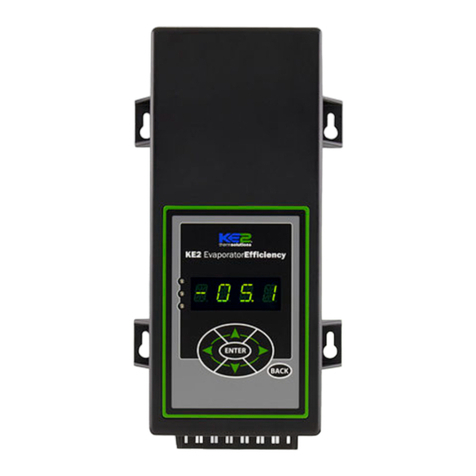
KE2 Evaporator Efficiency User manual

Menu
Parameters:
MANUAL CONTROL
MANUAL VALVE
CLEAR ALARMS
MANUAL COMPRESSOR RELAY
MANUAL DEFROST RELAY
MANUAL FAN RELAY
DHCP
FACTORY RESET
Menus: Variables Manual
(view only)
Non-adjustable
NO ALARM
PRESSURE SENSOR
SUCTION TEMP SENSOR
AIR TEMP SENSOR
COIL TEMP SENSOR
AUX TEMP SENSOR
HIGH SUPERHEAT
LOW SUPERHEAT
HIGH AIR TEMP
LOW AIR TEMP
EXCESS DEFROST
DEFR TERM ON TIME
DOOR SWITCH
COMMUNICATION ERROR
EXT ALARM
Alarms
(view only)
ENTER
ENTER
Left Arrow and Right Arrow
Use to move between Menus
Up Arrow and Down Arrow
Scroll through Menu Parameters
ENTER
Press and hold ENTER for 3 seconds, when display
begins blinking changes can be made
BACK
Press BACK to return to the previous view
ENTER
Press and hold ENTER for 3 seconds to save change
To change settings:
To save setting changes:
To move through
controller menus:
To return to Main Menu:
Indicator lights Red light - critical alarm (system o)
Yellow light - non-critical alarm (system running)
Green light - compressor on
Green ashing - compressor waiting on timer to start/stop
ROOM TEMP
DEFROST TYPE
VALVE TYPE
MOTOR TYPE
MOTOR STEP RATE
MAX VALVE STEPS
SUPERHEAT
MAX OPERATING PRES
REFRIGERANT
AUX TEMP MODE
AUX RELAY MODE
MIN COMP RUN TIME
MIN COMP OFF TIME
REFRIG FAN MODE
DEFROST MODE
DEFROSTS / DAY
1ST DEFROST DELAY
DEFROST FAN STATE
DEFROST TERM TEMP
DEFROST PARAMETER
DRAIN TIME
COMP RUN TIME
ELEC DEFROST MODE
FAN DELAY TEMP
MAX FAN DELAY TIME
PUMP DOWN TIME
MULTI AIR TEMP CTRL
MULTI EVAP COOL
MULTI EVAP DEFROST
MULTI EVAP SENSOR
HIGH TEMP ALARM OFFSET
HIGH TEMP ALARM DELAY
LOW TEMP ALARM OFFSET
LOW TEMP ALARM DELAY
DOOR ALARM DELAY
DIG IN 1 MODE
DIG IN 1 STATE
DIG IN 2 MODE
DIG IN 2 STATE
DIG IN 3 MODE
DIG IN 3 STATE
2ND ROOM TEMP
SUCT PRES OFFSET
SUCT TEMP OFFSET
AIR TEMP OFFSET
COIL TEMP OFFSET
AUX TEMP OFFSET
TEMP UNITS
AIR TEMP DIFF
EXTREME TEMP DIFF
Setpoints*
* The Setpoint paramenters shown
in BOLD (Valve Type, Room Temp
Setpoint and Defrost Mode) need to
be set by the user prior to start up.
The other Setpoint Parameters can
also be adjusted, however the
factory setpoints are generally
correct for most applications.
The Setpoint parameters shown in
ITALIC are only displayed when an
EEV is used.
The Setpoint parameters shown in
BOLD ITALIC are displayed for
bonded controllers only.
ROOM TEMP
COIL TEMP
SYSTEM MODE
SUPERHEAT
SUCTION PRESSURE
SUCTION TEMP
SATURATION TEMP
VALVE % OPEN
AUX TEMP
COMPRESSOR RELAY
DEFROST RELAY
FAN RELAY
DIG 1 STATUS
DIG 2 STATUS
DIG 3 STATUS
IP OCTET 1
IP OCTET 2
IP OCTET 3
IP OCTET 4
SUBNET MASK OCTET 1
SUBNET MASK OCTET 2
SUBNET MASK OCTET 3
SUBNET MASK OCTET 4
FIRMWARE VERSION
Variables
for DIG IN Mode
DIG IN MODE = DISABLED
DIG IN MODE = 2ND (ROOM) TEMP
DIG IN MODE = DOOR SWITCH
DIG IN MODE = EXT ALARM
DIG IN MODE = SYSTEM OFF
DIG IN MODE = LIGHT SWITCH
DIG IN MODE = CAMERA SWITCH
KE2 EvaporatorEfficiency
TM
thermsolutions
ENTER
BACK
2
2
KE2 Evaporator Eciency
A.1.20
January 2012
© Copyright 2012 KE2 Therm Solutions,Inc. . Washington, Missouri 63090
Quick Start with a TEV
Power up the newly installed controller
The ROOM TEMP display will show a blinking number. Use the
left or right arrow to move between digits, use the up or down
arrow to adjust the blinking digit higher or lower.
Once new setpoint is displayed, press and hold ENTER for 3
seconds
Now, the DEFROST TYPE is displayed. Wait until ELEC (Electric
Defrost) is displayed, if other than ELEC is needed, use the up
or down arrow to scroll through list and select AIR, HOT GAS
COMP ON, HOT GAS COMP OFF
Once desired option is shown, press and hold ENTER key for 3
seconds.
VALVE TYPE is displayed. MECHANICAL will appear.
Press and hold ENTER for 3 seconds.
The controller will now begin controlling the system.
Quick Start with a Custom EEV
Power up the newly installed controller
The ROOM TEMP display will show a blinking number. Use
the left or right arrow to move between digits, use the up or
down arrow to adjust the blinking digit higher or lower.
Once new setpoint is displayed, press and hold ENTER for 3
seconds
Now, the DEFROST TYPE is displayed. Wait until ELEC (Elec-
tric Defrost) is displayed, if other than ELEC is needed, use the
up or down arrow to scroll through list and select AIR, HOT
GAS COMP ON, HOT GAS COMP OFF
Once desired option is shown, press and hold ENTER key for 3
seconds.
VALVE TYPE is displayed. MECHANICAL will appear, use the
up or down arrows to scroll to CUSTOM.
Press and hold ENTER for 3 seconds.
REFRIGERANT is displayed. 404A will appear. Use the up or
down arrows to view the other options.
Once the desired refrigerant is displayed, press and hold ENTER
for 3 seconds.
MOTOR TYPE is displayed. Wait until BIPOLAR is displayed.
Use the up or down arrows to select either BIPOLAR or UNI-
POLAR
Press and hold ENTER for 3 seconds.
MOTOR STEP RATE is displayed. Wait until 200 is displayed.
Use the left and right arrows to move between the digits. Use
the up or down arrows to adjust the blinking digit higher or
lower.
Press and hold ENTER for 3 seconds.
MAX VALVE STEPS is displayed. Wait until 1300 is displayed.
Use the left or right arrows to move between digits. Use the
up or down arrows to adjust the blinking digit higher or lower.
Press and hold ENTER for 3 seconds.
The controller will now begin controlling the system.
Quick Start with a Pre-programmed EEV
Power up the newly installed controller
The ROOM TEMP display will show a blinking number. Use
the left or right arrow to move between digits, use the up or
down arrow to adjust the blinking digit higher or lower.
Once new setpoint is displayed, press and hold ENTER for 3
seconds
Now, the DEFROST TYPE is displayed. Wait until ELEC (Electric
Defrost) is displayed, if other than ELEC is needed, use the up
or down arrow to scroll through list and select AIR, HOT GAS
COMP ON, HOT GAS COMP OFF
Once desired option is shown, press and hold ENTER key for 3
seconds.
VALVE TYPE is displayed. MECHANICAL will appear, use the
up or down arrows to scroll through pre-programmed EEV op-
tions.
Once the desired EEV is displayed, press and hold ENTER for 3
seconds.
REFRIGERANT is displayed. 404A will appear. Use the up or
down arrows view the other options.
Once the desired refrigerant is displayed, press and hold EN-
TER for 3 seconds.
The controller will now begin controlling the system.
Step-by-Step QuickStart
Mechanical Valve TEV - 3 steps Standard EEV - 4 steps Custom EEV - 7 steps
Room Temp Room Temp Room Temp
Defrost Type Defrost Type Defrost Type
Valve Type Valve Type Valve Type
Refrigerant Refrigerant
Motor Type (Unipolar/Bipolar)
Motor Step Rate
Max Valve Steps

Other KE2 Controllers manuals

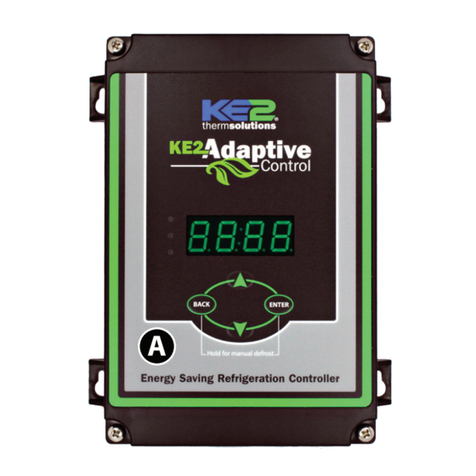
KE2 AdaptiveControl User manual

KE2

KE2 AdaptiveControl User manual

KE2 AdaptiveControl User manual

KE2

KE2 AdaptiveControl User manual

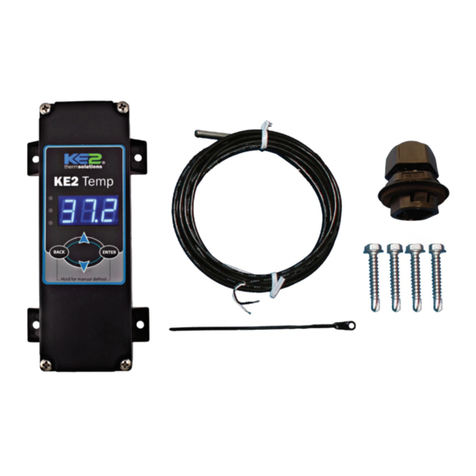
KE2 Temp User manual

KE2

KE2 Temp User manual

KE2 Evaporator Efficiency User manual

KE2

KE2 Evaporator Efficiency User manual

KE2 Efficiency User manual

KE2

KE2 Efficiency User manual

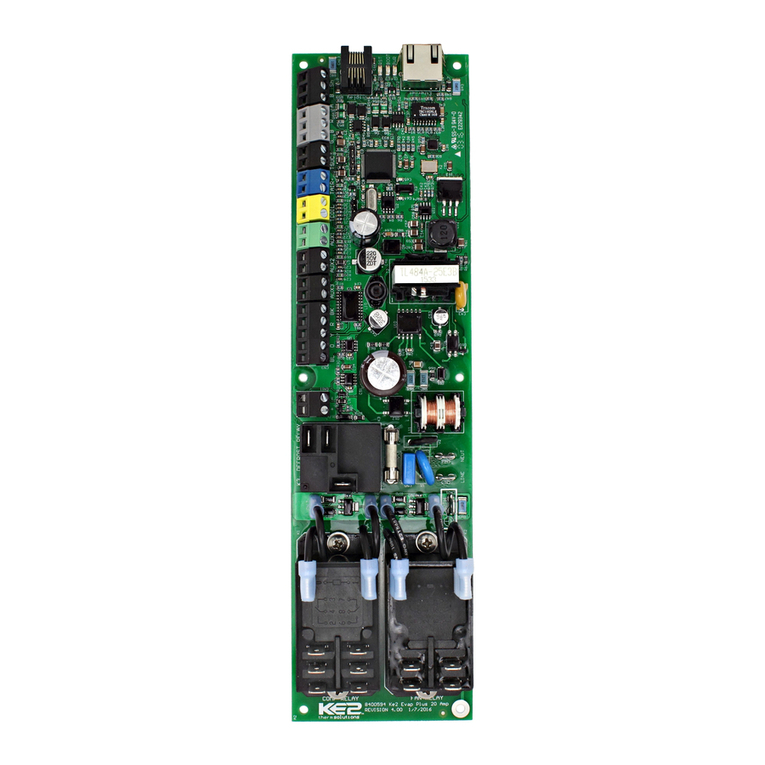
KE2 EvapOEM User manual

KE2

KE2 EvapOEM User manual

Popular Controllers manuals by other brands

Behringer Eurolight BLM420 Technical specifications

Behringer

Behringer Eurolight BLM420 Technical specifications

Moeller TC-RMQ installation instructions

Moeller

Moeller TC-RMQ installation instructions

Control Resources SmartFan Cirrus-6 Installation & operation manual

Control Resources

Control Resources SmartFan Cirrus-6 Installation & operation manual

YOKOGAWA AQ2201 user manual

YOKOGAWA

YOKOGAWA AQ2201 user manual

Rockwell Automation Allen-Bradley GuardLogix 5570 installation instructions

Rockwell Automation

Rockwell Automation Allen-Bradley GuardLogix 5570 installation instructions

ComAp InteliCompact NT Operator's guide

ComAp

ComAp InteliCompact NT Operator's guide

LAE electronic AC1-2W Instructions for use

LAE electronic

LAE electronic AC1-2W Instructions for use

GURTNER EN 13785 manual

GURTNER

GURTNER EN 13785 manual

Samsung SCC-3100 user manual

Samsung

Samsung SCC-3100 user manual

LETON ESC Classic 50A quick start guide

LETON

LETON ESC Classic 50A quick start guide

Smartgen HAT520N user manual

Smartgen

Smartgen HAT520N user manual

SOMFY Control Box 3S io installation instructions

SOMFY

SOMFY Control Box 3S io installation instructions

iNels IART2-1 instruction manual

iNels

iNels IART2-1 instruction manual

Honeywell VB6 Series installation instructions

Honeywell

Honeywell VB6 Series installation instructions

Greenheck MP-220A Installation, operation and maintenance manual

Greenheck

Greenheck MP-220A Installation, operation and maintenance manual

Banner Two-Hand-Control DUO-TOUCH SG brochure

Banner

Banner Two-Hand-Control DUO-TOUCH SG brochure

EMKO ESM 30 Series instruction manual

EMKO

EMKO ESM 30 Series instruction manual

NOVAK GOAT BRUSHLESS CRAWLER SYSTEM - BASIC SETUP GUIDE... Setup guide

NOVAK

NOVAK GOAT BRUSHLESS CRAWLER SYSTEM - BASIC SETUP GUIDE... Setup guide

manuals.online logo
manuals.online logoBrands
  • About & Mission
  • Contact us
  • Privacy Policy
  • Terms and Conditions

Copyright 2025 Manuals.Online. All Rights Reserved.