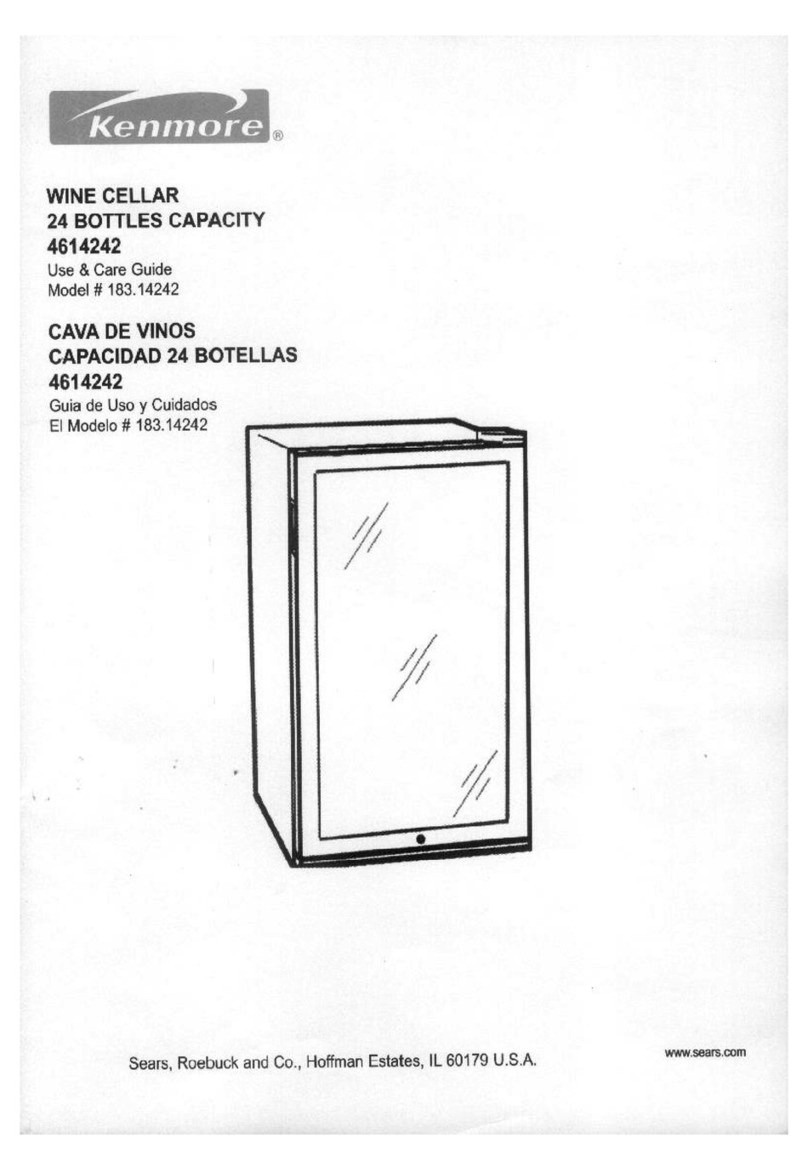
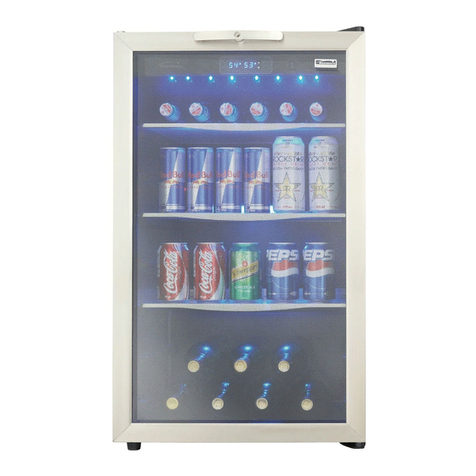
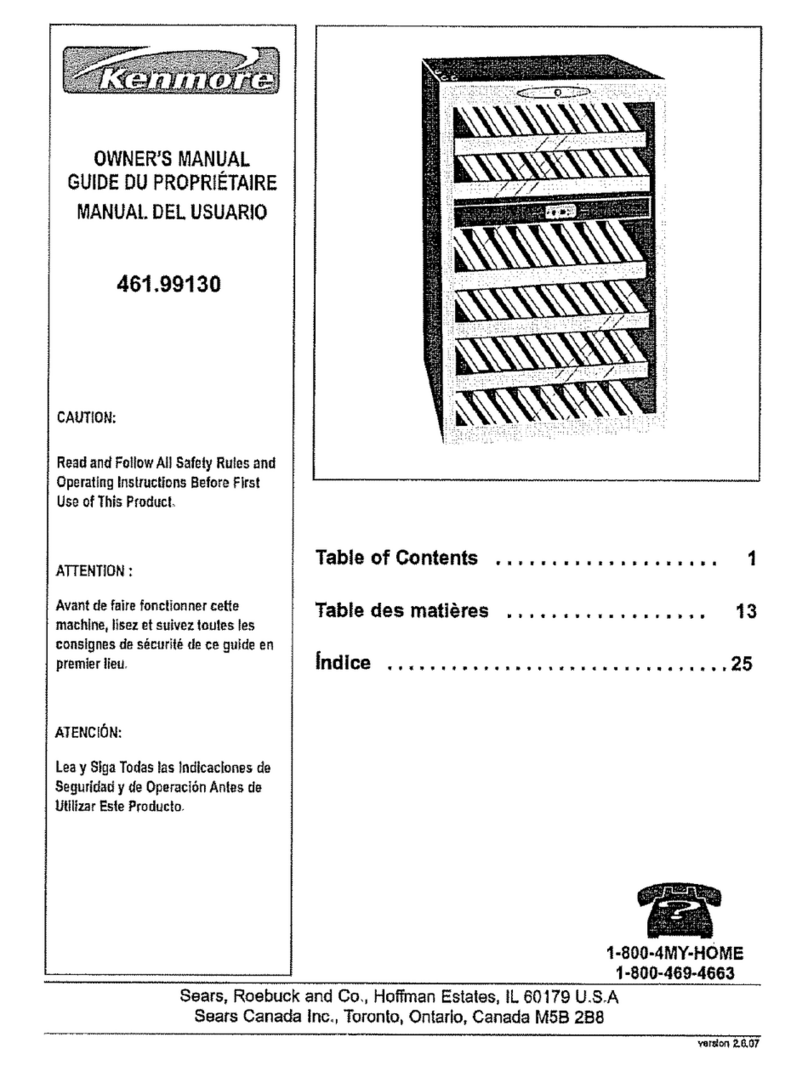
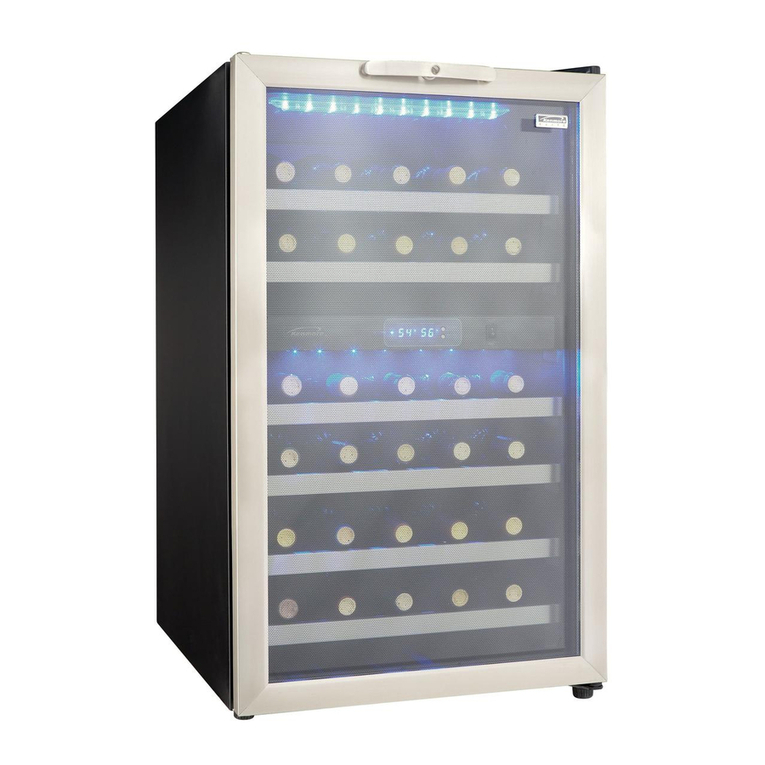
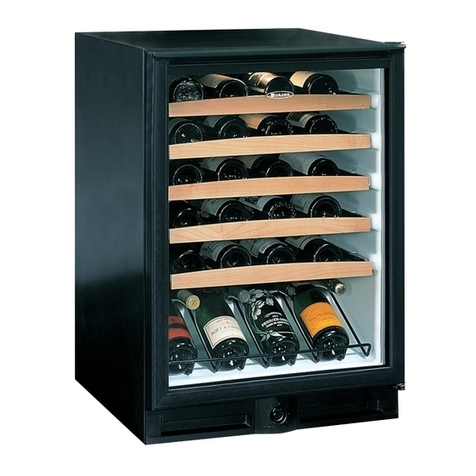
Kenmore 255.99279 User manual

For repair -in your home - of all major brand appliances,
lawn and garden equipment, or heating and cooling systems,
no matter who made it, no matter who sold itt
For the replacement parts, accessories and
owner's manuals that you need to dodt-yourself.
For Sears professional installation of home appliances
and items like garage door openers and water heaters.
1-800_-MY-HOME ®Calt anytime, day or night
(1-800_469_4663) (U.S.A. and Canada)
www.sears.com www.sears.ca
For repair of carrydn items like vacuums, lawn equipmenL
and electronics, call anytime for the location of the nearest
Sears Parts & Repair Service Center
1-800_88-1222 (USA) 1-800-469-4663 (Canada)
wwvv.sea_.corn w',_w.sears.ca
To purchase a protection agreement on a product serviced by Sears:
1-800-827-6655 (U.SA) 1-800-361-6665 (Canada)
® Registered Trademark/ Trademark of KCD _P LLC in the United States, or Sears Brands, LLC in other countries
® Mama Registrada t"r_*_Merca de Fabrica de KCD IP, LLC en Estado8 Unidos, o Sears Brands, LLC in otros paises
_<;Marque de commeroe i'_ Marque depos@e de Sears Brands, LLC
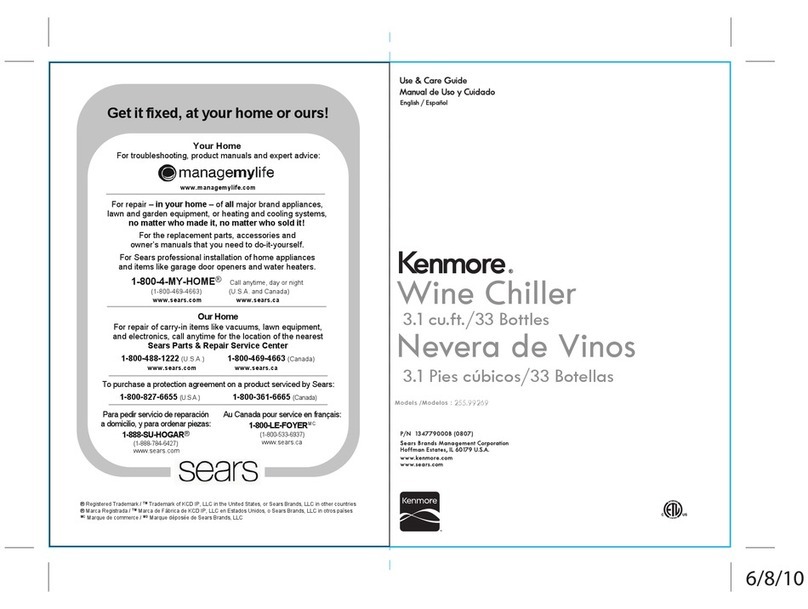
Use & Care Guide
Manual de Usa y Cuidado
F@
/*-)
®
P es c b c o >,
_4t@:_,s/;¢_;_<,e<s ; 25t.99279
@
COT@ ,,,J,._
P/N 134779000B (0807)
Sears Brands Management Corporation
Hoffrnan Estates_ IL 60179 U.S.A.
www.kenrnore.com
www;sears.com
6/8/10

When installS, operated and maintainedaccording to all suppliedinstructions,if thisappIiance
fails d_ to a defect inmaterialor workmanshipwithinone year fromthe date of purchase,
cd! 1400-4-MY-HOME to arrange for free repair
Thiswarranty app@s for onty 90 days from the purchasedate ifthisappliance isever used for
other than private household purposes.
This warranty covers only defecfs in material and workmanship. Sears will NOT pay for:
t. Expendable itemsthat can wear out from normal use,including but not limited to filters,
belts, lightbulbs, and bags.
2. A service technician to instructthe userincorrect product instaibtion, operation or
maintenance_
3. A service technician to clean or maintain this product,
,4.Damage to or failure of this product if it isnot installed,operated or maintained
according to the all instructionssupplied with the product
5. Damage to or failure of this product resultingfrom accident, abuse,misuseor usefor
other than itsintended purpose.
6. Damage to or failure of this product caused by the useof detergents,cleaners, chemicals
or utensilsother than those recommended in all instructions supplied with the product_
Z Damage to or failure of parts or systemsresulting fromunauthorized modifications made
to thisproduct,
Disclaimer of implied warranties; limitation of remedies
CustomeYssole and exclusive remedy under thislimited warranty shall be product repair as
provided herein_implied warranties, including warranties of merchantability or fitnessfor a
particular purpose,are limited to one year or the shortest period allowed by law. Sears shall
not be liable for incidental or consequential damages, Some statesand provinces do not allow
the exclusionor limitation of incidental or consequential damages, or limitation on the duration
of implied warranties of merchantability or fitness,sotheseexclusions or limitations may not
apply to you_
Thiswarranty applies only while thisappliance isusedin the United States
Thiswarranty givesyou specific legal rights,and you may also haveother rights which vary
from stateto state.
Sears Brands Management Corporation, Hoffman Estates, IL 60179
Congratulations on making a smart purchase. Yournew Kenmord_product isdesigned and
manufactured for years of dependable operation. But Jikeall products, it may require
preventive maintenance orrepair from time to time. Thds when having a Master
Pr:atectionAgreement can save you money and aggravation The Master Protection
Agreement also helps extend the iife of your new product.
Her?s what the Agreement includes
Parts and Jabot needed to help keep products operating properly under normal
use, not just defects_Our coverage goes weii b_nd the product warranty No
deductibles, nofunctional failure exduded from coverage--real protection.
Expert service by a force of more than 10,OO0 authorized Sears service
technicians, which means someone you cantrust will be working on your product.
Unlimited service calls and nationwide service, asdten asyou want us,
whenever you want us
[] "Nodemon'guarantee - replacement of your covered product if four or
more product failures occur within twelve months.
Product replacement if your covered p_oduct can't be fixed.
[] Annual Preventive Maintenance Check at your request - no extra charge.
[] Fast help by phone _ we call it Rapid Resdution -phone support from a
Sears representative on aHproducts_Thinkof usasa _tatking owner's manual _'
Power surge protection against electrical damage due to power fiuctuations_
[] $250 Food Loss Protection annualiy for any food spoilage that is the result of
mechanical faiiure d an,i covered refrigerator or freezer.
Rental reimbursement if repair of your covered product takes longer than
promised
[] 25% discount off the regular price of any non covered repair service and rdated
installed parts.
Once you purchase the Agreement, a simple phone cati isatl that ittakes for you to schedule
service. You can call anytime day or night,orschedule a service appointment online.
The Mas_er Protection Agreement isa riskfree purchase_If you cancd for any reason
during the product warranty period, we wili provideafuH refund, or a prorated refund
anytime after the product warranty period expires Purchaseyour Master Protection
Agreement today!
Some limitations and exclusions opply_ For prices and additional
information in the U.S.A. call 1-800_827o6655.
Sears Installation Service
ForSears professional installation of home apptiances, garage door openers, water
heaters, and other major home items, in the US.A or Canada call lo800-4-MY-HOME$:_.
6/8/10

®
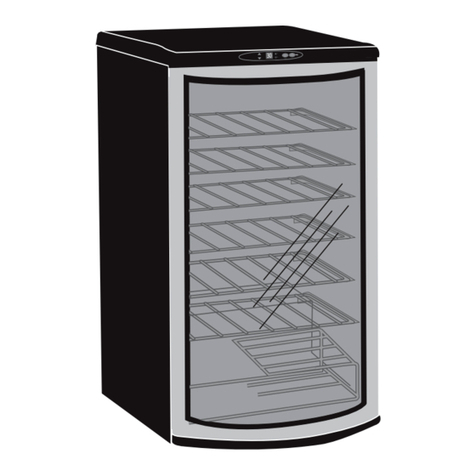
1. Control Panel
2. Wire Shelf Racks (5)
3. Wire Base Rack
4. Glass Door
5. interior Light Control Switch
6. Adjustment Legs
(Turn to left to raise; turn to right to lower)
4
DANGER
Riskof child entrapment, Before you throw away your old wine chiller,
take off the doors. Leavethe shelvesin place so that children may
not easily climb inside_
Youro_dwine chiller mayhave acoolingsystemthatusedCFCsor HCFCs
(chtorofluorocarbonsor hydrochlorofluorocarbonsl.CFCsand HCFCsarebelieved toharm
stratosphericozoneif reteasedto theatmosphere.Other refrigerantsmayalsocauseharm
to theenvironmentif releasedto theatmosphere,
If youare throwing away your old wine chitter, makesurethe refrigerantis removedfor
proper disposalbya quatifiedtechnician.Ifyou intentionallyreleaserefrigerant,you may
besubjectto finesand imprisonmentunderprovisionsofenvironmentallegislation.
WARNING_ NEVER store food items of any type in this wine chiller. Because
wine chiller temperature settings are warmer than refrigerator settings, food
items stored in wine chiller are liable to spoilage, which can result in serious
foodborne illness if consumed.
Thank you for using this Kenmore product. This easy-to-use manual will guide
you in getting the best use of your wine chiller.
PRODUCT RECORD
Staple your receipt to your manual.
Record the model and serial number of
your unit in the spaces provided to the right.
Model number:
255.99279
Serial number:
6/8/10

Unpacking Your Wine Chiller
!. Removeall packaging material Thisinctudesthe foam and the adhesive tape
from all outside and insidesurfaces,asweft asaccessories and racks,Slide
out and removethe plastic or foam guard usedto protect the compressor from
shippingdamage caused by vibration and shock.
2, inspect and removeany remaining packaging,tape or printed materials
before powering on the wine chiller
3. Checkto be sureyou have all accessoriesand parts listed inthe Partsand
Featuressection.
Proper Air Circulation
To ensurethat your wine chiller works at the maximum efficiency it was
designedfor,you should installit ina location where there isproper air
circulation, plumbingand electrical connections.
Thefollowing are recommended clearances around the wine chiller:
Sides..................3/'4 inches (19mm)
Top......................2 inches (50 mm)
Back....................2 inches (50 mm}
Electrical Requirements
Make sure there isa suitable power outlet (1t5volts,t5 amps)with
proper groundingto power thewine chiller.
WARNING: NEVERcut off the third grounding prong from the power cord
plug to accommodate a two prong outlet, Removalof the prong provides no
effective grounding for the appliance, which can result in seriousinjury or death
from electrical shock.
Installation
'Four wine chHer isdesignedfor freestanding installationonly.It shouldnot be
recessea or built-in. Placethe wine chiller on a floor strong enoughto support it fully
loaded. When movingme J._mesn,le_ nevertilt it bymore thana 45 degrees angle. This
could damage the compressorand the sealed system.
Fthewne ch ller hasbeentilted more than 45 degrees, Jetit stand inan upright
positionfor at least 1hour prior to plugging it into the power source. This
will allow the refrigerant to settle and reduce the possibility of amaffunctionin
the cooling system.
Piugthe wine cnmer into anexclusive,properly installed grounded wall outlet.
Do not unaer any circumstancescut or remove the third (grounding) prong from
the power cord. Seethe WARNING in Electrica_ Reau_rementson me previous
page. Any questionsconcerning power and/or groundingshouldbedirected
toward a certified electrician or a Searsor other qualified servicedealer.
After 0Juggingthe appliance into a wafl outlet,allow the unitto runfor 2 -3
hourssomat rneinterior issufficiently cool before opening the door to p_ace
softies into the corn 9arrmem.
Installation Limitations
Do not install your wine cooler in any location not properly insulated or heated,
such as m a garage. Your wine chiller is not designed to operate in fern peralure
settings below 55 ° Fahrenheit
Select a suitable location for the wine chiller on a hard even surface away from
direct sunlight or heat sources such as radiators, baseboard heaters or cooking
aopliances.
Handle Installation
[] []
1.Set the attacnmem shafts of the handle over me aTTacnmem posts protruding from
the door, To avoid turning unit over, attach handles with set screws facing uo if un_ s
_urnea over to faciDate attaching handle so that screws wi nOTbe seer, ,¢nu must Wa_T
" hour before p_ugging unit into eower source.
2. Use a 3 mm hex ke'y ro secure_y'hgmen me set screws in the r_anaie attachment shafts
to the attacnmem posts of the aoor.
7
6/8/10

Initial Use
To reach the set coldness level when operating the wine chiller for the first time, run it without wine
load untilyou hear the compressor stop.Thisusually takes2 to 3 hours Once the settemperature is
reached, ioad wine into the wine chiller.
Note: If the winechilter has been placed in a horizontal or more than 45 °
tilted position for any period of time,wait 1 hour before plugging it in.
Temperature Control
Temperature Adiustment
A : Pressths pad once and the temperature will increase 1° F/C.
V : Pressthispad once and the temperature wi]i decrease 1° F/C
Thewine chiller can be operated by adjusting the temperature control buttons (up arrow
anddown arrow) to varioussettings.
Thenew desired temperature will flash on the display for a few secondsand then switch
back to the actual temperature which will graduatb' change untiisetpoint is reached
Thetemperature range MIN and MAX is41°` 65°F (5° - 18°C} which isideal for wine storage.
41° is best for white wine,and 64° isidea/for reds.
_LED !ight pad; pressto turnlight on or off.
POWEROn/Off: Pressthispad to power the unitonor off.
and POWER_ogetherfor 2 seconds to convert between Fahrenheit
Press
temperature and CeJsiustemperatu re.
Failure Codes
If"E"and "F"disptay, contact Searsor another quatified service center for unitrepair.
If the temperature inthe chiller istoo tow, it wil! disptay 'LtL ,_djustthe temperature
controf to a warmer setting
If the temperature in the chilier istoo high, the control will flash "H", and an alarm will sound
for 30 seconds.One minute tate_ the alarm win continue to soundfor another 30 seconds
After three times,the alarm witl not sound any more You can press any keyto cancel the sound
atarrn_
Storing too manycans or bottles in the chiNermay cause the temperature inthe chilIer to
rise temporarily.
Normal Operating Sounds You May Hear
At times you may hear boiling water, gurgling sounds,etc. that are the resultof the
refrigerant circulating through the cooling coils
Cleaning and Maintenance
V_ARI'--tlNG:To avoid electric shock,always unplugyour wine chiiler before
cleaning ignoringthiswarningmay resultin death or injury
CAUTION:Before usingcleaning products, always read and understandthe cleaning processes
explained in this manual Foliow cleaning product manufacturers%instructionsand warnings to avoid
personal injury or product damage:
General Cleaning
Prepare a cleaning solutionof _to 2 tablespoons of bakingsoda mixed with "warmwater_ Usea
sponge or soft cloth, dampened with the cleaning solution,to wipe down your wine chilter.
Rinsewith dean warm water and dry with a soft cloth.
Do not use harshchemicals,abrasives, ammonia, chlorine bleach, concentrated detergents,
solventsor metal scouringpads. Some of thesechemicals may dissolve,damage and/or discotor your
wine chiller.
Door Gaskets
Clean door gaskets every three monthsaccording to the instructionsdescribed above in General
Cleaning.
Apply a light coating of petroleum jelly to the hinge side of the door gaskets to
keepthe gasketspliable and ensurea good seal.
Power Interruptions
Occasionally there may be power interruptionsdue to thunderstormsor other causes:Removethe
power cord plug from the AC outlet when a power outage occurs. Keep the wine chiller door
dosed to preserve compartmen_coolness for as tongas possible_After a prolonged power outage,
you should clean the insideof the chiller compartment before reuse.
Vacation and Moving Care
Forlongvacationsor absences,unplug the unit,remove wine bottles from wine chiller, turn
the temperature dialto the OFF positionandcleanthedoor gasketsaccordingto the General
Cleaning section.Propdoor open,so air cancirculate inside.Jfmoving the wine chiiier, always
keep it in a vertical position. Donot moveunitwhenina horizontalposition,aspossibledamageta
the sealedsystemcould occur_
9
618110
Table of contents
Languages:
Other Kenmore Wine Cooler manuals

Kenmore
Kenmore 9910 - 126 Can Beverage Center User manual

Kenmore
Kenmore 461.99130 User manual

Kenmore
Kenmore 14242 User manual

Kenmore
Kenmore 461.99610 User manual

Kenmore
Kenmore 46-99130 User manual

Kenmore
Kenmore 461.99130 User manual

Kenmore
Kenmore 255.99269 User manual

Kenmore
Kenmore 255.99249 User manual

Kenmore
Kenmore Kenmore 13485 User manual

Kenmore
Kenmore Wine cellar 13355 User manual