manuals.online logo
Brands
  1. Home
  2. •
  3. Brands
  4. •
  5. Kenmore
  6. •
  7. Wine Cooler
  8. •
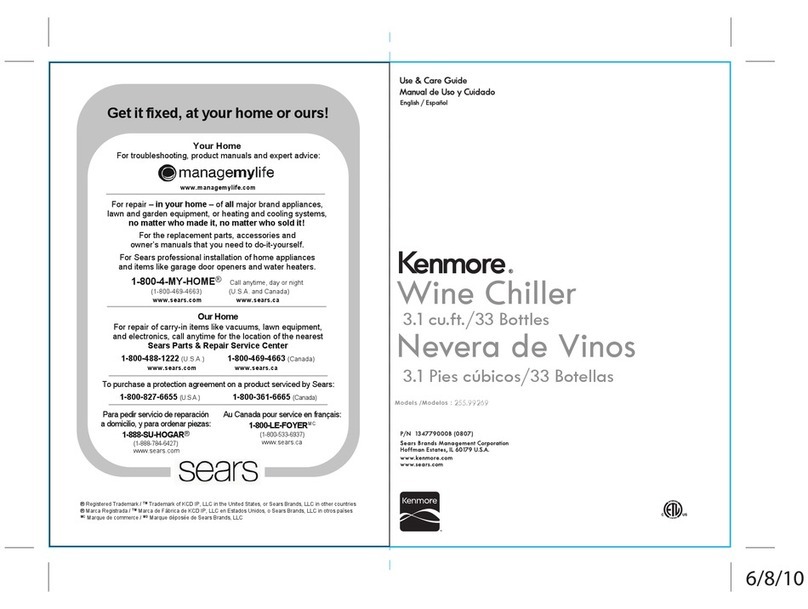
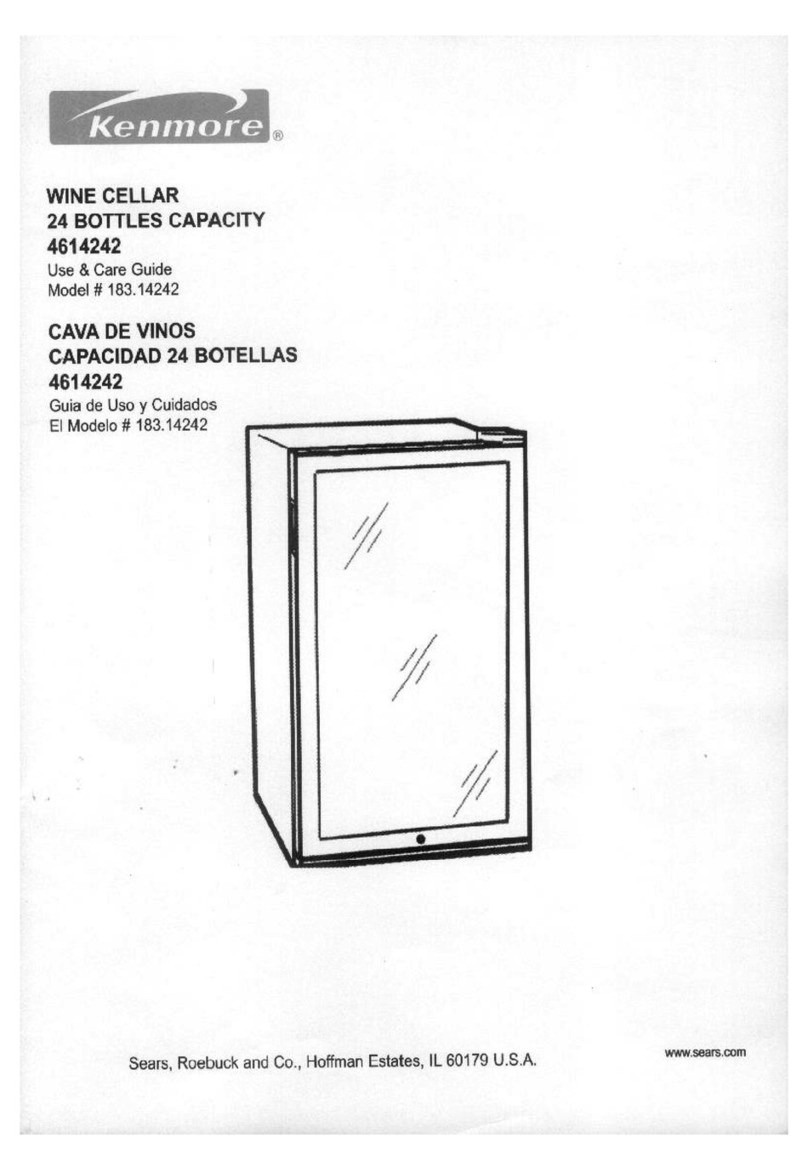
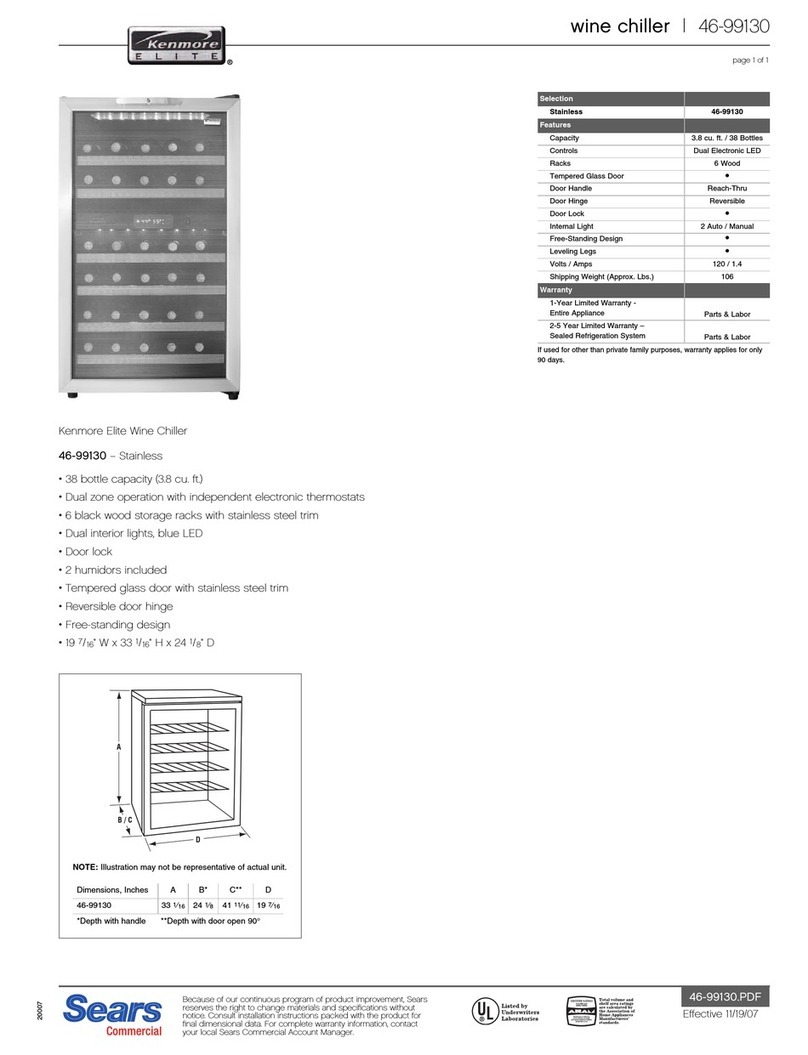
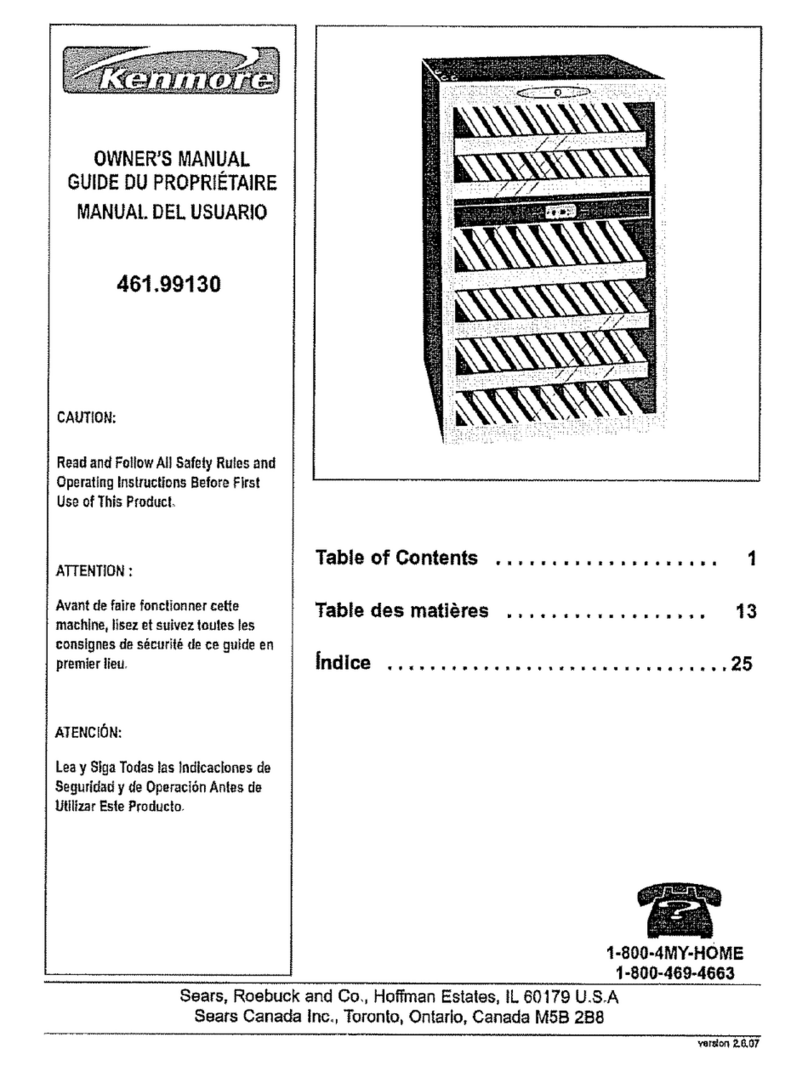
  9. Kenmore Kenmore 13485 User manual

Kenmore Kenmore 13485 User manual

®
Wine Cellar
Model 13485
47 Bottles Capacity
Read This Manual!
It will tell you how to operate and care for your wine cellar.
It also offers tips on how to get the best and lowest cost
performance.
If you prefer installing your own parts, use the parts list to
find the part number. Do not use the illustration number.
In the space below record the model and serial number of
your wine cellar. Each is printed on the model number
plate located in the upper corner of the wine cellar back.
Use these numbers when calling for service.
Model No. Serial No.
Full One Year Warranty on Wine Cellar
For one year from the date of purchase, when this wine
cellar is operated and maintained in accordance with the
provided owner's manual, Sears will repair it, free of charge,
if found defective in material or workmanship.
Full Five Year Warranty on
Sealed Refrigeration System
For five year from the date of purchase, when this wine
cellar is operated and maintained in accordance with the
provided owner's manual, Sears will repair the sealed
system (consisting of refrigerant, connecting tubing and
compressor motor), free of charge, if found defective in
material or workmanship.
The above warranty coverage applies only to wine cellar
which is used for the storage of wine for private household
purposes.
Warranty service is available by contacting the nearest
Sears Service Center throughout the United States.
This warranty applies only while this product is in use in the
United States. This warranty gives you specific rights and
you may also have other rights which vary from state to
state.
SEARS, ROEBUCK & CO.
D/817WA, HOFFMAN ESTATES, IL 60179
Installation
Remove all packing material and tape from the unit and inspect
the unit thoroughly. Notify Sears immediately if the unit is found
with any damaged or missing parts.
Install the unit on a strong level floor or counter. Avoid any direct
sunlight, heat source or moisture.
Let air circulate freely around the wine cellar. Keep the back of
the unit at least 4 inches away from the wall. Provide at least 1
inch of space between the top of the unit and any surface above
CAUTION: If you turn off the cold control, allow at
least three minutes before restarting to avoid blowing
fuses or tripping your circuit breaker:
Electrical
120 Volts, 60 Hz (60 cycles AC), 15 amps.
Electrical Grounding
Your wine cellar comes with a three-prong plug and must be
inserted into a three-prong, grounded wall outlet. Do not use an
extension cord.
WARNING: Unless the above grounding methods
are followed, you are not protected against severe or
lethal shock in the event of a short circuit in
refrigerator wiring or electrical components.
Things to Remember
1. When resetting your wine cellar to a new temperature,
allow 24 hours for it to reach the new setting.
2. The motor will start and stop often. It must do so in order
to maintain the selected temperature.
3. Keep your wine cellar level.
4. Unplug the wine cellar before conducting service and or
maintenance.
Sears, Roebuck and Co., Hoffman Estates, IL 60179
Part No. 302933
SR4700SB
Sears, Roebuck and Co., U.S.A.
Part No. 8336460155900D
(04103103)
Use and Care Information
1. Tips on everyday care and use
DEFAULT
WHITE RED SETTING
oooeooo
1234567
Default Temperature:
This unit is automatically set at medium temperature setting
(#4 in the above diagram) when power is turned on. In the
event of a power outage. The unit will return to the medium
setting upon the resumption of power supply.
Temperature Control:
For ideal long term storage of your wine collection, keep the
temperature at default setting (#4 in the above diagram). After
the wine cooler is turned on, wait at least 24 hours for the
temperature to settle at its appropriate setting.
Press the TEMP button on the exterior control panel to adjust
the temperature setting for your wine cellar. An LED indicator
on the control panel will indicate the current temperature
setting. Each time the TEMP button is pressed, the
temperature setting will increase by one increment until it
reaches the final indicator (#7 in the above diagram). Temp
setting will then recycle to #1 and so forth.
Setting the temperature to #7 (in the above diagram) is the
warmest setting, while #1 (in the above diagram) is the coldest
setting. Note that the interior temperature of the wine cooler
may vary depending upon the frequency of the door opening
and the number and positioning of wine bottles.
It is ideal to keep the temperature at setting 4 (default setting).
If your collection consists of a specific wine category, our
recommendations are as follow:
Sparkling and sweet whites wines
Champagne
Dry white wines
Different wine assortment (default)
Beaujolais, Ros_
Zinfandel, Chianti
Cabernet and other
Setting 1
Setting 1or 2
Setting 3
Setting 4
Setting 5
Setting 6
Setting 6 or 7
For the best results, store red wine in the upper half
portion of the cabinet and white wine in the lower half.
Placement of Bottles:
Your wine cooler will accommodate up to forty-seven 750 ml
bottles. Six bottles will fit on each of the upper six chrome
racks. Eleven bottles will fit on the bottom rack, by laying six on
the rack and stacking five on top, in a pyramid fashion. In the
event that your wine collection consists of different 750 ml
bottle shapes, please arrange your wine collection as follows:
a) Insert the 1st bottlewith the cork facing the glass door on
the rack of your selection.
b) Insert the 2nd bottle with the bottom facing the glass door.
c) Insertthe 3rd bottle similar as 1st bottle.
d) Follow the same process by alternating the bottle positions.
You may utilize the bottom rack to maximize bottle capacity
(eleven 750 ml bottles) or to store your magnum wine bottle
collection. Note that storing magnum type bottles will reduce
total bottle capacity.
2. To Control the Light
When pressing the LIGHT button, the interior lamp will turn on
even when thedoor is closed.
The light will automatically shut off approximately two minutes
after the LIGHT button is pressed.
Defrosting:
Your wine cooler is equipped with auto-defrost (cycle)
technology. The product will defrost automatically; therefore,
unplugging the unit is unnecessary.
3. For all cleaning
Mix 2 tablespoons baking soda with 1 quart of warm water or
use a mild soap. Do not use strong cleaners, scouring powder
or pads. For persistent odors, contact your Sears Service
Center, for odor removal.products.
Do not put the evaporating tray in the dishwasher.
Cleaning the evaporating tray:
Since the dust accumulated on the evaporating tray will
decrease the evaporation efficiency, remove the tray to clean it.
The evaporating tray is set in the back of the wine cellar. This
can be removed by pulling it out from the back of the unit.
Ener.qv Saving tips:
1. Close the door as soon as you can after opening it. Make
sure that the door is fully shut after each use so that cold air
doesn't escape from the wine cellar cavity.
2.
3.
4.
Adjust the temperature to a warmer setting. Your wine cellar
may be colder than necessary.
Reduce the number and length of time you open the door.
Your cooling system won't have to run as often.
Keep your wine cellar level, so that the door seals tightly by
using the adjustable legs located under the unit. When the
door is closed, the door gaskets should completely touch
the wine cellar cabinet.
5. Keep the wine cellar away from stoves or other heat
sources. A cool, dry place allows your wine cellar to
operate more efficiently.
Before calling for service:
•Check the plug and fuse.
•Test the outlet with a lamp.
In the event that the power cord is unplugged or that
there is a power outage, the unit will be reset
automatically and will resume function with the
temperature set at the medium position (Setting 4).
• Read the manual, especially the items under Use and
Care Information. This may help you find the answer to
your question.
• If you do not find the answer to your questions in this
manual, find the unit model number (on the upper back of
the wine cellar) and contact your Sears Service Center.
When requesting or ordering parts, always provide the
following information:
• Product name.
• Model number.
• Part name.
•Part number.
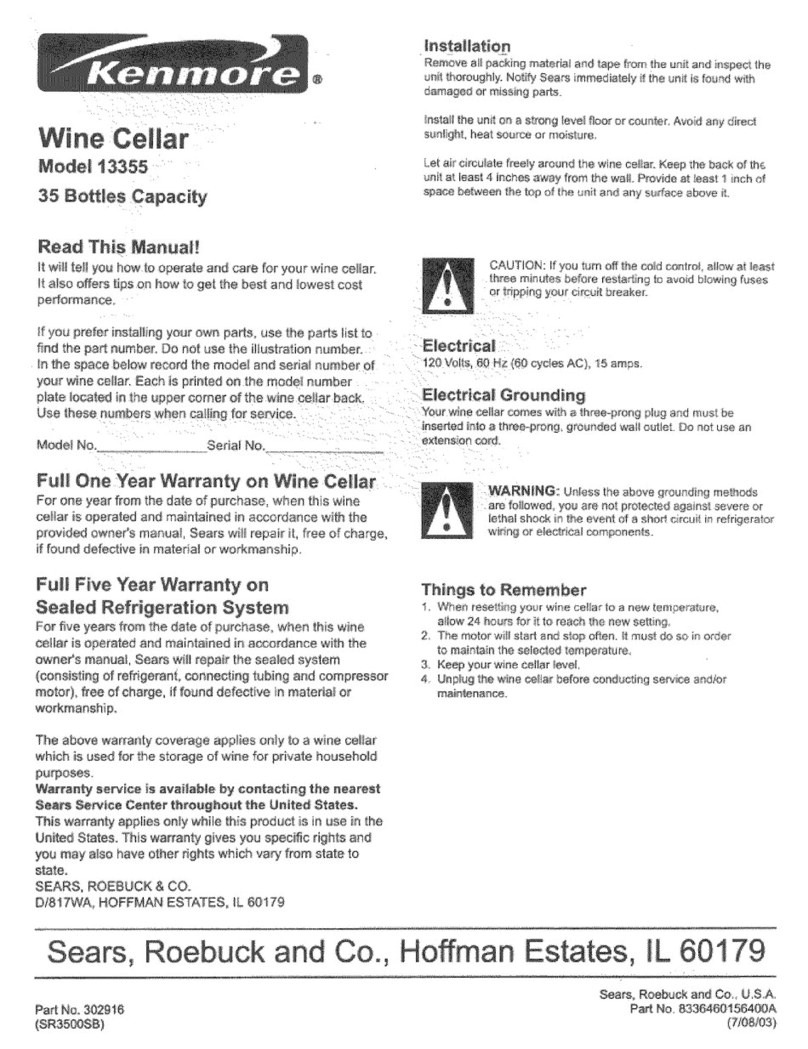
Parts List
Use Sears part number on all orders, not the illustration number.
(Please refer to the illustration on the next page)
Model: 564.13485100
Illus. Part Illus. Part
No. No. Description No. No.
1 302788 Door Assy. 26 302306
2 302789 Panel Circuit Board 27 302573
3 302934 Backcover, Control Panel 28 302696
4 302791 Lamp Cover 29 302651
5 302317 #10159 Screw 30 302009
6 302792 #10240 Tapping Screw 31 300493
7 302793 Push Bar, Light Switch 32 302846
8 302794 Top Table, Plastic 33 302800
9 302795 Top Support Assy. 34 302801
10 302840 Curve Control Panel 35 302802
11 302796 Thermo Bulb Clamp 36 302803
12 302815 Screw 37 301805
13 302808 #10217 Screw 38 302458
14 302797 Handle, Door 39 301976
15 301021 Indicator Lamp, 115 Volts 40 302289
16 302931 Machine Screw, Blue Zinc 41 302841
17 302816 Washer M4 ETLW YZ 42 302804
18 302798 #10239 Tapping Screw 43 302805
19 302426 Bottom Hinge 44 302814
20 302009 Screw 45 302806
21 300885 Leg 46 300308
22 300413 Bolt, Compressor Mtg. 47 301991
23 302427 Grommet, Compressor Mtg. 48 302807
24 302261 Compressor 49 302842
25 302304 Drier 50 302799
PARTS NOT ILLUSTRATED
302933 Owner's Manual + Parts List
302810 Technical sheet
302664 Mascot
3O
42
302811
302812
Description
PTC Relay
Relay Cover
Clip Relay Cover
Cabinet Base Plate
Bolt
Screw
Power Cord
Wire Rack
Wire Rack, Bottom
Door Shelf Bushing
Evaporator Assy.
#10037 Screw
Drain Tray
Overload Relay
Grommet, Comp. Mtg., No Hole
Seal A, Back Cover
Main Circuit Board
Circuit Box Front
Nylon Clamp
Cord Clamp
#10023 Tapping Screw
#10026 Screw
Door Switch, Black
Seal B_Back Cover
Motor Cord
Wiring diagram
Panel Harness B
33'
34__
Your Home
For repair-in your home-of all major brand appliances,
lawn and garden equipment, or heating and cooling system,
no matter who made it, no matter who sold it!
For the replacement parts, accessories and
owner's manuals that you need to do-it-yourself.
For Sears professional installation of home appliances
and items like garage door openers and water heaters.
1-800-4-MY-HOME ®(1-800-469-4663)
Call anytime, day or night (U.S.A. and Canada)
www.sears.com www.sears.ca
Our Home
For repair of carry-in items like vacuums, lawn equipment,
and electronics, call or go on-line for the location of your nearest
Sears Parts & Repair Center.
1-800-488-1222
Call anytime, day or night (U.S.A. only)
www.sears.com
To purchase a protection agreement on a product serviced by Sears:
1-800-827-6655 (U.S.A.) 1-800-361-6665 (Canada)
Para pedir servicio de reparaci6n
a domicilio, y para ordenar piezas:
8M
Au Canada pour service en fran;ais:
M C
1-888-LE-FOYER
ww.sears.ca
/AUR
®Registered Trademark/TMTrademark/sM Service Mark of Sears, Roebuck and Co.
"rM
®Marca Registrada/ Marca de F_brica/m Marca de Servicio de Sears, Roebuck and Co.
%larque commerce/_ _Marque d_pos_e de Sears, Roebuck and Co.
Printed in Mexico
(SR4700SB)

This manual suits for next models

1

Other Kenmore Wine Cooler manuals

Kenmore 461.99610 User manual

Kenmore

Kenmore 461.99610 User manual

Kenmore 255.99249 User manual

Kenmore

Kenmore 255.99249 User manual

Kenmore 461.99130 User manual

Kenmore

Kenmore 461.99130 User manual

Kenmore 255.99269 User manual

Kenmore

Kenmore 255.99269 User manual

Kenmore 9910 - 126 Can Beverage Center User manual

Kenmore

Kenmore 9910 - 126 Can Beverage Center User manual

Kenmore 46-99130 User manual

Kenmore

Kenmore 46-99130 User manual

Kenmore 461.99130 User manual

Kenmore

Kenmore 461.99130 User manual

Kenmore 14242 User manual

Kenmore

Kenmore 14242 User manual

Kenmore 255.99279 User manual

Kenmore

Kenmore 255.99279 User manual

Kenmore 461.99619 User manual

Kenmore

Kenmore 461.99619 User manual

Kenmore Wine cellar 13355 User manual

Kenmore

Kenmore Wine cellar 13355 User manual

Popular Wine Cooler manuals by other brands

The Wine Square CUBE LT user manual

The Wine Square

The Wine Square CUBE LT user manual

Norcool CAVE 20 Operating & installation instructions

Norcool

Norcool CAVE 20 Operating & installation instructions

Danby DWC018A1BDB Owner's use and care guide

Danby

Danby DWC018A1BDB Owner's use and care guide

SCHOLTES SWC 36 NA user guide

SCHOLTES

SCHOLTES SWC 36 NA user guide

Cavavin C-023WDZ-V4 instruction manual

Cavavin

Cavavin C-023WDZ-V4 instruction manual

Cuisinart CWC-3200 - Private Reserve Wine Cellar Instruction booklet

Cuisinart

Cuisinart CWC-3200 - Private Reserve Wine Cellar Instruction booklet

GLITZHOME GH20105 Assembly instruction

GLITZHOME

GLITZHOME GH20105 Assembly instruction

camry CR 8068 user manual

camry

camry CR 8068 user manual

Emerson FR959 owner's manual

Emerson

Emerson FR959 owner's manual

Baumatic BW150SS instruction manual

Baumatic

Baumatic BW150SS instruction manual

La Sommeliere COLLECTION Use instruction

La Sommeliere

La Sommeliere COLLECTION Use instruction

Bosch KUW21AHG0G INFORMATION FOR USE

Bosch

Bosch KUW21AHG0G INFORMATION FOR USE

Viking DDWB301CRSS installation guide

Viking

Viking DDWB301CRSS installation guide

Avanti WC262BG instruction manual

Avanti

Avanti WC262BG instruction manual

Ivation IVFWCT081BEU user guide

Ivation

Ivation IVFWCT081BEU user guide

Koolatron WC12MG user manual

Koolatron

Koolatron WC12MG user manual

PrioVino Premier Original operating instructions

PrioVino

PrioVino Premier Original operating instructions

Miele KWT 2602 Vi Operating and installation instructions

Miele

Miele KWT 2602 Vi Operating and installation instructions

manuals.online logo
manuals.online logoBrands
  • About & Mission
  • Contact us
  • Privacy Policy
  • Terms and Conditions

Copyright 2025 Manuals.Online. All Rights Reserved.