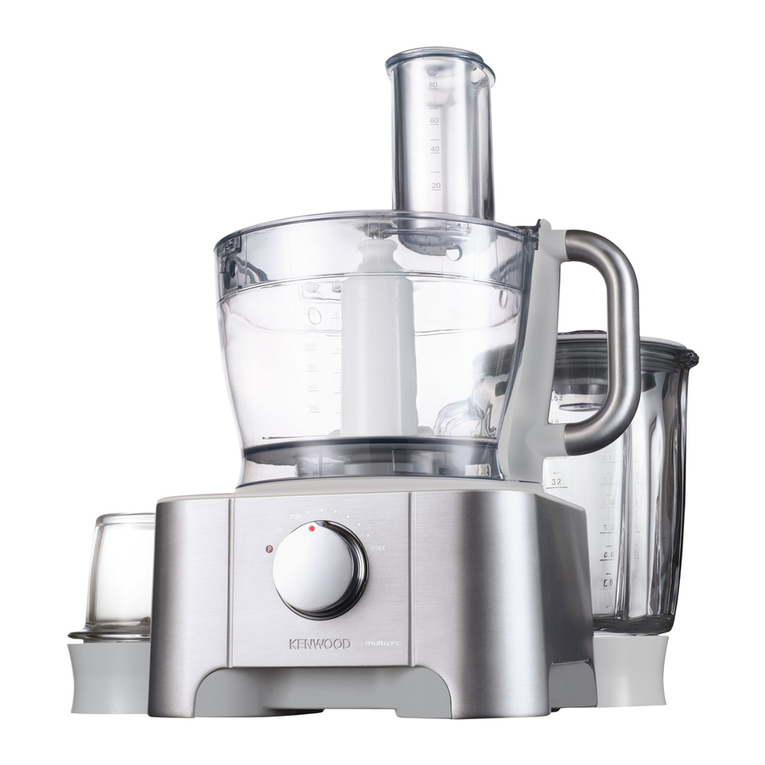
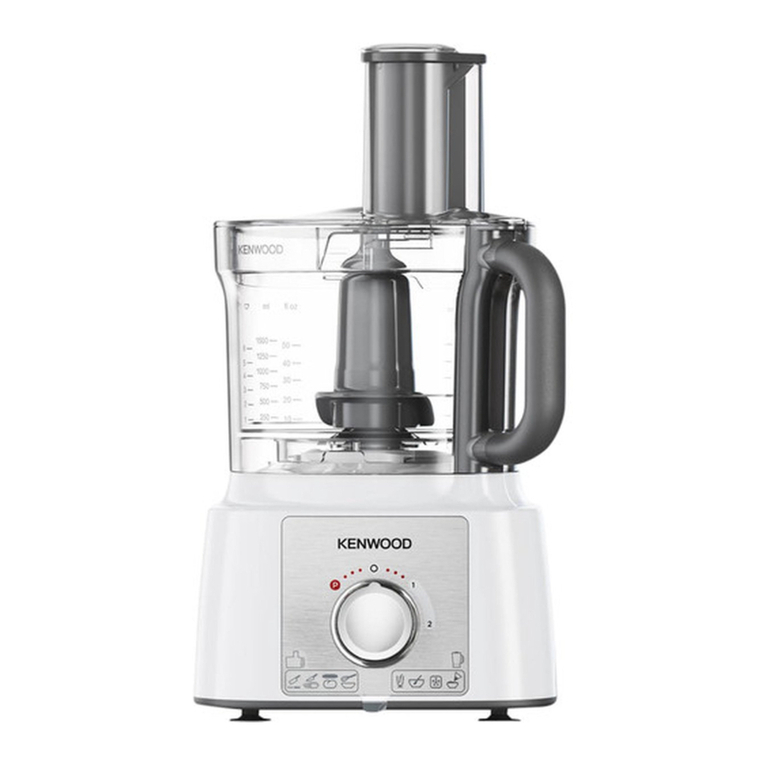
weighing function
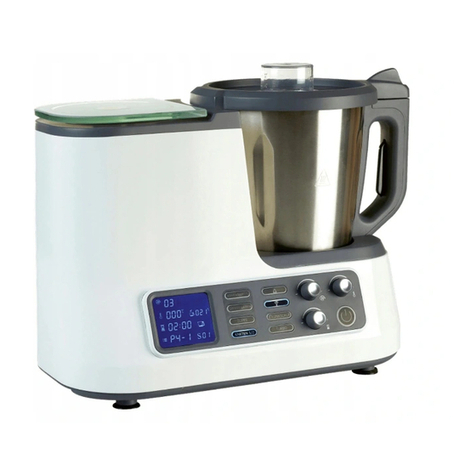
bm kg/lb button
bn display screen
bo on/zero button
bp weig ing tray
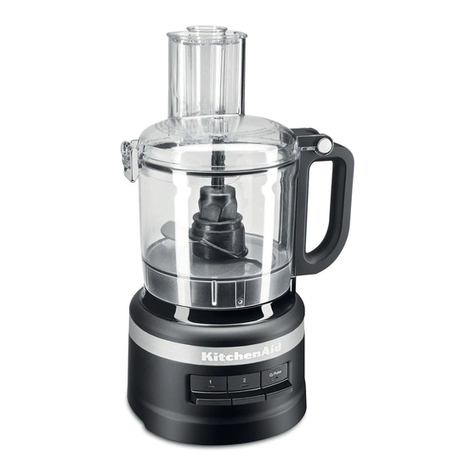
t ermoresist blender
bq filler cap
br lid
bs goblet
bt sealing ring
ck blade unit
cl filler cap vents
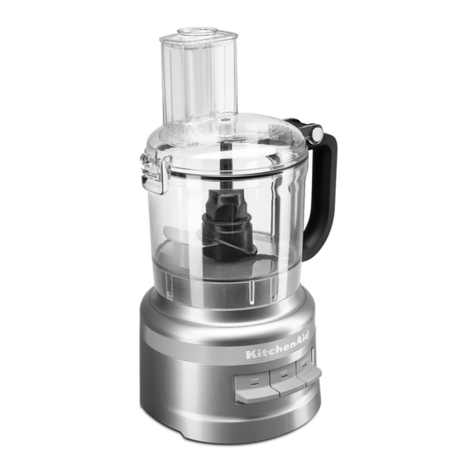
attac ments
cm knife blade
cn doug tool
co dual w isk
cp folding tool
cq max capacity disc
cr 4mm slicing/grating disc
cs 2mm slicing/grating disc
ct extra fine grater disc
dk fine Julienne disc
dl decorative slicing disc
dm mini bowl and blade
dn citrus juicer
do attac ment storage box
to use your food processor
1 Fit t e bowl to t e power unit. Place t e andle towards t e
back on t e rig t and side and turn clockwise 1until it
locks.
2 Fit an attac ment over t e bowl drive s aft.
Note: Detachable d ive shaft 2should be fitted
when using the discs, mini bowl, whisk, folding
tool and cit us juice .
GAlways fit t e bowl and attac ment onto t e processor
before adding ingredients.
3 Fit t e lid 3- ensuring t e top of t e drive s aft/tool locates
into t e centre of t e lid.
GThe p ocesso will not ope ate if the bowl o lid
a e not fitted co ectly into the inte lock. Check
that the feed tube and bowl handle a e situated
to the ight hand side.
4 Plug in. T e Power On lig t will come on and flas until t e
bowl and lid are fitted correctly. Select one of t e following
options: -
Auto Button – t e lig t will come on w en t e Auto Button is
pressed and t e optimum speed for t e attac ment will be
automatically selected.
Speed Control – manually select t e required speed (refer to
t e recommended speed c art).
Pulse – use t e pulse (P) for s ort bursts. T e pulse will
operate for as long as t e control is eld in position.
5 At t e end of processing turn t e speed control to t e ‘O’ off
position or if using t e Auto press t e button and t e lig t
will go out.
GThe Powe On light will flash if eithe the lid o
bowl a e not fitted o inco ectly fitted.
GThe Auto Button will not ope ate if a speed is
selected on the speed cont ol.
GAlways switch off and unplug befo e emoving the
lid.
impo tant
GYour processor is not suitable for crus ing or grinding coffee
beans, or converting granulated sugar to caster sugar.
Eco function
If t e food processor is left plugged in for over 30 minutes
wit out being used, it will go into standby mode to reduce
energy consumption.
GTe Power On lig t will pulse slowly and t e food processor
will not operate until one of t e following actions are carried
out:-
GT e Auto Button is pressed.
GT e speed control is turned to a speed and t en turned
back to t e ‘O’ off position.
T e lig t will c ange to being constantly lit w en ready to
use.
Note: If t e bowl or lid are not engaged into t e interlock t e
power on lig t will pulse more rapidly t an t e Eco function.
weig ing function
Your food processor is fitted wit a built in weig ing function
to allow ingredients to be weig ed straig t into t e bowl or
blender goblet.
GT e Maximum weig ing capacity is 3Kg. T is is t e total
weig t of all t e ingredients including t e weig t of t e bowl
or goblet.
to use t e weig ing function
1 Always fit t e bowl, detac able drive s aft and attac ment
or blender goblet onto t e power unit before adding
ingredients.
2 Plug in – t e display screen will
remain blank.
3 Press t e ON/ZERO button once
and t e display screen will lig t up.
4 Press t e (kg/lb) button to select
eit er grams or ounces. T e
display will default to kg/g w en
first switc ed on.
GT e unit weig s in 2g increments
and teaspoon/tablespoon
measures are recommended for
weig ing small quantities.
5 C eck t e display s ows ‘O’, if
not, zero by pressing t e ON/ZERO button. T en weig t e
required ingredients straig t into t e bowl or goblet. After t e
weig t is displayed, press t e ON/ZERO button and t e
display will return to ‘O’. Add t e next ingredients and t at
weig t will be displayed. Repeat until all ingredients are
weig ed.
GIf t e display is not zeroed and eit er t e ingredients or t e
bowl/attac ment/lid are removed t e display will s ow [ - - -
-] to represent a minus reading.
To ze o p ess the ON/ZERO button once.
6 Add t e lid and select a speed to operate t e processor.
6
