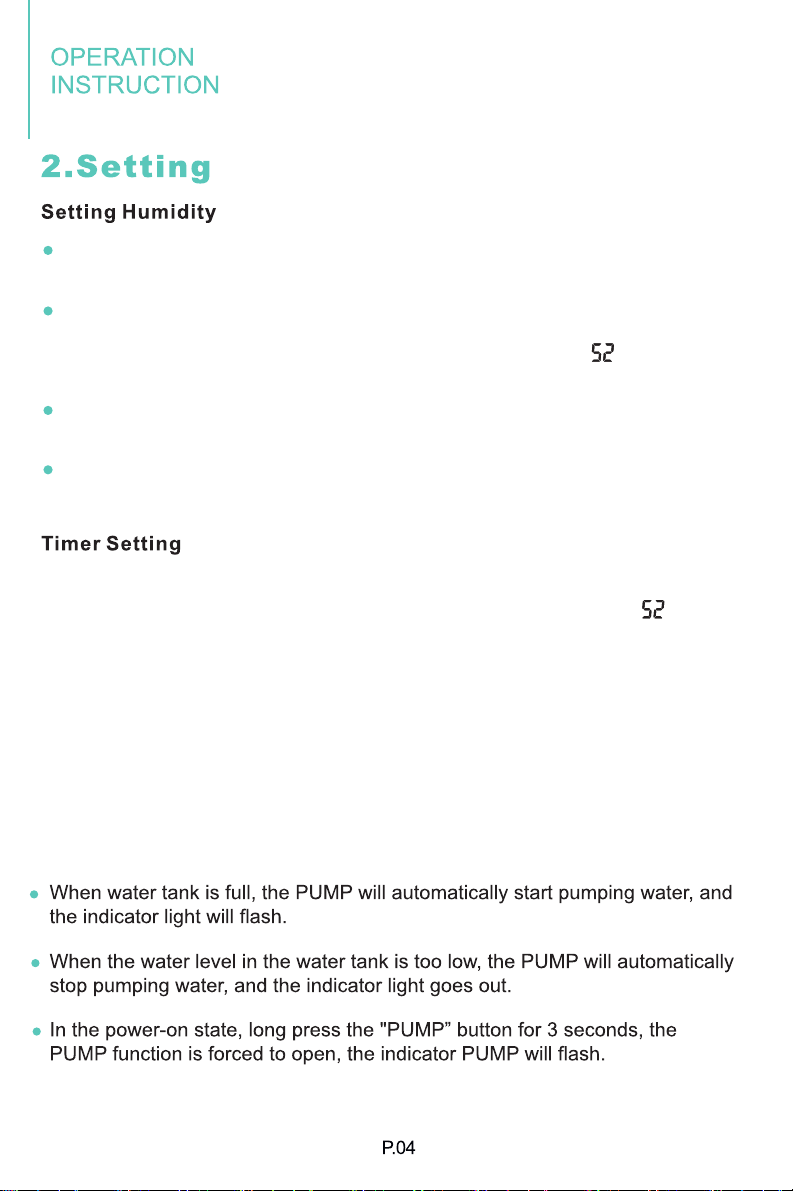
manuals.online logo
Brands
  1. Home
  2. •
  3. Brands
  4. •
  5. KESNOS
  6. •
  7. Dehumidifier
  8. •
  9. KESNOS PDGT701BC User manual

KESNOS PDGT701BC User manual

Commercial Dehumidifier
www.kesnos.com
PDGT701BC
Please read the manual carefully
before using the unit
USER MANUAL
Thank you for purchasing our dehumidifier.
Kesnos wishes our products and services can bring convenience to your work
and life.
We highly recommend you to keep the manual for reference, in case you
encounter unexpected issues using this unit.
Please read the manual carefully to ensure proper use of the dehumidifier.
Our dehumidifiers are widely used in family bedrooms, bathrooms, basements,
offices and storage rooms, etc.
It can be operated quickly and efficiently to reduce the room's humidity and
bring you a healthy and comfortable life.
If there is any problems of the product, please contact Kesnos Customer
Service at [email protected] with your Purchase Order ID, we will dedicate
our efforts to help you address the problems.
12
01
02
03
04
13
15
16
17
The graphics and functions provided in this manual may not be the
same as the actual product. Please always refer to the actual product.
The model of the machine on the manual is for reference only. Please
operate the machine based on the actual product.
The right to interpret the relevant terms belongs to the company.
Common Faults and Solutions
Warranty & Contact Information
Cleaning and Maintenance
Technical Parameters
Safety Notes:
For your safety, please read the manual carefully and keep the manual before
you use the product for reference. Please use this product according to the
installation and operation instructions of this manual.
1
2
3
4
5
6
4
1
5
2
3
6
1.Understand the Control panel
Pump Function
The humidity level can be set within a range of 10%RH to 98%RH in 1%
increments.
When it starts work, it will first automatically detect and show the room's
humidity. Press the "UP" button to change the humidity selection in 1%
increments.Press "DOWN" to make it decrease by 1%RH. " " Flash and
show the setting humidity.
When the humidity level is set at 30%RH, the dehumidifier will work at
continuous dehumidifying mode.
Press the "function" button once or no button operation for a few seconds will
automatically exit the humidity setting state.
In the power on or standby state, press the "Timer" button once to enter the
timer setting state: Timing indicator light up and the digital number " " flashes
to show the time.
In the timing setting state, press the "Up" or "Down" button to set the desired
time (setting range: 01-24h, can be cycled).
Press the button once again or no button operation for a few seconds, the
timing setting state will automatically be exited.
If the time is set to be 00, the time setting is invalid.
1. Digital number will be flashing when the target humidity is setting or the
room humidity is lower than the set humidity.
2. When the setting value is read out to be lower than the room humidity, the
digital number will remain illuminated.
When the fan delays to start, running indicator will be flashing; it will
light up when the fan is running.
RUNNING
1.Turn off the dehumidifier and
unplug it;
2. Find the gravity drain outlet
at the bottom of the dehumidifi-
er and connect the emergency
hose to drain;
3.After emptying the reservoir,
close the gravity drain outlet;
4.Connect the pump drain
hose;
Re-plug and start the dehumid-
ifier to check the pump func-
tion.
The dehumifidier will not be
ready for operation.
EC
When the machine signals the alarm, it will flash or display the alarm, in case
there are multiple errors on the unit, it will display the errors in turn.
When one of above malfunctions occurs, the buzzer will alarm for a few
seconds, press any key during the alarm to release the alarm sound.
[email protected]
Kesnos
1. Take out 4 screws and a handle from the accessories, and put the handle
into the groove at the back of the humidifier, making the screws correspond
to the screw holes.
2. Tighten all the four screws on the hands respectively, the installation is
finished.
Handle
Screws
Tighten all the four hand screws,complete the installation.
Put the handle into the groove
at the back of the dehumidifier,
making the 4 screws correspond
to the screw hole.
This dehumidifier has an internal pump that will automatically drain the
condensate out via the long drain hose. Before turning on the dehumidifier,
make sure the hose has been connected to the drain outlet properly.
1. Uncoil the entire hose;
2. Attach the hose to the drain outlet;
3. Place the unattached end of the hose in a sink, drain bucket or outdoors:
Anywhere that the water can drain out safely (Please ensure that no kinks or
other obstructions will stop the water to flow).
NOTE:
• Ensure that water which runs to outdoors does NOT create a slip hazard.
• If you use a bucket or other container for water collection, check it regularly
to prevent overflows.
• The drain hose for the water pump can drain up to 15ft vertically. More than
15ft may cause water back up to the pump resulting in leakage.
• When turning off the dehumidifier, please take the hose out from the water
collection container to avoid the water back-flow and cause water leakage.
Rubber plugInclination≥45°
In power-disconnected status, tilt the dehumidifier as the figure shown, pull
out the rubber plug and put the dehumifier straight to drain the sewage in the
water tank.
Dehumidifier operating
but room not dry
Check the information below for troubleshooting steps that will save you
time to resolve issues that may happen with the unit.
The list includes most issues but not the results of defective unit, crafts
or materials in the unit. If all the troubleshooting steps have been
exhausted and isse is stilling occuring, feel free to get in touch with
Kesnos Customer Service to get further assistance.
The dehumidifier is titled.
Drain hose connection is
not tight
The drain hose is blocked
The dehumidifier is titled
Place the dehumidifier on
flat surface.
Make sure the drain hose
connection is tight
Check hose for restrictions
Install the dehumidifier on
flat surface to minimize
vibration and noise
Leaking
The filter is blocked
The pump reservoir is not
in place
The pump is defective
The pump reservoir gets
dirty
Clean the filter
Place the pump reservoir
at the correct position
Replace the pump
Clean the pump reservoir
Noise
The pump does not drain
If the dehumidifier is still not working properly as expected and the
troubleshooting steps or solutions above may not resolve the issues,
please unplug the power and shut down the dehumidifier, then
contact Kesnos customer service via
[email protected]
Please clean the filter every
two weeks (do not use hot
water above 104℉,
gasoline or toluene).
MODEL NO.
P0WER SOURCE
REFRIGERANT
HIGH PRESSURE
RATED POWER(95°F,90%RH)
RATED CURRENT(95°F,90%RH)
LOW PRESSURE
INPUT POWER(65°F,60%RH)
INPUT CURRENT( ,60%RH)65°F
PDDT701BC
120V 60Hz~1150W
10.3A
610W
5.5A
R410a(20.11oz.) (570g)
6.2MPa
4.0MPa
1.7M
P
a
MOISTURE REMOVAL(65°F,60%RH) 50 Pints/Day
MOISTURE REMOVAL(80℉,60%RH)
MOISTURE REMOVAL(86℉,80%RH)
MOISTURE REMOVAL(95℉,90%RH)
90 Pints/Day
150 Pints/Day
180 Pints/Day
MAXIMUM ALLOWABLE PRESSURE
This product can expose you to chemicals including Styrene and its compounds,
which is known to the State of California to cause cancer and birth defects or
other reproductive harm.
For more information, please visit: www. P65Warnings.ca.gov

Other KESNOS Dehumidifier manuals

KESNOS PD253D User manual

KESNOS

KESNOS PD253D User manual

KESNOS PD09D User manual

KESNOS

KESNOS PD09D User manual

KESNOS PD606A User manual

KESNOS

KESNOS PD606A User manual

KESNOS PD10A User manual

KESNOS

KESNOS PD10A User manual

KESNOS PD220B User manual

KESNOS

KESNOS PD220B User manual

KESNOS PD08A-18 User manual

KESNOS

KESNOS PD08A-18 User manual

KESNOS PD160A User manual

KESNOS

KESNOS PD160A User manual

Popular Dehumidifier manuals by other brands

Anslut 417-045 Operating	 instruction

Anslut

Anslut 417-045 Operating instruction

KOSMEN KM-480S user manual

KOSMEN

KOSMEN KM-480S user manual

Gree GDN30AQ-A3EBA1A owner's manual

Gree

Gree GDN30AQ-A3EBA1A owner's manual

Olimpia splendid SECCASCIUTTO Instructions for installation, use and maintenance

Olimpia splendid

Olimpia splendid SECCASCIUTTO Instructions for installation, use and maintenance

Fehom YDA-858F user manual

Fehom

Fehom YDA-858F user manual

Mitsubishi MJ-E16V-S1 Service manual

Mitsubishi

Mitsubishi MJ-E16V-S1 Service manual

Argo DRY COMPACT 21 operating instructions

Argo

Argo DRY COMPACT 21 operating instructions

SMC Networks IDF190D-3-W Series Operation manual

SMC Networks

SMC Networks IDF190D-3-W Series Operation manual

Danby Diplomat DDR1506 owner's manual

Danby

Danby Diplomat DDR1506 owner's manual

Quincy QMD 55 Instruction book

Quincy

Quincy QMD 55 Instruction book

KDK GCH23H operating instructions

KDK

KDK GCH23H operating instructions

Mycond ROOMER Eco 25 user manual

Mycond

Mycond ROOMER Eco 25 user manual

Sleavon D001F user manual

Sleavon

Sleavon D001F user manual

Zodiac WD002088 Instructions for installation

Zodiac

Zodiac WD002088 Instructions for installation

Seresco NE Series Installation and operation manual

Seresco

Seresco NE Series Installation and operation manual

Teddington SecoSteel 40 USE AND MAINTENACE MANUAL

Teddington

Teddington SecoSteel 40 USE AND MAINTENACE MANUAL

Kenmore 580.52650 owner's manual

Kenmore

Kenmore 580.52650 owner's manual

Heylo DT 760 Translation of the original instruction manual

Heylo

Heylo DT 760 Translation of the original instruction manual

manuals.online logo
manuals.online logoBrands
  • About & Mission
  • Contact us
  • Privacy Policy
  • Terms and Conditions

Copyright 2025 Manuals.Online. All Rights Reserved.