4
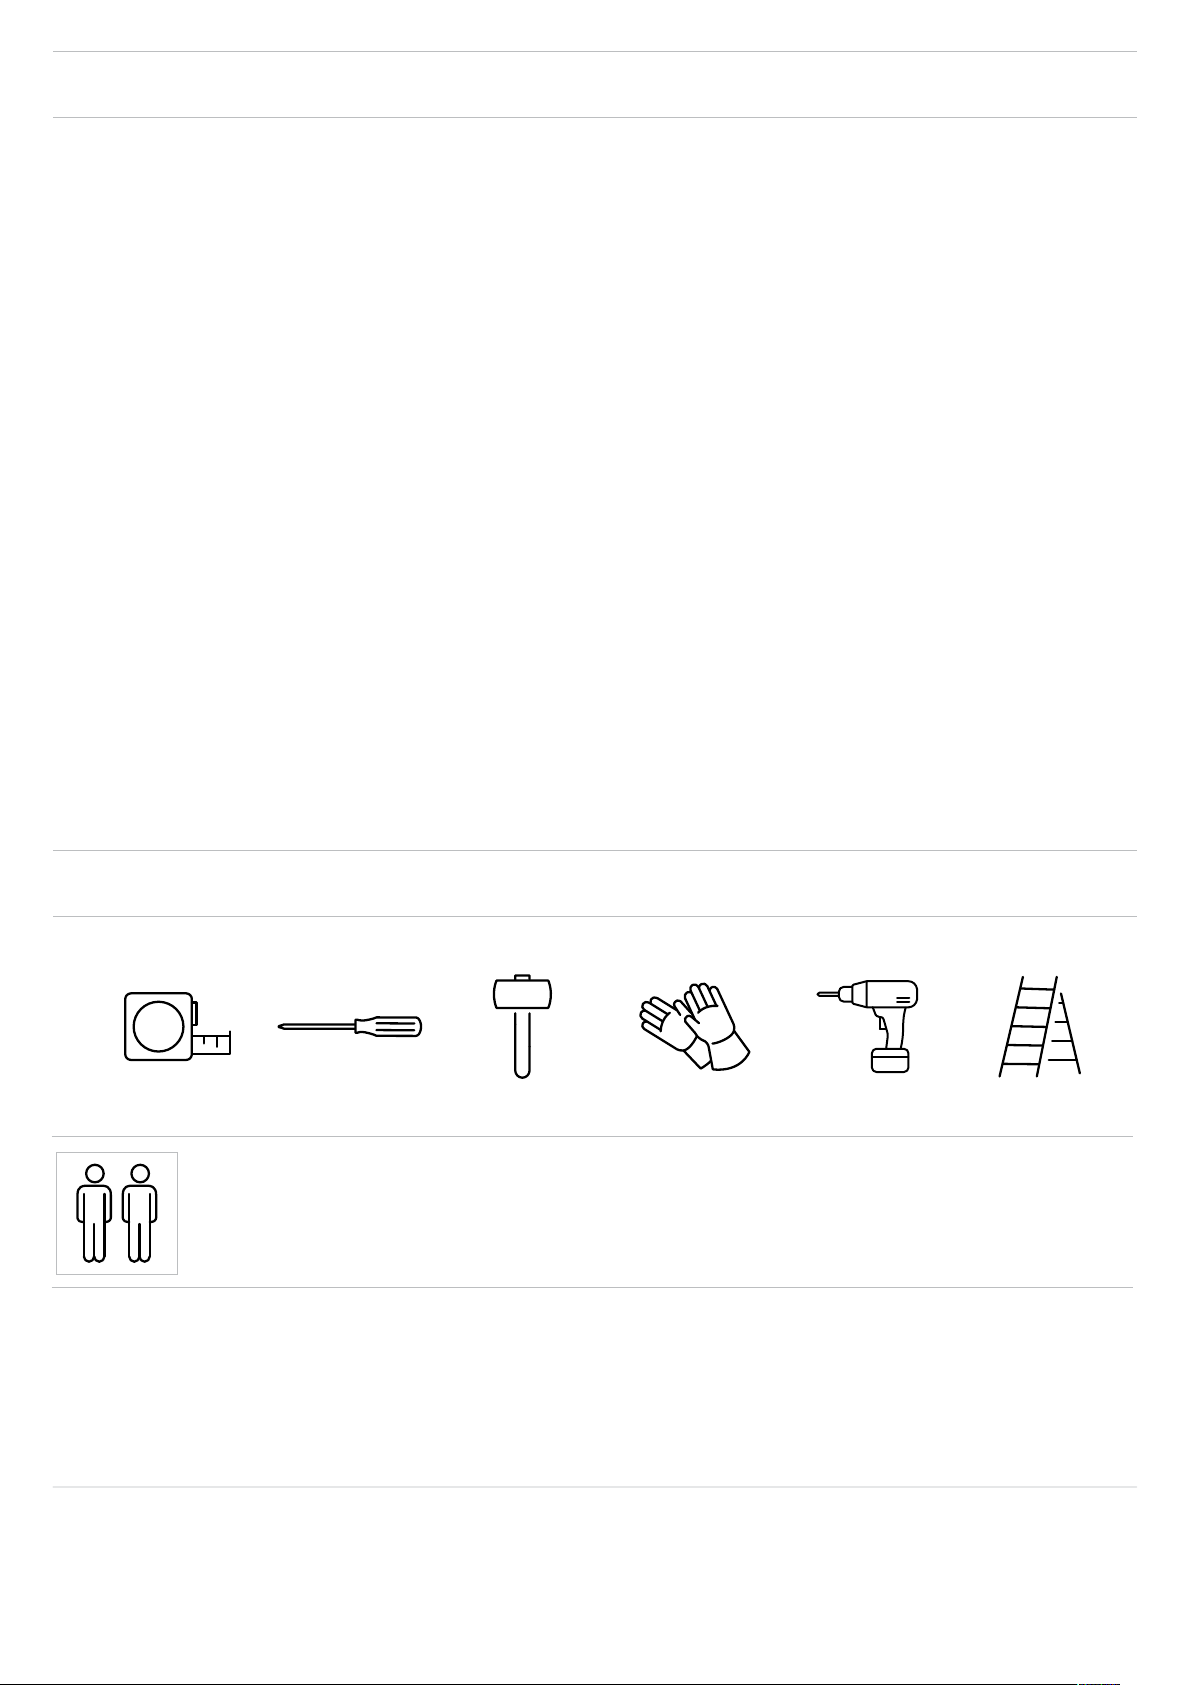
REQUIRED TOOLS | OUTILS EXIGÉS | HERRAMIENTAS NECESARIAS | BENÖTIGTE WERKZEUGE | BENODIGD GEREEDSCHAP |
ATTREZZATURA OCCORRENTE | FERRAMENTAS NECESSÁRIAS
Read the care and safety guidelines at the end of this manual | Check to ensure that there are no missing or damaged
parts BEFORE starting or arranging assembly | Remove all parts from the package(s) and spread them out on a clean work
surface | Review all assembly instructions | Assemble all the parts according to the directions in this manual. Do not skip
any steps.
Lea las intrucciones de precauciones y seguridad que están al final de este manual | Asegúrese de que no faltan piezas ni
están dañadas ANTES de comenzar o disponer el montaje | Saque todas las piezas del paquete o paquetes y póngalas
sobre una superficie de trabajo limpia | Revise todas las instrucciones de montaje | Monte todas las piezas según las
instrucciones de este manual. No se saltee ningún paso.
Lisez les instructions de précaution et de sécurité à la fin de ce manuel | Assurez-vous qu’il n’y a pas de pièces manquantes
ou endommagées AVANT de commencer ou d'organiser l'assemblage | Retirez toutes les pièces du/des paquet(s) et étalez-les
sur une surface de travail propre | Lisez toutes les instructions de montage | Assemblez toutes les pièces selon les instructions
de ce manuel. Ne sautez aucune étape.
Lesen Sie die Sicherheitsrichtlinien am Ende des Benutzerhandbuchs durch | Prüfen Sie bitte VOR dem Zusammenbau, dass
keine Teile beschädigt sind oder fehlen | Nehmen Sie alle Teile aus der Verpackung und breiten Sie sie auf einer sauberen
Arbeitsfläche aus | Gehen Sie noch einmal die komplette Aufbauanleitung durch | Bauen Sie alle Teile entsprechend der
Anleitung in diesem Handbuch zusammen. Lassen Sie dabei keinen Arbeitsschritt aus.
Lees de richtlijnen voor zorg en veiligheid achterin deze handleiding | Controleer dat er geen onderdelen mankeren, of
beschadigd zijn, VOORDAT u met de montage begint | Haal alle onderdelen uit het pakket (of uit de pakketten) en leg ze
opeen schoon werkoppervlak | Bekijk alle montagehandleidingen | Monteer alle onderdelen volgens de aanwijzingen van
deze handleiding. Sla geen stappen over.
Leia as diretrizes de cuidados e segurança que constam da parte final deste manual | Verifique para se assegurar de que
não há peças em falta ou danificadas ANTES de começar a preparar a montagem | Retire todas as peças da embalagem e
espalhe-as numa superfície de trabalho limpa | Reveja todas as instruções de montagem | Monte todas as peças de acordo
com as instruções do manual. Não salte quaisquer passos.
Leggere le linee guida di assistenza e sicurezza alla fine di questo manuale | Assicurarsi che non ci siano parti mancanti o
danneggiate PRIMA di iniziare l’assemblaggio | Estrarre tutti i componenti dall’imballo e posizionarli su una superficie di lavoro
pulita | Consultare tutte le istruzioni di montaggio | Assemblare tutti i componenti secondo le istruzioni contenute nel
manuale. Non saltare nessuna fase.
ASSEMBLY REQUIRES TWO PEOPLE | LE MONTAGE DOIT ÊTRE EFFECTUÉ PAR DEUX PERSONNES | SE
NECESITAN DOS PERSONAS PARA ARMARLO | ZWEI PERSONEN ZUR MONTAGE NOTWENDIG | MONTAGE
VEREIST TWEE PERSONEN | L’ASSEMBLAGGIO RICHIEDE DUE PERSONE | A MONTAGEM EXIGE DUAS PESSOAS
BEFORE STARTING ASSEMBLY |
AVANT DE COMMENCER LE MONTAGE
| ANTES DE EMPEZAR EL ARMADO |
VOR
MONTAGEBEGINN
| VOORDAT U BEGINT TE MONTEREN |
PRIMA DI INIZIARE L’ASSEMBLAGGIO
| ANTES DE INICIAR A MONTAGEM
Packaging may contain some additional small parts for use as spare parts | L’emballage peut contenir de petites pièces
supplémentaires à utiliser comme pièces de rechange | El envoltorio puede contener algunas piezas pequeñas adicionales
que se pueden utilizar como repuestos | In der Verpackung können kleine Zusatzteile enthalten sein, die als Ersatzteile
genutzt werden können | De verpakking kan een aantal kleine extra onderdelen bevatten, die als reserveonderdeel
gebruikt kunnen worden | L’imballo potrebbe contenere piccoli componenti supplementari da utilizzare come ricambistica | A
embalagem pode conter algumas pequenas peças adicionais para utilização como peças de reposição
NOTE: Due to variations in production, the actual assembled size may vary slightly from the specified dimensions.
REMARQUE: En raison de variantes dans la production, la taille de montage réelle peut diérer quelque peu des dimensions indiquées.
NOTA: debido a las variaciones en la producción, el tamaño real al montarlo puede variar ligeramente con respecto a las dimensiones especificadas.
BITTE BEACHTEN: Aufgrund von Abweichungen in der Herstellung kann die tatsächliche Größe leicht von den angegebenen Maßen abweichen.
LET OP: vanwege afwijkingen in de productie kan de werkelijke afmeting na montage een klein beetje afwijken van de opgegeven afmetingen.
NOTA: A causa di variazioni nella produzione, le dimensioni eettive del prodotto assemblato potrebbero variare leggermente da quelle indicate.
NOTA: Devido a variações na produção o tamanho real da montagem poderá variar ligeiramente das dimensões especificadas.
DRPD (x4)
DREF (x2) DRLF (x2)
DRCP (x4) DRPS (x5) DRPS/W (x1)
DRSFG (x1)DRLFG (x1)
DRSRG (x1)DRLRG (x1)
DRKM (x1)
DRFM (X2)
DRPT (x6)
DR6D (x2)
DRWCP (x3)
SHED PARTS | PIÈCES DE L’ABRI | PARTES DEL COBERTIZO | TEILE DES SCHUPPENS | ONDERDELEN VAN HET SCHUURTJE
| COMPONENTI DELLA CASETTA | PEÇAS DO ABRIGO
Remove all parts from the package(s) and spread them out on a clean work surface. Code letters are imprinted on each
part for easy identification | Retirez toutes les pièces du/des paquet(s) et étalez-les sur une surface de travail propre. Des
lettres sont imprimées sur chaque pièce pour une identification facile | Saque todas las piezas del paquete o paquetes y
póngalas sobre una superficie de trabajo limpia. El código de letras está marcado en cada pieza para que sea más fácil
identificarla | Nehmen Sie alle Teile aus der Verpackung und breiten Sie sie auf einer sauberen Arbeitsfläche aus. Auf jedem T
eil sind Kennbuchstaben aufgedruckt, die die Zuordnung der einzelnen Teile erleichtern | Haal alle onderdelen uit het pakket
(of uit de pakketten) en leg ze op een schoon werkoppervlak. Op ieder onderdeel zijn codes aangebracht voor een
gemakkelijke identicatie | Rimuovere tutti i componenti dall’imballo e posizionarli su una superficie di lavoro pulita. I codici
identificativi sono impressi in ogni componente per una semplice identificazione | Retire todas as peças da embalagem e
espalhe-as numa superfície de trabalho limpa. Existem letras de código impressas em cada peça para fácil identificação
FLOOR PARTS | ÉLÉMENTS DU PLANCHER | PARTES DEL SUELO | BODENTEILE | VLOERPANELEN | COMPONENTI DEL
PAVIMENTO | PEÇAS DO CHÃO
ROOF PARTS | PIÈCES DU TOIT | DACHELEMENTE | PARTES DEL TECHO | DAKONDERDELEN | COMPONENTI DEL TETTO |
PEÇAS DO TELHADO
WALL PARTS | PIÈCES DES MURS | PARTES DE LAS PAREDES | WANDELEMENTE | MUURONDERDELEN | COMPONENTI
DELLA PARETE | PAINÉIS LATERAIS
DOOR PARTS | PIÈCES DE LA PORTE | TÜRELEMENTE | PARTES DE LA PUERTA | DEURONDERDELEN | COMPONENTI DELLA
PORTA | PEÇAS DAS PORTAS